Here again, winter has come, and now again, the acute question arises for drivers of starting a car engine in the cold. When the temperature drops too much, the battery loses its power, and the engine is very difficult to crank, so start auto it is immediately problematic. This problem can be solved by installing a special device that can warm the engine coolant before starting. Of course, such a device can be bought, but the most budget option is, of course, homemade.
In the article, the author shared how to make a simple antifreeze heater with a minimum amount of materials and investments. The device will work from a voltage of 12 V, therefore it can be connected from the battery, but it is best of course from the network through a transformer, since it is better not to disturb the battery in winter.
Having made such a heater, you can forget that the car will not start even at -30 C.
Materials and tools for manufacturing:
- two pipes with thin metal, the diameter of the first is 80 mm and a thickness of 1 mm, the diameter of the second depends on the diameter of the nozzles of a particular car);
- two heating elements (made independently);
- wires;
- 10A fuse, as well as a switch;
- welding or soldering iron;
- scissors for metal;
- sheet metal (thickness 1 mm);
- a grinder or other tool for cutting pipes.
Heater manufacturing process:
Step one. Making the heater body
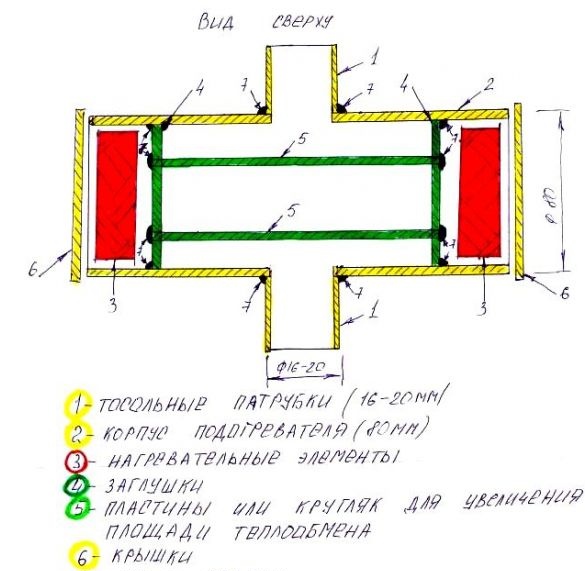
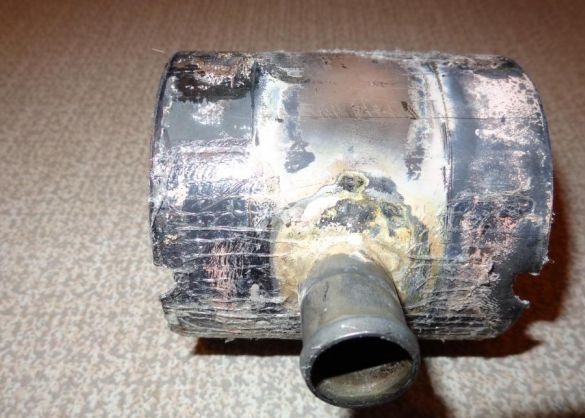
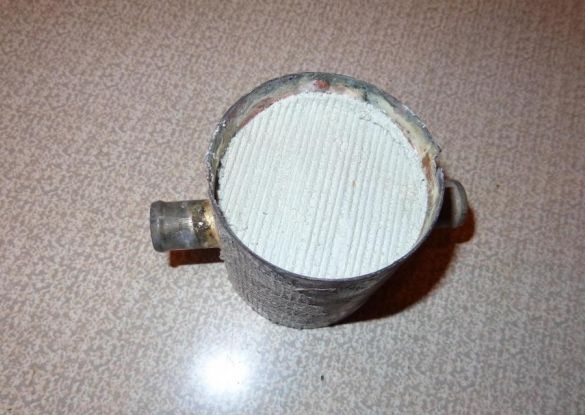
To create a body, you need to take a pipe with a diameter of 80 mm and cut it. The result should be a segment of 80 mm in length. Then a pipe of a smaller diameter is taken (in this case 20 mm) and a piece 40 mm long is cut from it.
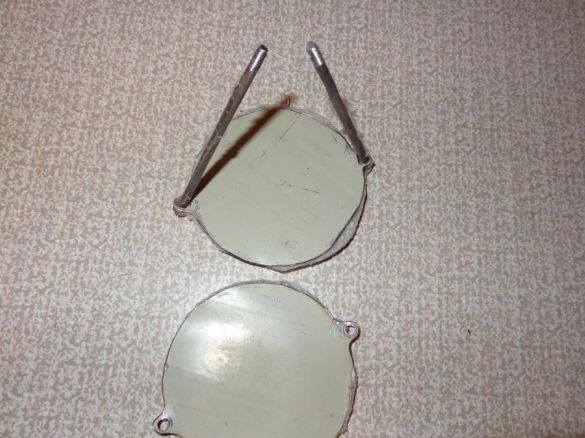
After that, you need to make two stubs. They are cut out of metal using scissors for metal. The diameter of the plugs should be 80 mm and the thickness 1 mm. From the same metal, you need to make two covers a little larger.
Step Two Create a heating element
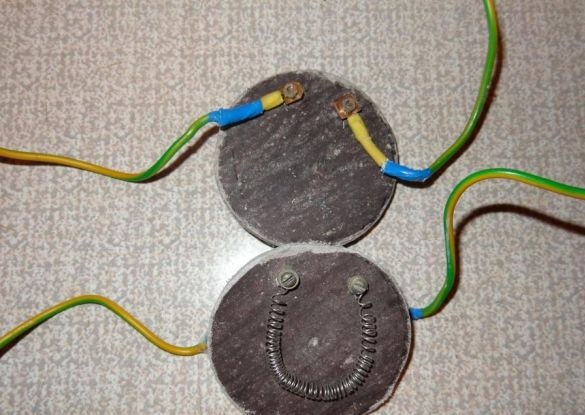
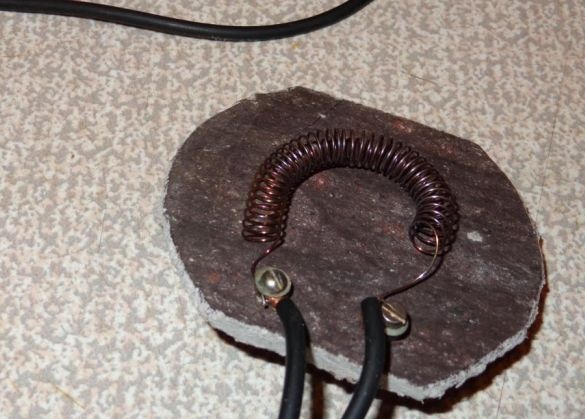
As a heating element, a nichrome wire will be used. To install the wire you need to cut two thick pieces of paranit. The spiral can be of any diameter and length, the most important thing is that their resistance is 2.5 or 4 Ohm when measured. If the length of wire is too short, it may burn out, as the temperature will become too high.
The wire is fixed with screws with 3 or 4 mm nuts.All contacts must be properly tightened, as otherwise the wire will burn out due to poor connection.
Step Three Create a heat exchanger
To make a heat exchanger, you will need a device such as a body or gas welding machine, since thin metal will have to be cooked. As an alternative, you can use a soldering iron and solders with a high melting point.
In order for the heat transfer area to be higher, two plates must be welded in the inner part of the heat exchanger, they must be perpendicular to the tubes from which the antifreeze will come. After welding, check the tightness of the structure. Now you can proceed to the assembly of the heater.
Step Four Final stage
Thin sheets of paranit or asbestos should be placed on the side of the plugs. Now a heating device is installed, hollow places are filled with sheet or string asbestos. Now you can bring out the contacts and close the structure with prefabricated covers.
For the operation of two such heaters, a 12-volt battery with parallel connection is used. You can use a source of 24 Volts, but then the heaters are turned on in series.
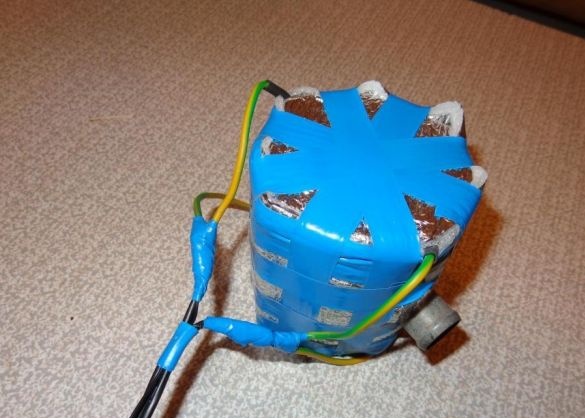
After the device is assembled, it can be wrapped with electrical tape. The pump is installed in the cooling circuit of the vehicle in the direction of flow. Now it remains to connect one wire to the ground, and the other to the plus of the battery through a 10A fuse. You can also put a switch for ease of use.
According to the author, the device is capable of functioning at temperatures up to -35 degrees. It takes about 30 minutes to completely warm up the engine.

