

table tripod
It all started with the fact that I needed a table tripod for the camera. To take pictures with the maximum clarity and accuracy that my camera can give me. And without a tripod, your hand no matter how hard you try to flinch (especially after the weekend) a joke, we the inhabitants of our site not like that. In stores and online stores, of course, there is a lot of such goodness, but I only wanted to make it with my own hands and from the materials I have. And I began to search for such home-made products on the Internet, I found a lot, but for one reason or another they did not suit me, and I decided to construct it myself.
Considering that my very simple and reliable design can be useful to someone else, I decided to show it to everyone. It took more time to search for the necessary parts and description than they did to assemble it (most of all).
So, let's begin.
Of the tools we need only:
The key is 10 (replacement, of course, pliers).
Actually the pliers themselves.
Head (in which there are at least some signs of activity).
Hands (which grow initially from the place planned by our dear parents, and not from that part of the body that is free from corporal punishment in France).
Of the parts found in his closet (and not only):
Clamp (rack holding the net from table tennis). Skillfully expropriated in children, with pressure on the psyche (a joke), and to be honest, with a promise to return on demand.
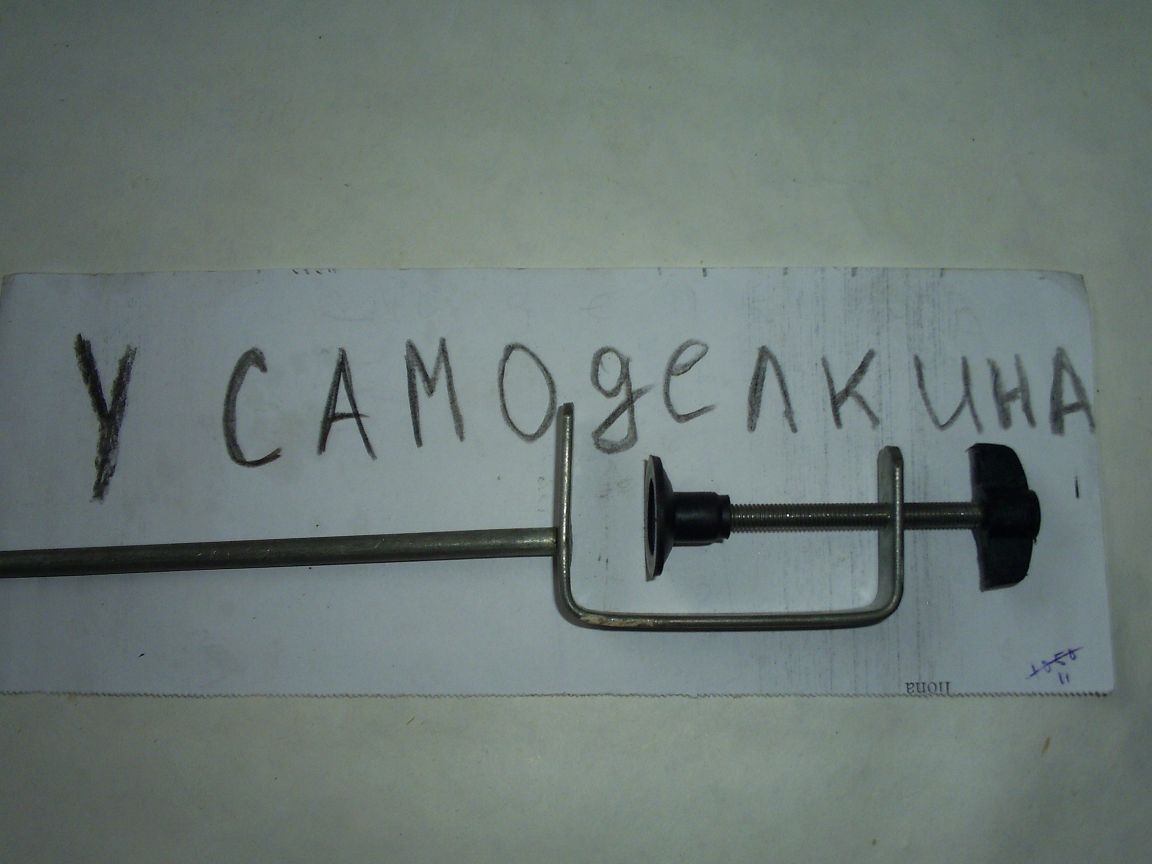
The next detail is another clamp or clamp, so to speak, in principle, you can call it even a clutch for paws and rings, it will not be offended. Here he is this vile type, and his vileness is that you will never find him at the right moment (he came to me with a donated car, hid under a rug, apparently not only I did not find him).

We attach a clamp with a stand to the edge of the table, a chair in general, wherever your soul desires.
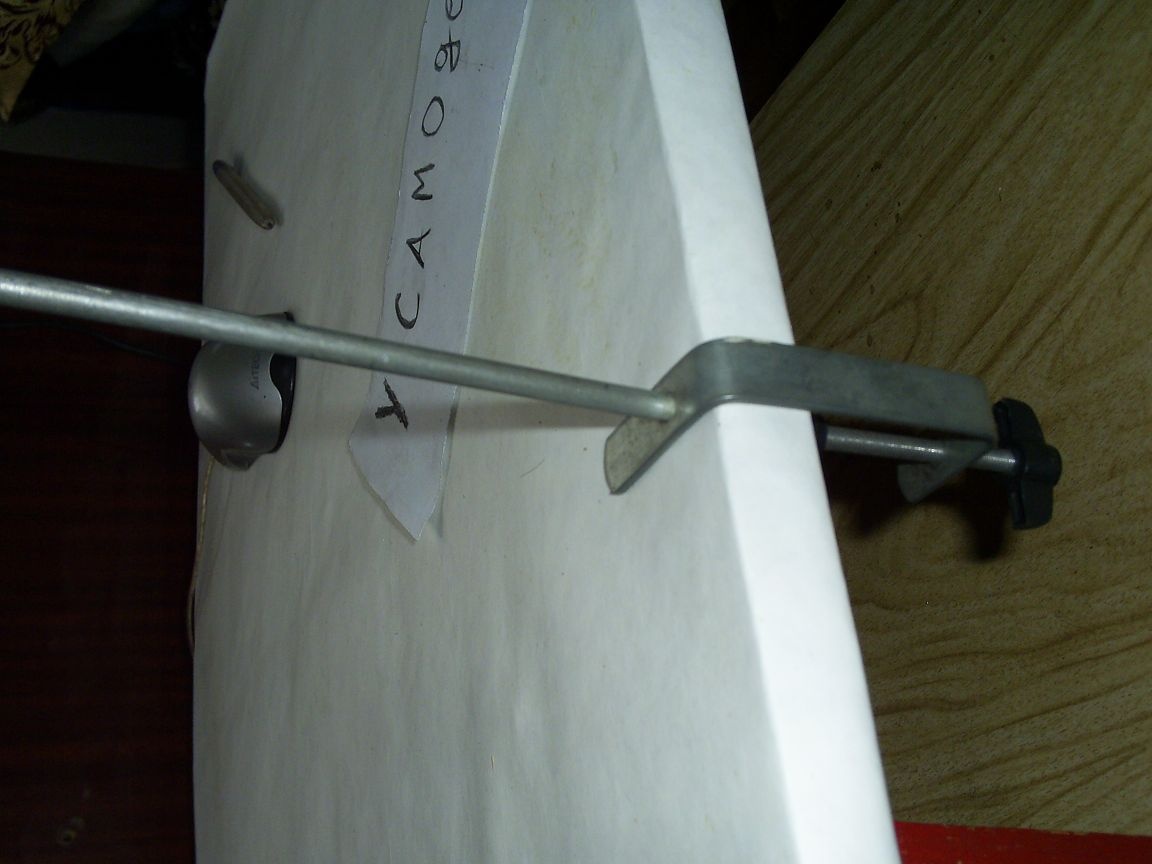
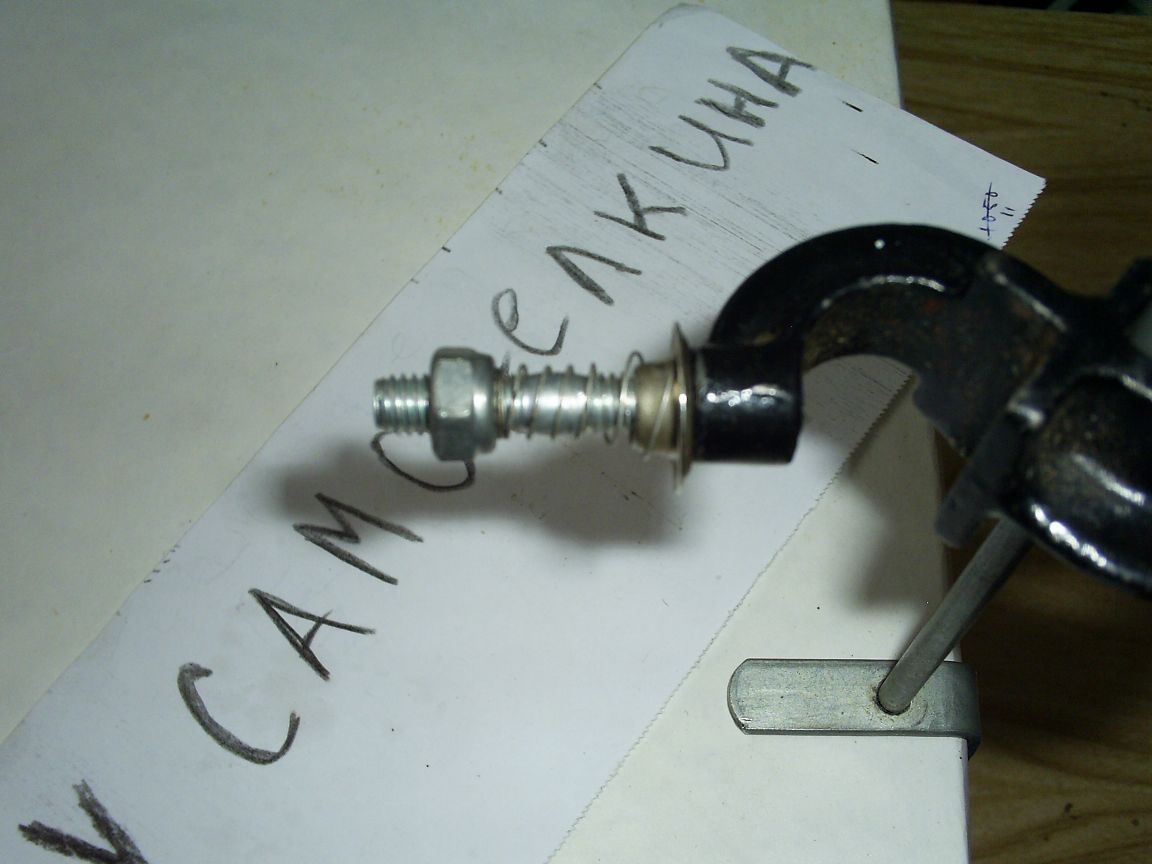
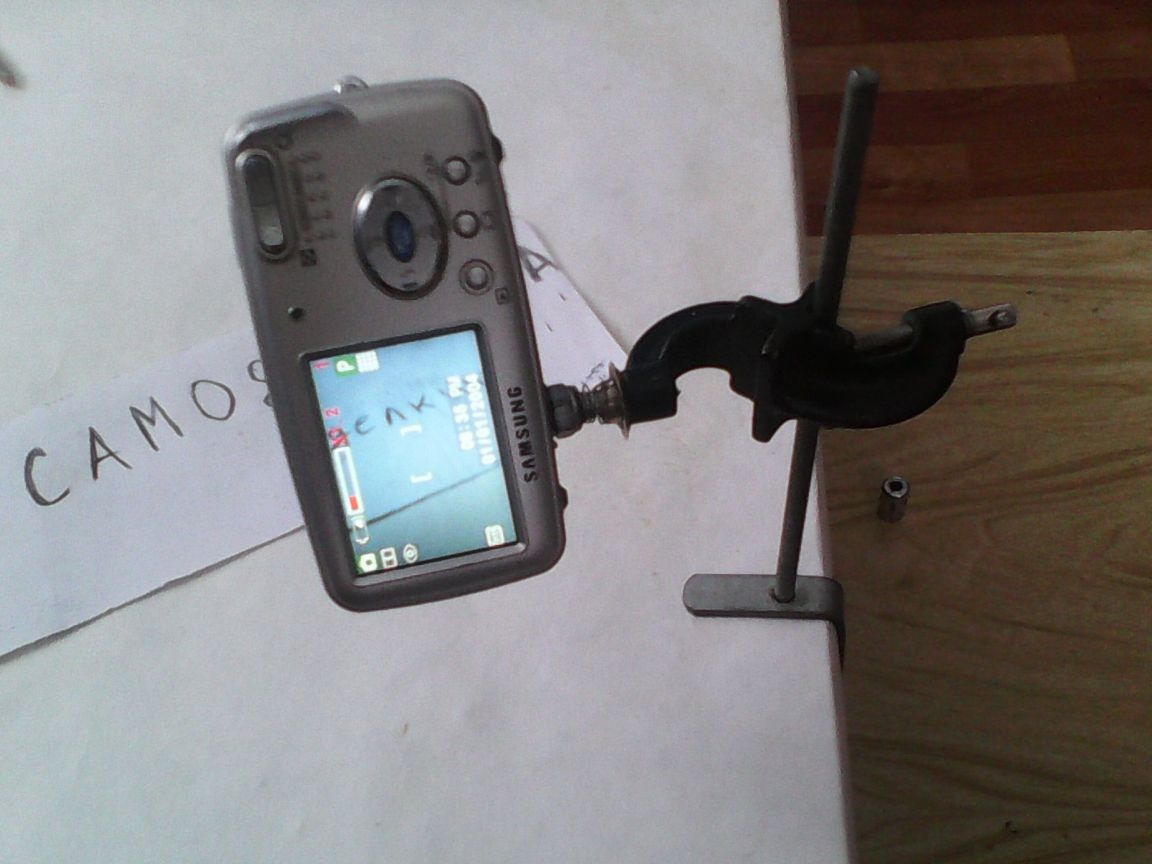
Next, we attach a clamp to the clamp, this connection will serve not only to hold the camera on weight, but also to adjust its height relative to the surface and rotate horizontally.
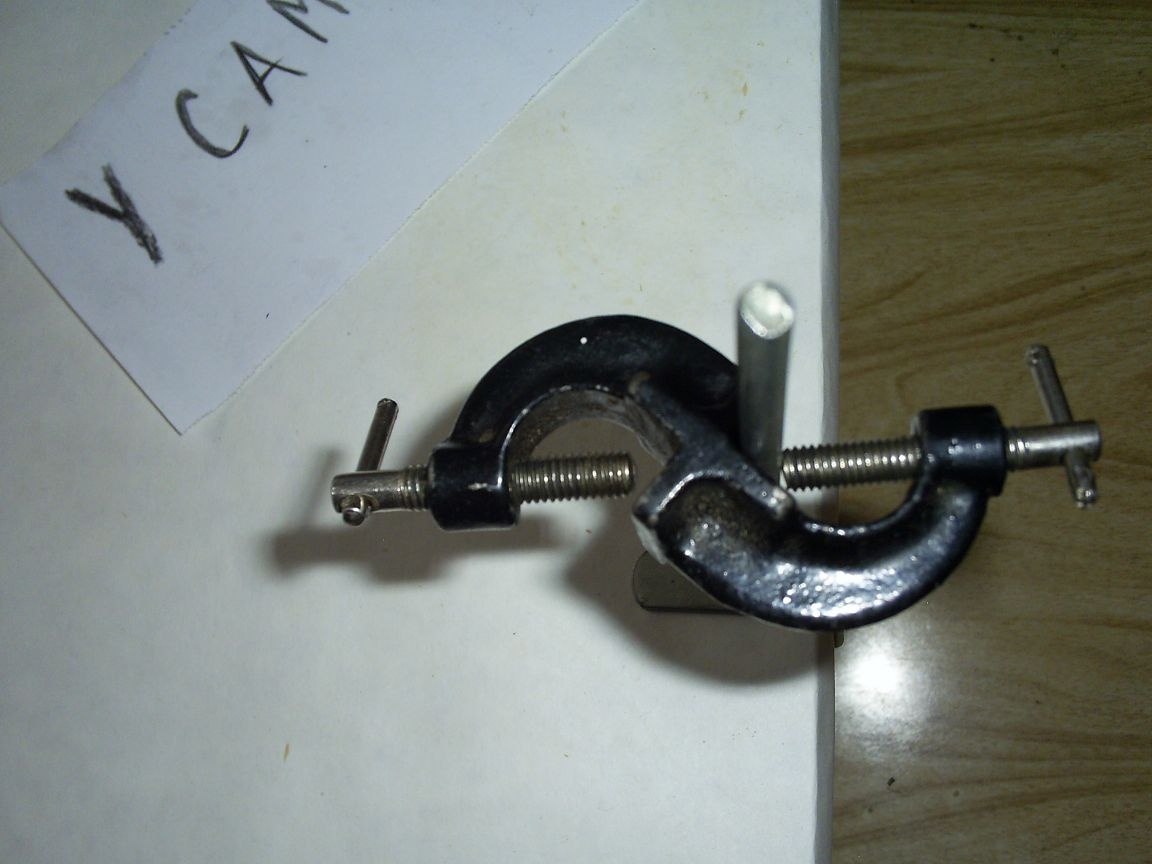
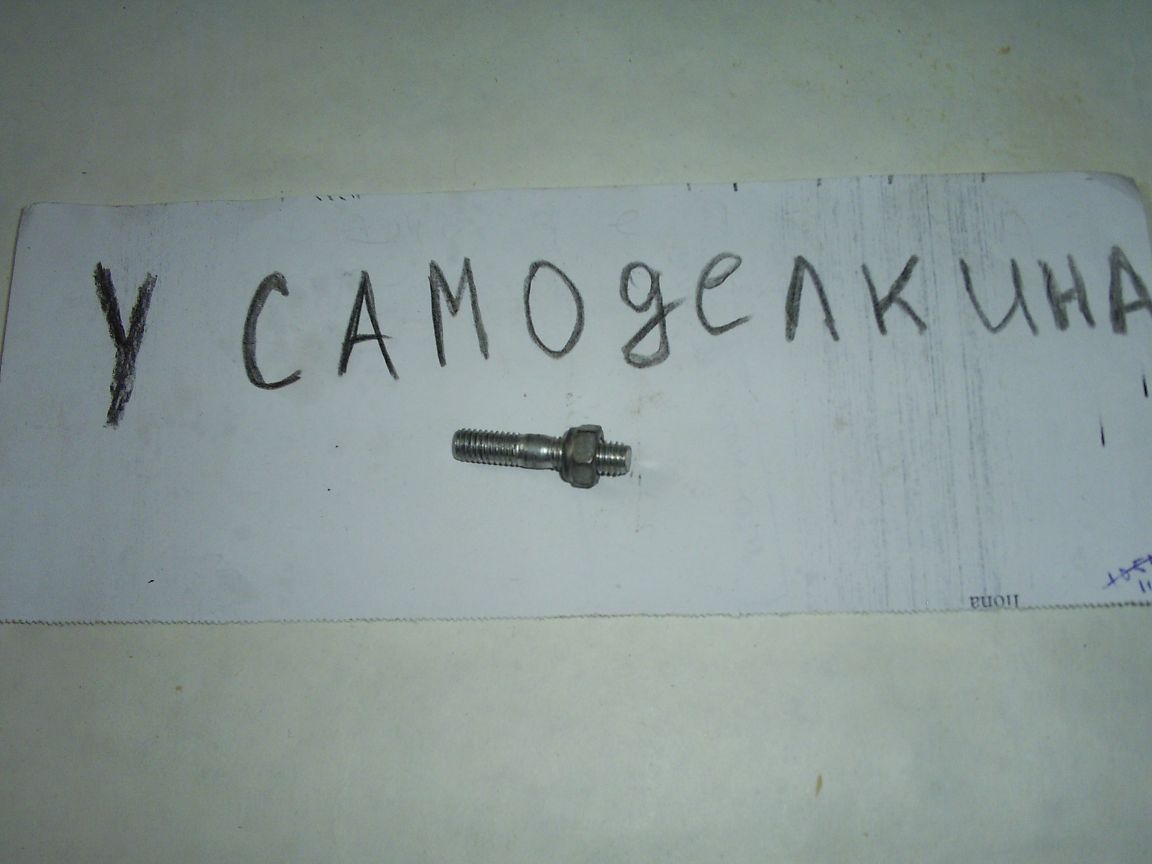
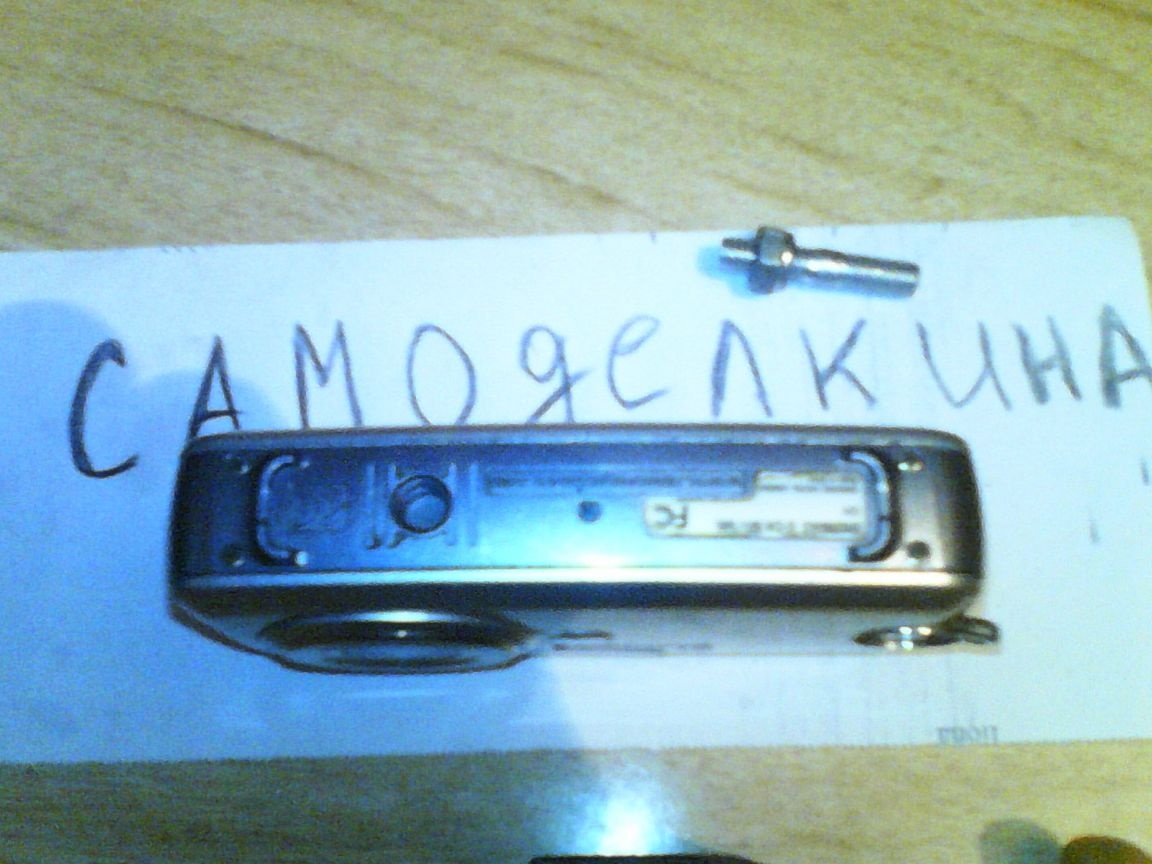
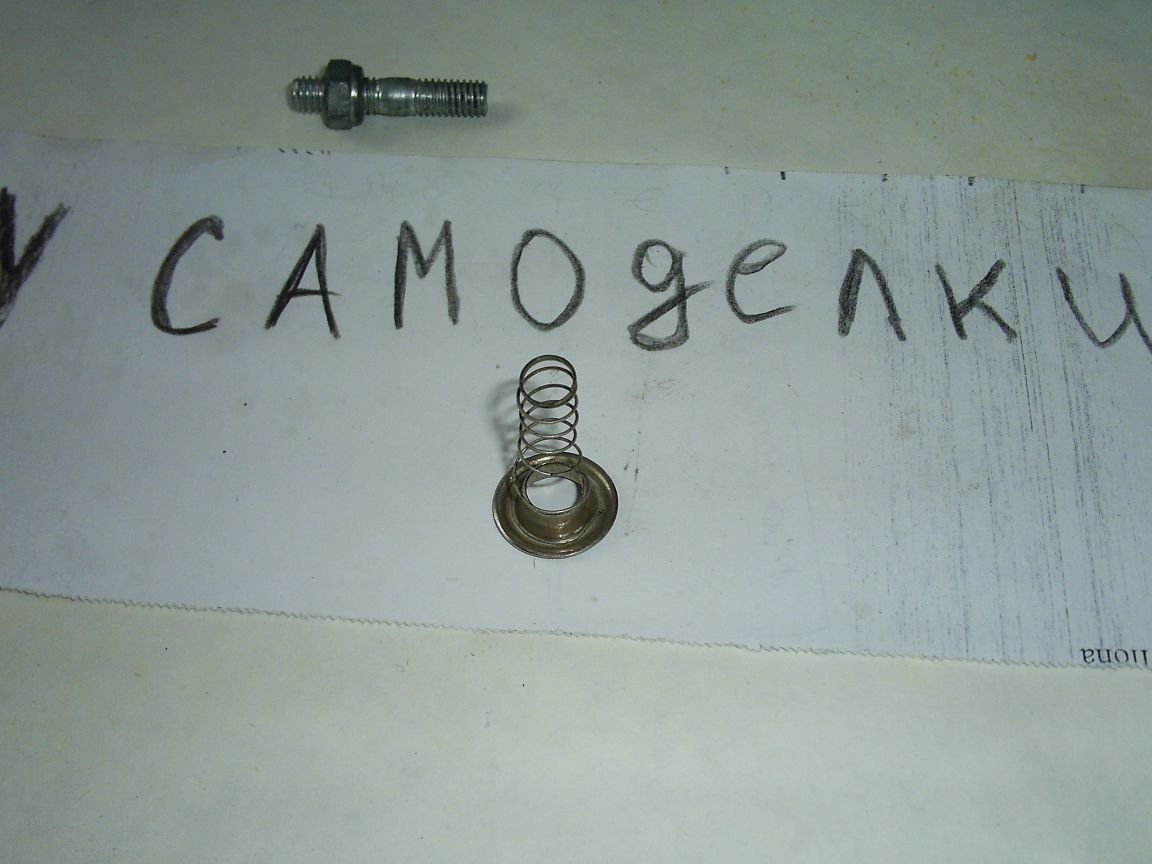
Well, a vertical rotation (by the way, it’s a lot of important function when taking pictures of oneself or flies on the ceiling) and the camera itself will be mounted using the same simple device, consisting of a 6 mm diameter stud (which was also pretty cleverly removed, but only with comrade)
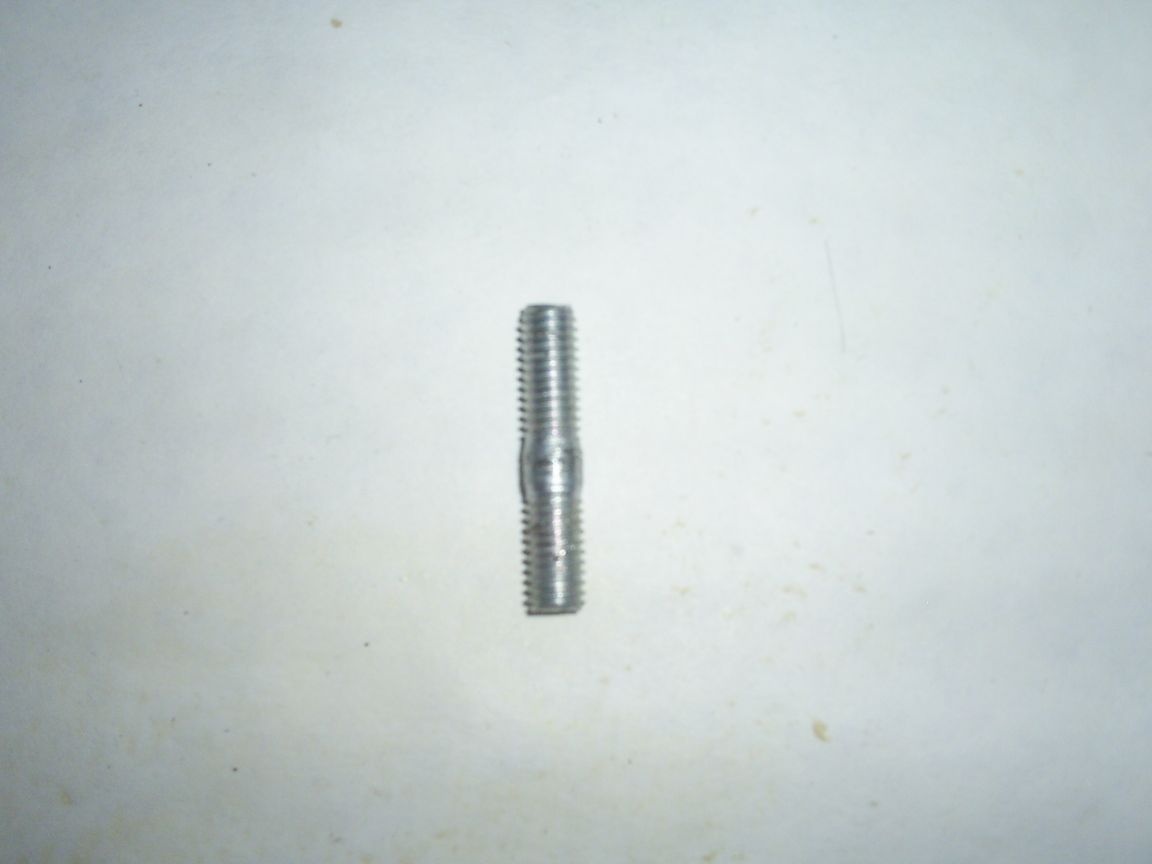
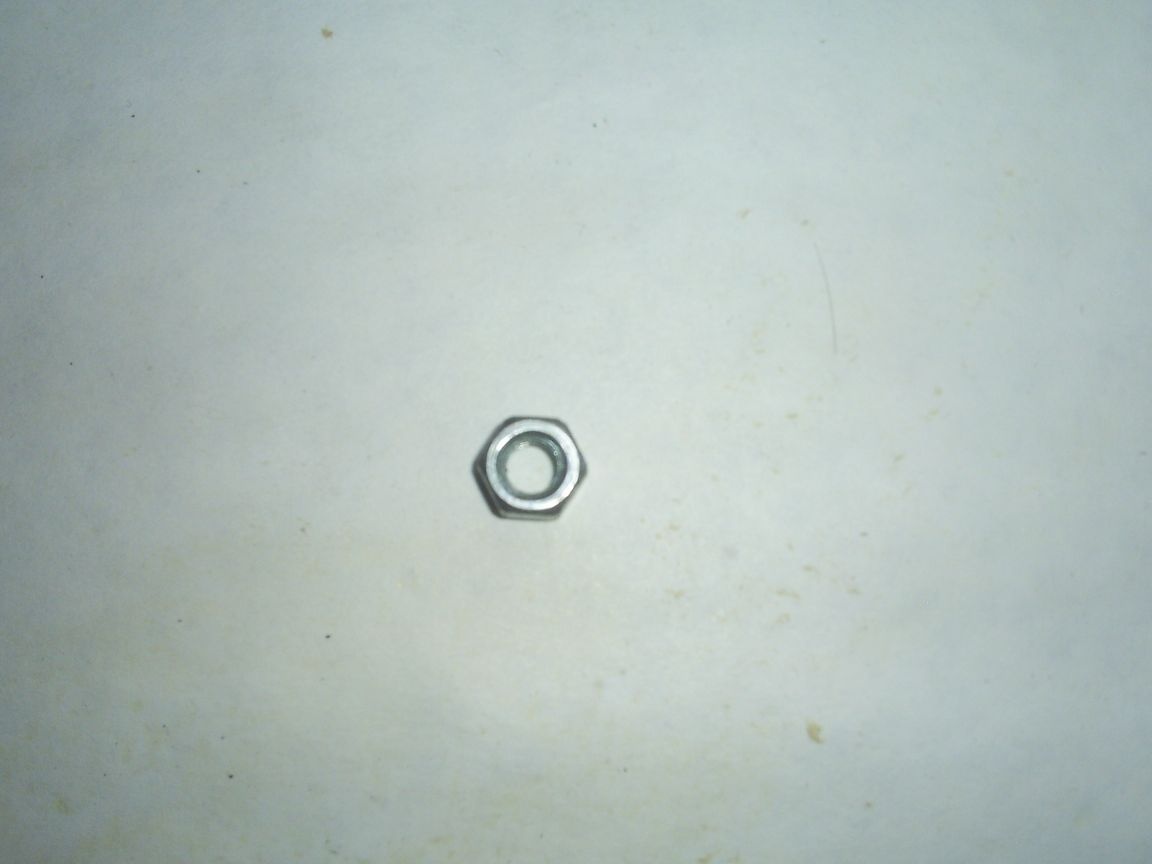
nut under the stud (came with the stud).
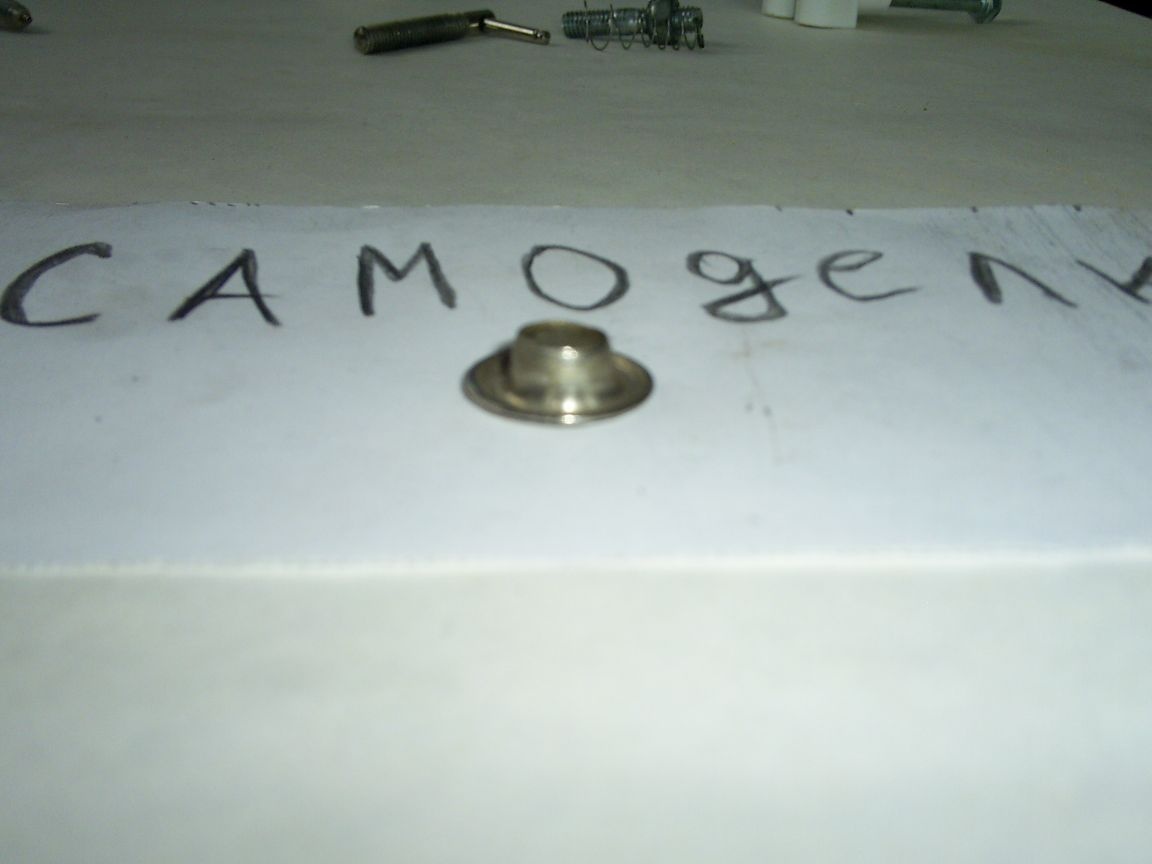
The puck (conscience tortured, had to be pulled out of its reserves).
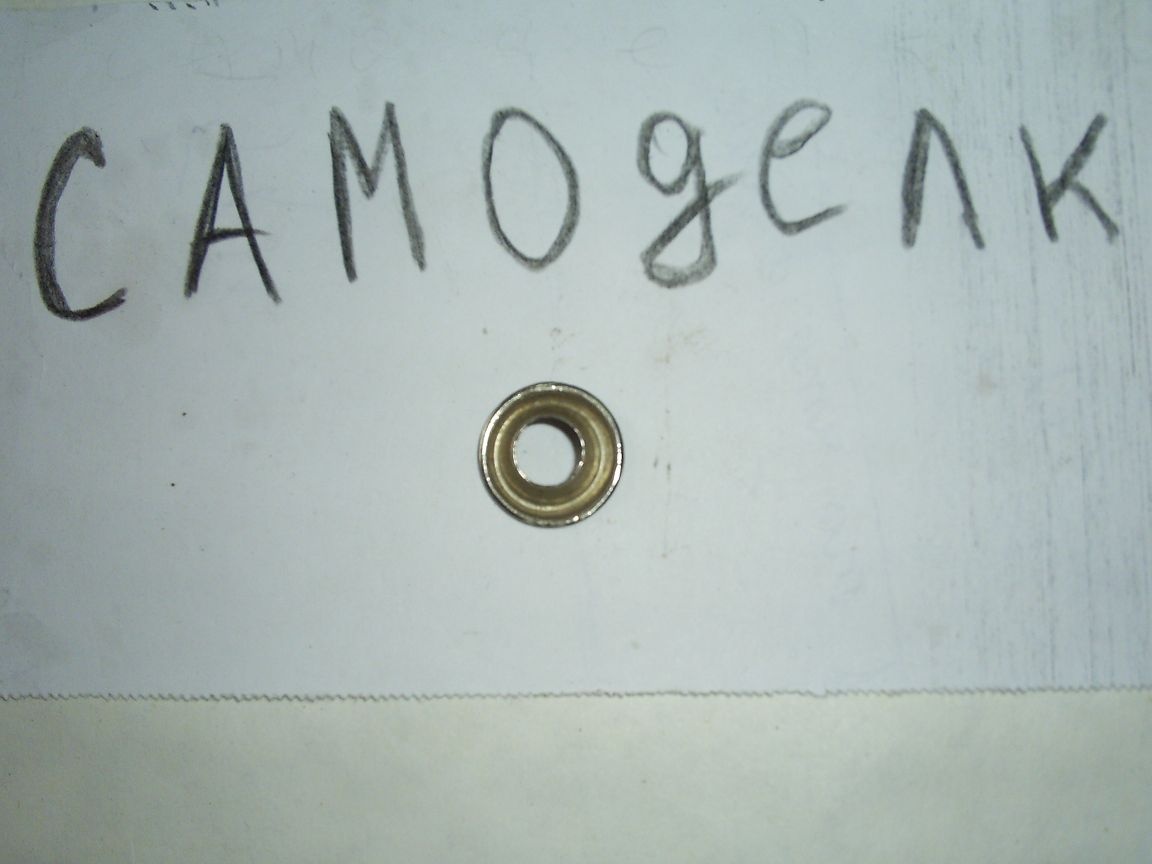
The puck, as you see, is not quite ordinary with a ledge, he took the first one, which turned up by the arm.
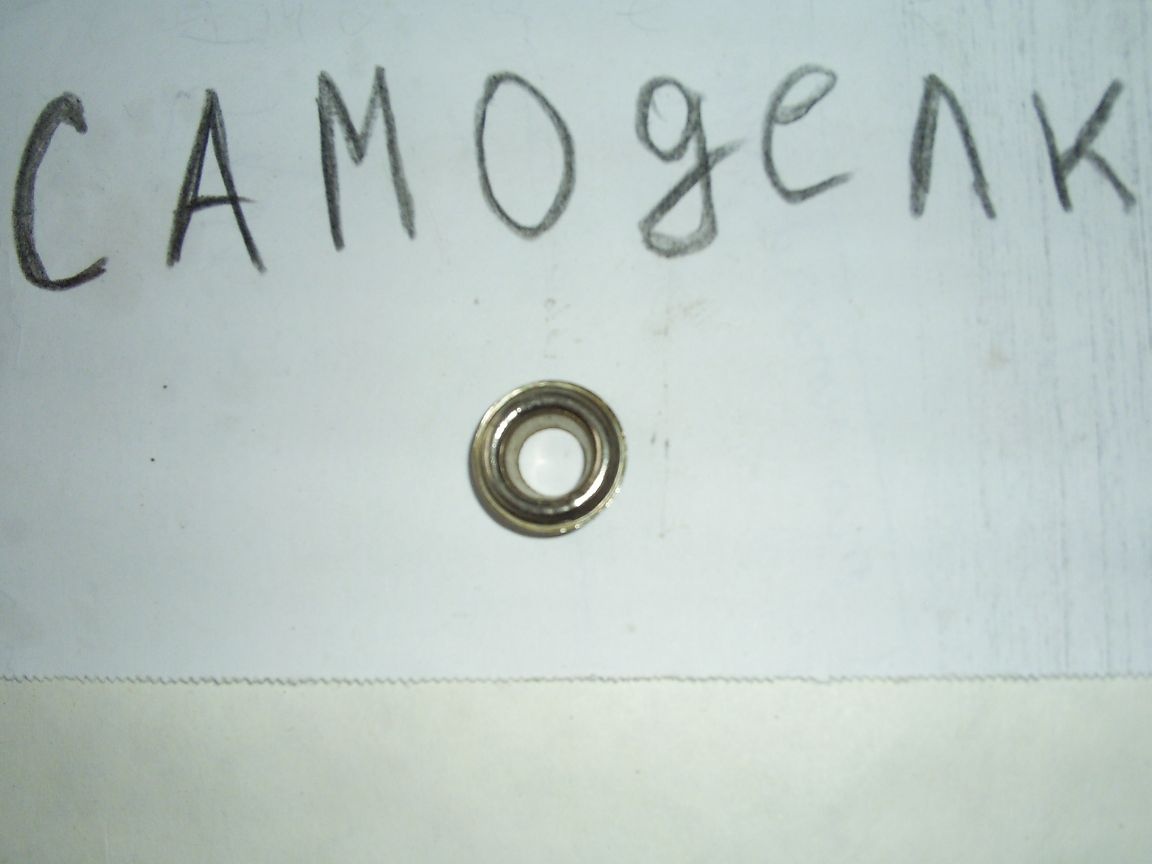
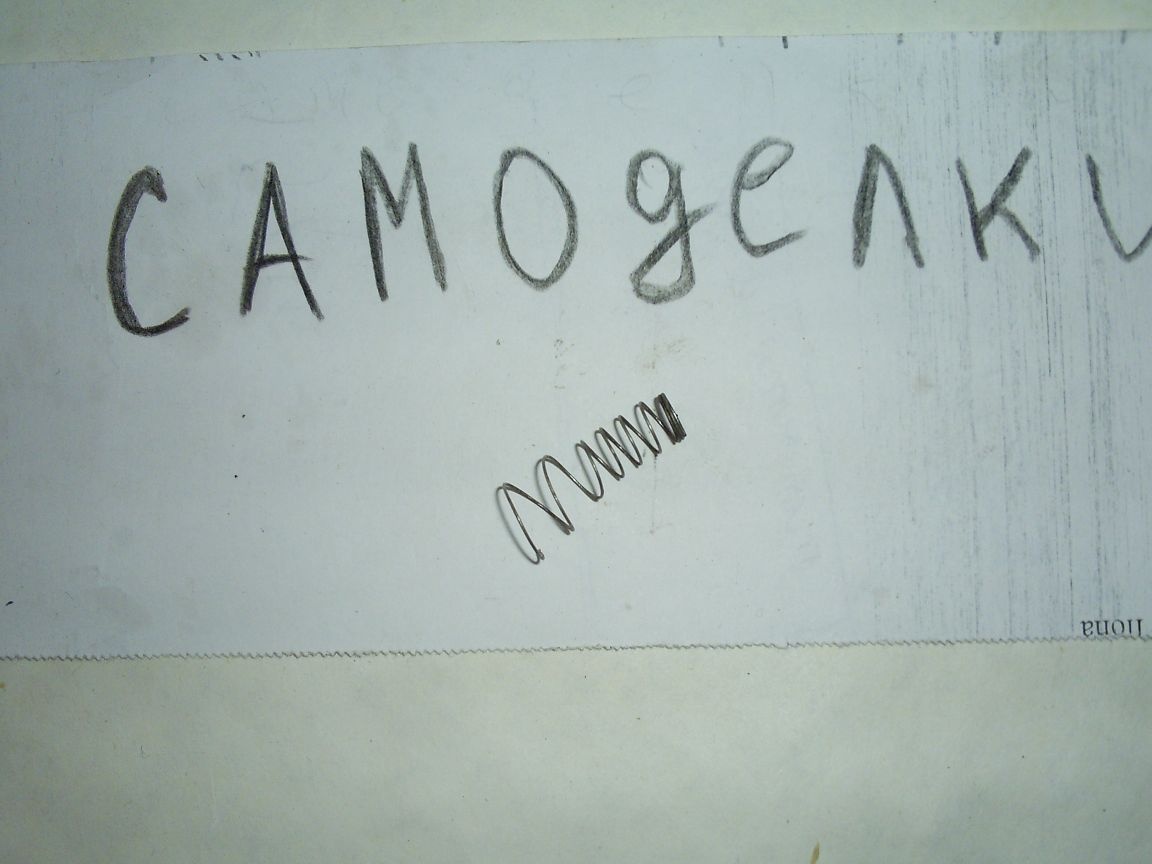
And the spring (of unknown origin, but also sure that I did not buy it). She was standard, but more on that later.
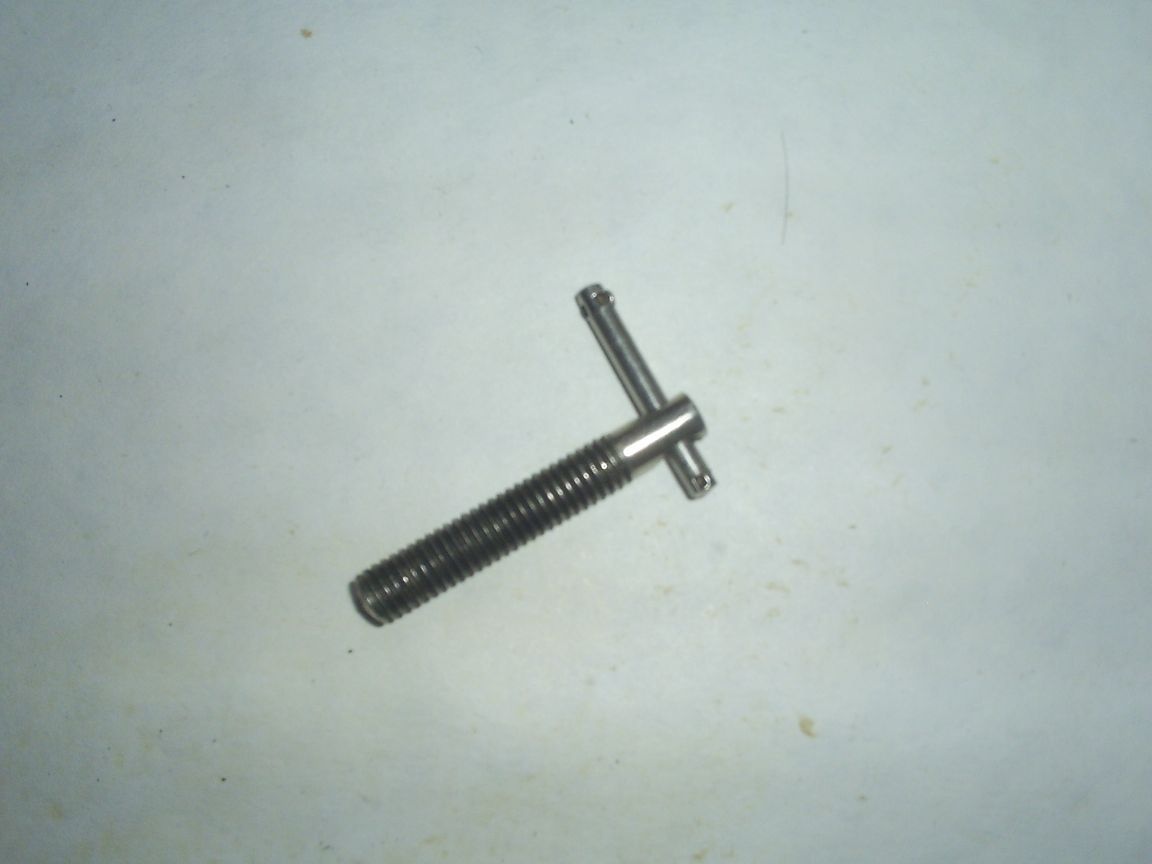
We screw the nut onto the stud, but you can screw the stud into the nut, well, I twisted the nut and the stud. First you need to check how deep the stud will fit into the camera, then tighten the nut to this place, I got a nut with a plastic insert.
At first, the spring washer and the stud did not make friends. Either the spring is of the wrong diameter, then the washer with the wrong inner diameter also the stud manages to be both thin and thick (the diameter of the stud is 6 mm, the washer is 7 mm, and the springs are 5 mm at all). It was necessary, as you see, to slightly increase the spring diameter so that on one side it did not pass through the washer and the other fit freely on the stud. Of course, one could do without a washer, but then over time the spring would bite into our clamp, and it would not be regulated as smoothly as with it. (Besides, it should be in my design, at least some detail honestly found, somewhere, by me).
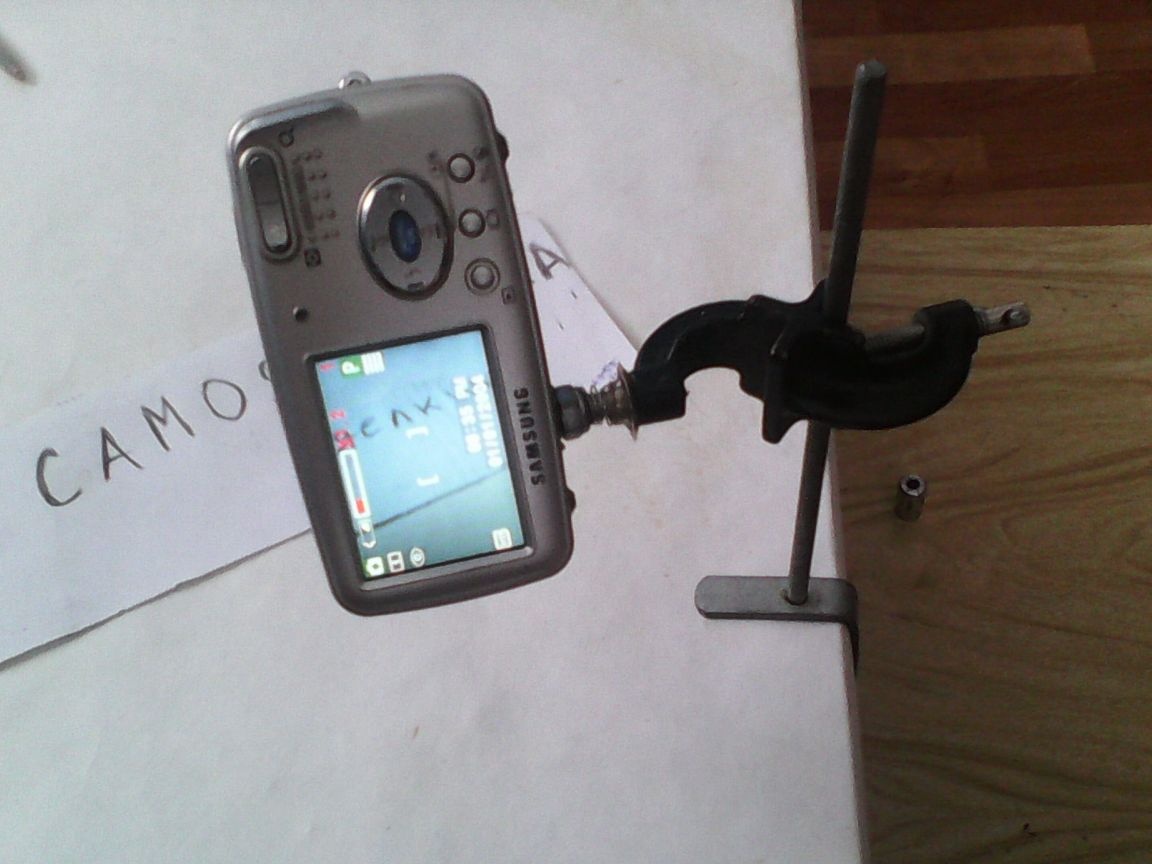
In fact, the finished table tripod.
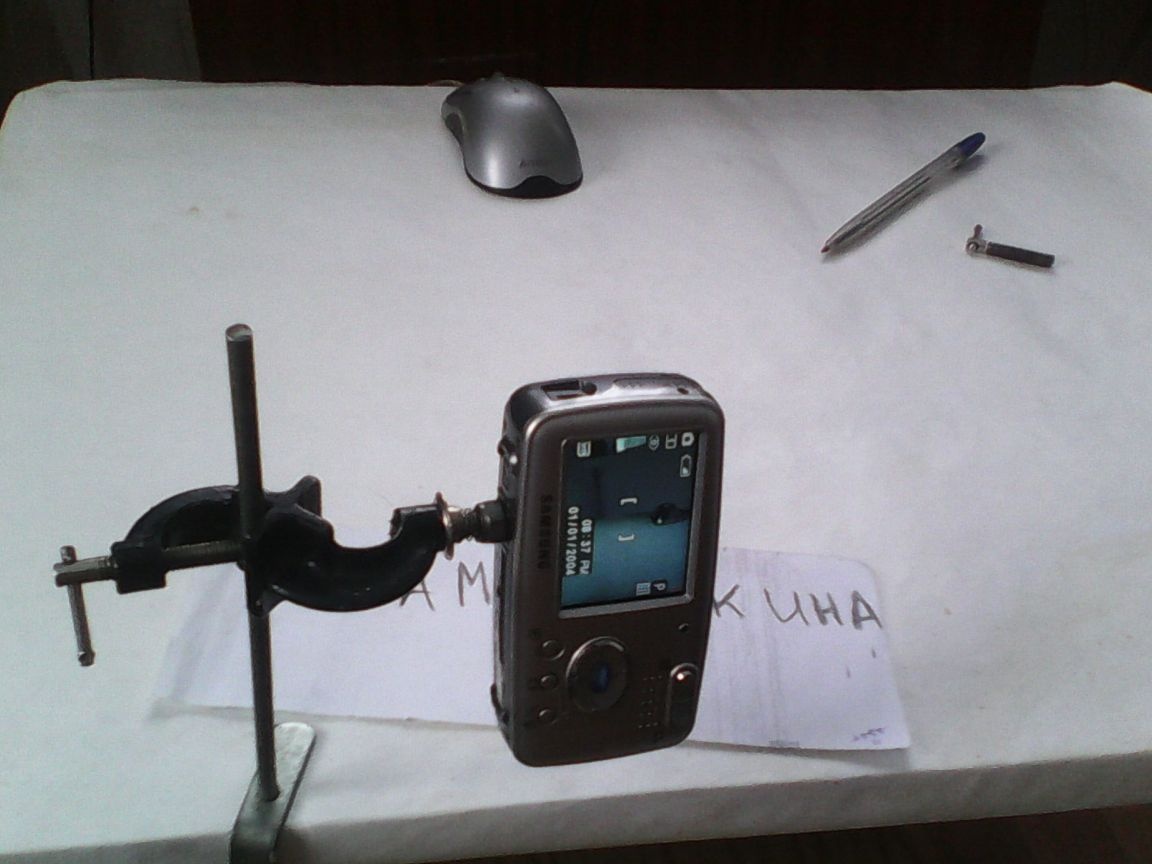
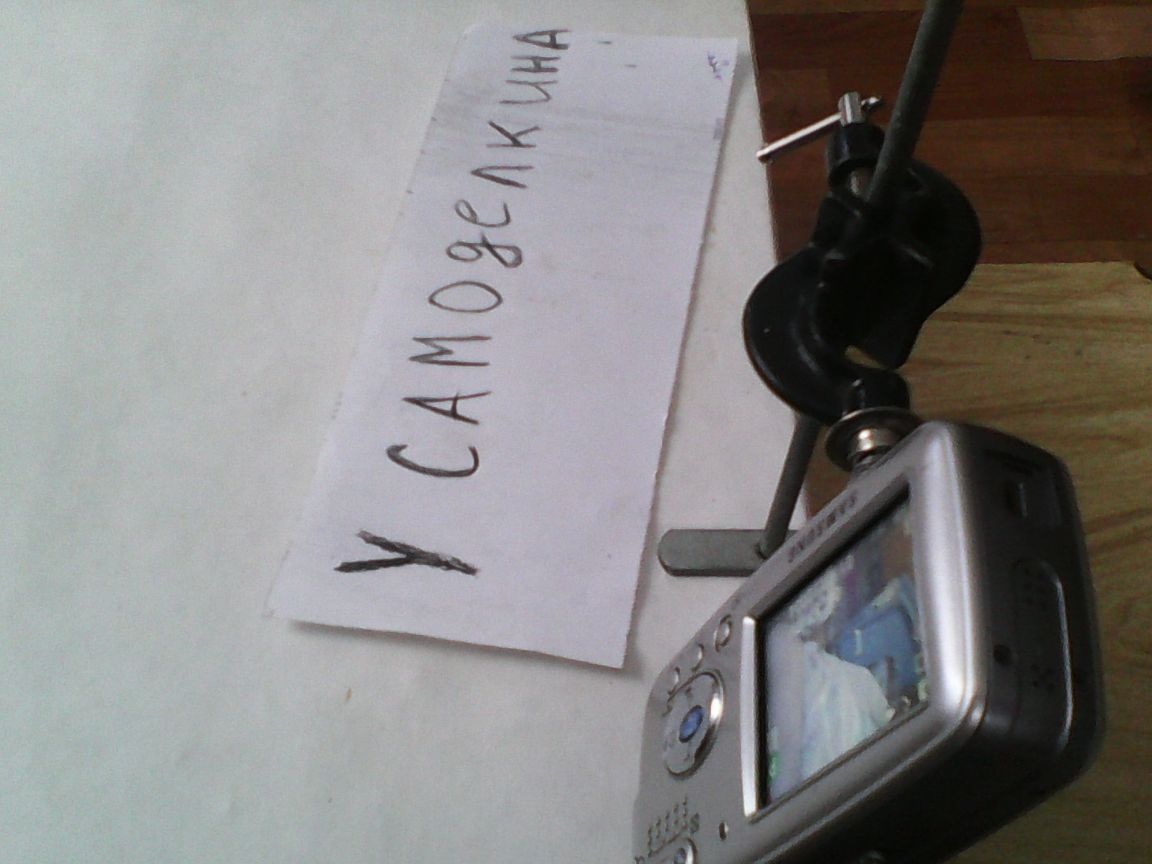

I am personally very pleased. I think such a tripod is useful not only for those who are engaged in macro photography (amateur, of course, he will not suit professionals), but also for numismatists (also amateurs who do not have a scanner), for example, for comparing coins, for residents of our sites to take high-quality photos of their home-made well, and to all fans to shoot videos and upload to the Internet, because with webcams, the quality of shooting is generally not quite ice. Well, in general, that’s all.