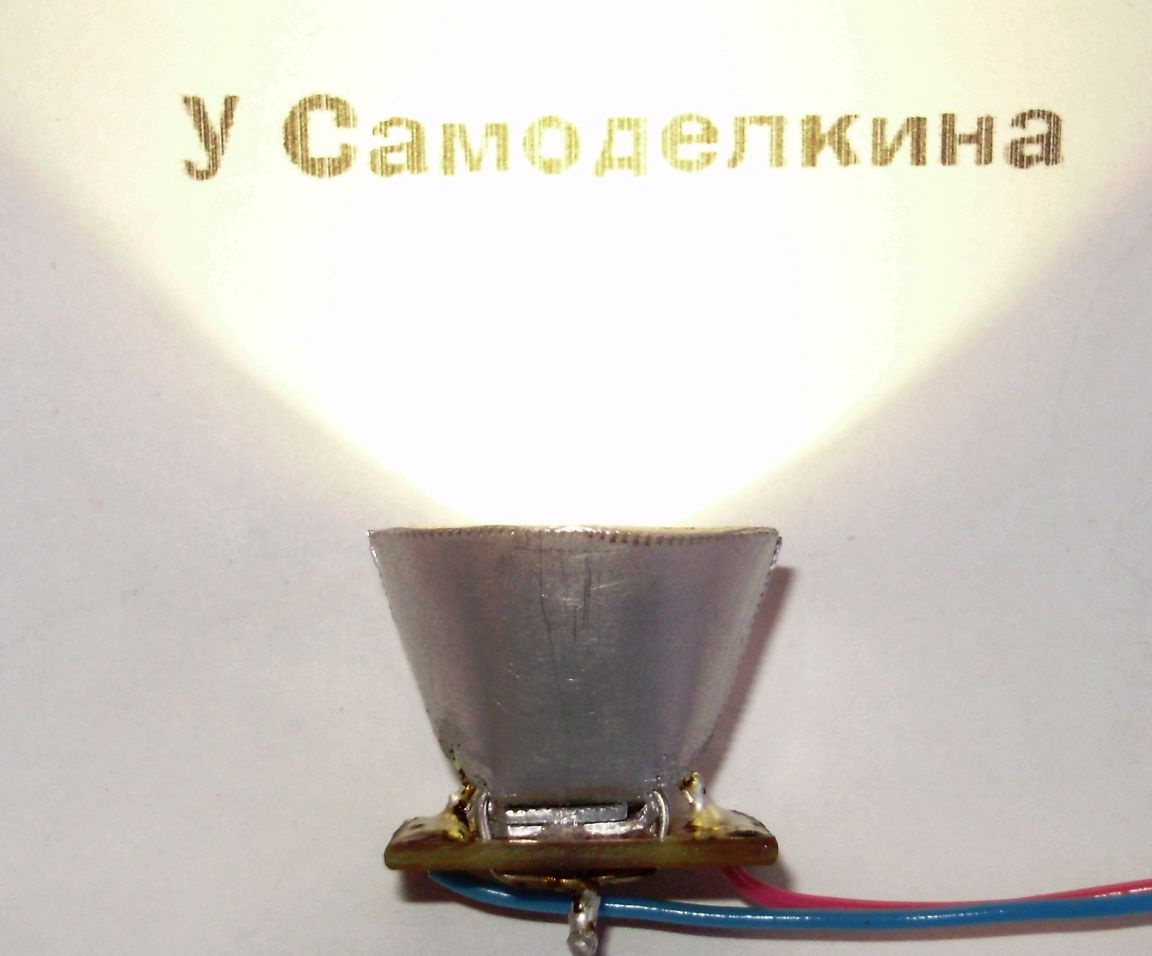
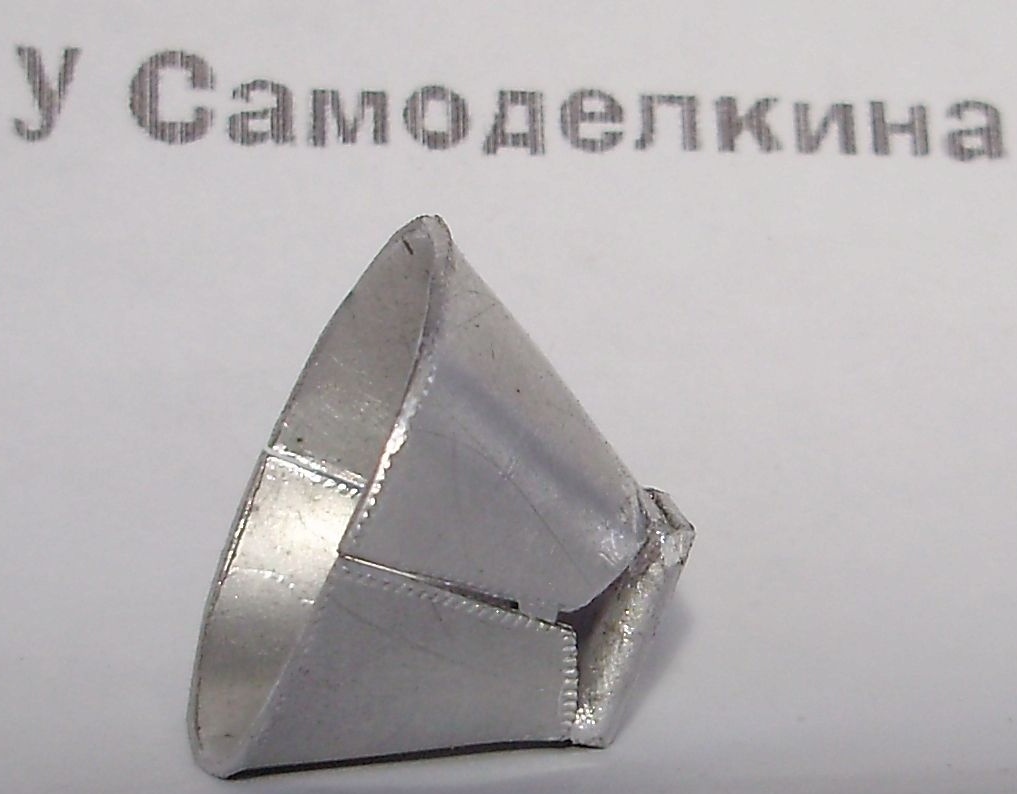
Improving previous design The reflector-radiator wanted to focus the light flux of the LED towards the center more. The conical shape of the reflector itself suggested itself, since it almost completely corresponds to the shape of a parabolic mirror. After some calculations and experiments, we have the following construction
To make such beauty you will need:
- aluminum (copper or tin can) without scratches plate with a thickness of up to 1mm and a size of 40x35mm
- one-layer foil textolite plate with a size of 20x15 mm
- superbright LED, soldering iron, two contact wires, one or two office paper clips
- a little thermal paste
- flat-nose pliers (round-nose pliers), a hacksaw (scissors) on metal, files, compasses, a small drill
- straight arms to get the right curved surfaces
The theory is the same. In order to obtain a parallel beam of light, it is necessary to install the LED crystal exactly in the focus of the parabolic mirror. Here is a picture from a previous article
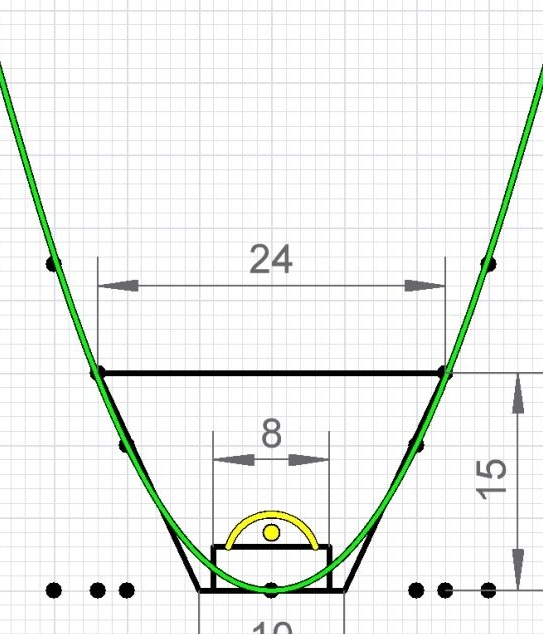
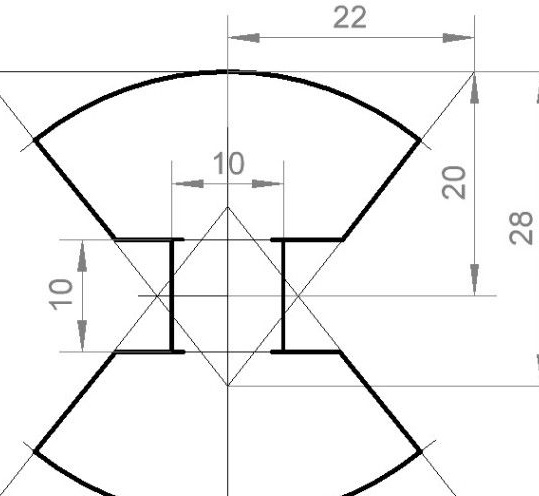
It was decided to leave the dimensions the same, but now the size is 24mm - this is the diameter of the circle. It turned out to be easier to get the shape of the cone by bending two half-cones from the workpiece, therefore we have the lengths of the arcs of two half-cones. Also from the figure we have the radii of these arcs. As a result, we obtain the following scan:
It turned out to be even simpler than the previous one, the only difficulty is to give it the correct shape, since the accuracy of focusing of the light beam depends on it.
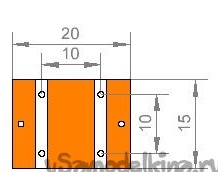
Here is an example of the layout of a workpiece on an aluminum sheet:
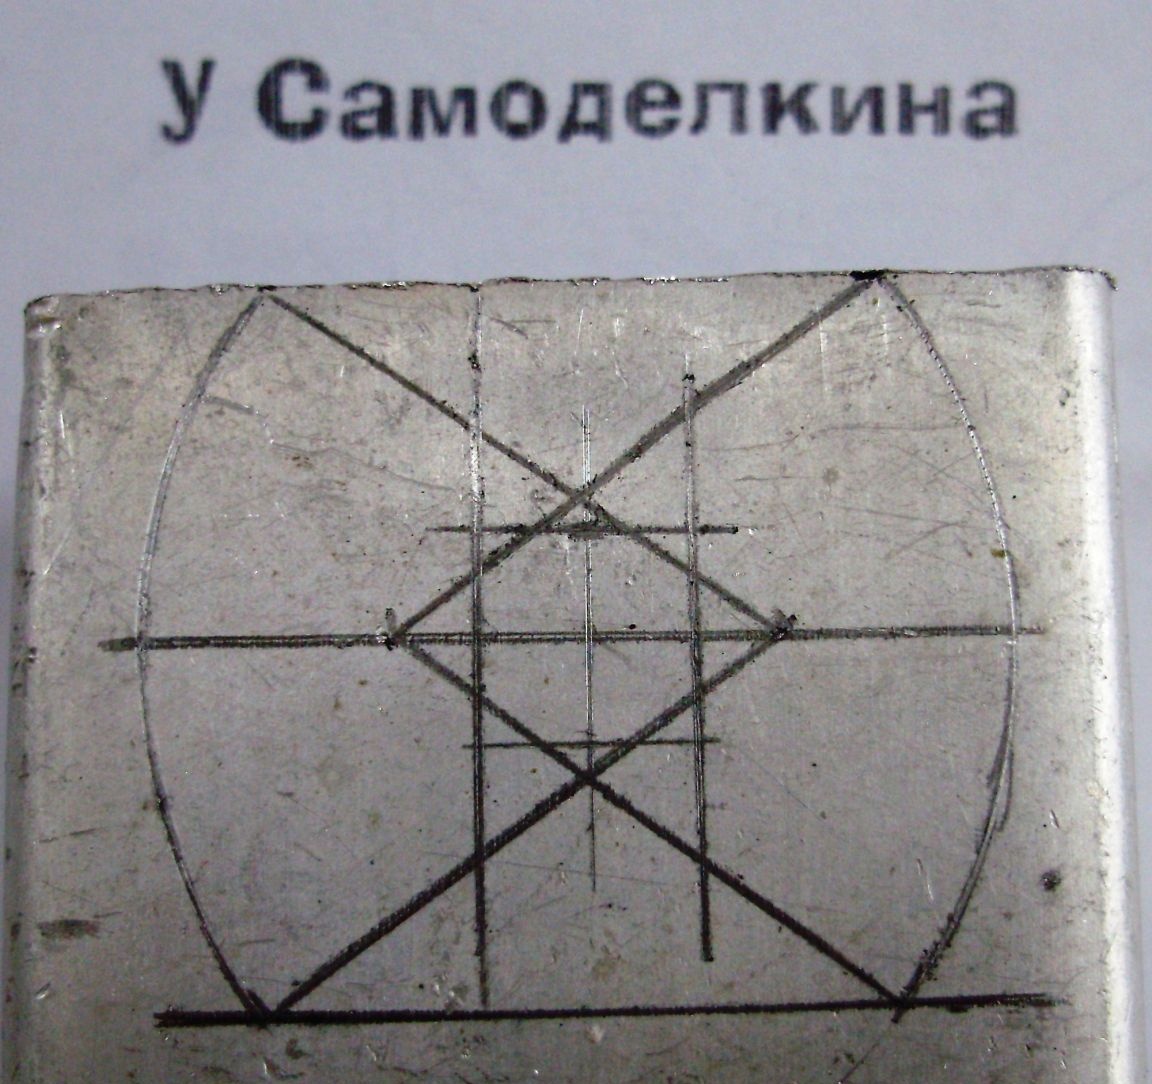
There is nothing complicated in the markup. No need to calculate degrees, lengths of arcs, etc. First, all straight lines are drawn, and then two arcs with a radius of 28 mm are drawn to the intersection with the straight lines and the marking is ready.
The material for the reflector-radiator can be aluminum, copper, or tin from a can. Copper and tin are even more preferred since they can be soldered. The thickness of the material should provide sufficient structural strength.For aluminum it is not less than 0.5mm.
Now the workpiece is cut and bent. It is desirable to cut it with a hacksaw, but if it is very lazy, you can also use scissors for metal, as shown below. Then the edges will have to be leveled with a file.
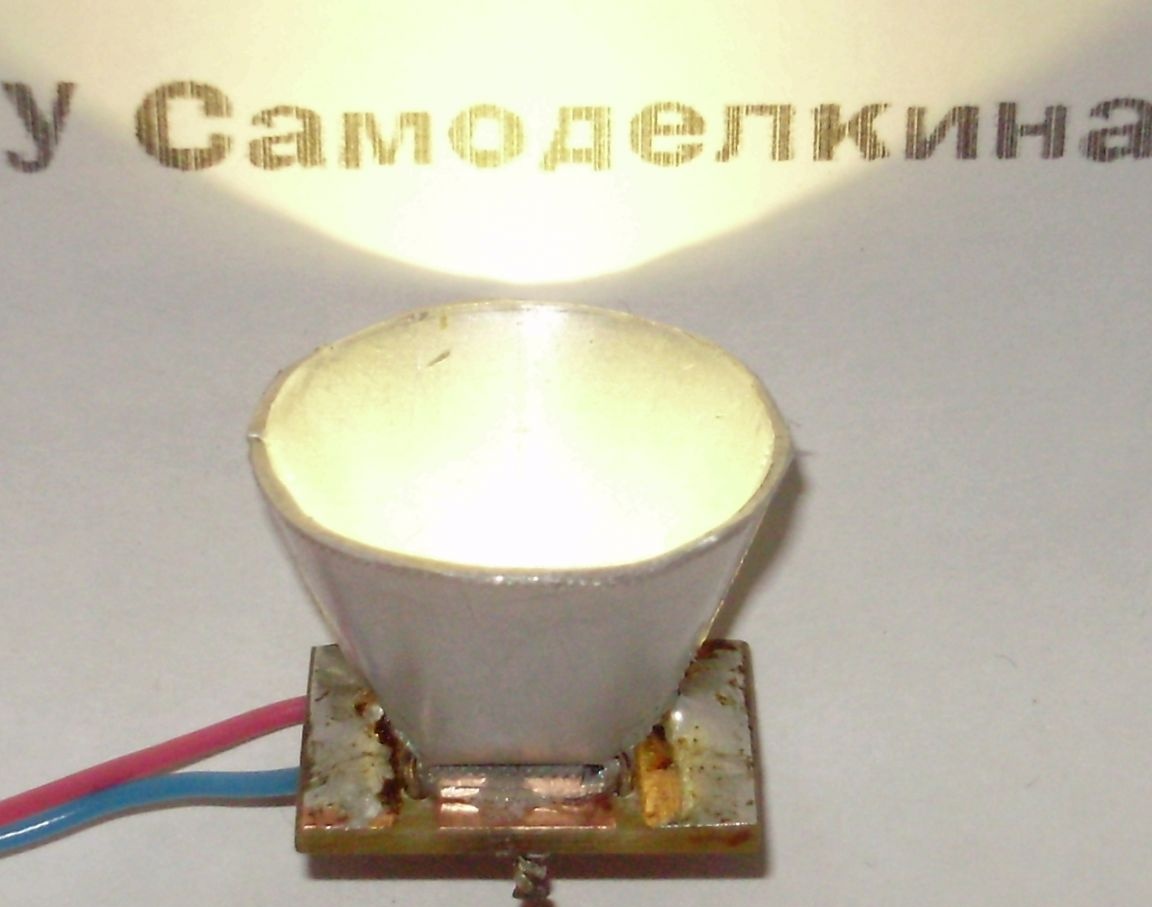
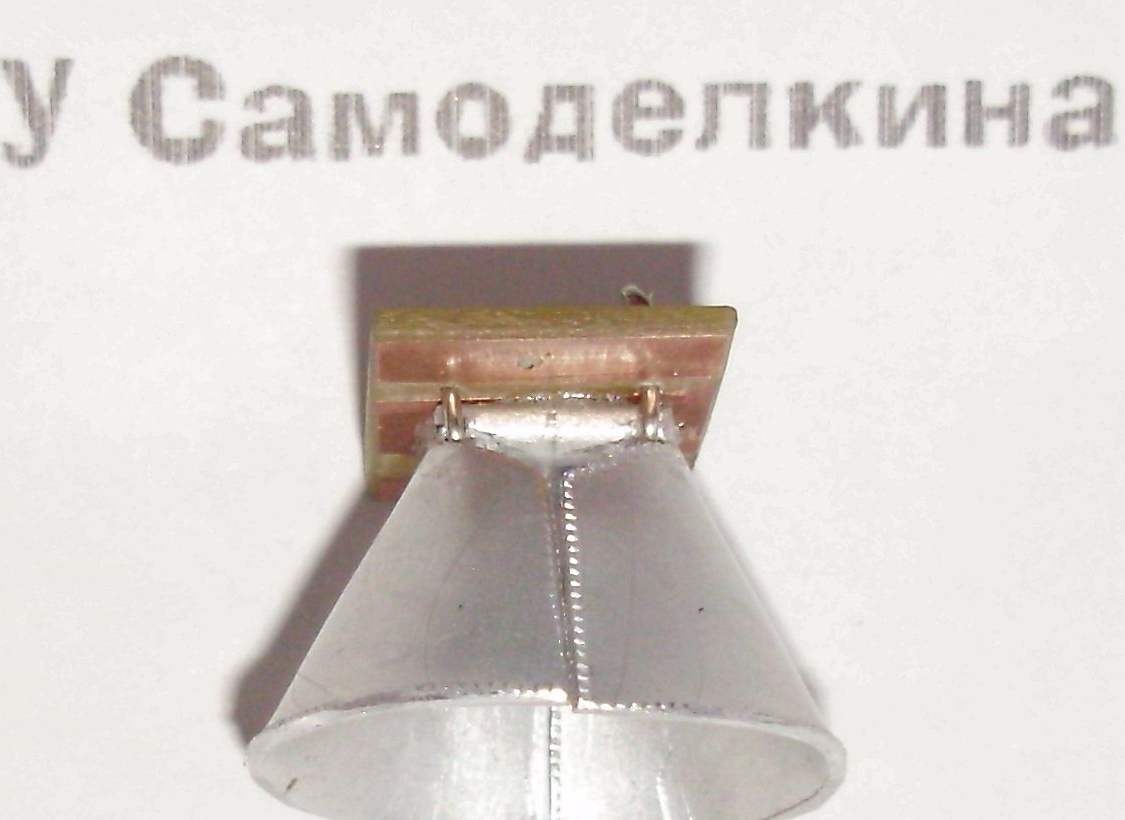
Bend the reflector carefully so as not to scratch the reflective surface with the tool. After all these procedures, we get the following:
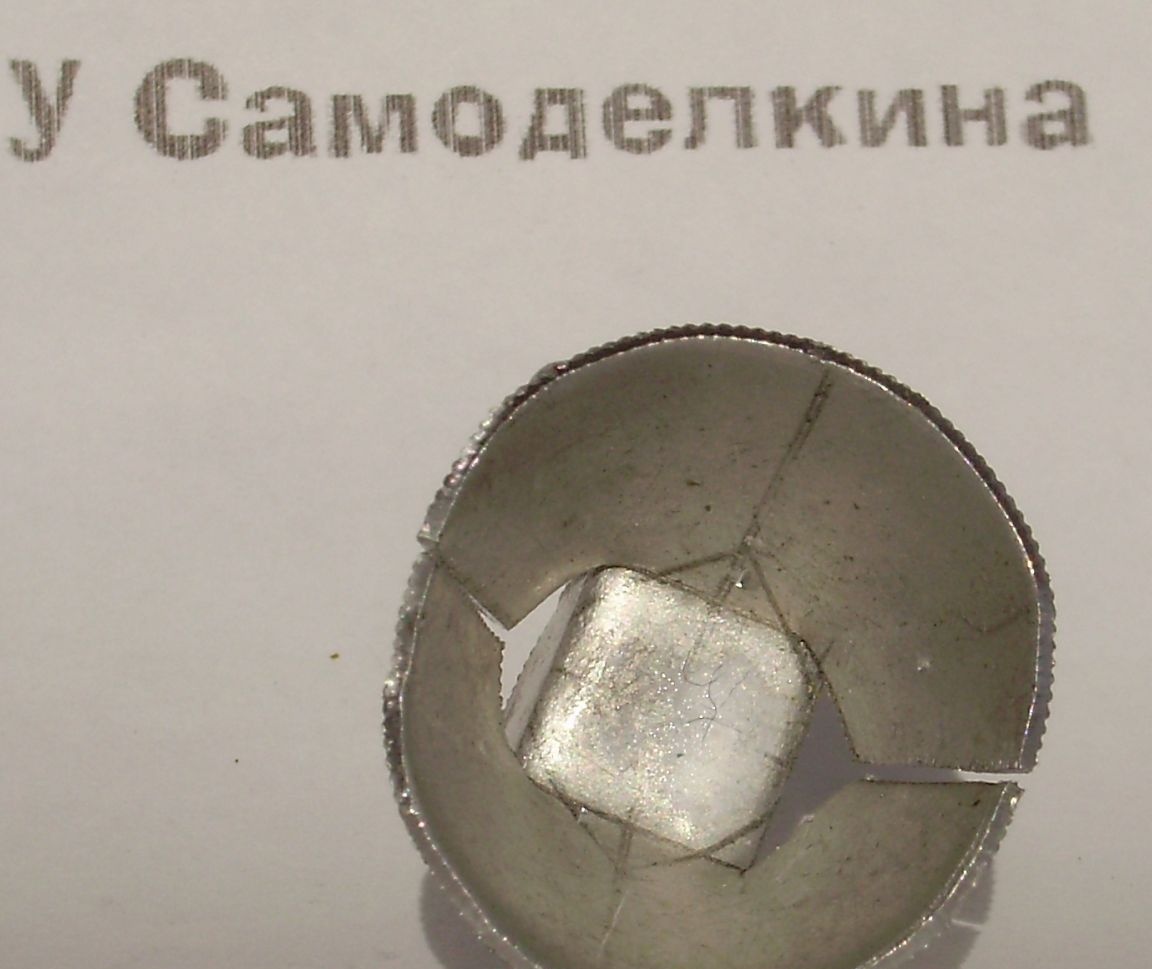
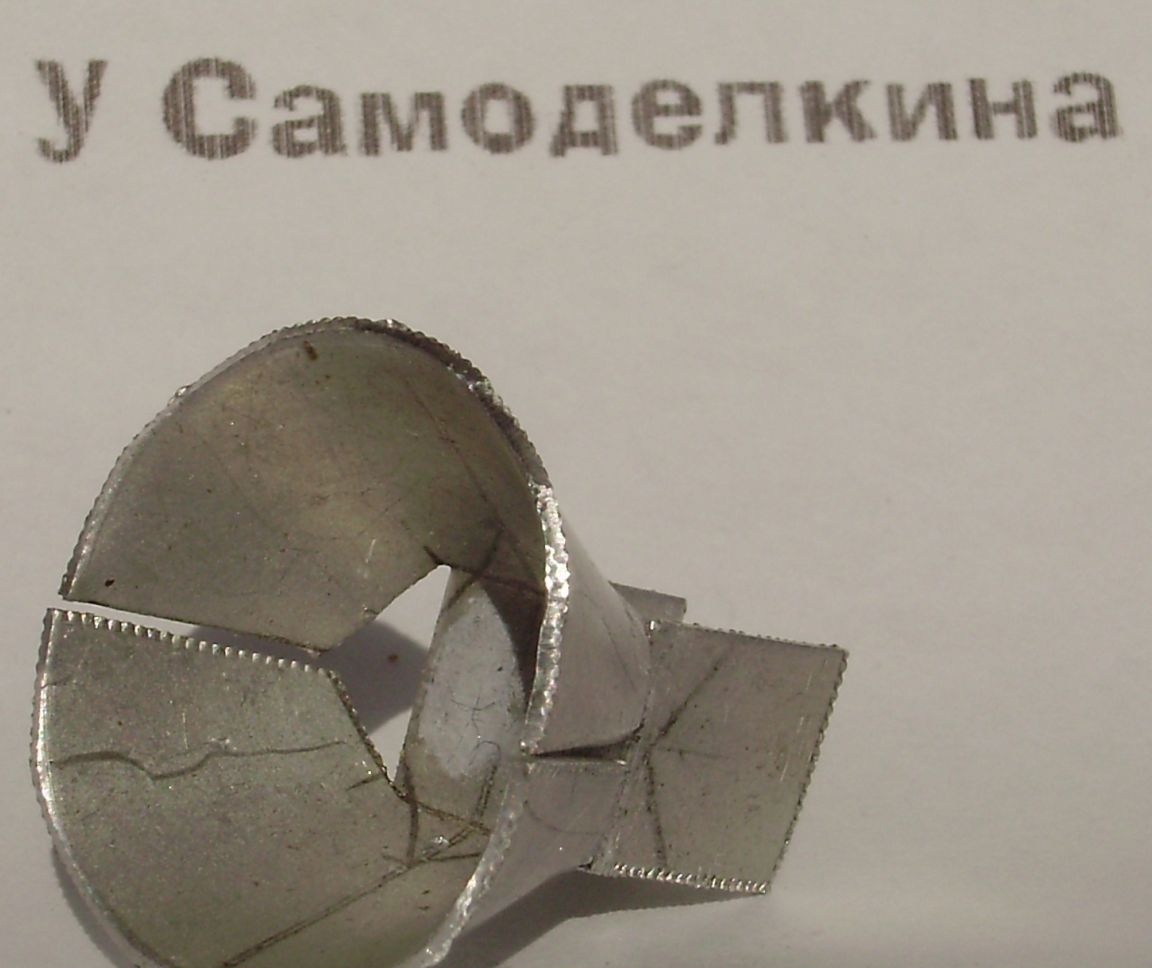
Still at the workpiece were “ears” - two rectangular stripes. You can cut them off only after the reflector is bent. Or they can be bent under the LED, as shown below:
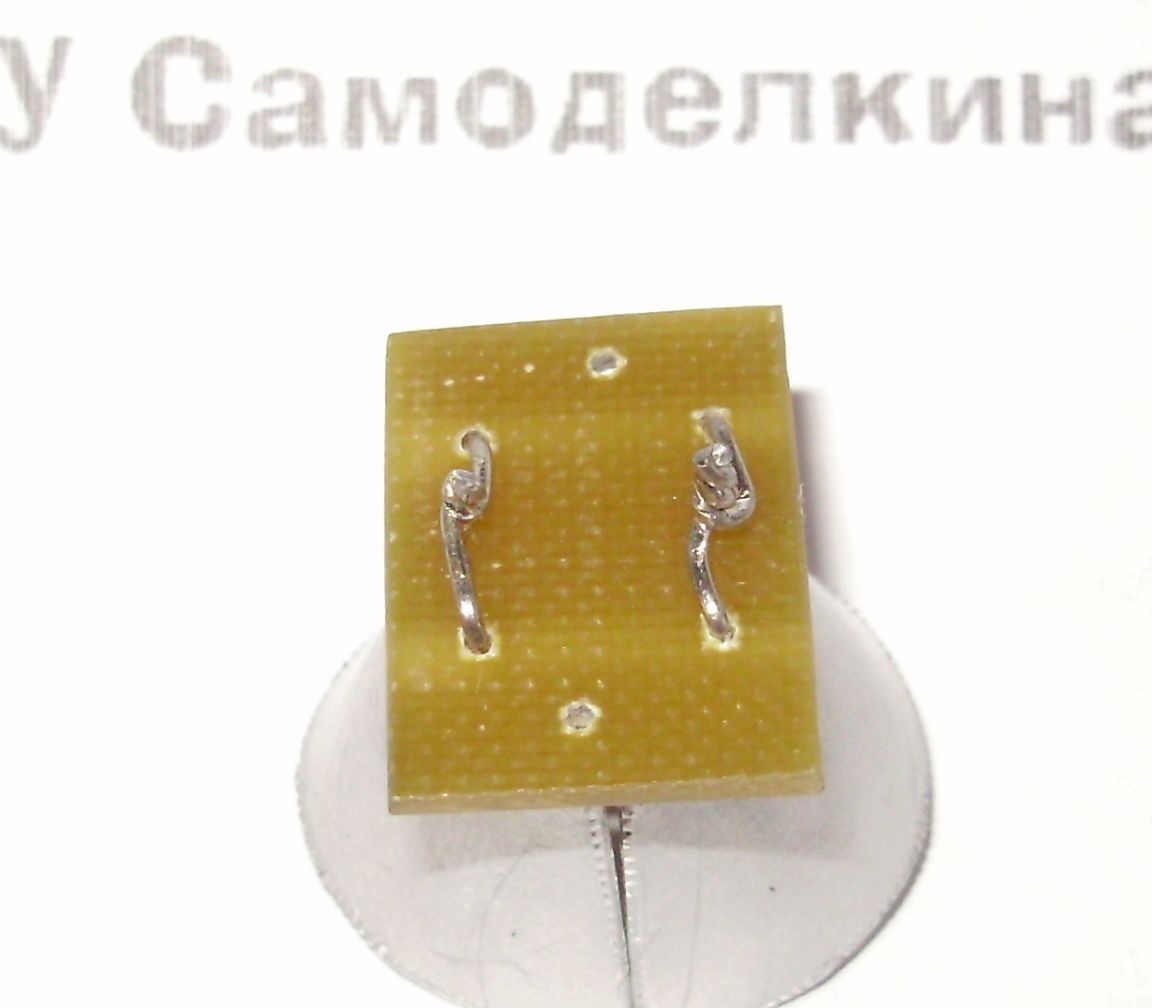
Next, part No. 2 is cut out - a rectangular contact pad from a single-layer foil textolite. It is exactly the same as in the previous version of the reflector. Its dimensions are 20x15 millimeters; 4 holes with a diameter of 1 mm are drilled under it for fastening and two holes for wires. Excess copper is removed with a knife or with a file. Contact pads will not be superfluous to tin.
After that, the reflector and the textolite are glued and twisted together. A paper clip can serve as a twisting wire. The diameter and strength of the material is suitable for her, you just need not to pinch it when twisting otherwise the wire can easily break. In addition, it is easily tinned and soldered. This can be useful for the manufacture of mounting reflector-radiator.
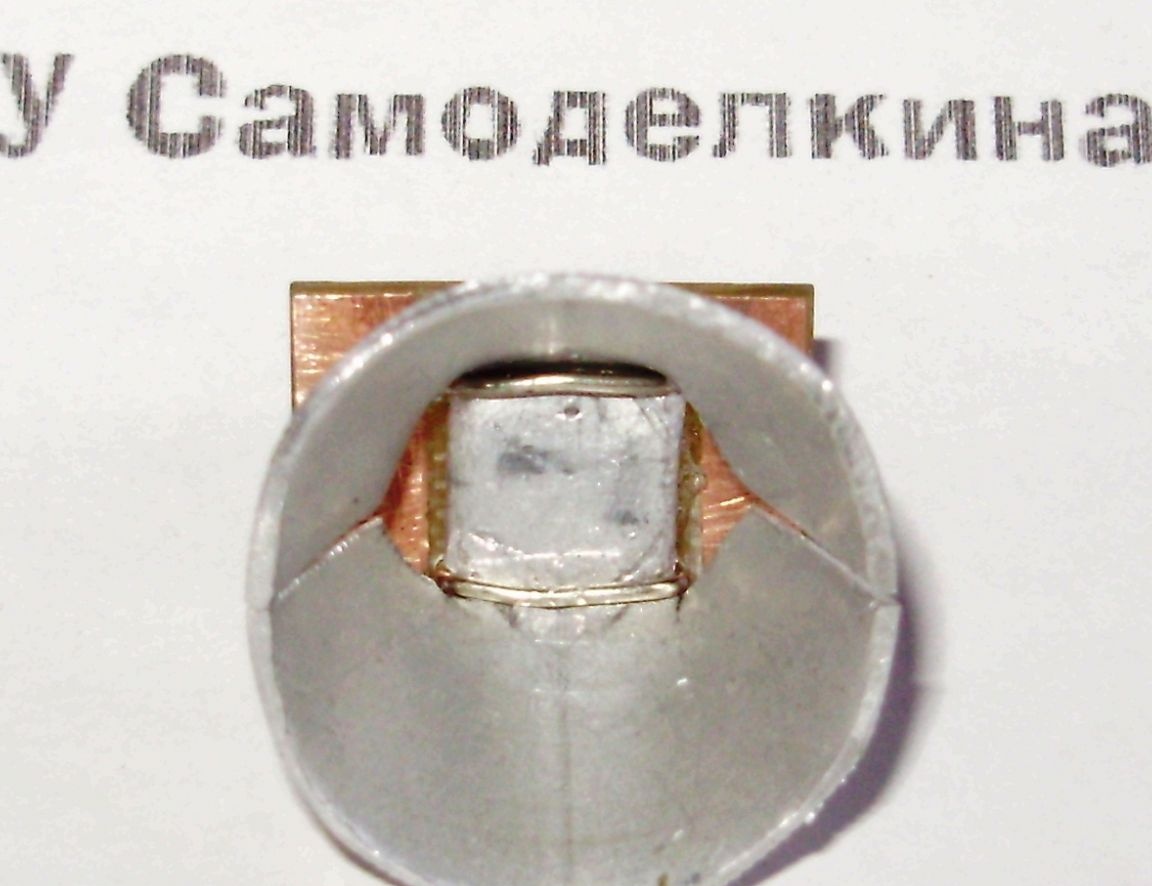
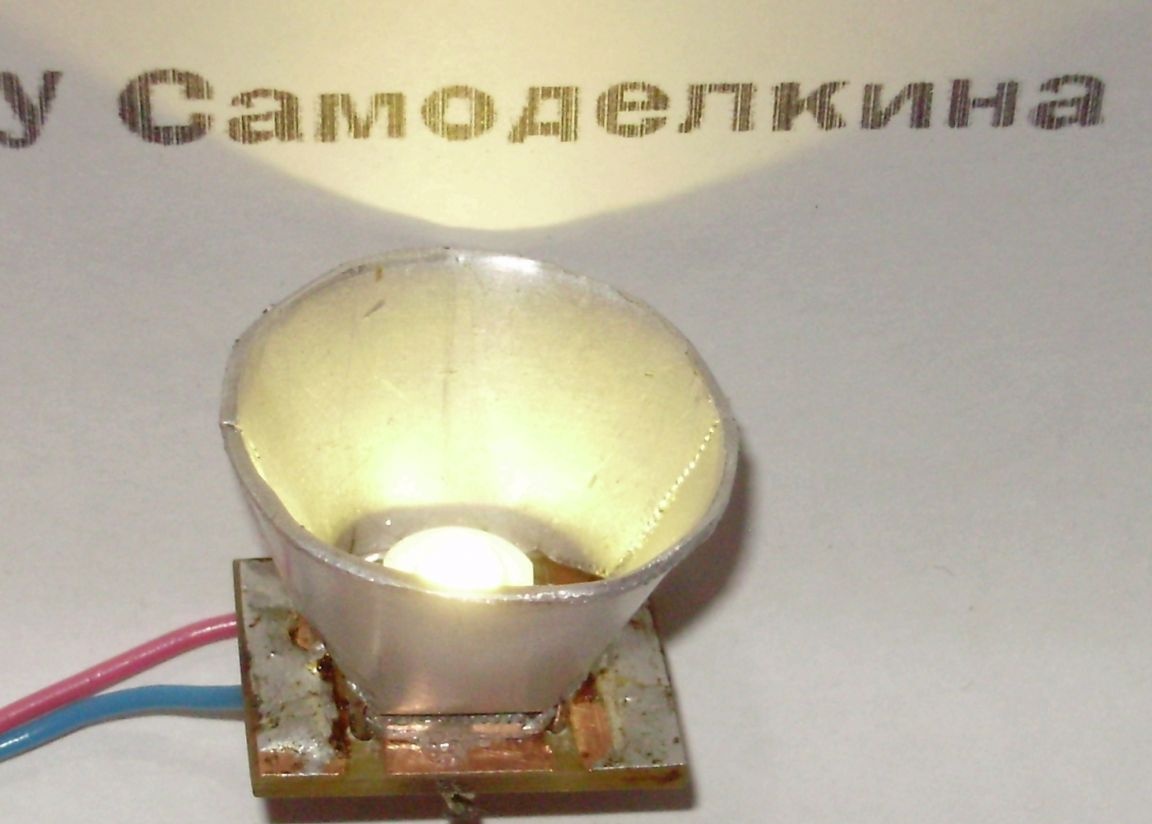
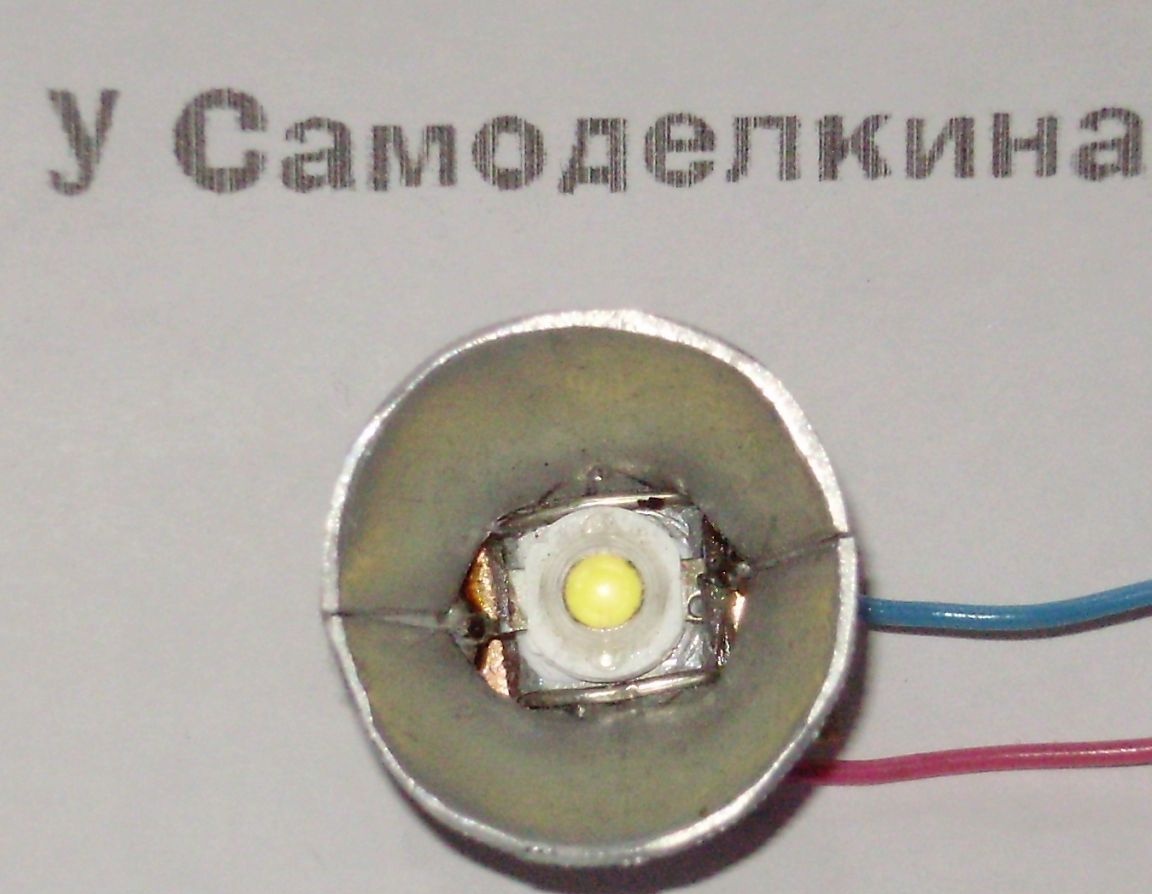
Now you can install the LED. Thermal grease is applied to the radiator at the installation site, an LED sits on it and the leads to the pads are sealed. In this case, it is desirable to press the LED to the radiator. If the “ears” of the radiator were bent, then the findings of the LED will not reach the pads. Then it will help to solder the wire, which is soldered to the contact pad, as shown in the figure.
It is clear that the contacts of the LED should not touch the radiator case.
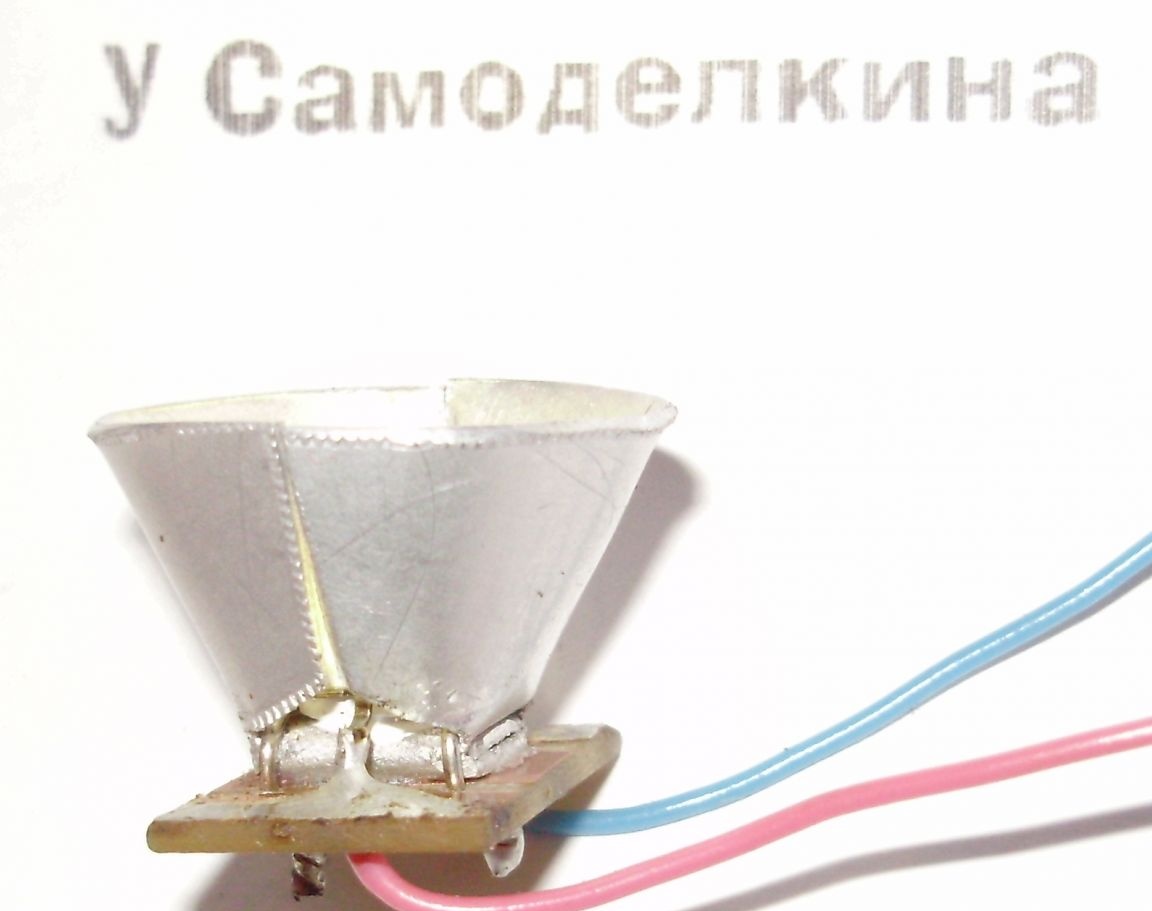
Well, that's all. The final touch is to fix two halves of the cone together. If the radiator material was copper or tin, the halves are simply soldered. If, as in this case, the radiator was made of aluminum, the halves are glued by applying glue on the outside of the reflector. This seemingly trifle is very important, since the strength of the case will now increase significantly.
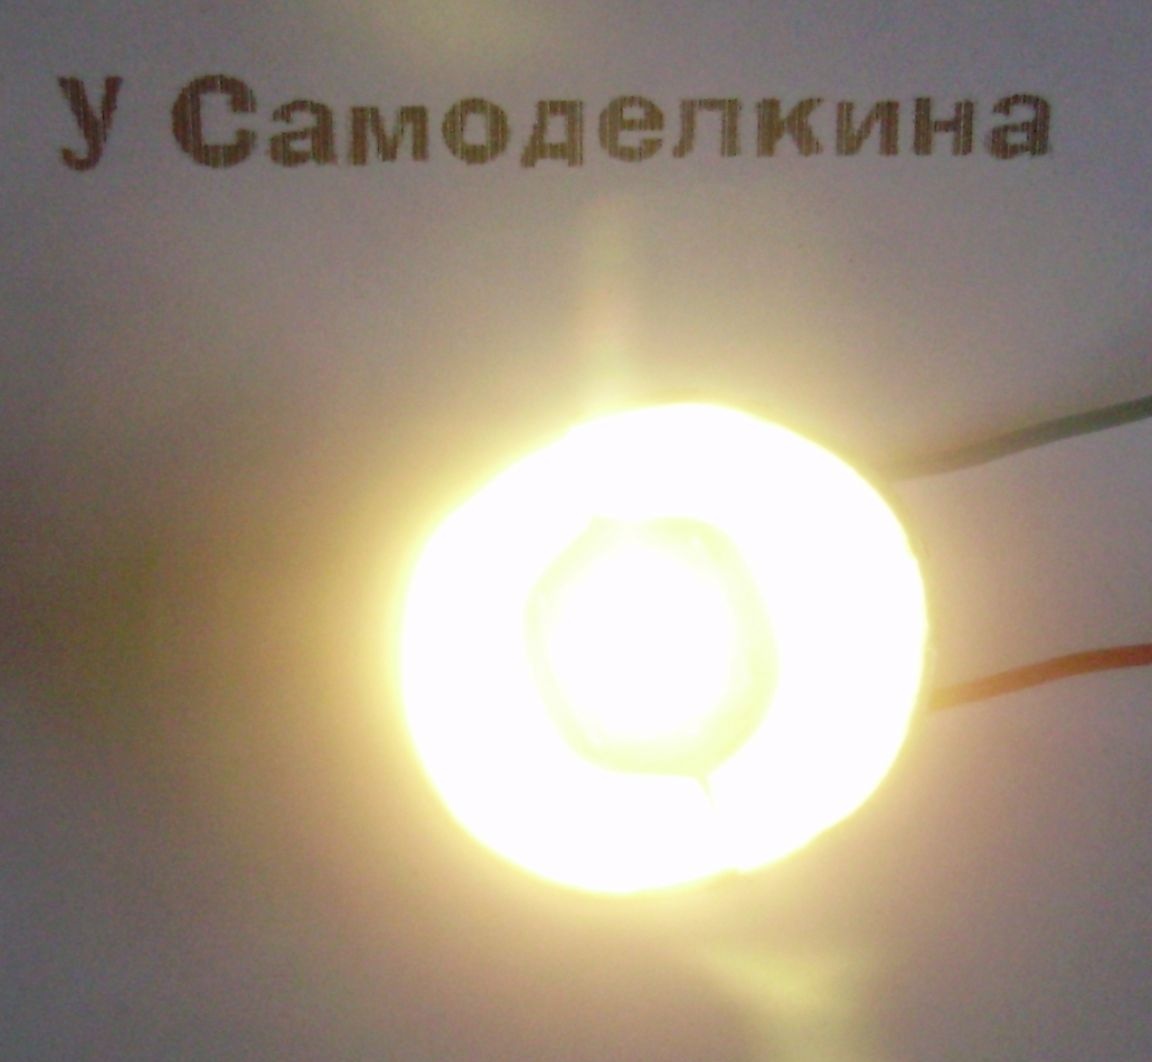
Now we connect (observing the polarity) and enjoy the result. The scope of this design is the most diverse, from desktop mini-lamps and backlights to home-made flashlights