
The source code of the robot is open, so anyone can build it without any problems. This article will detail how to do this. The body of the robot is driven by servomotors, and they work on the basis of special software that the author created. Such a robot is a kind of foundation, a platform for creating such robots.
Materials and tools for manufacturing:
- nylon cable;
- 5x Lynxmotion form brackets;
- 5x brackets for Lynxmotion servos;
- 5x special cast loops;
- hose size 5/16 ";
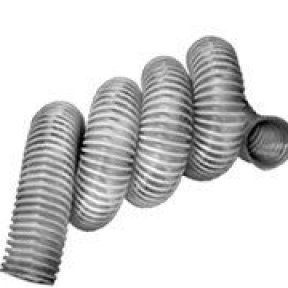
- rolled hose;
- a piece of pipe 5/16 ";
- vacuum gears from 2.5 to 1.25 "(you need two);
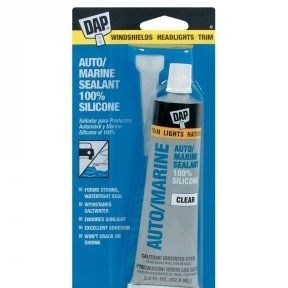
- urethane sealant;
- grease (special marine);
- epoxy sealant (marine);
- O-rings;
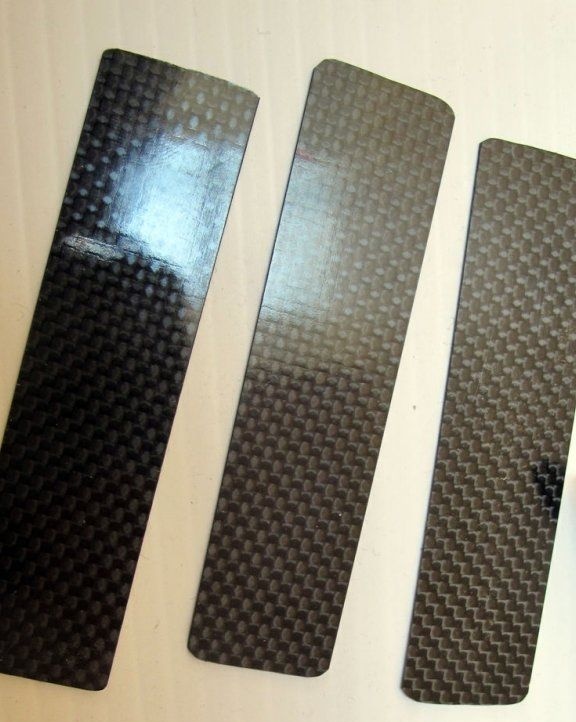
- three pieces of carbon fiber measuring 1/32 ", 1" x12 ";
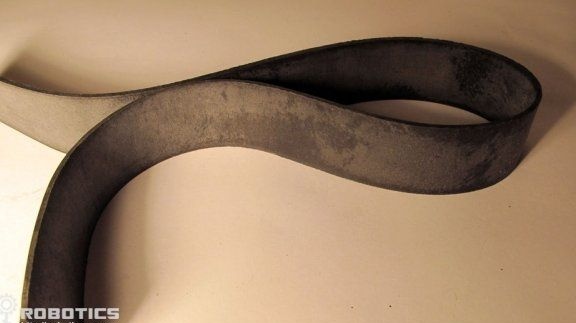
- a piece of rubber with a size of 1/8 "and a thickness of 2" x10 ";
- green elbow.
From electronics you will need:
- servomotors (10 pieces in total);
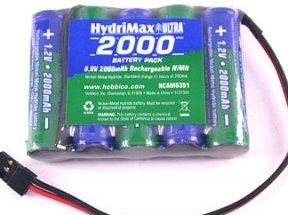
- three batteries type 6V NiMh;
- Arduino UNO;
- Xbee program;
- seeeduino mega board;
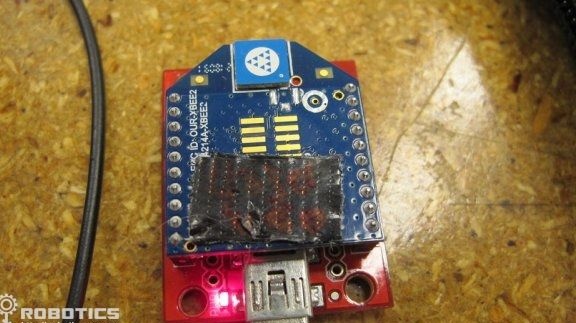
- 2x xbee 1 series;
- xbee board (wireless);
- xbee output: with 2 rows of 10 pin contacts and 2 rows of plug contacts;
- Servo motor extension wire
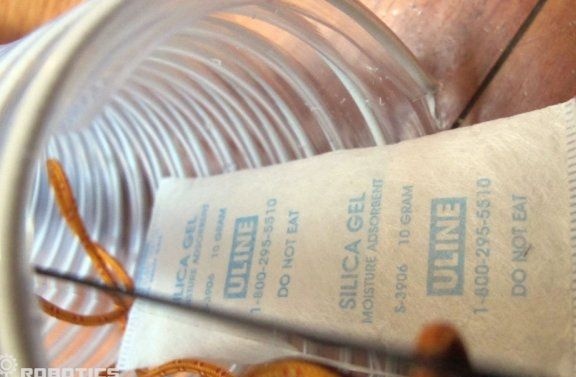
As a supplement, you will need a valve or an inner tube for high pressure, for these purposes it is suitable bicycle pump. Still need a couple packs of silica gel.
Well, of course, to work you need to have a good supply of tools.
Manufacturing process:
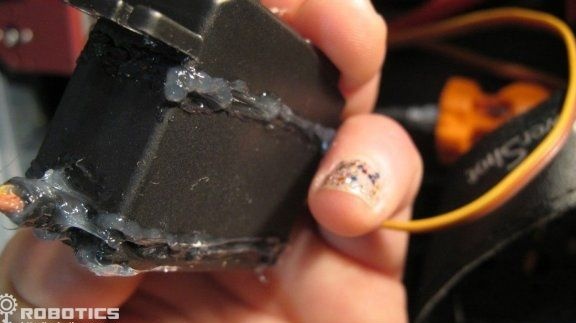
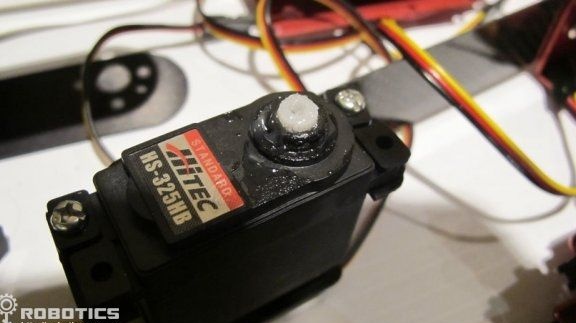
Step one. We seal the servomotor
First of all, servomotors need to be well sealed so that water does not get into them. It is necessary to take marine lubricant and with it thoroughly grease the joints and the exit wires. You also need to coat the places where the screws are.
Then you need to remove the upper part of the servo drive and also thoroughly lubricate everything around the gear shaft.
Step Two Create the main frame
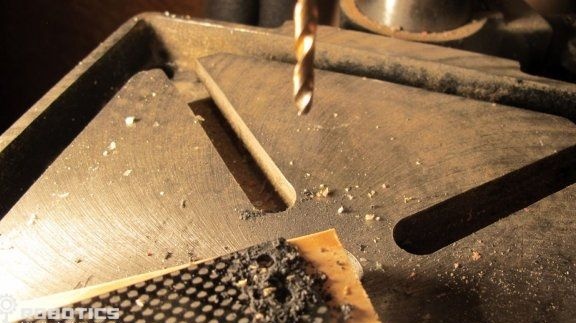
You need to take carbon fiber and use a hacksaw to cut several pieces of 4 inches from it. Rounding off corners is easiest with a dremel.
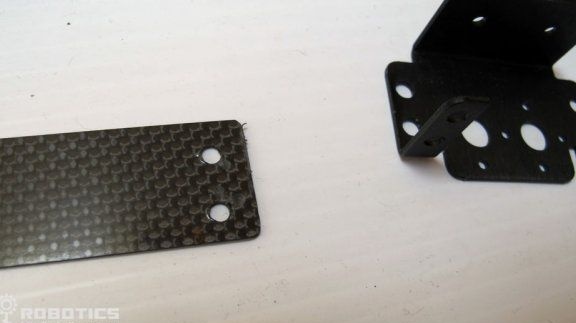
then from each servo you need to take one bracket of 3 inches. Then, two large holes are drilled on carbon fiber.In total, there must be four holes with a diameter of 3 mm in the carbon fiber strip.
Step Three Fasten the brackets
Now the brackets can be fastened to the strips of carbon fiber. They are attached using bots with nuts as indicated in the photo.
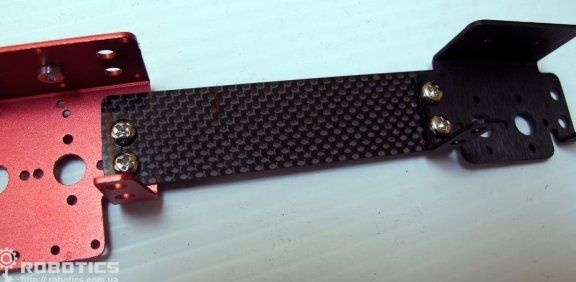
Step Four Setting C brackets
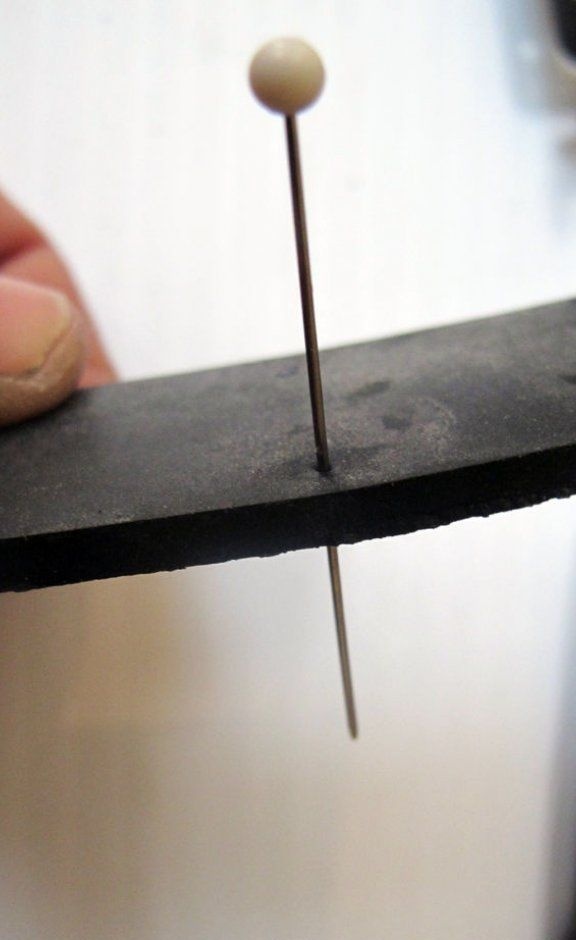
You need to take a C-shaped bracket and cut a piece of rubber suitable for its area. Next, the rubber is applied to the bracket and places of future holes are indicated with a pin. Well, then a drill comes into play. Next, the black bracket is attached to the red using bolts and nuts.
Step Five Installing Servo Drives in Brackets
Included with the servo are rubber rectangular rubber bands. Such gum should be on all four holes of the servo bracket. The flat side of the elastic should be turned outward.
On five servos, cast loops must be installed. Next, the servo is put on a bracket, they are fastened with bolts with nuts 4x40 in size.
Step Six Installation of C-pairs
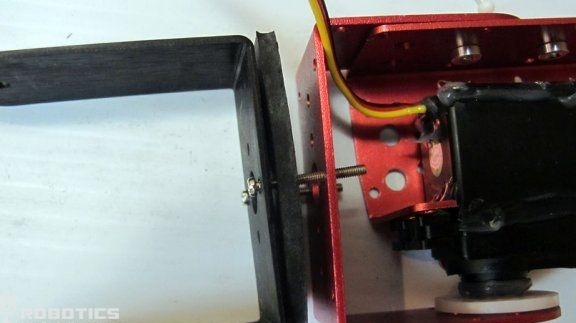
Now the red C-shaped brackets are installed on the red brackets, and black on black.
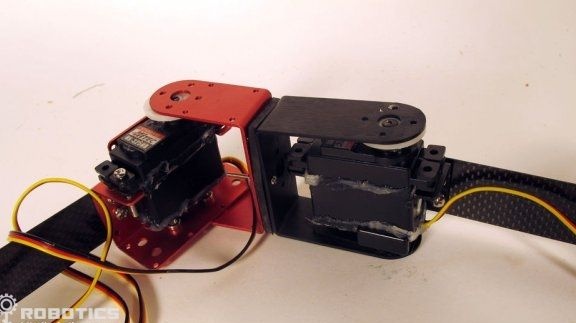
Seventh step. We connect the servo
Next, the horn of the servomotor must be screwed to the bracket. For these purposes, screws are used. After that, the body of the snake will be ready.

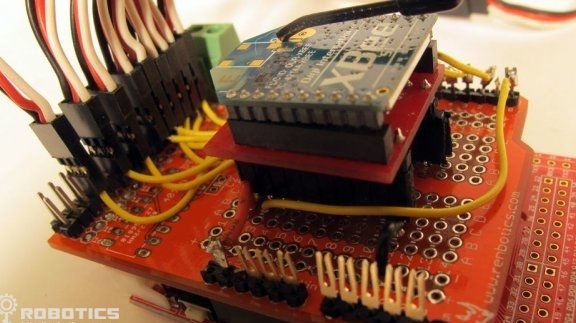
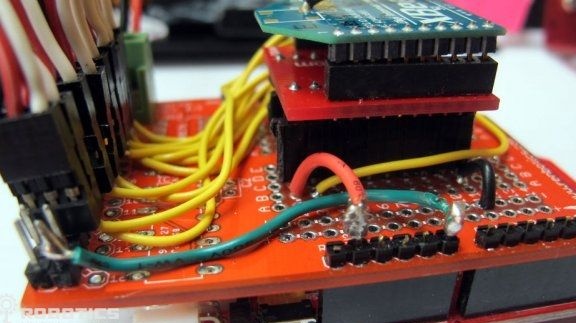
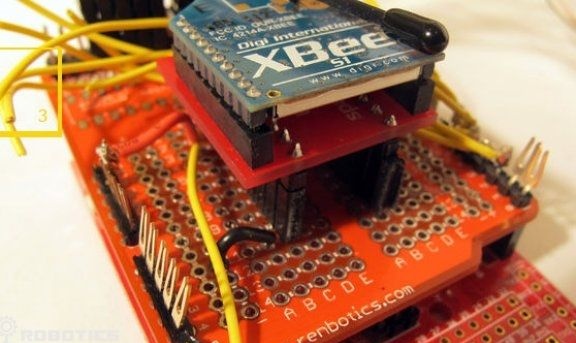
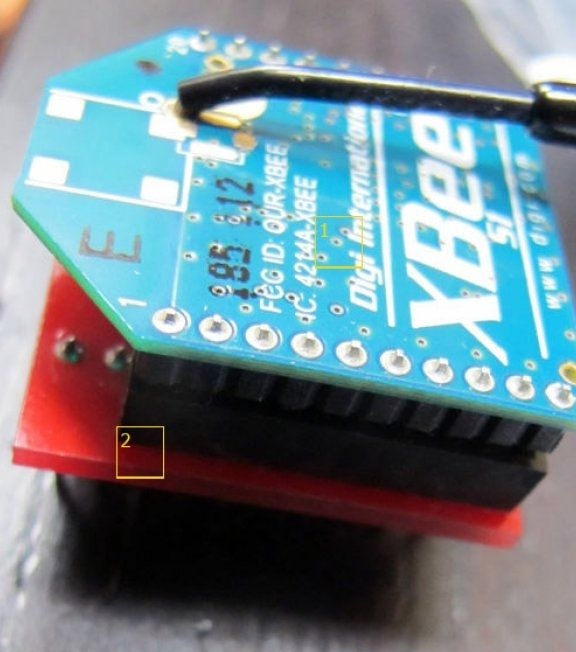
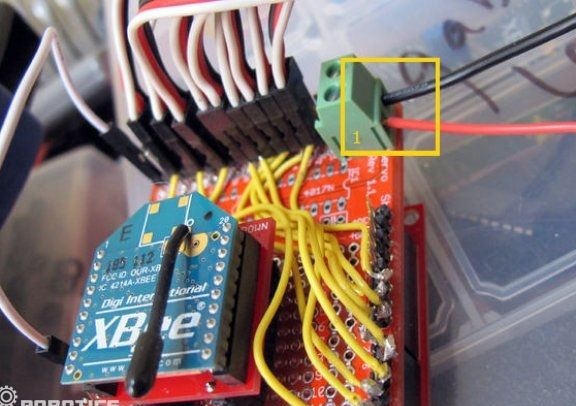
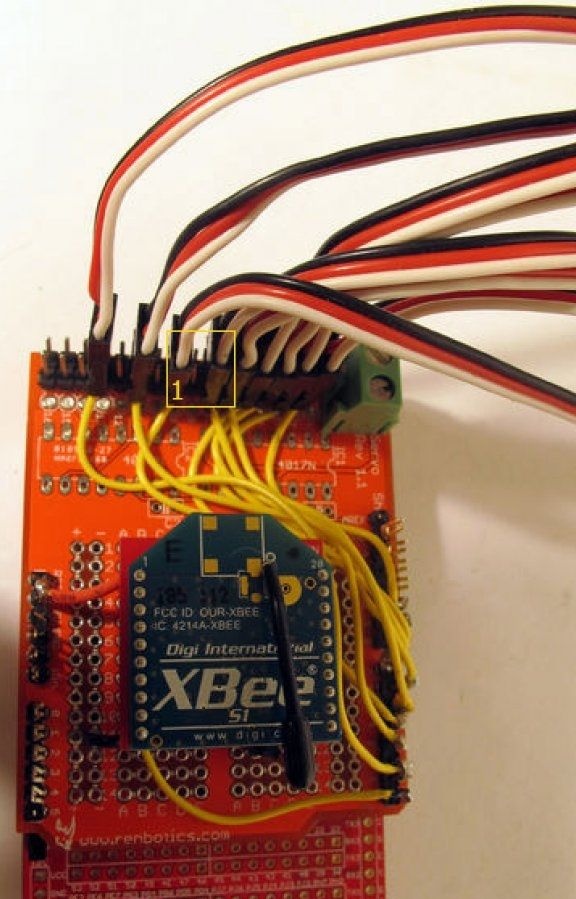
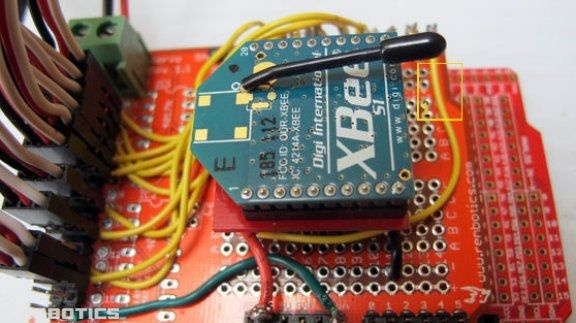
Step Eight. Connection e parts
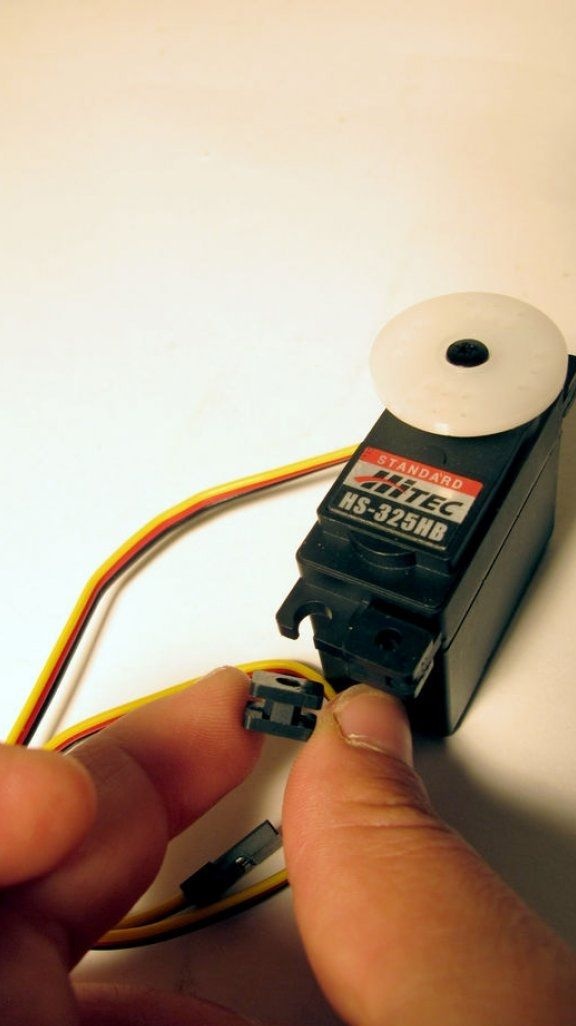
The next step is to connect the electronics. How to do this can be seen in the photo.
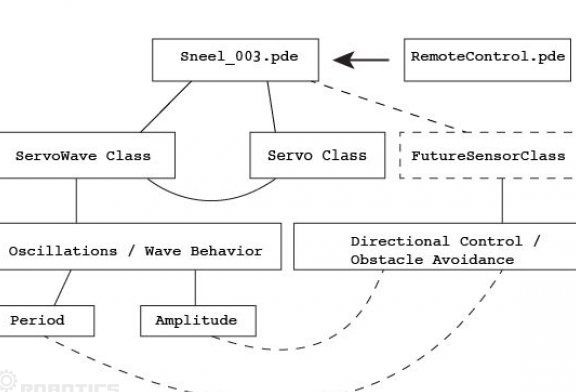
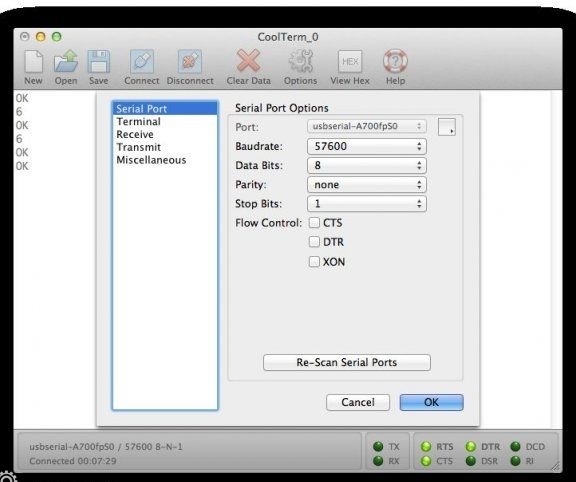
Step Nine. Software download
To install the software, you need to download and install the firmware, which is attached to homemade. The principle of the system can be seen in the diagram.
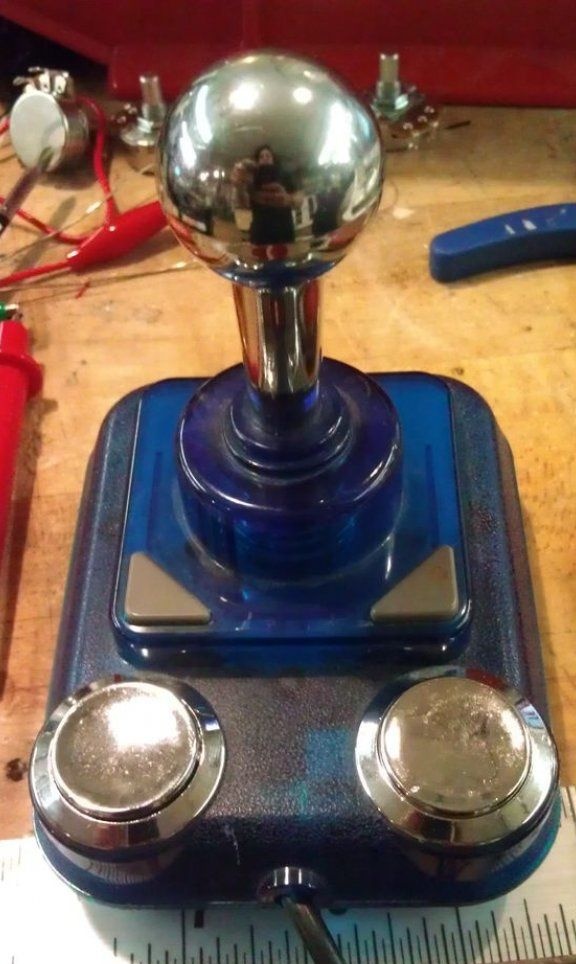
Step Ten Robot control method
To control the robot, you can either make a remote control, or control it using the xbee + computer circuit.
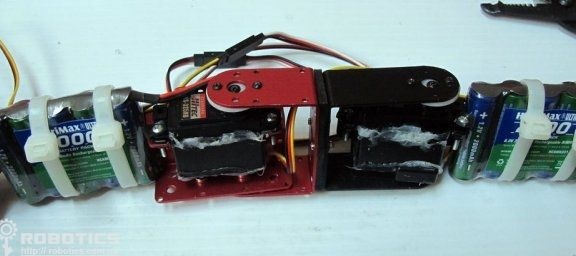
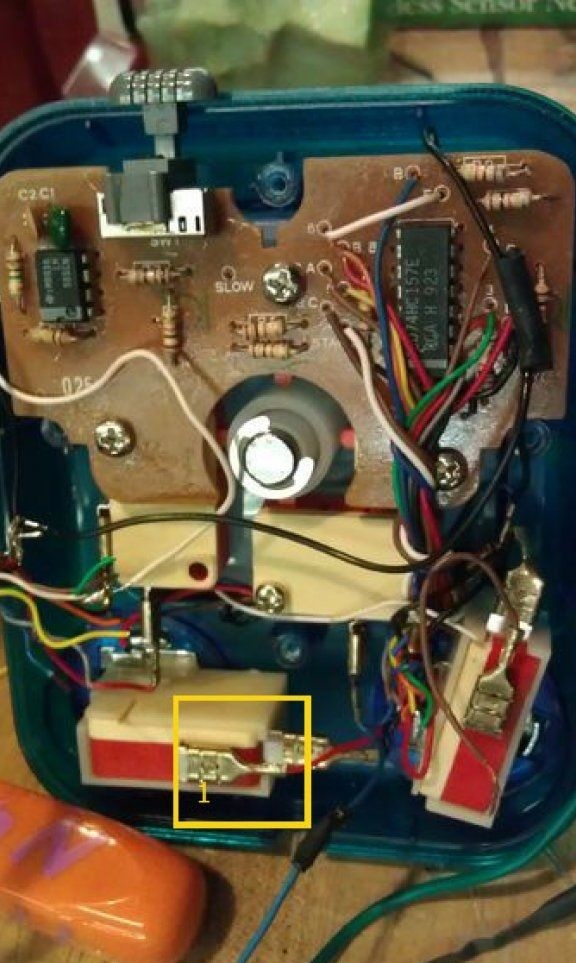
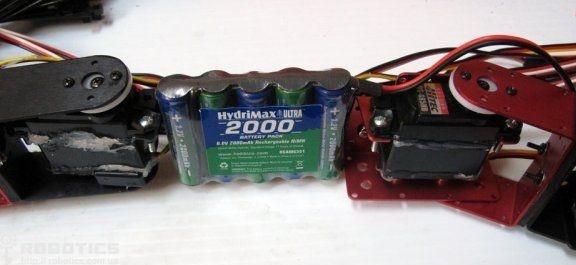
Step eleven. Battery Installation and Connection
Each carbon fiber segment must have 6V / GND batteries. Ties are used to secure the batteries. Also at this stage, you can set the on / off button of the robot.
To seal the covers, they must be well coated with grease.
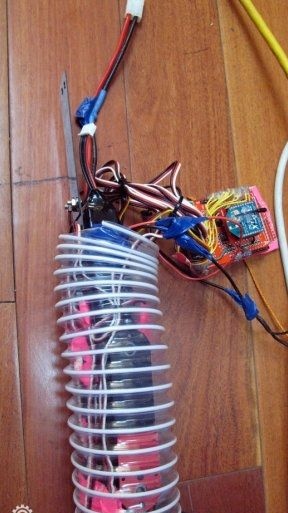
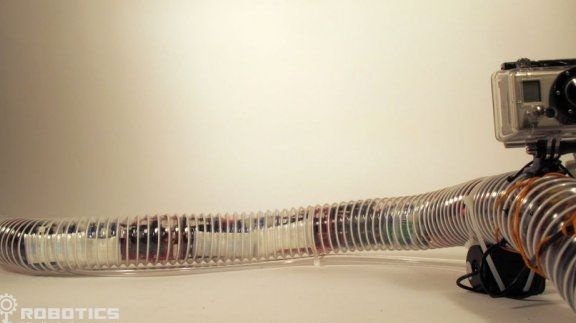
Step Twelve. Put on skin on the robot
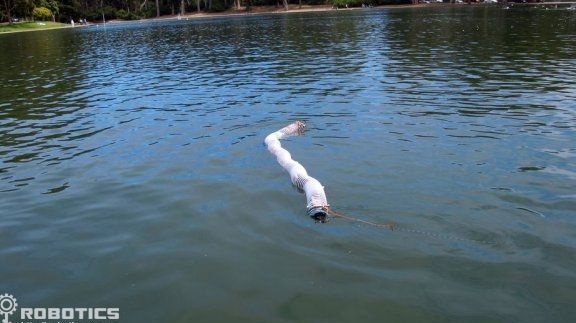
As a body for a robot, a piece of tube is used. Having cut off the desired piece, the entire fabricated structure is inserted into the tube and is well sealed at both ends.
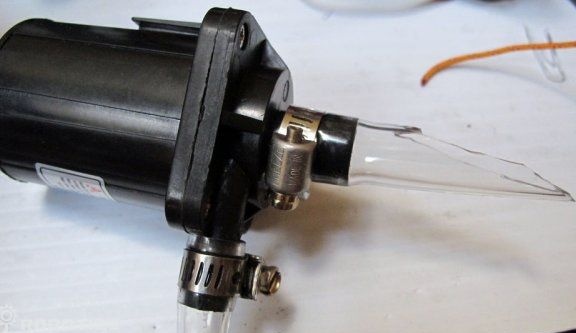
Step Thirteen Water pump installation
At the final stage, you can install a water pump on the robot, it will allow the robot to swim, creating a jet thrust.
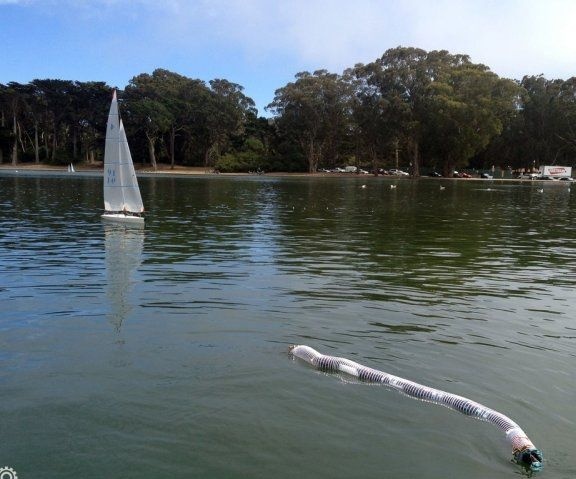
That's all, the robot is created. Now it can be tested in real conditions. Of course, the design of such a homemade product is quite complex and requires quite serious skills in terms of robotics, but the usefulness of such a homemade product is undeniable.
Firmware: