
Materials and tools for manufacturing:
- directly the Arduino platform;
- two motors with gears;
- layout;
- transistor for controlling engines;
- a medium-size breadboard;
- A strip of small size for the main platform;
- IR sensor (to determine the distance);
- one durable ball;
- wire;
- glue;
- wheels;
- rubber bands;
- collectors;
- tape;
- batteries and housing for them.
Of the tools you need a soldering iron, a hacksaw and a screwdriver.
The manufacturing process of the robot:
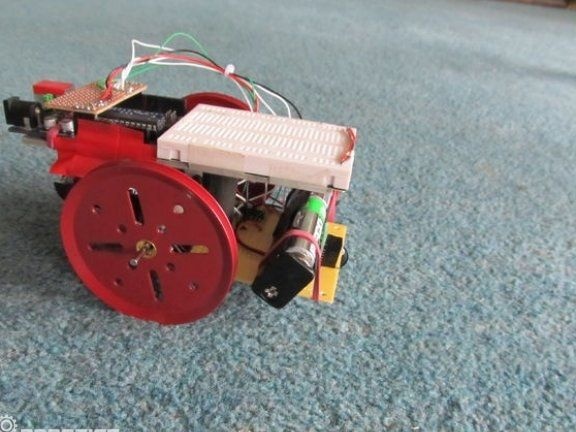
Step one. Chassis manufacturing
Chassis are installed in the place where the engines will be mounted. And fastens, motors will be with glue. To attach the wheels use two angle brackets. Super glue is used to attach them, but it would be more reliable to fix them with bolts and nuts.
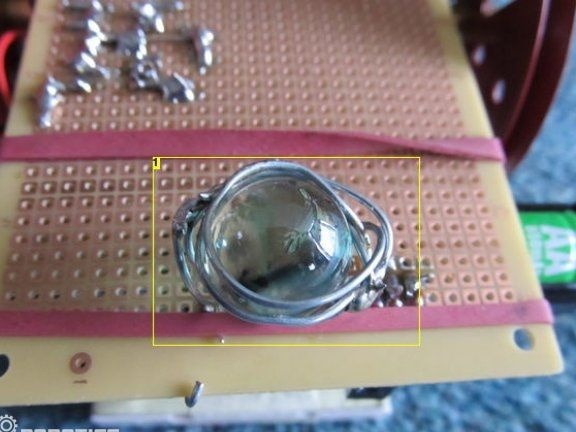
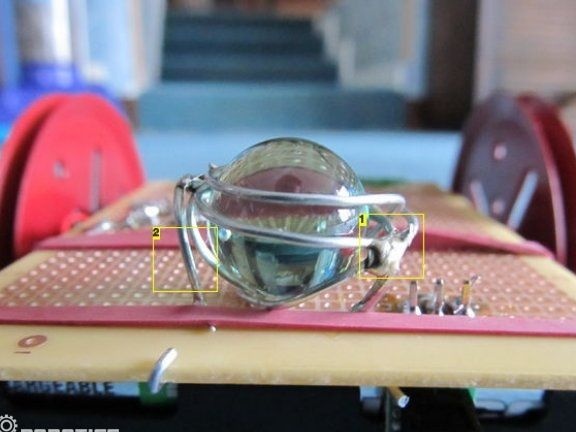
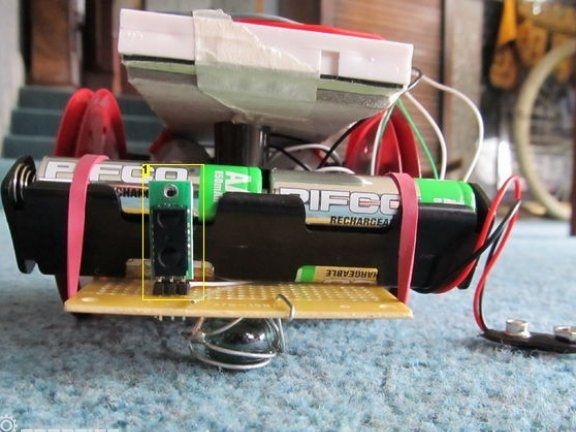
A small marble ball must be wrapped with wires, but its upper part should be free. Two wires are soldered to the breadboard.
Step Two How to make wheels for a robot
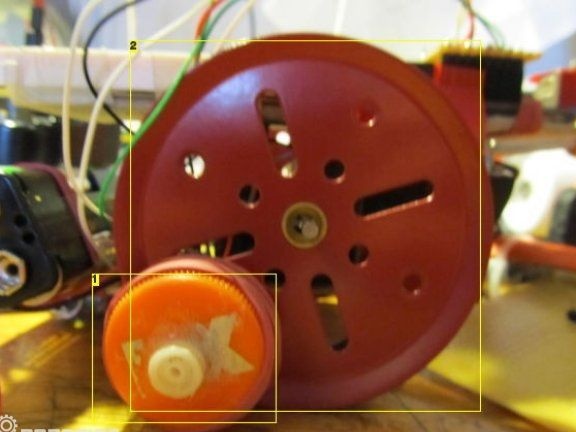
As wheels, any from children's toys of a suitable size will do. If there are none, then the wheels can be made from bottle caps themselves; for this, holes are drilled in their center. It is important that the wheels are well centered, otherwise robot will ride crookedly.
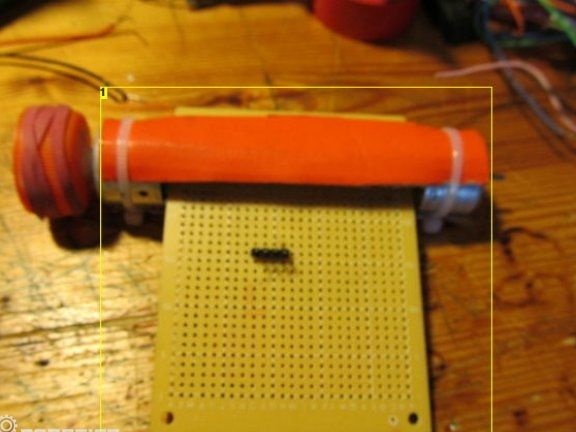
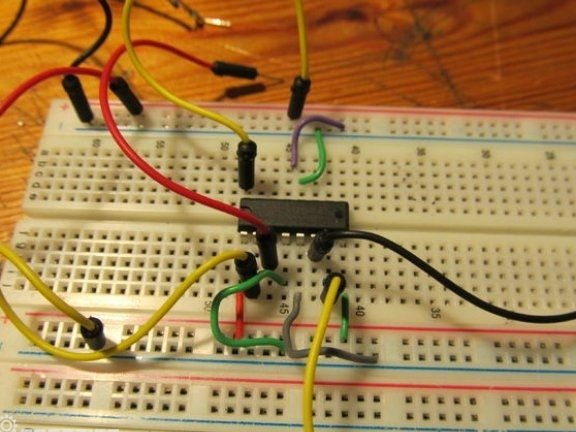
Step Three How the engine works
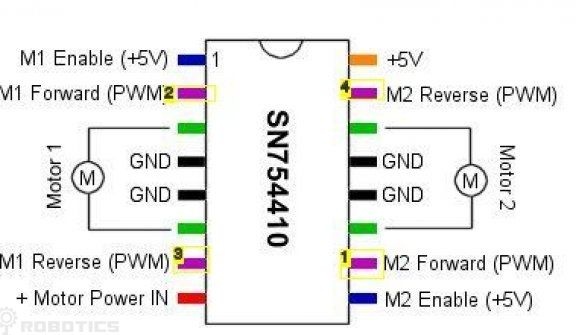
In order to control the engines, the H-Bridge Motor Driver 1A chip - SN754410 is well suited. Thanks to this device, you can control two engines at once, which rotate in different directions. You can learn more about how the engines are connected from the diagram. It happens that from a heavy load the chips start to warm up, this problem is solved by installing a radiator.
Step FourWhy do I need an IR sensor
An IR sensor is needed so that the robot can detect obstacles in front of it. As soon as it occurs, the sensor immediately sends a signal. In order for the IR sensor to work at any time of the day and under any conditions, a red LED is installed on the robot. The sensor connects to the ninth pin of the Arduino. Using other contacts, the robot will be powered.
Step Five Robot brain device
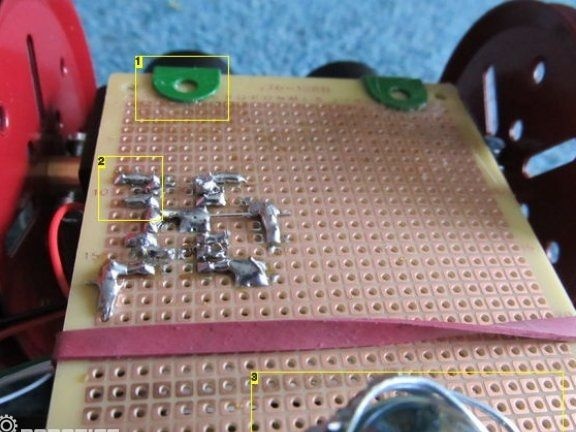
The freeduino platform is used to control the robot, it is nothing more than a clone of the Ardunio platform. In addition, you can use the training type picaxe platform or any other microcontroller. First, for Arduino you need to make the main layout, for this you need to draw a line through the entire breadboard. It should cover contacts from 8 to 13, as well as the first four contacts in the bottom row.
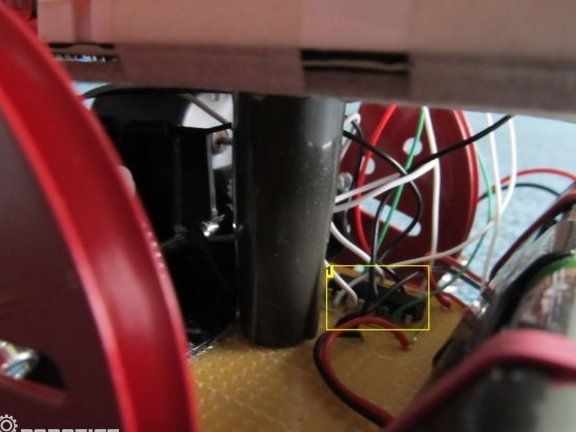
Four AA batteries are used as power for the robot; they are soldered to the main board by polarities.
The H-bridge chip has four outputs for controlling engines. With it, you can adjust the speed of rotation of the engines.
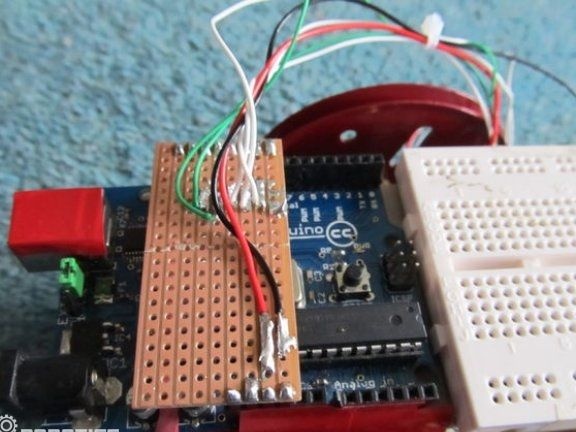
Step Six Creating a layout for the robot
The layout is not necessary when creating such a robot, it is needed only if some experiments and improvements are constantly being carried out with the robot. To create a layout, a plastic tube is taken, which is glued to the robot board. On the other side is the cardboard pad on which the Arduino is installed.

Seventh step. Robot Power
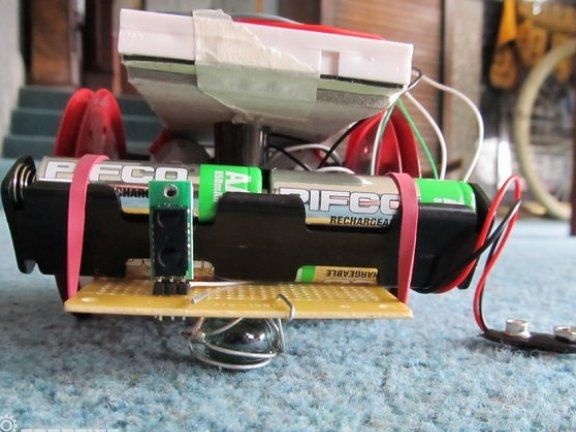
The robot works thanks to four AA batteries, thanks to which Ardunio is powered by a little more than 5V. To make the batteries easier to change, they can be installed in a special holder. Such a holder can be removed from children's toys, radios and other equipment. The weight of the batteries here is of strategic importance, since it plays the role of a counterweight to the engines. If used with a lithium polymer battery, they may not be heavy enough. In this case, the weight on the side of the batteries will need to be added.
On this homemade can be considered complete. Of course, there are many more ways in which the robot can be improved. For example, you can add another distance sensor and two photoresistors, thanks to this the robot will be able to ride along a line or behind a light source. You can also equip a robot with your hands so that he can take objects. Well, or as an option, from such a robot it is quite possible to make a robot vacuum cleaner.
Firmware: