What is capacitor capacitance?
For those who do not know, capacity is called such electronic a component that is capable of storing energy. It is to such electronic components that the capacitor relates. The design of the capacitor is very simple, these are metal plates between which there is a dielectric. Energy is stored in the form of a magnetic field that is held between two capacitor plates. Well, the distance between the plates and their area determine the power of the capacitor and its performance.
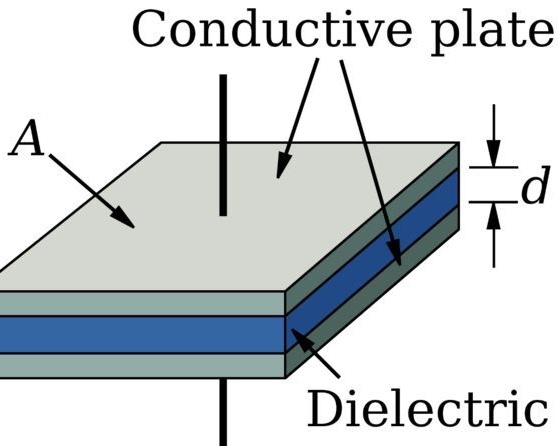
The formula by which to find the capacitance of a capacitor is expressed as follows: C = (εA) / d.
ε here means the magnetic permeability of the dielectric, A denotes the overlap area between the plates, well, and d is the distance between the plates.
Materials and tools for manufacturing homemade:
- you will need an Ardunio microcontroller;
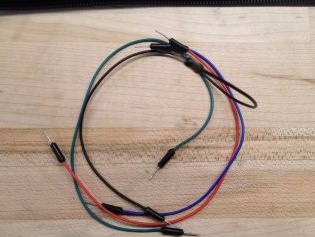
- jumpers made of wire;
- circuit board;
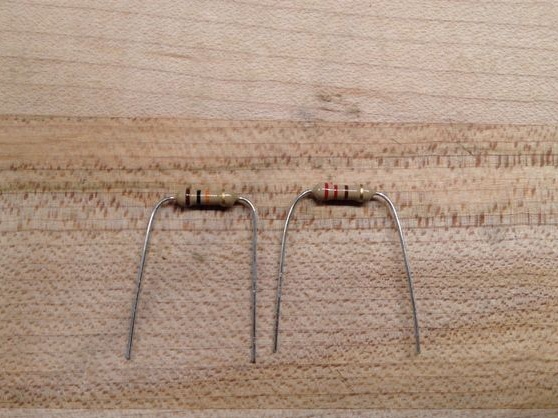
- 10 kΩ resistor;
- resistor at 220 Ω;
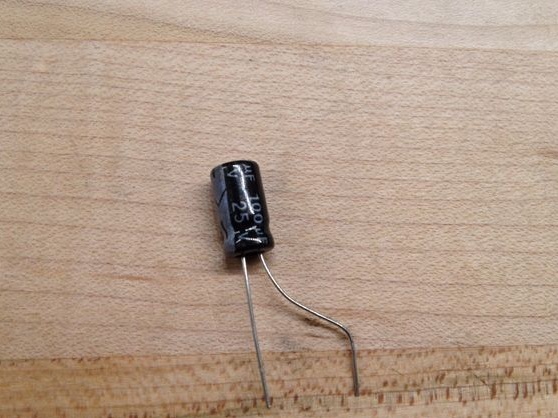
- a capacitor whose capacitance is to be measured.
Instrument manufacturing process:
Step one. Scheme by which capacitor capacitance can be measured
How capacitor capacitance is measured can be seen in the graph.
The voltage of the capacitor during the charge is indicated by a red line under the letter A.
When the capacitor is discharged, the voltage drops, this can be seen in the graph of the green line marked with the letter B.
A chain of resistor and capacitor is denoted as T (or Tau), also known as RC temporary constant. Equality is indicated as: T = RC.
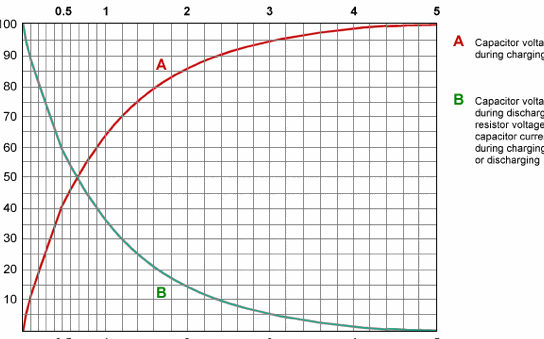
As can be noted, the voltage of the capacitor, the speed of its charging or discharging is measured in time. That is, the longer the capacitor is charged and then discharged, the greater its capacity.Knowing this, we can easily calculate the capacitance of a capacitor. And for these purposes Arduino is the best fit.

Step Two How to connect the circuit
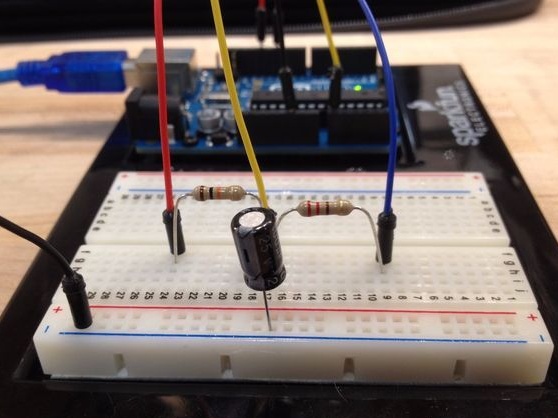
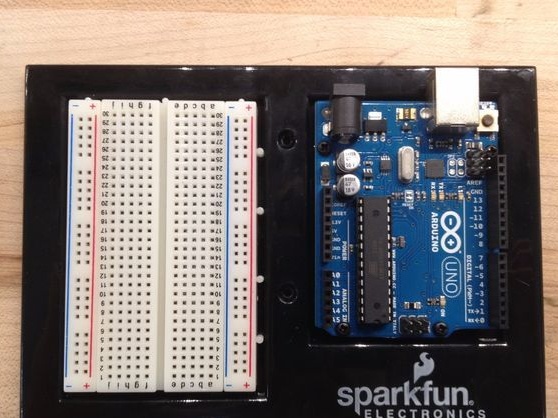
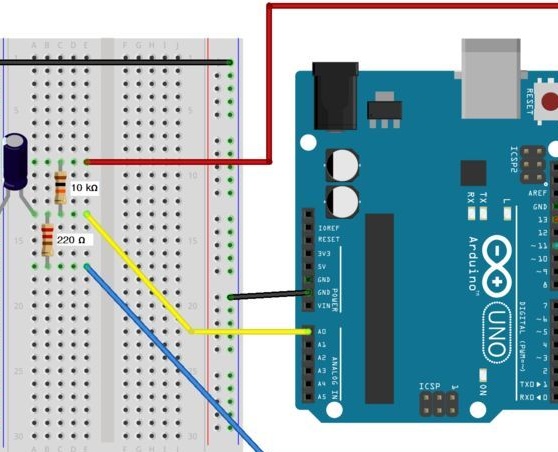
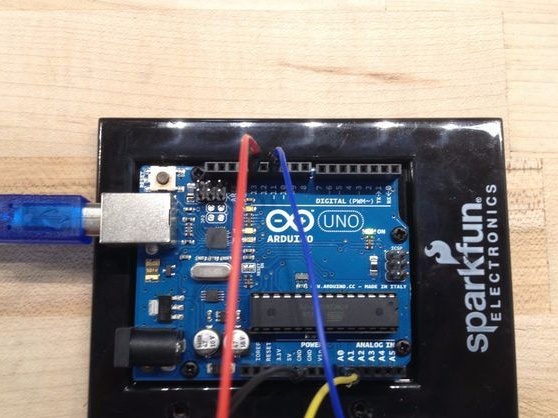
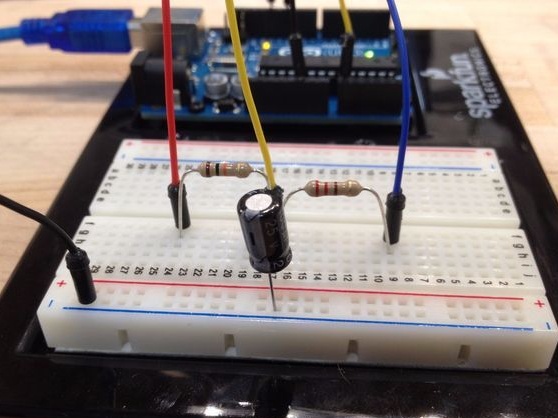
Everything is connected as indicated in the pictures and there is nothing complicated about it. There is one caveat here and it concerns the case if the capacitor will be used electrolytic, such capacitors have a polarity. The minus on such a capacitor is indicated by a gray strip, it must be connected to the ground.
Even in the circuit, you can see the conductor and resistor 220 Ω. In principle, it is not mandatory; it simply speeds up the process of discharging the capacitor.
Step Three Testing capacitor
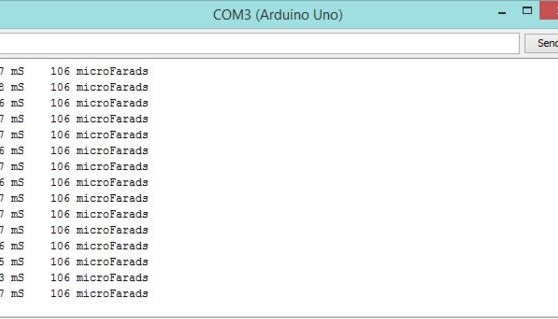
To test the capacitor, it remains to download the firmware. The code is very simple and has many comments, which simplifies the test process. After the code is downloaded, you need to open the Serial Monitor (Tools> Serial Monitor - Tools> Serial Interface Monitor).
The first value here indicates how much time it takes to charge the capacitor to a value of 63.2% of its full capacity.
Since the system will constantly test the capacitor, the numbers may vary slightly, it is best to use some average value.
That's all, the capacitor test system is ready. With it, you can easily check capacitors whose capacitance is in the range from 1 to 3500 μF.
