Good time to you, dear guests and users of the site.
I want to show you a wreath that is made of wood cuts. Maybe someone will come in handy, on this site I did not find this.
To work, we need the following tools:
chainsaw,
Sander,
drill with drills (determine your own diameter)
stationery knife,
not very thick tree trunk.
So, we proceed:
Step 1.
We need a small trunk of any tree and a chainsaw. We start harvesting the saw cuts. To do this, saw off so-called dies at a small angle, with a thickness of not more than 1.5 centimeters. They will form the basis of the future wreath.
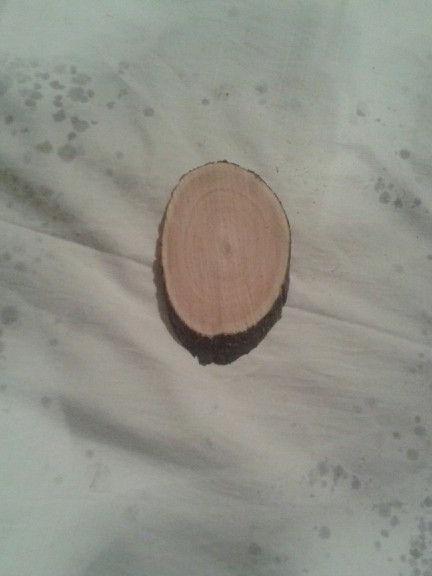
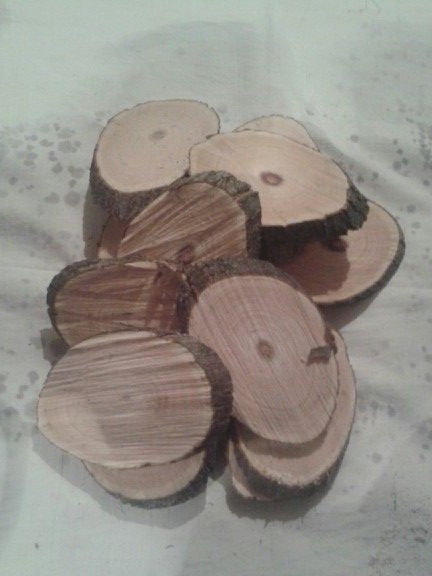
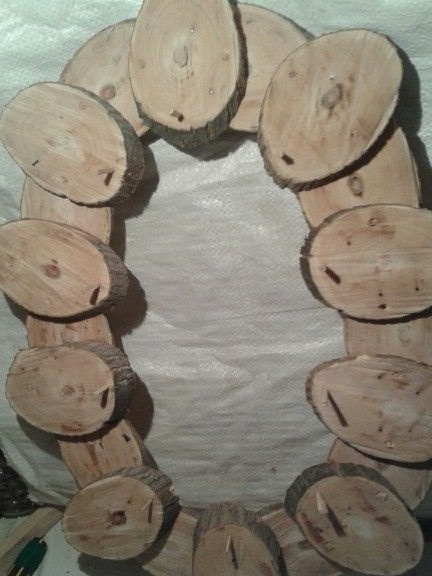
We spread our dies on a flat surface in order to navigate with the size and shape of the wreath. On the first circuit, it took me 10 pieces. As much on the second.
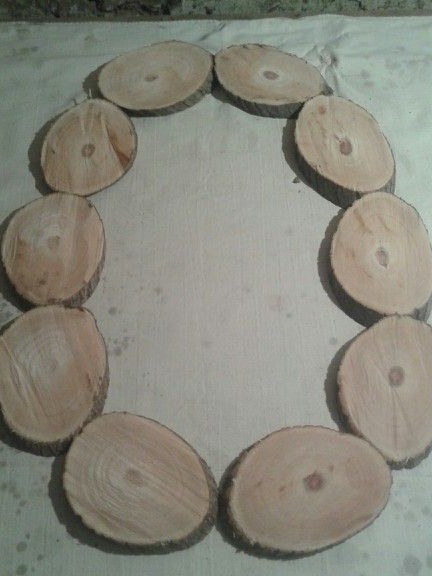
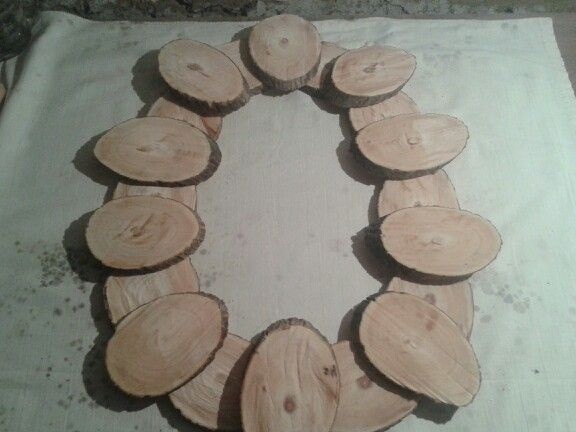
We lay out the second circuit already across the first, covering the joints. For a more beautiful view, we place the second-row dice so that the sections on which the bark is visible are on the inside. Then, when hanging the wreath, they will be clearly visible, respectively, and the appearance of the final product will change for the better.
Step 2
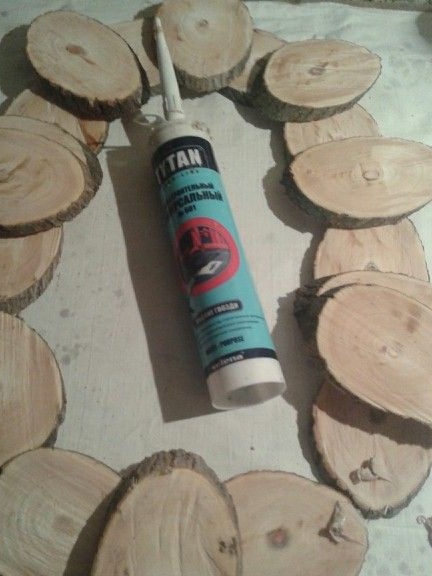
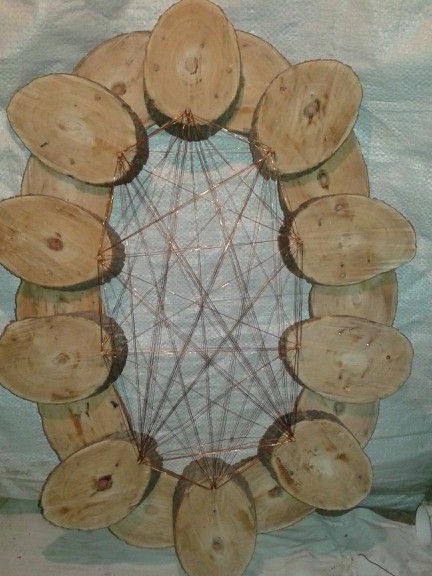
Now we need glue. I used titanium. It holds well glues wood to each other. Since I wanted the wreath to not be too rigidly fixed, I did not nail it over the glue with nails. After it dried, I drilled holes in the dies and with the help of wooden pegs I fastened both rows together. The construction turned out to be playful, but strong, it does not fall apart when suspended.
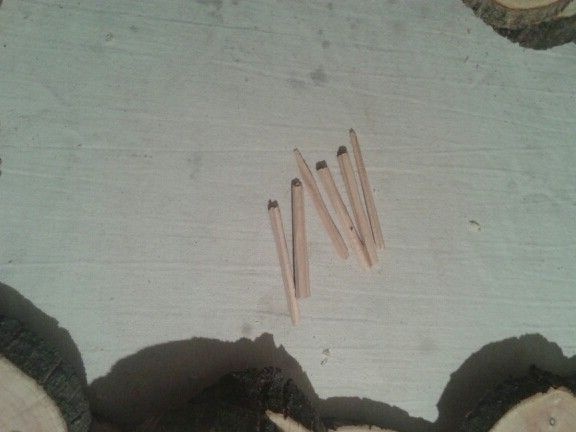
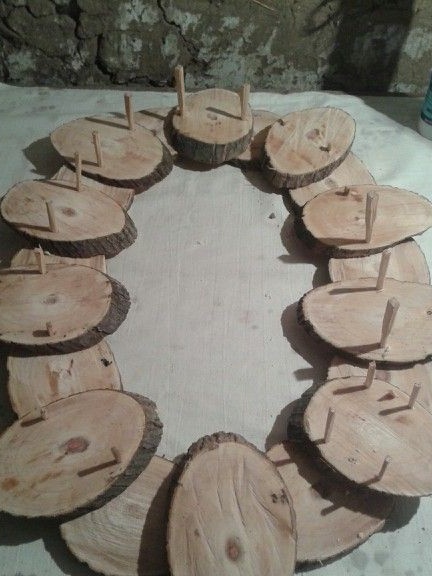
Step 3. After all the actions, I decided that after all the view would not be filled enough, and there would be nothing to fix the jewelry, except on the base. Therefore, by drilling holes on the edges of the dies of the second edge and fixing them with glue, I began the next stage of assembly.
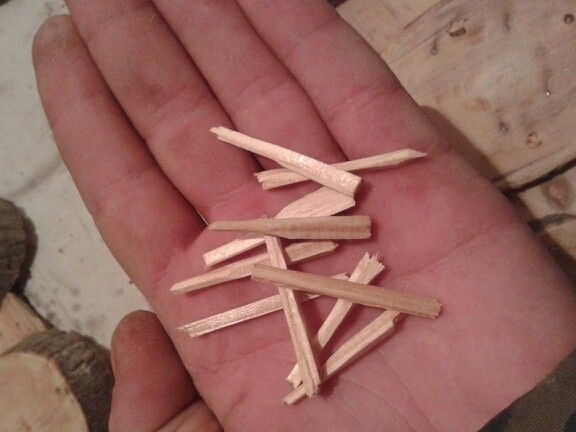
To do this, I needed a thin copper wire that can be easily removed from the old mechanism.
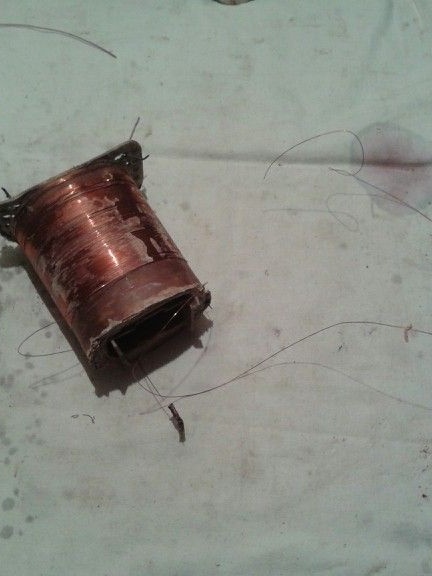
Having fixed the end of the wire on the peg, without breaking away, he began to wind the wire in the inner space of the wreath.
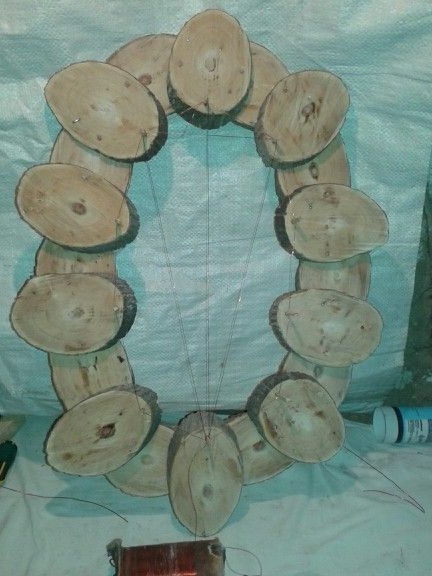
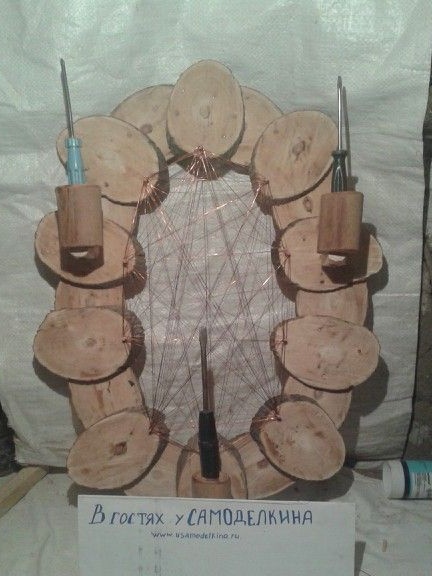
At the same time, I pursued two goals: the wreath is finished, without the usual emptiness inside and the second, various ornaments can be easily and conveniently mounted on this wire. It turned out like this:
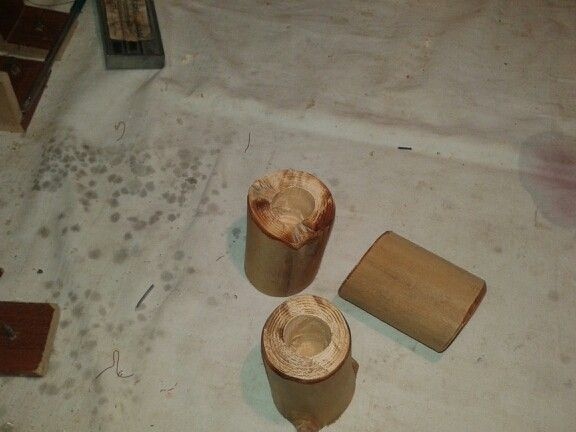
Step 4. Now I want to make candlesticks on the wreath.
To do this, you will need some kind of stick of round diameter, or a thick branch, so that an ordinary candle fits in it. We saw off the length you need and with the help of a drill we drill holes for the diameter of the candle inside the workpiece.
Step 5. Now we make a holder for a candlestick from some rail.
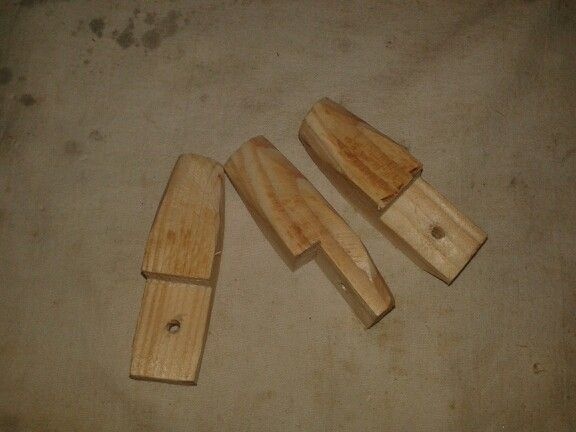
In the holder on one side we drill a hole for a self-tapping screw. This is done for reinsurance. Otherwise, it is likely that the screw will split the holder. On the other hand, we just grind it, make it round.
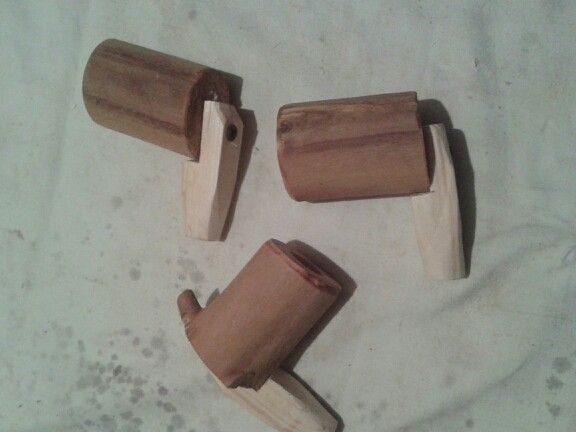
Step 6. In the wreath, in the places you have chosen, with the same drill that you used to drill the holes for the candles, we drill through holes.
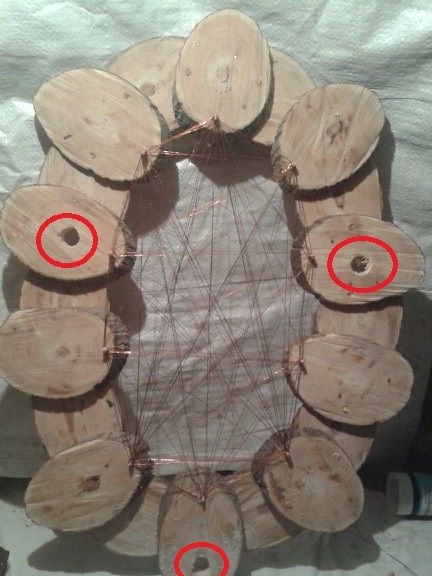
We insert our already assembled candlesticks into them, smearing with glue and holes, and the rounded part of the holder. in general, the assembled form of the wreath looks like this:

There were no candles at that time and we had to insert screwdrivers, since they are exactly equal in diameter to the diameter of the candles. Here is such a wreath-pattern. I did not decorate, as this is a matter of everyone’s taste. Maybe someone will come in handy. All the best.

