

Recently, while sorting out old things in a workshop, I came across a long-forgotten thing - an old kerosene lamp! I decided to reanimate her. But since I did not find kerosene, and I was afraid to pour gas into it, I decided to make an ordinary electric lamp out of it. Moreover, the lamp is completely intact, even the glass lampshade is not broken. Yes, and the design is comfortable.
Therefore, I present to your attention - a lamp from a kerosene lamp.
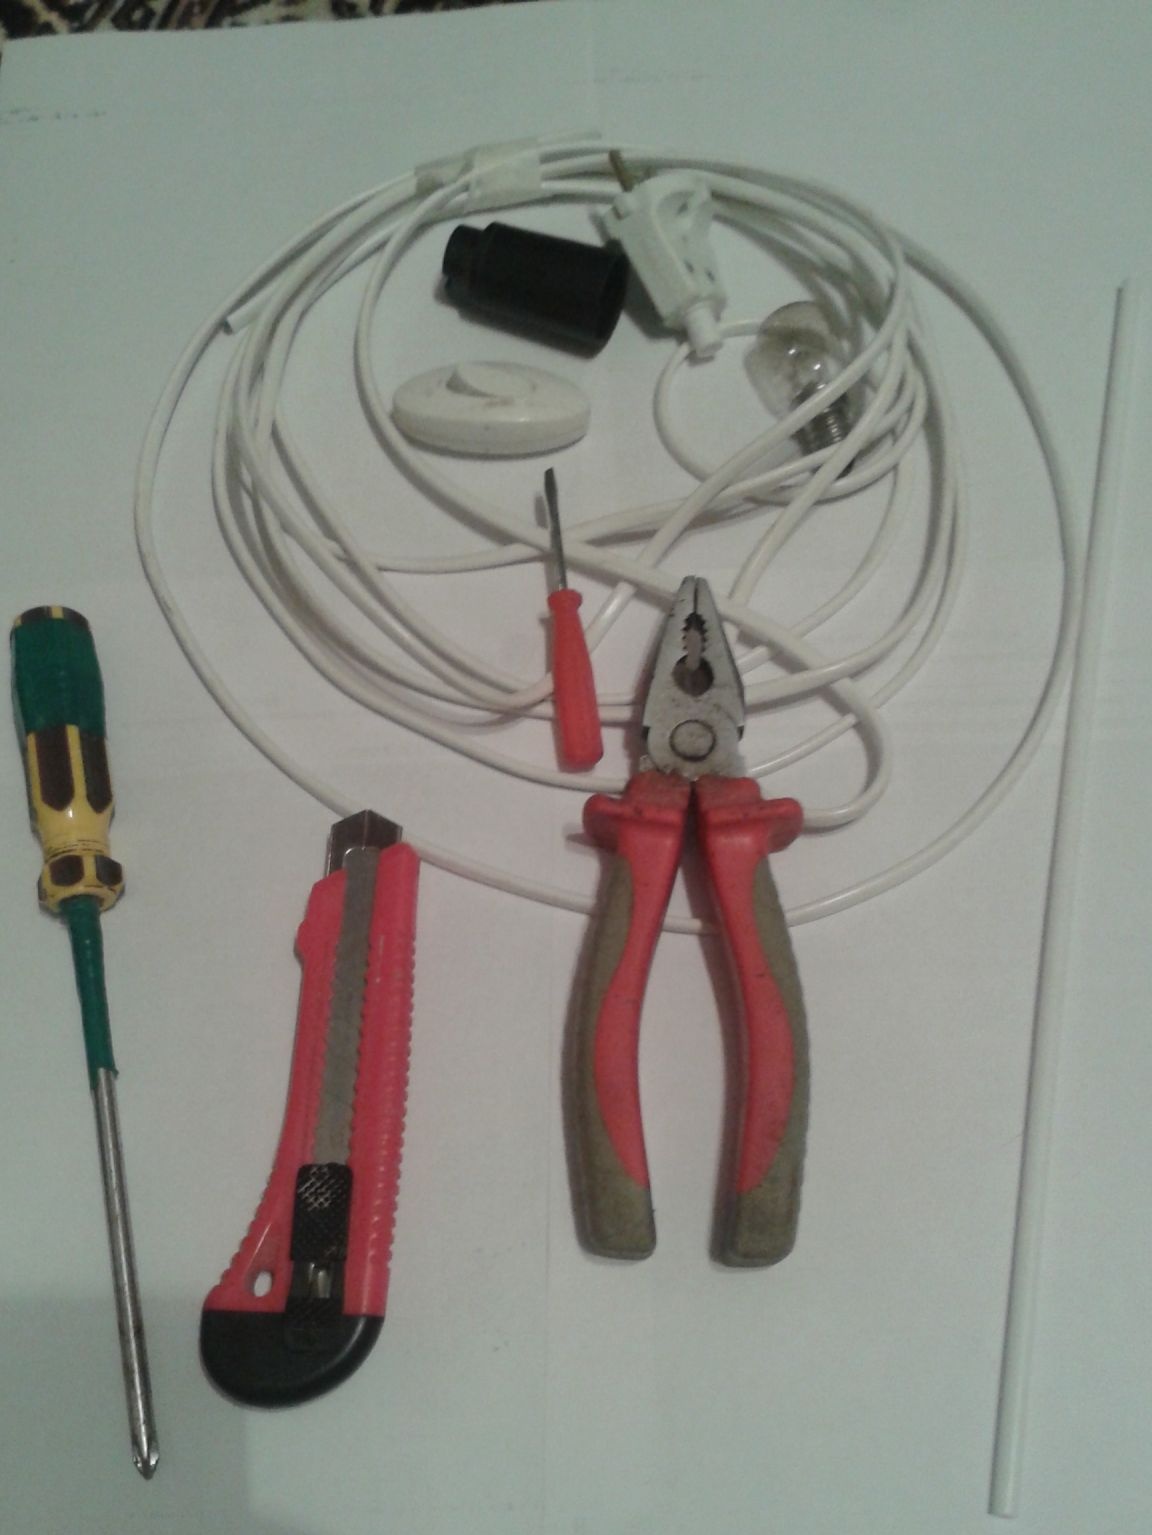
To work, you need such components and tools:
several meters of cable, section 2x2.5,
fork,
switch
cartridge,
light bulb
several cambrics (can be made from some hollow plastic)
drill, with a diameter of 6-8 mm.,
drill,
stationery knife and electrical tape,
the kerosene lamp itself.
So let's get started. Step 1.
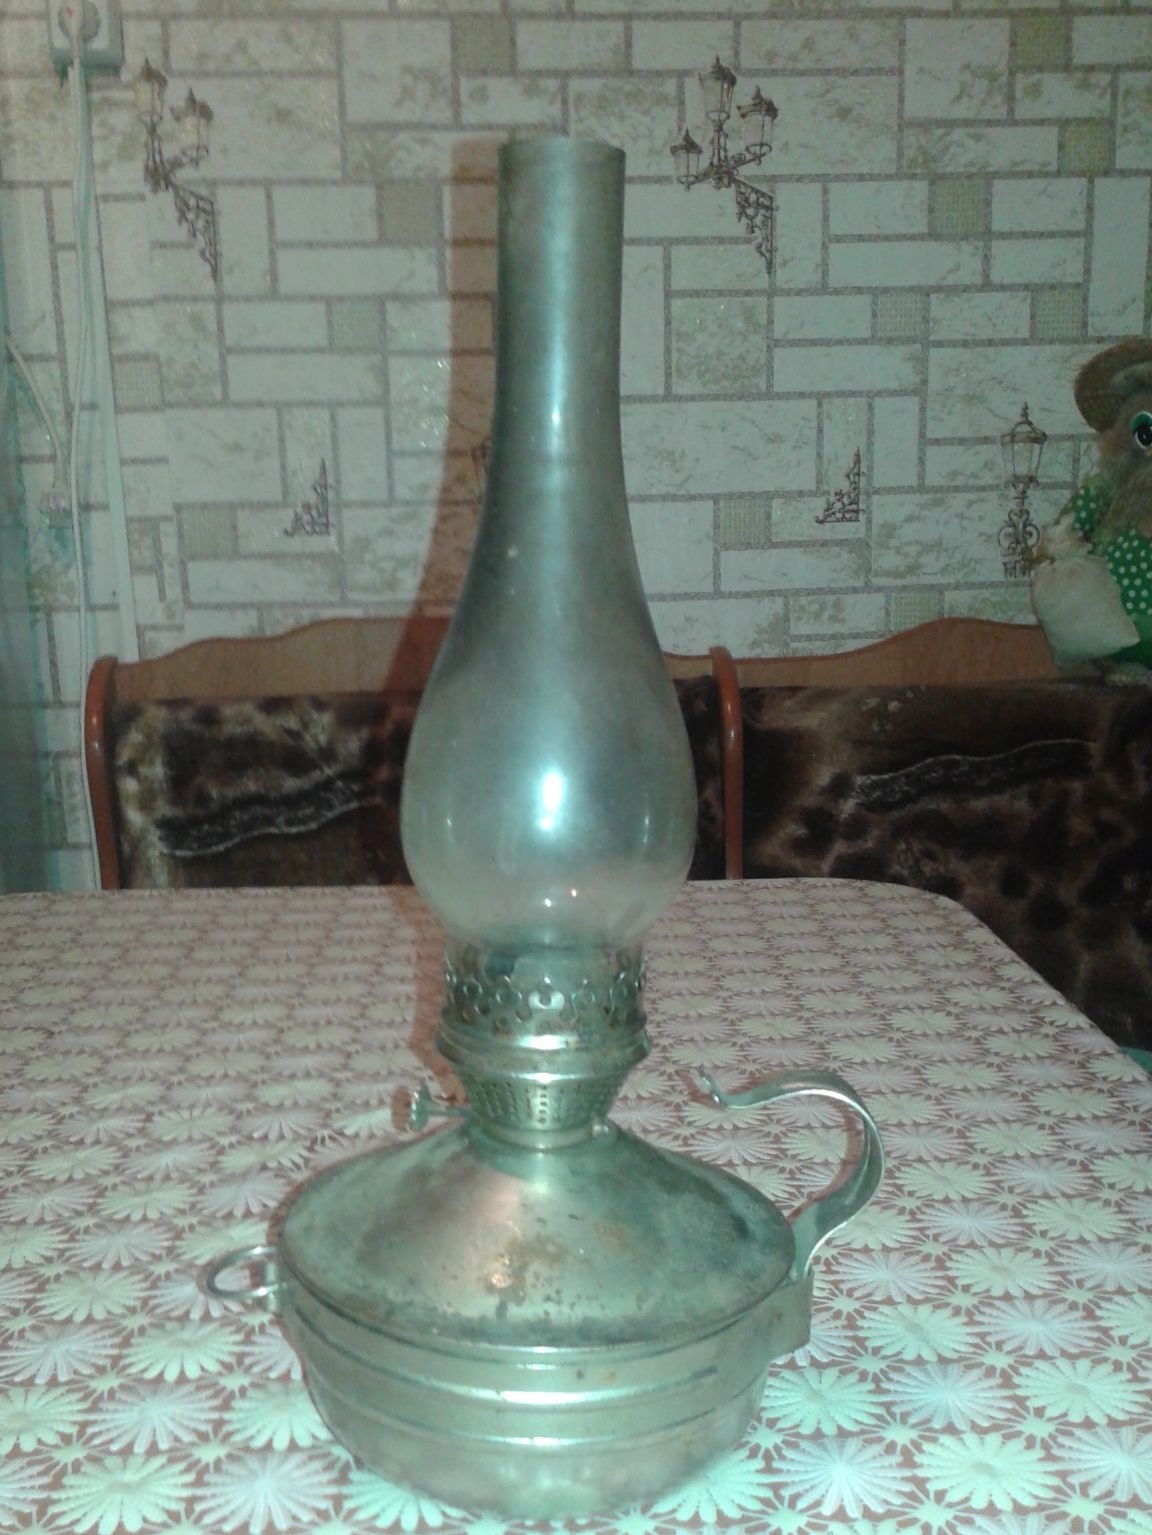
Here is my find, old, but nevertheless in good condition - a kerosene lamp. As can be seen in the photo, it is quite suitable in order to still serve, but in a slightly modified form.
Now we need to disassemble it in order to carry out further manipulations with it. There is nothing complicated in this, everything is quite easily untwisted. The only moment was when I had to remove the pen. She didn’t want to be removed from the lamp, she was a little “stuck”. This is how it looks in disassembled form.

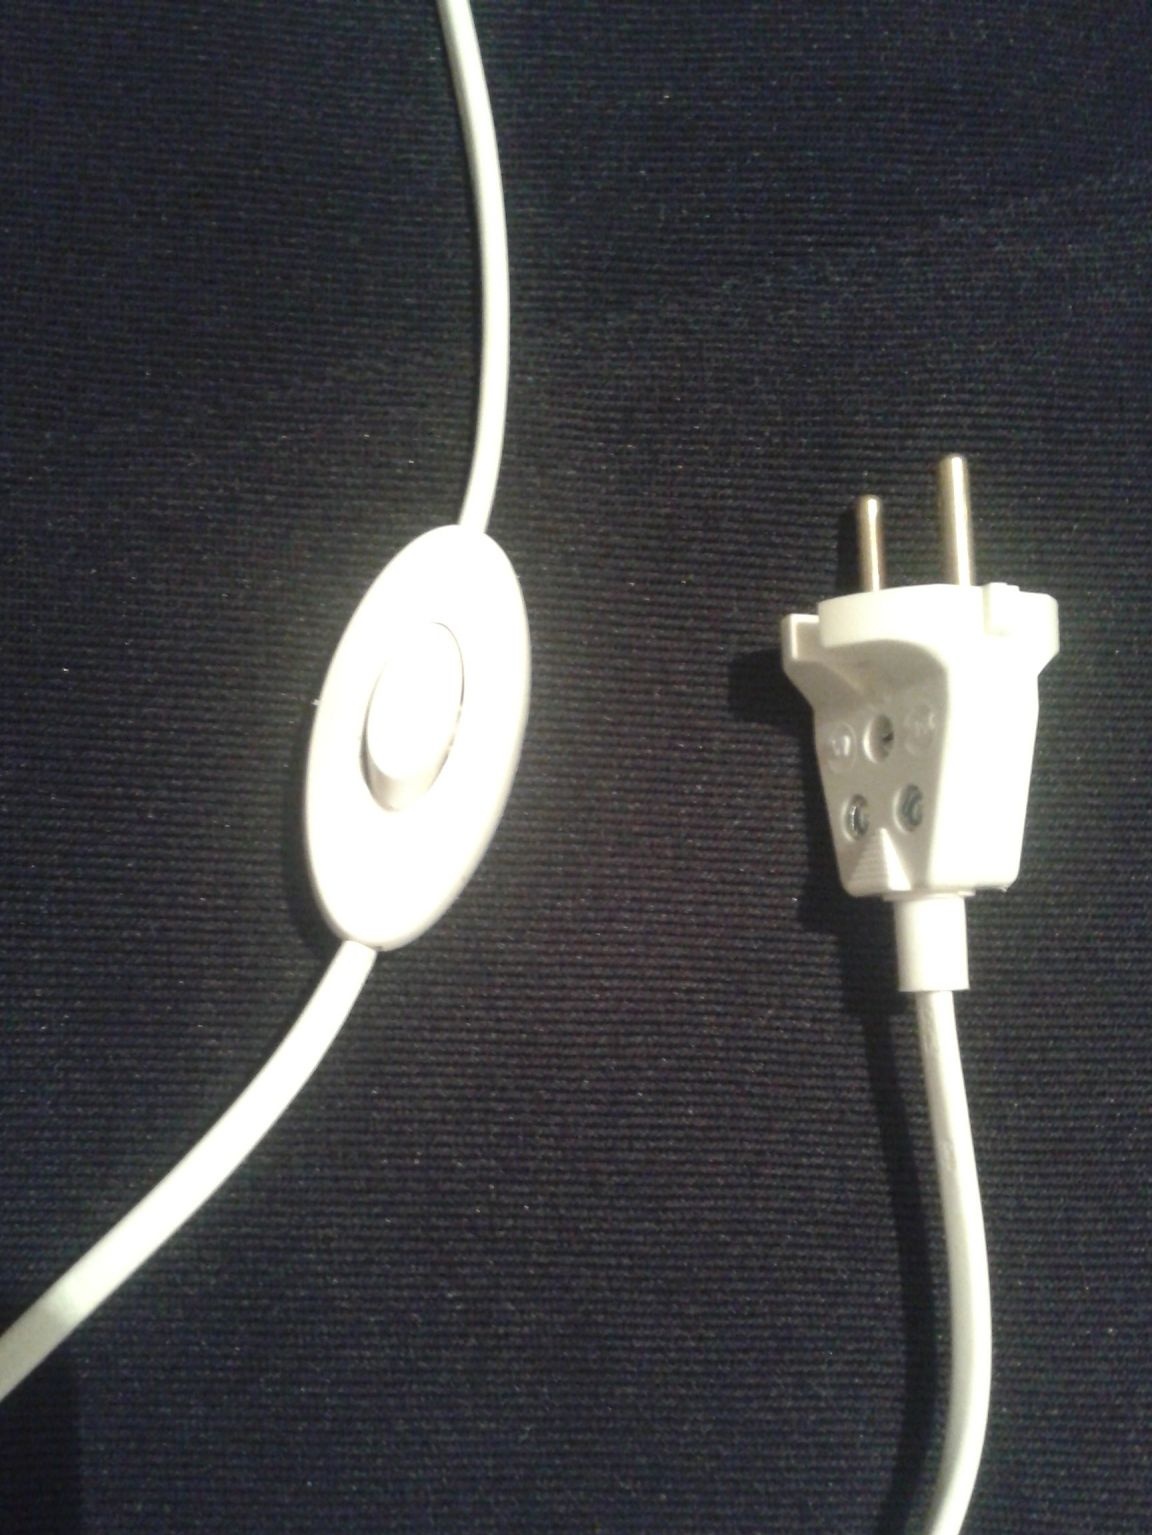
Step 2. Now we need electrical components - a plug, a coil of cable, a switch and a cartridge.
I decided to start with electricians first.
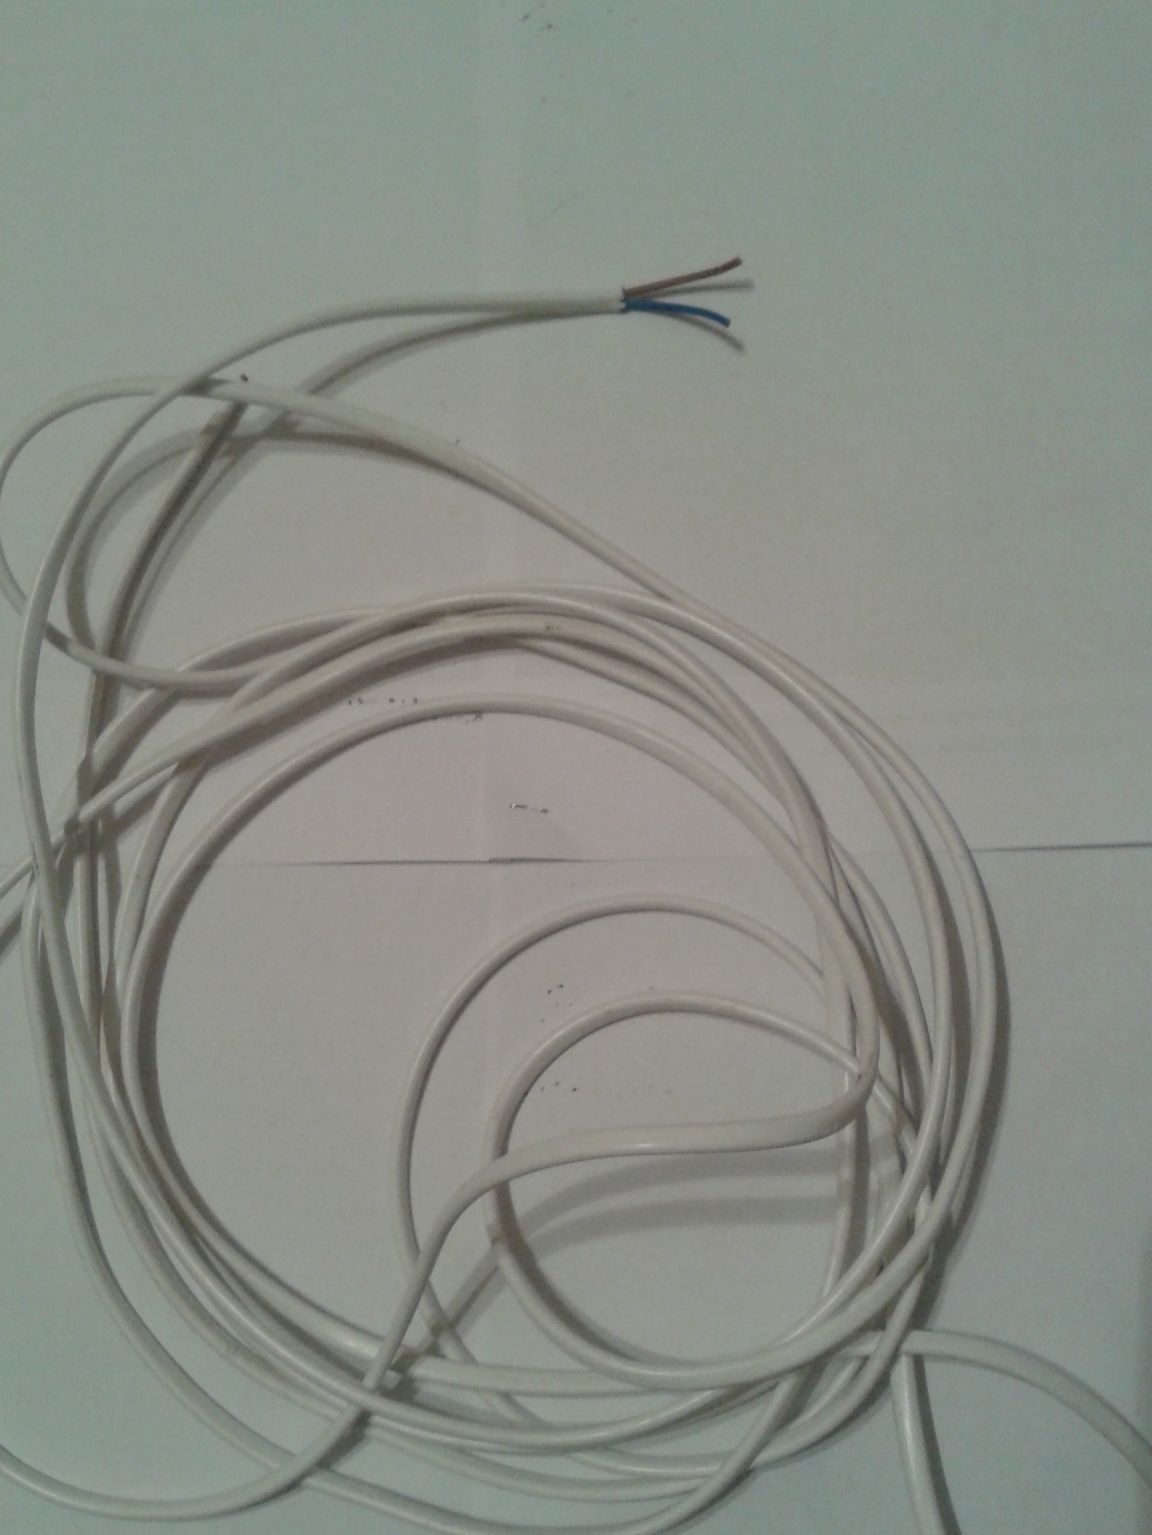
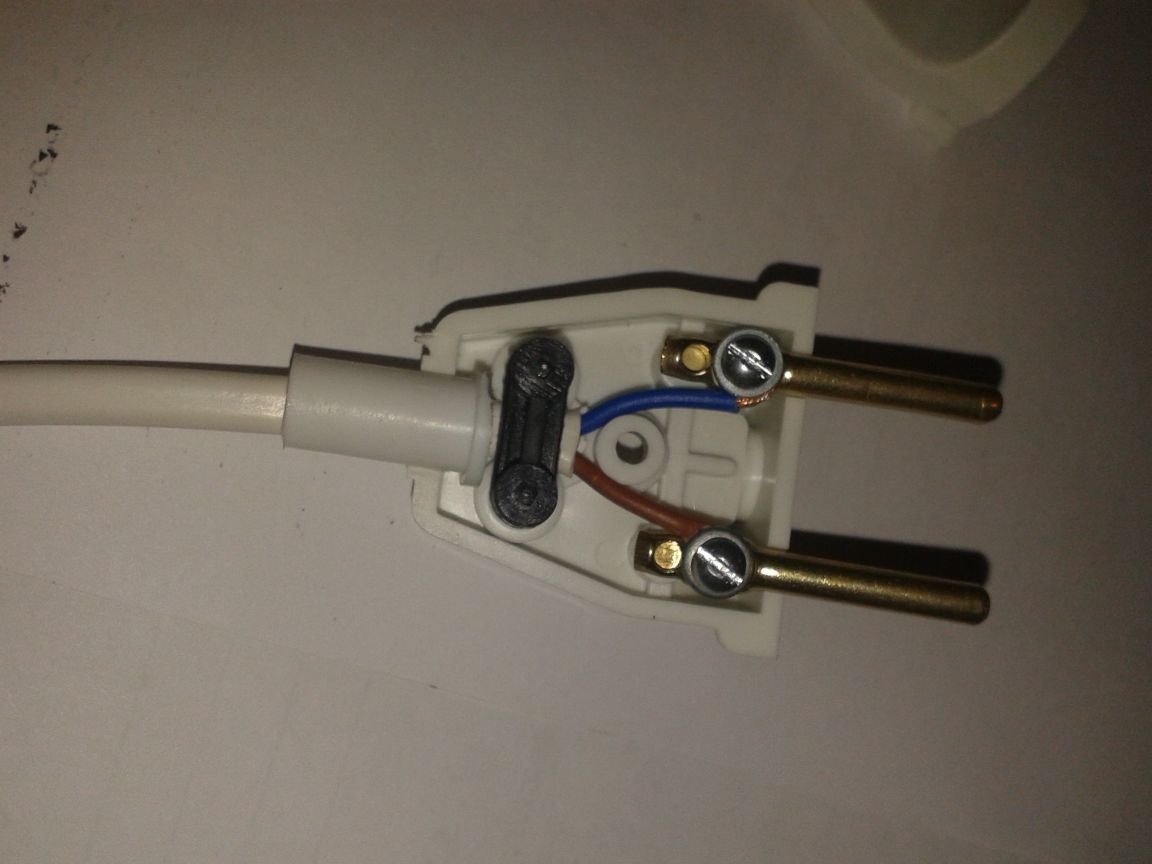
At one end of the wire we install a euro plug. We clean the end on the wire and clean the ends.
An unassembled plug looks like this:

In assembled form, with wires already disconnected, it looks like this:
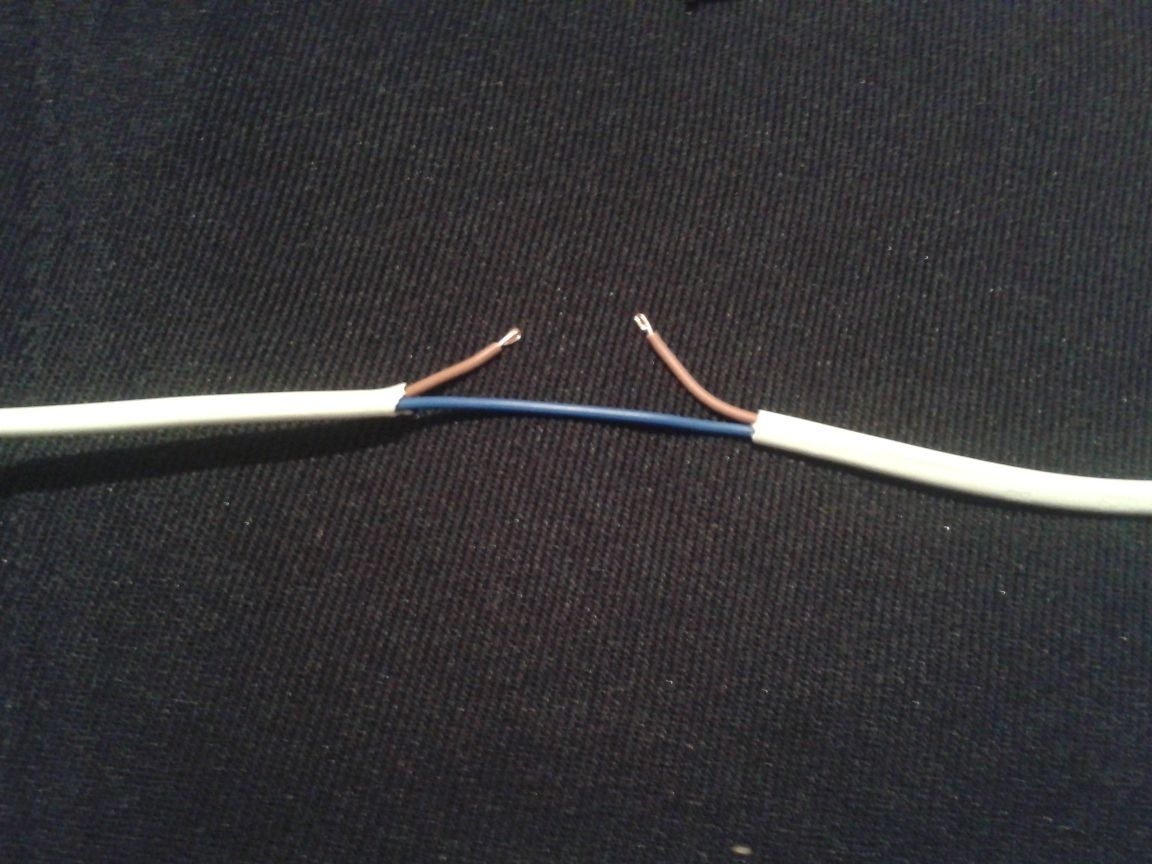
Step 3. Now you need to turn off the switch. You can, of course, limit yourself to just a Euro-plug, but in my opinion, during work this will create an unnecessary and uncomfortable moment. Each time you have to turn off the lamp from the outlet. Therefore, at the second end of the wire, at a distance of about 50 centimeters, we put a switch for convenience. To do this, without cutting the cable completely, neatly, with a clerical knife in a selected place, we clean the cable sheath. Tear the red wire. It looks like this:
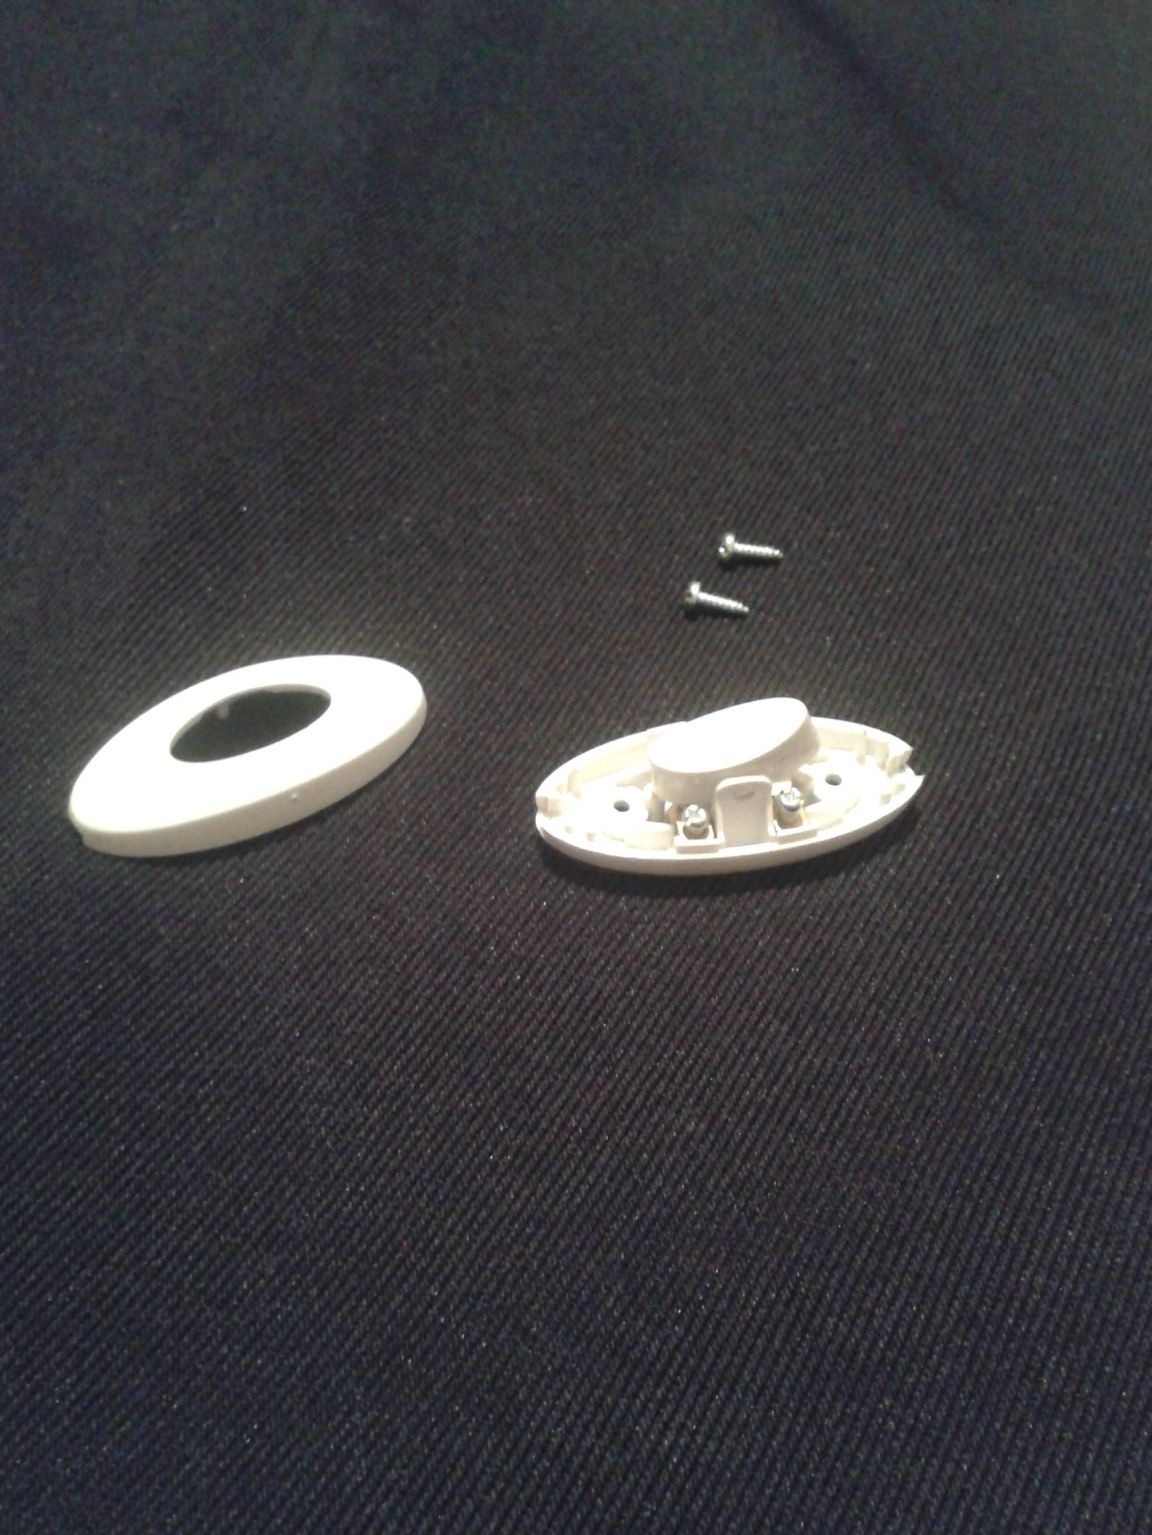
Disassembled circuit breaker itself:
and our cable, ready for termination:
The switch has terminals in which we insert the wire and clamp it with screws. The second wire, unbroken, is neatly laid in the channel, which is provided on this switch. It turns out like this:
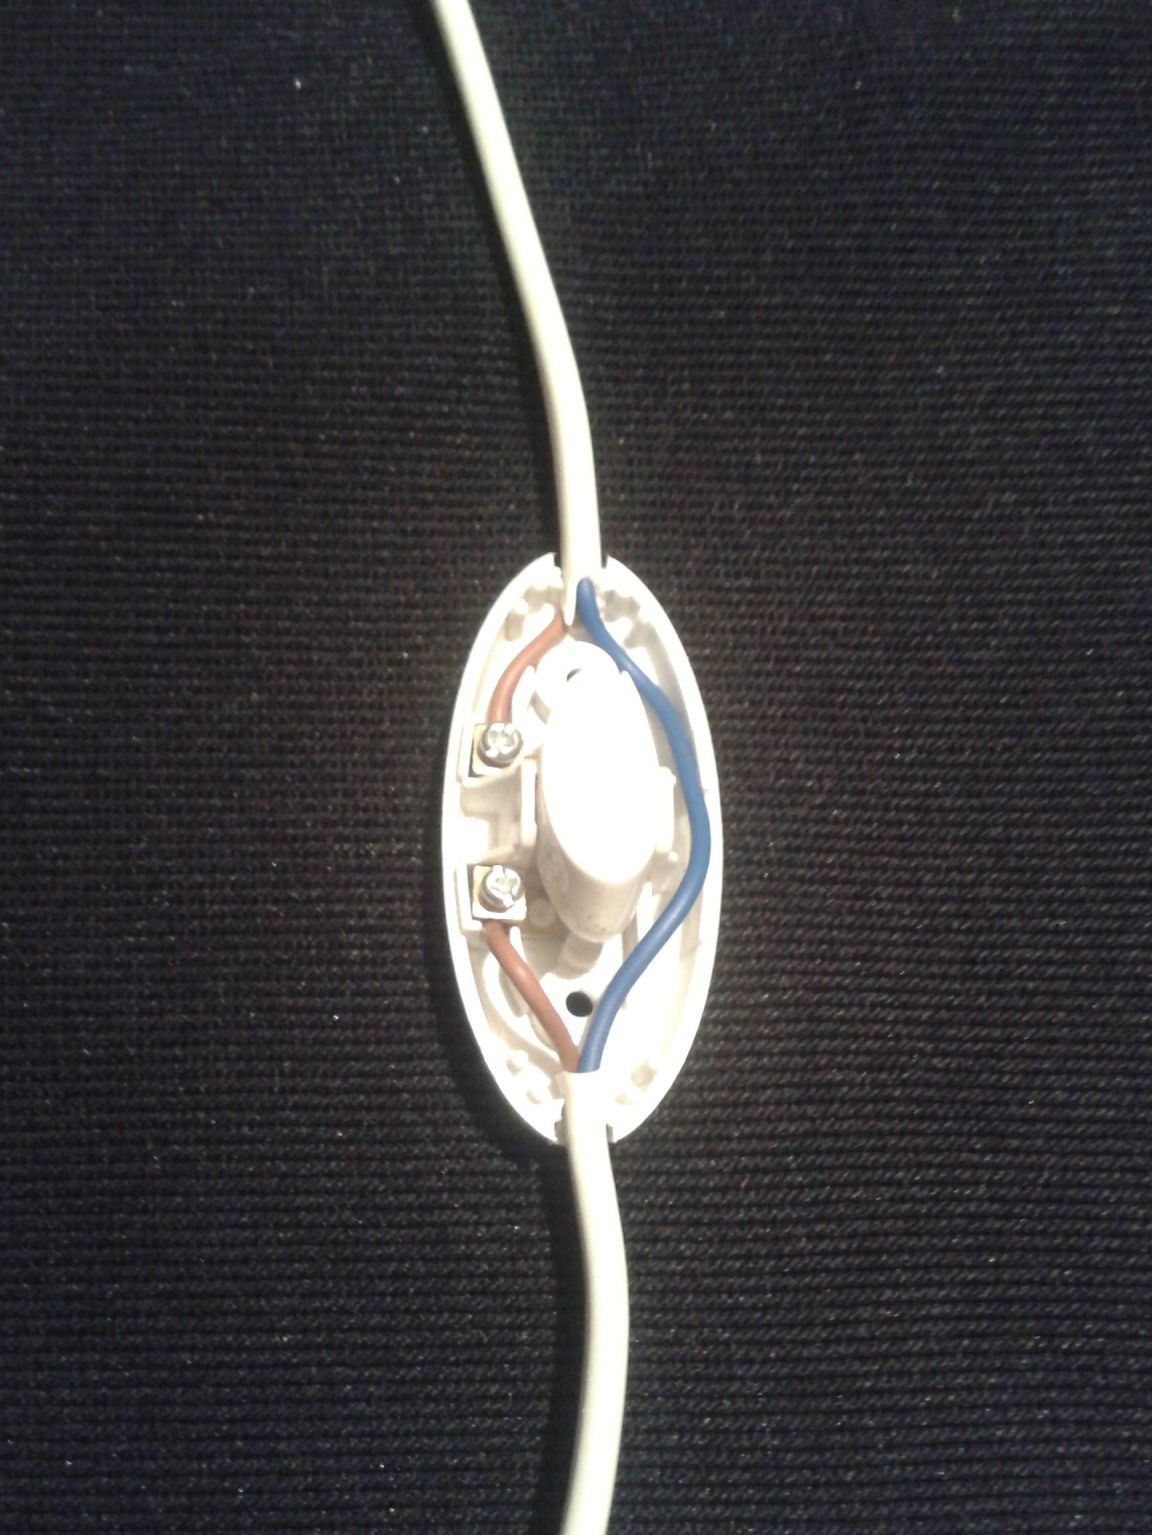
Already disconnected plug and switch:
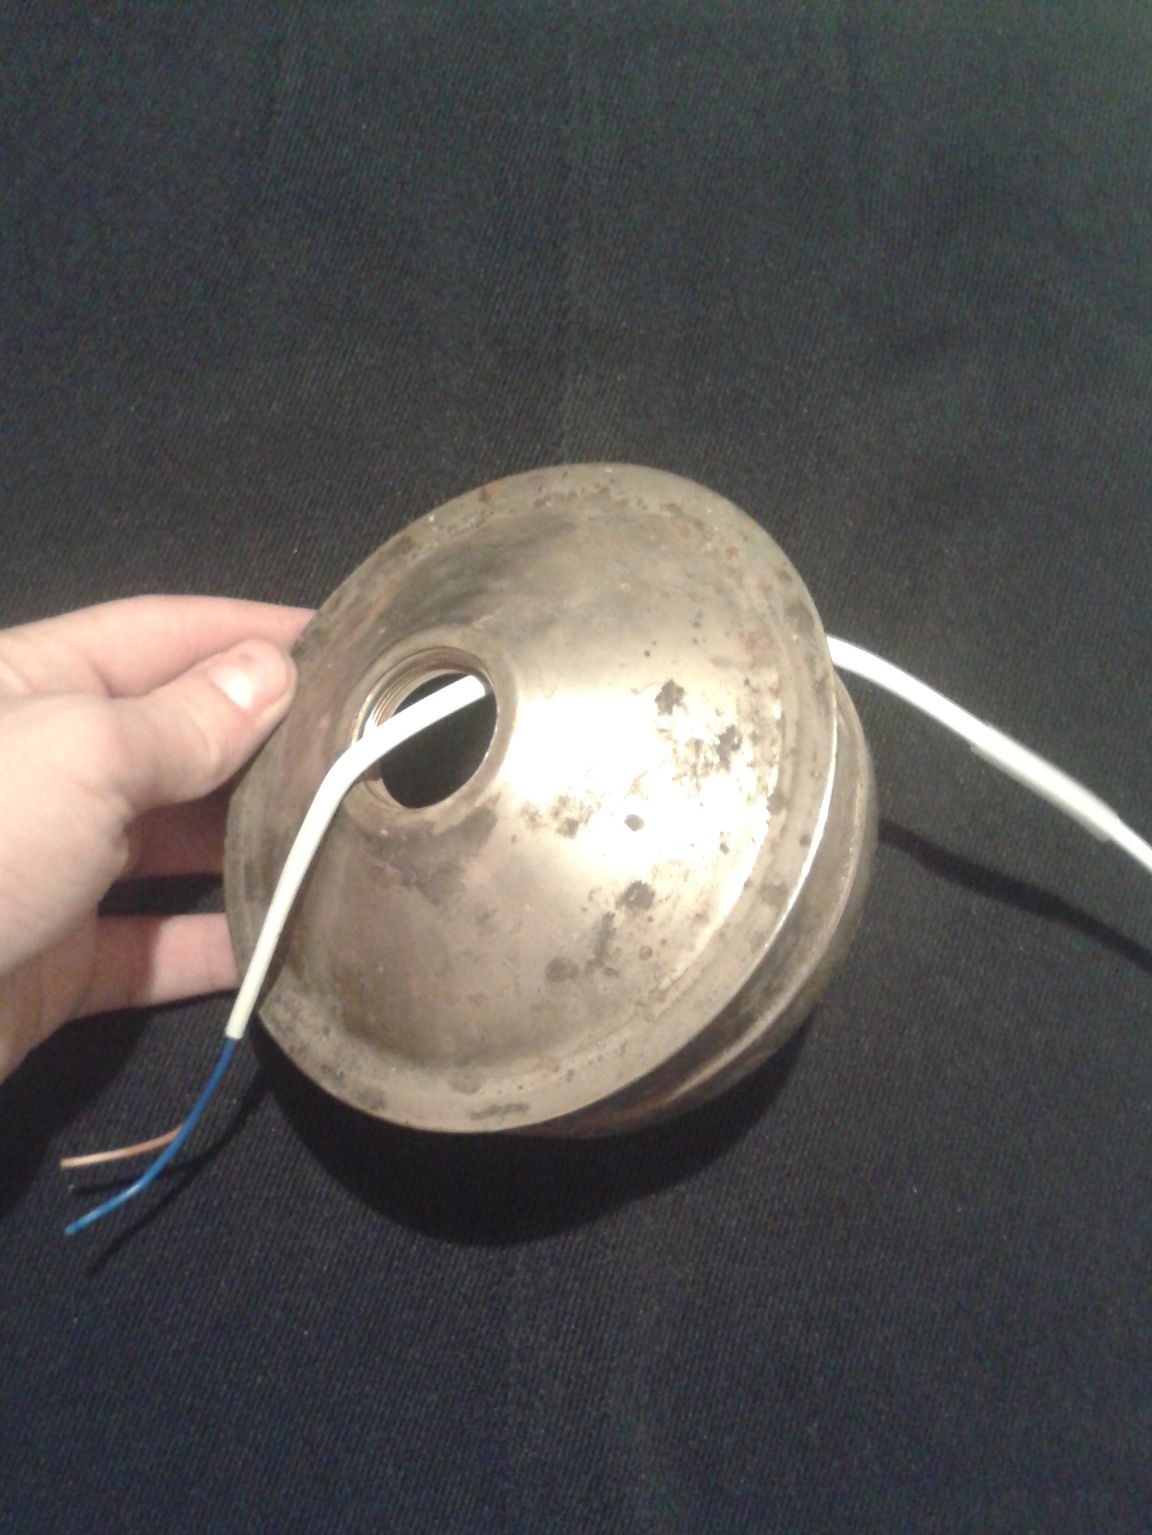
Step 4Now we need a container for kerosene from the lamp, our disconnected cable and some kind of cambric.
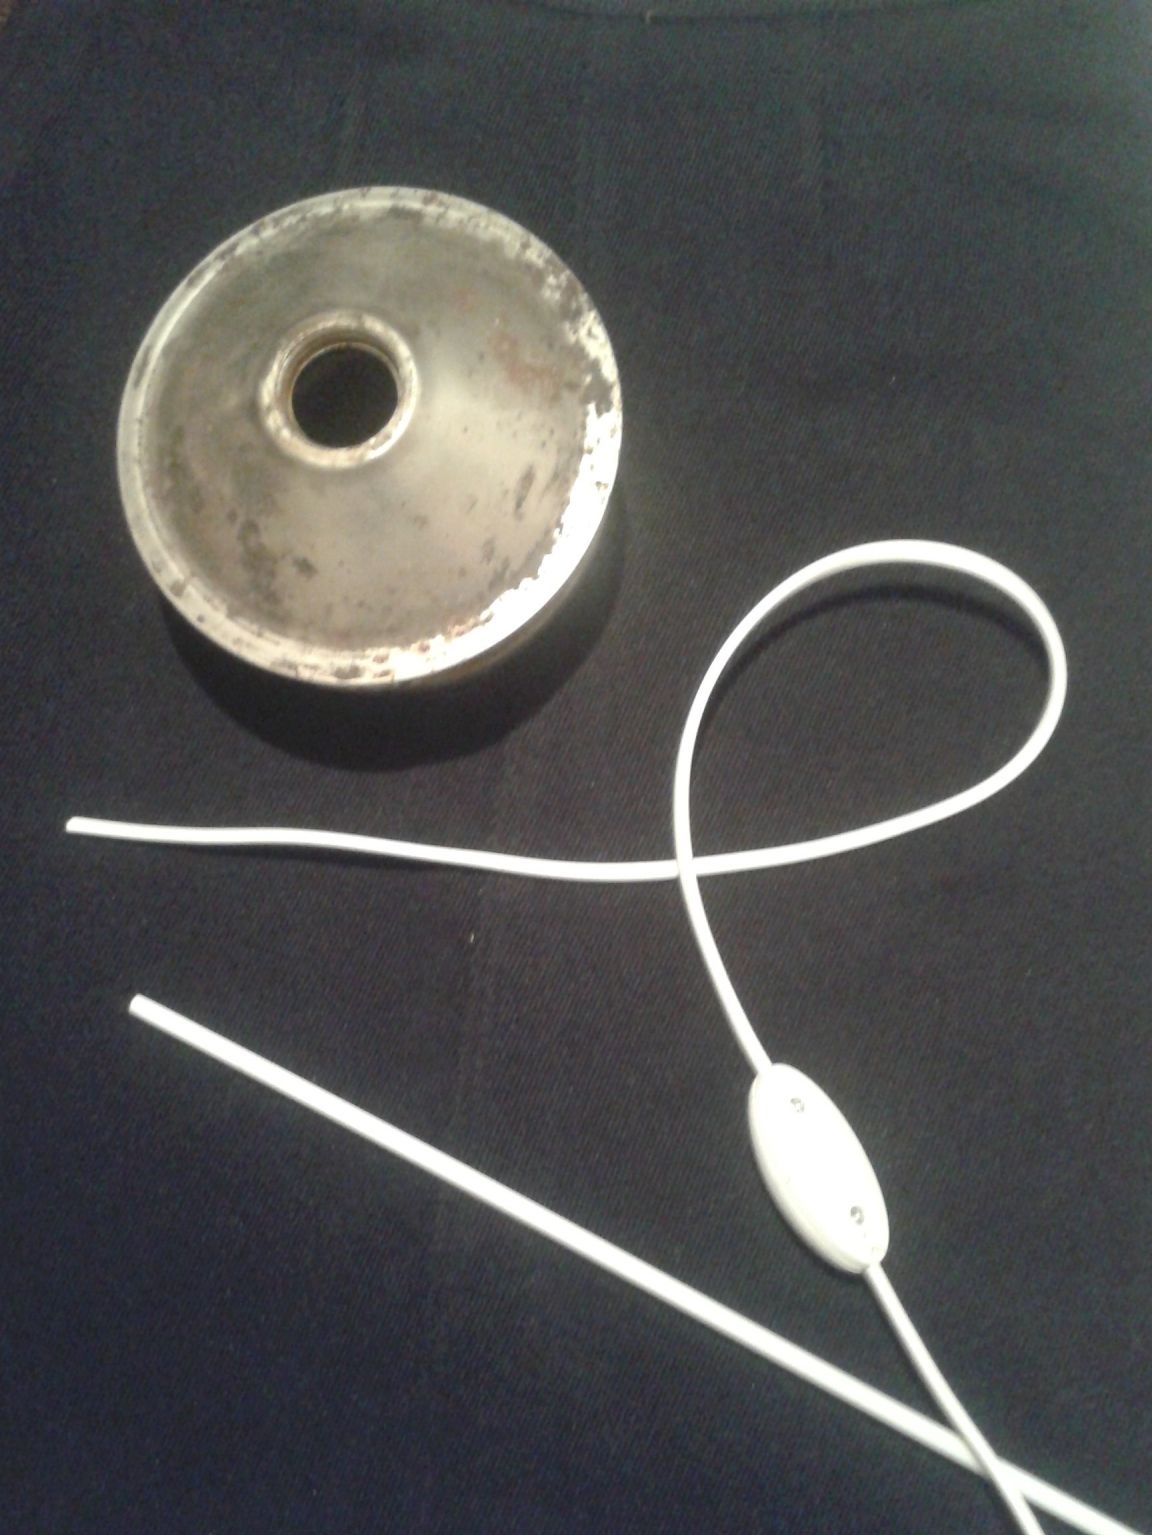
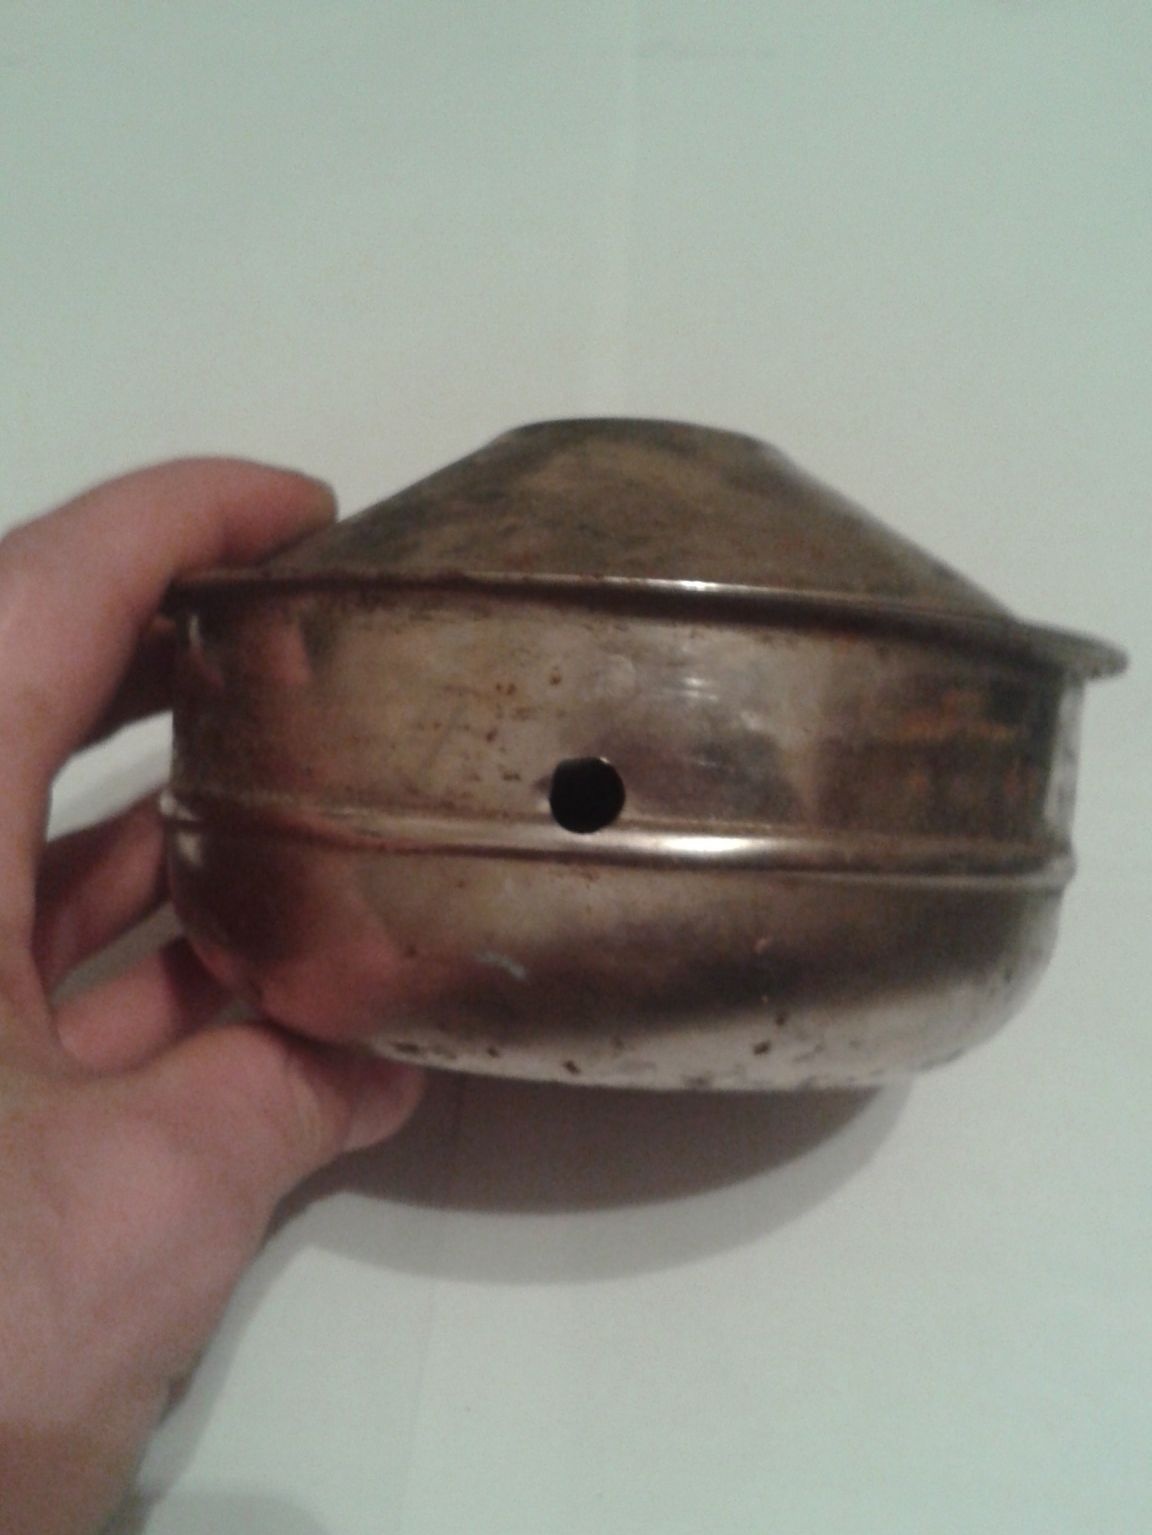
In the tank for kerosene, on the side, we drill a hole. This is necessary in order to pass the cable inside the kerosene.
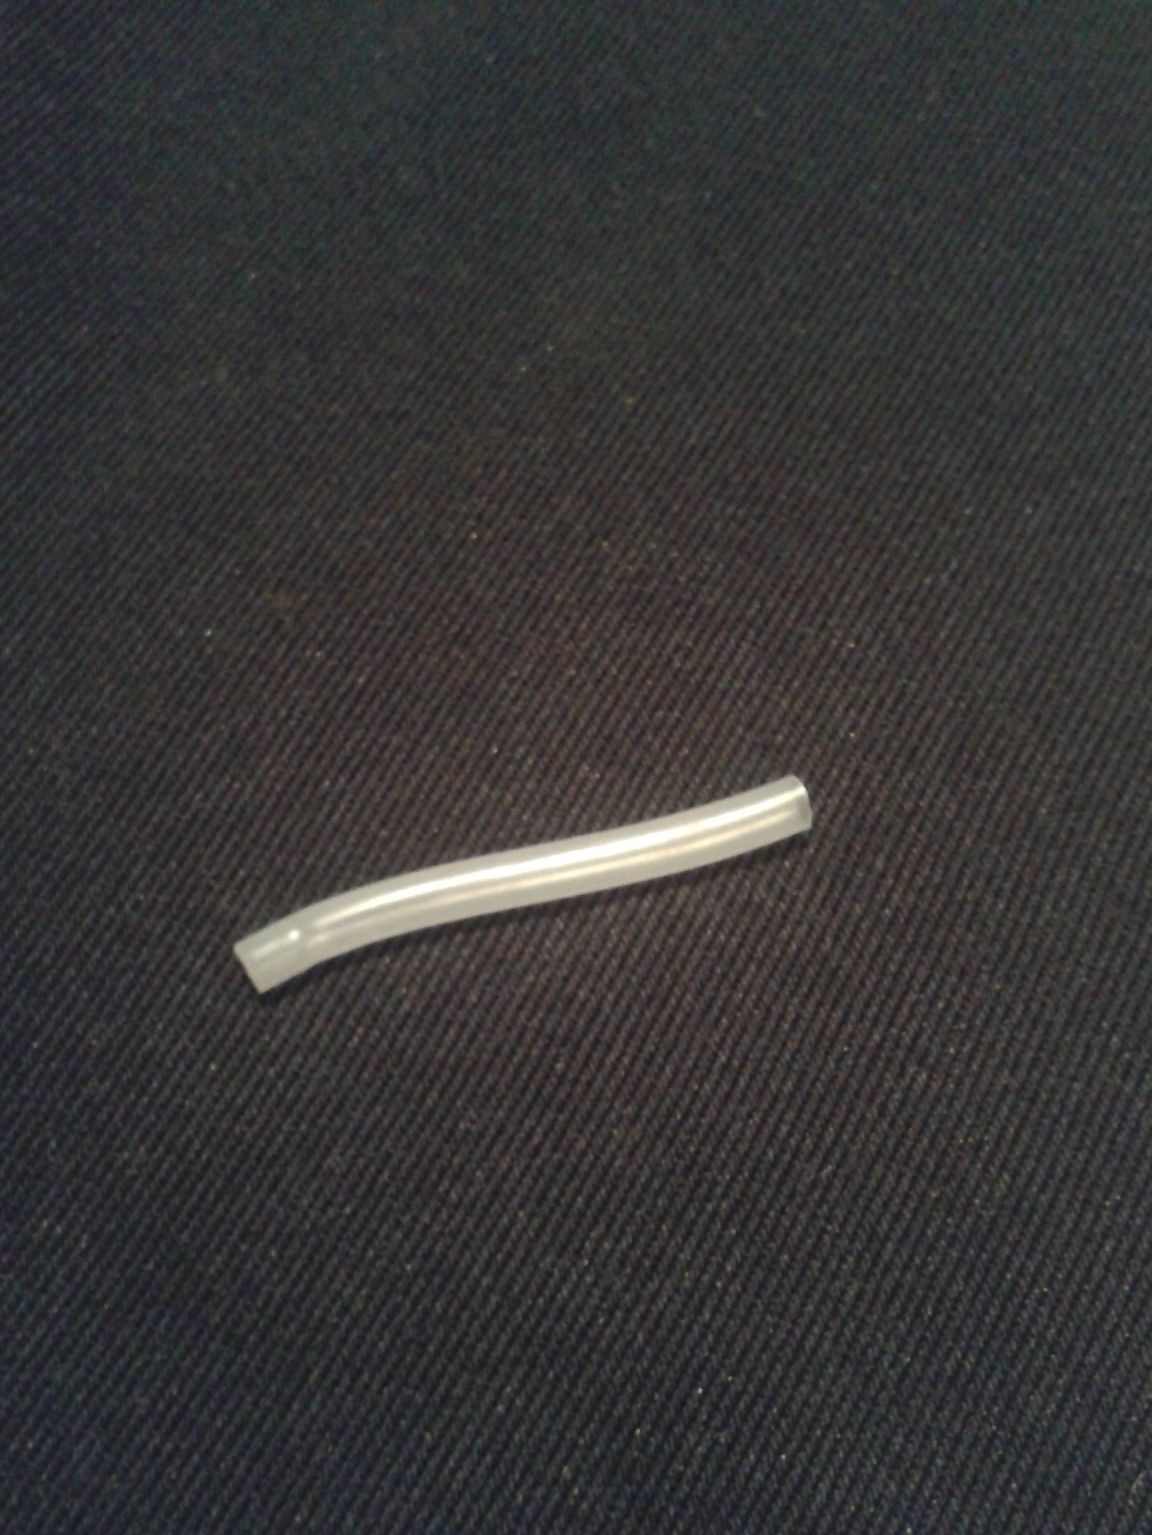
Now on the cable, from the switch side, we put on a cambric. Since after we made a hole in the container, its edges are sharp enough, which can lead to cable cutting and short circuiting.
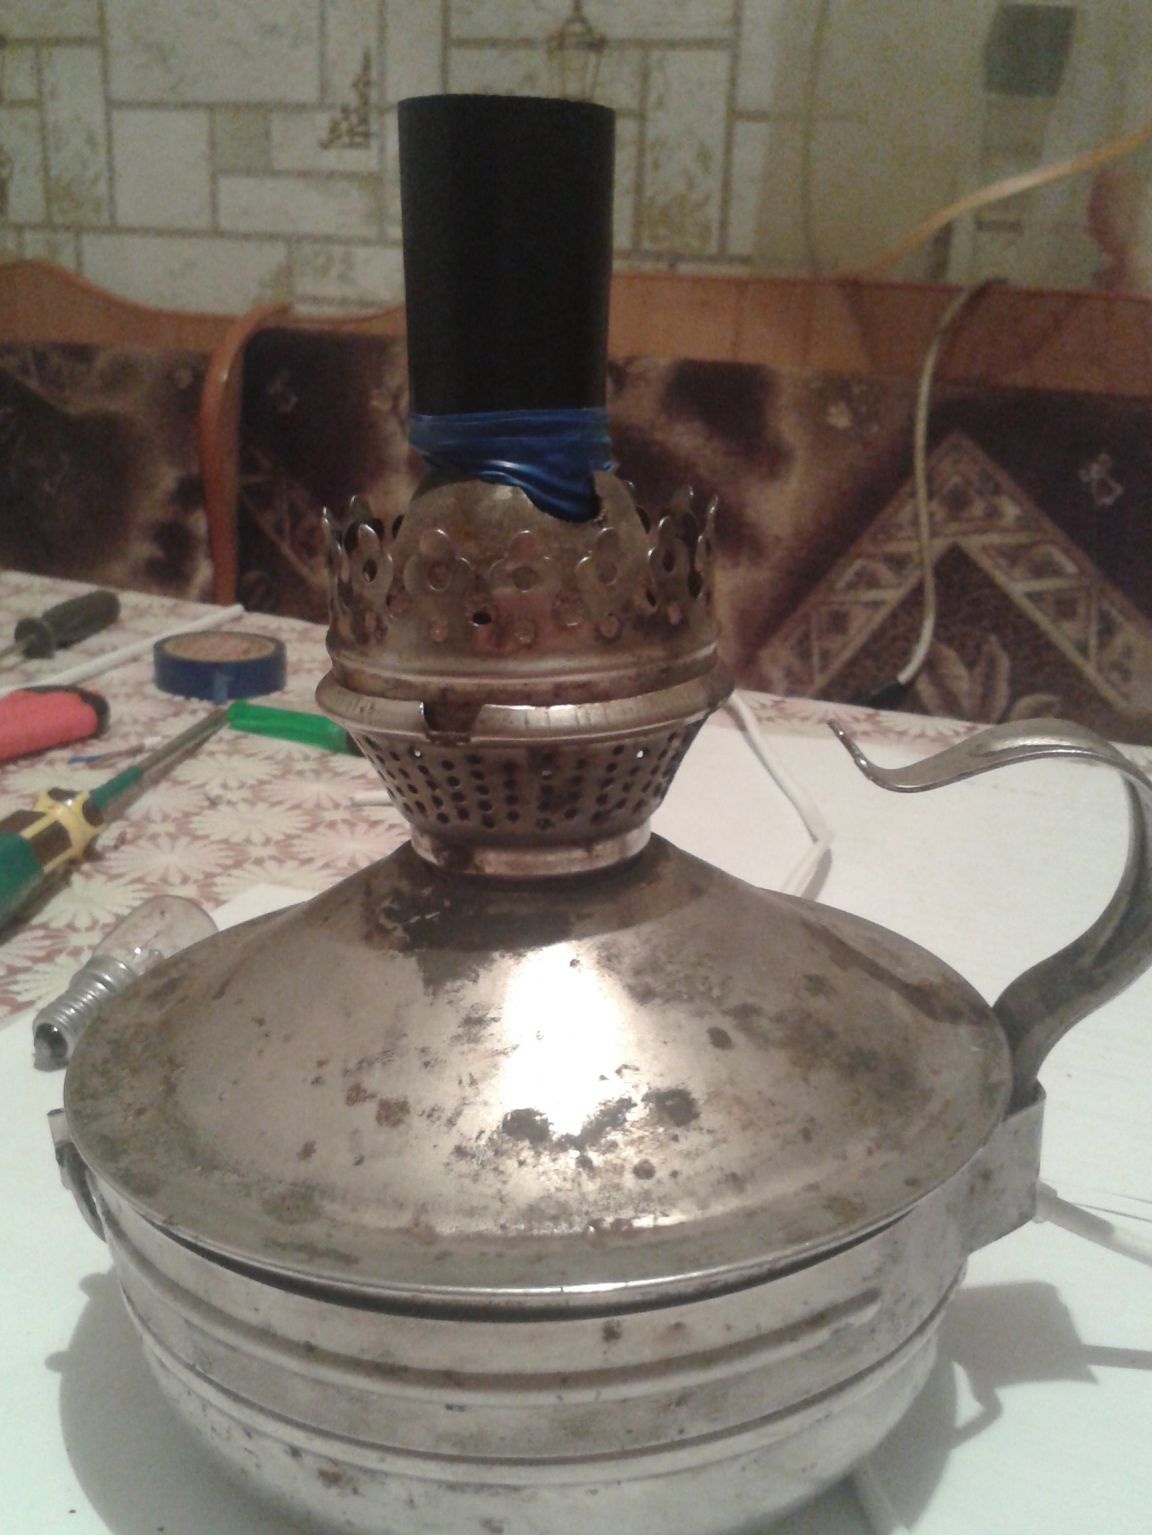
Step 5. Pass the cable inside the container and pull it out from above, where the holder for the glass and the wick is attached.
The next step is fitting the lampholder to the top of the lamp.
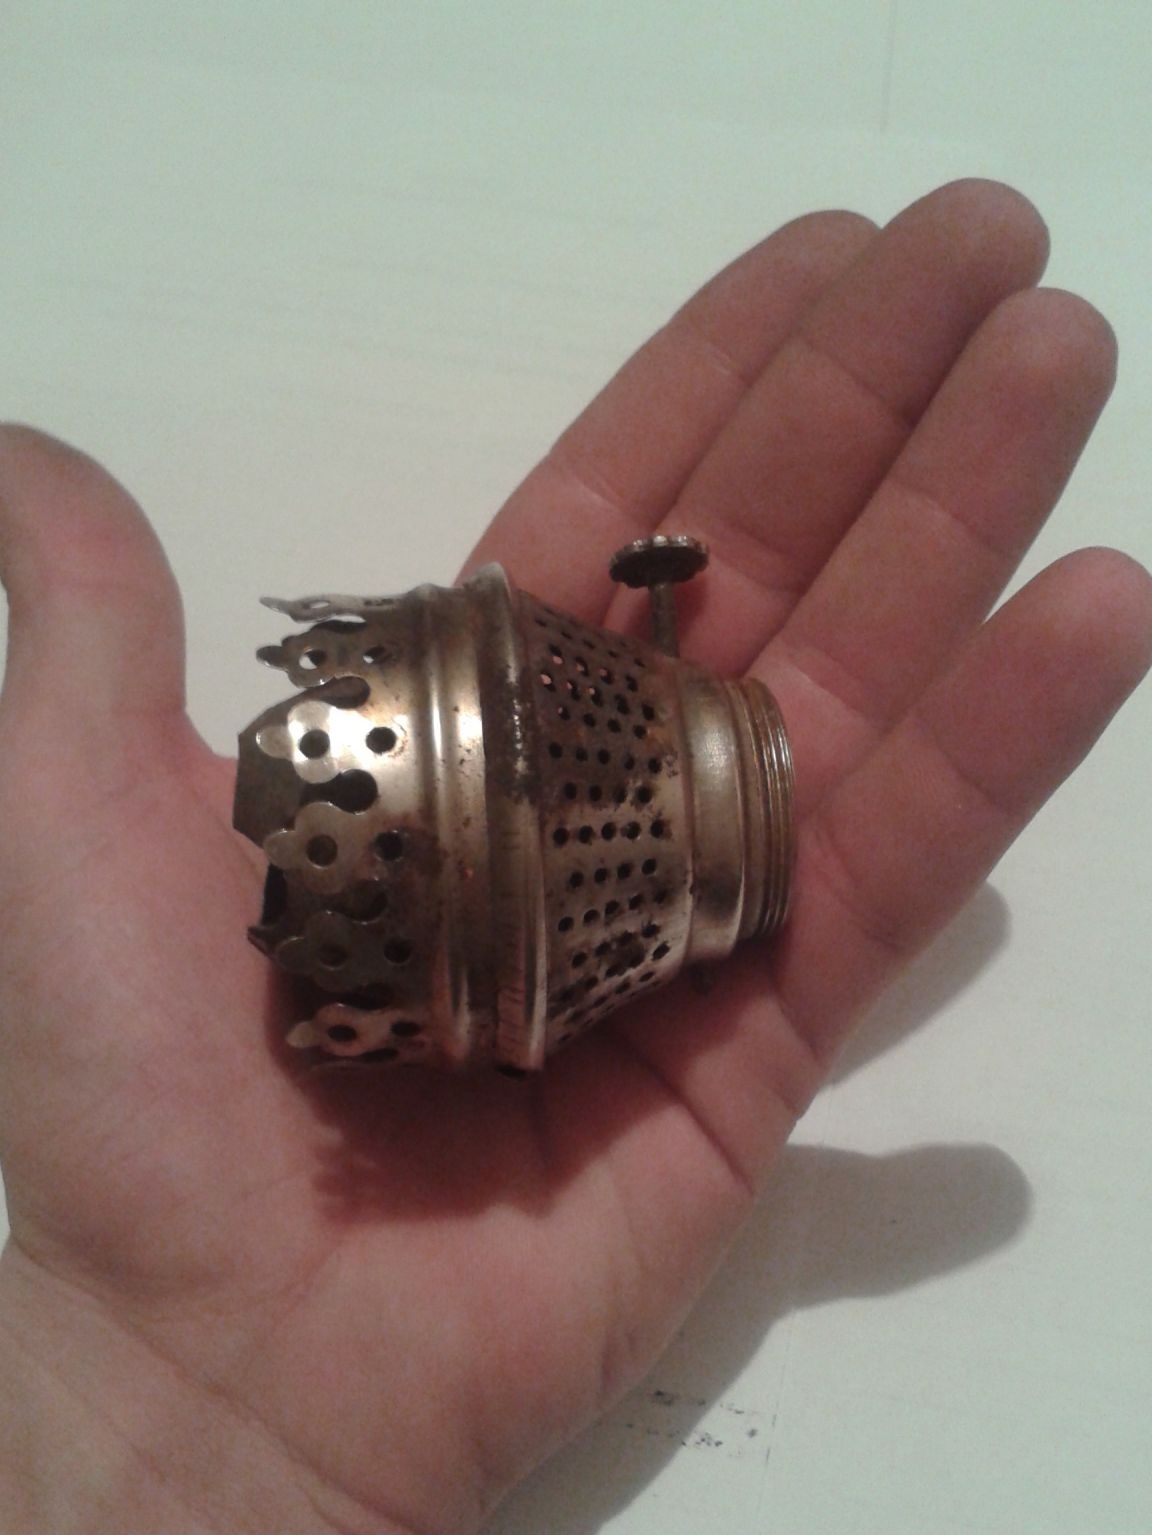
Since the slot for the wick is narrow and fixing the cartridge in it is quite problematic, we will slightly correct it. Grinder cut the top and widen the hole a little. Now the cartridge will be fixed conveniently and firmly.
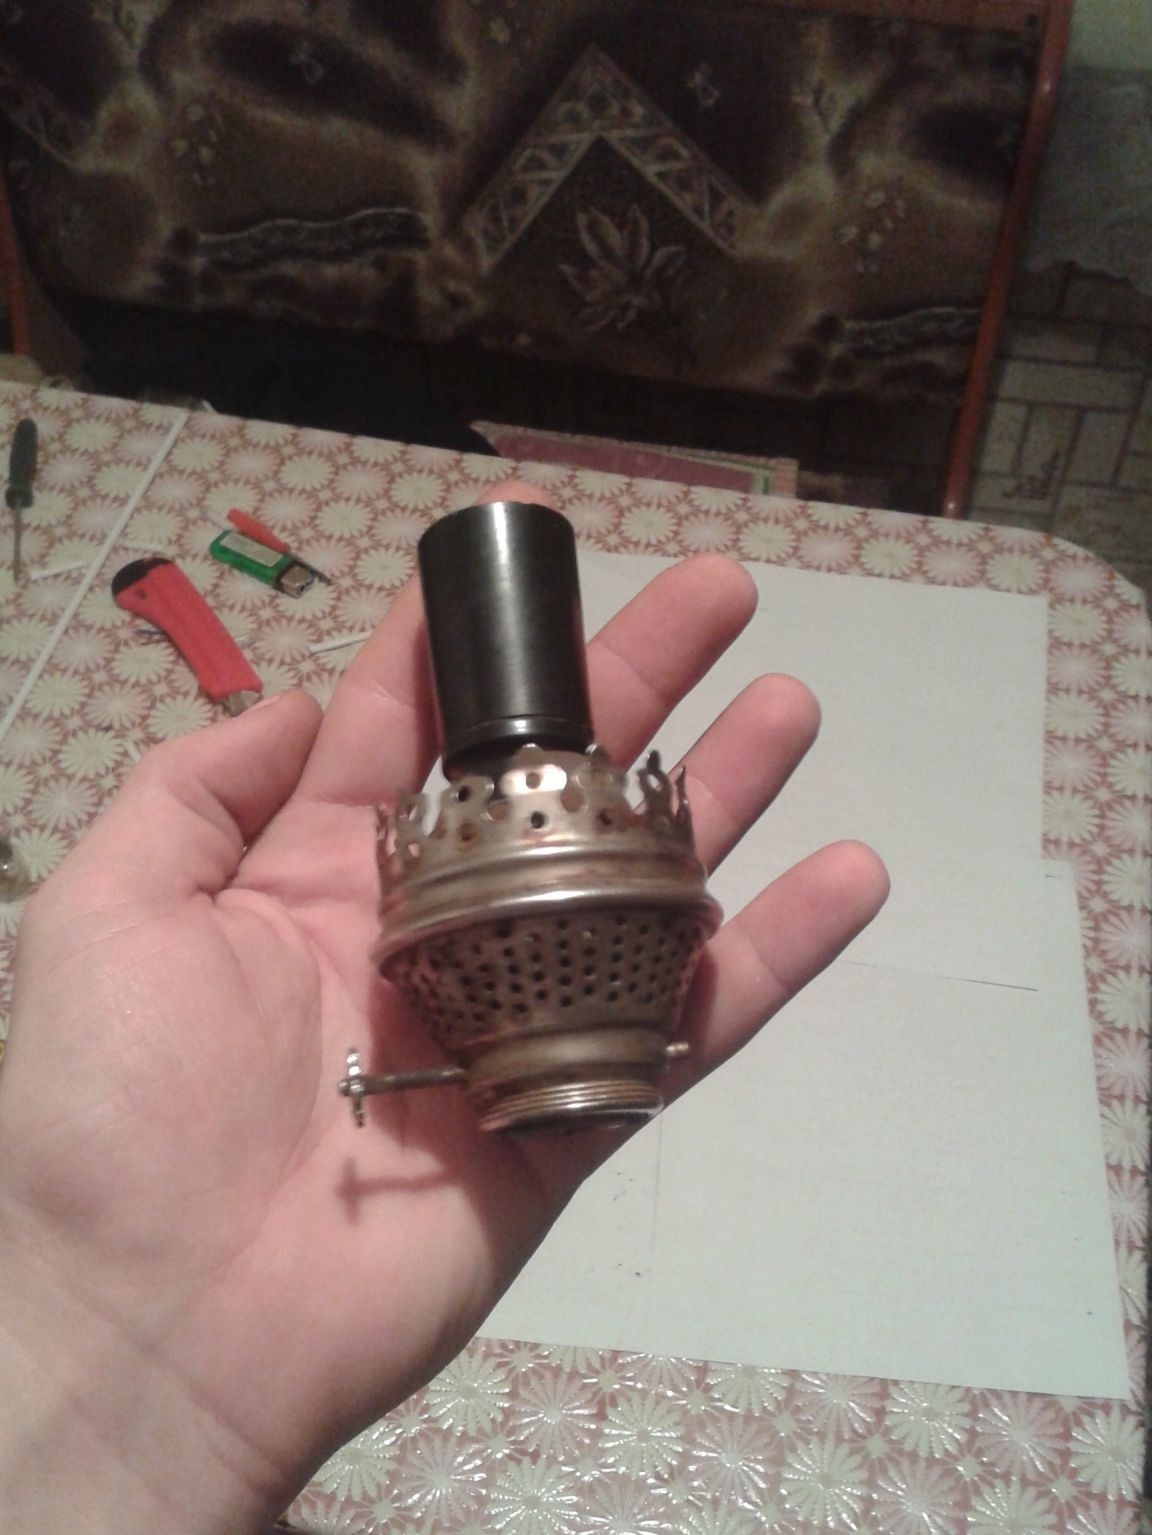
Step 6. Pass the cable into the part just made. The next step is to unload the cartridge. The steps are similar to opening the switch. it turns out:
We check the performance of our connections. We insert into the socket and turn on the switch. As you can see in the photo - everything works.
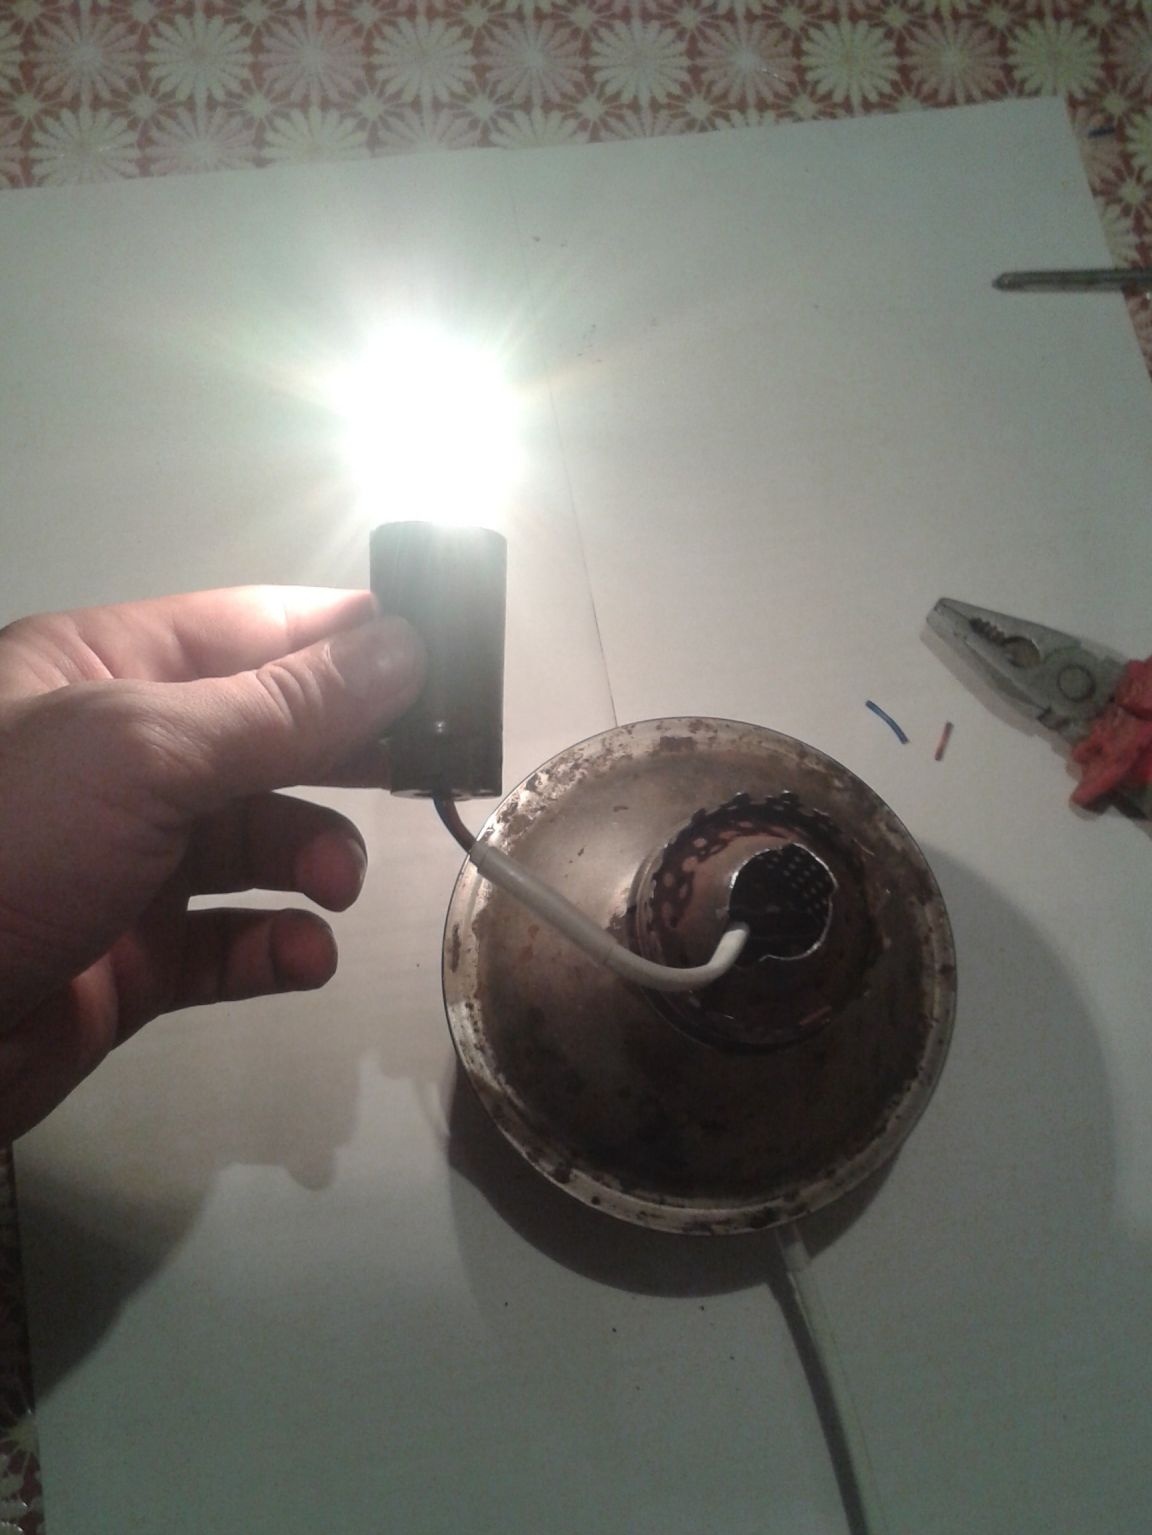
We unscrew the bulb so that in the course of further manipulations not to shake it off.
AS you remember, to fit the cartridge to the lamp itself, we cut it off. Sharp edges also turned out. Therefore, we wrap the lower part of the cartridge with electrical tape and fasten it already to the holder.
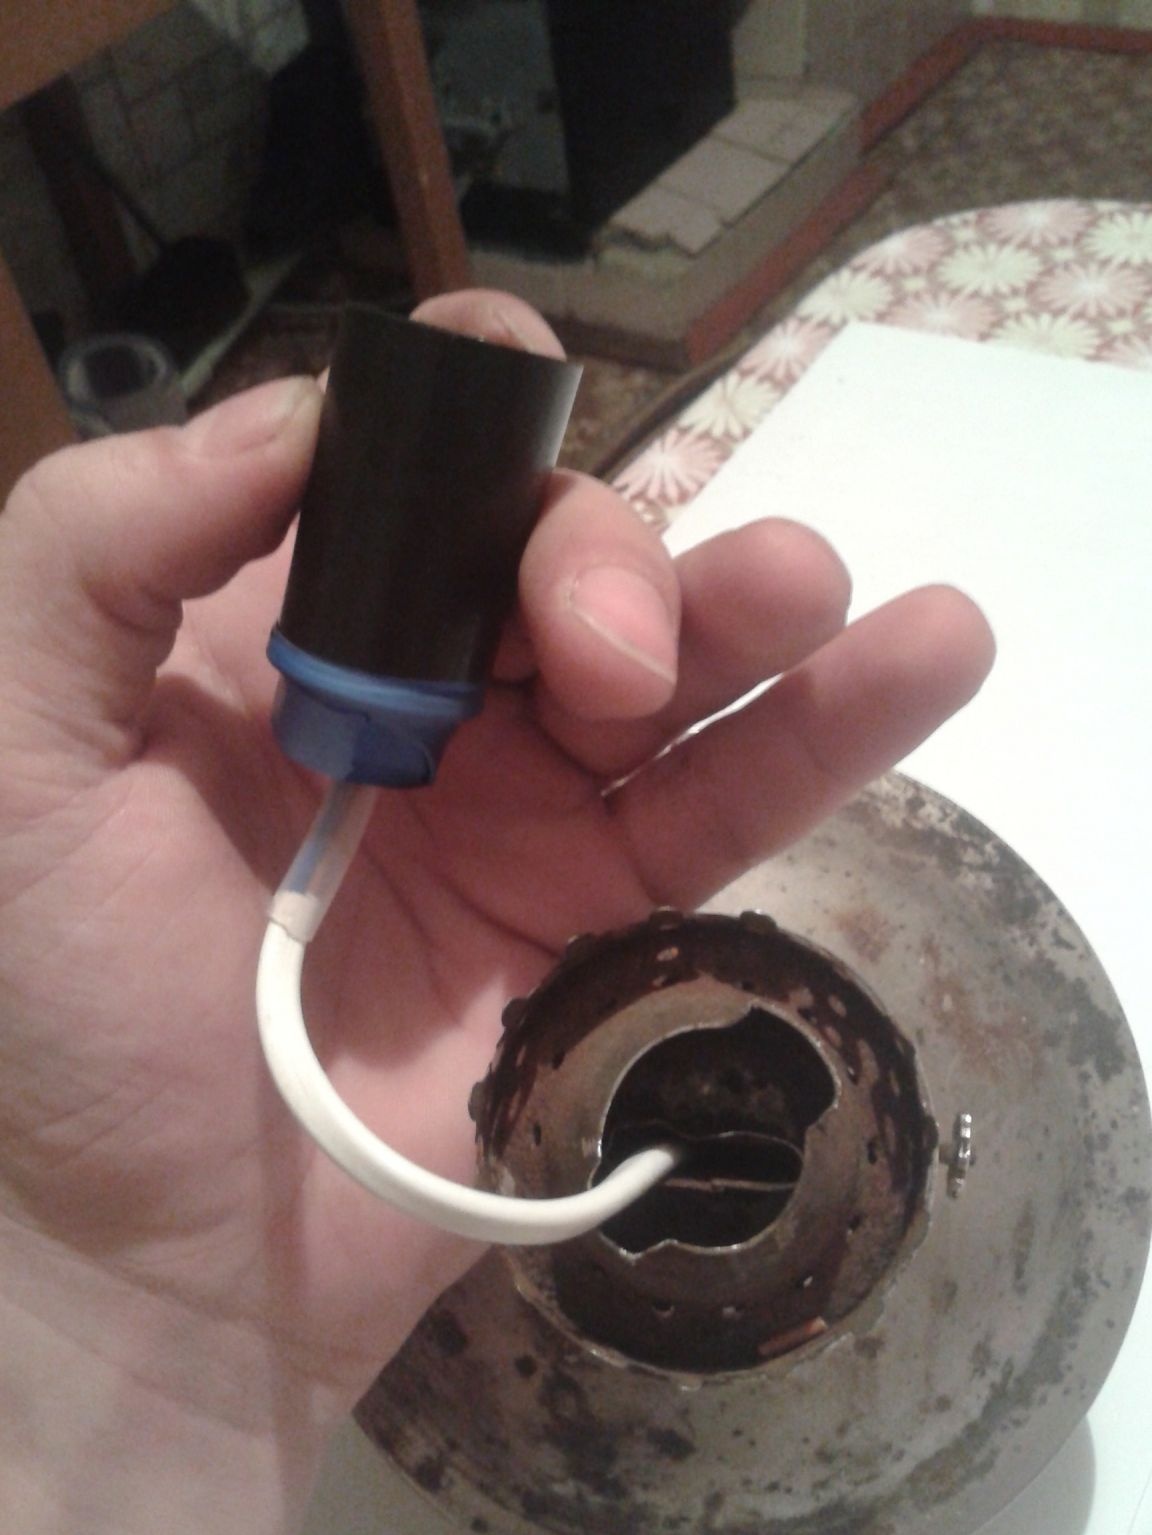
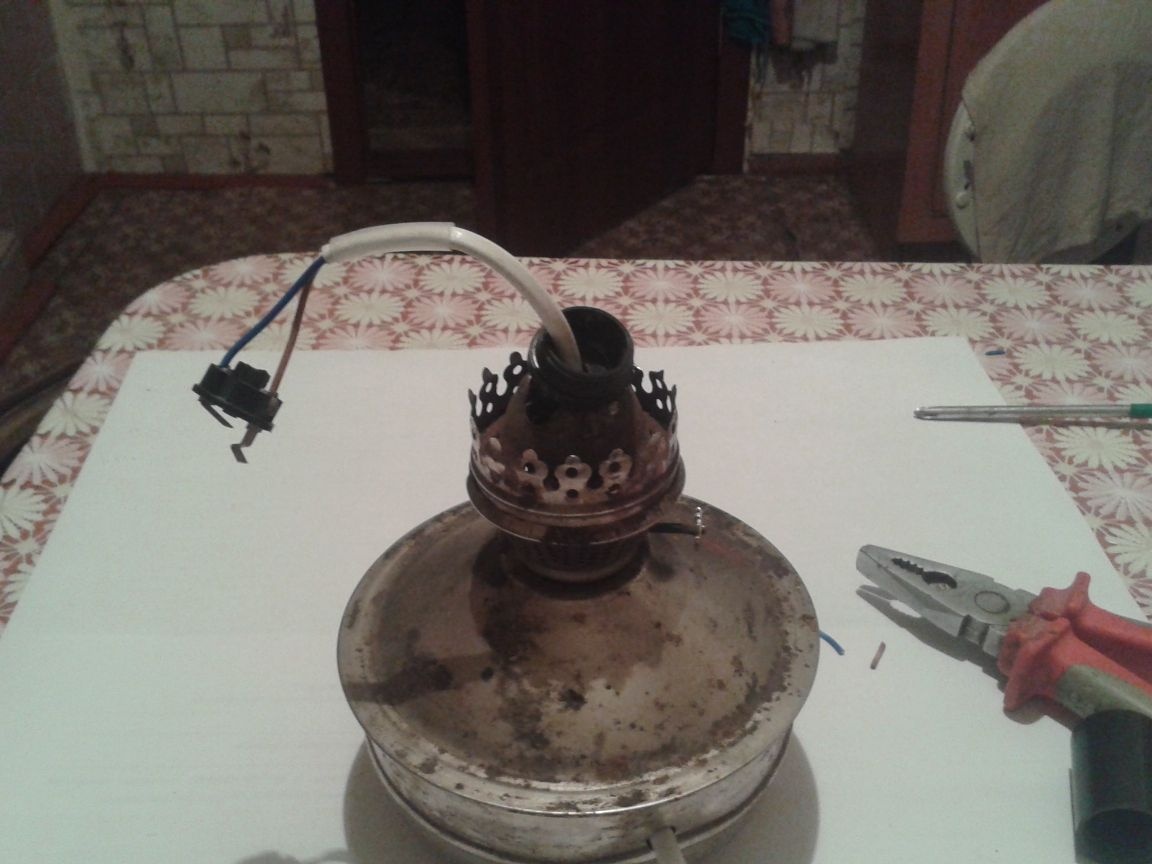
The photo shows the places where you need to wear Cambrian and where to wrap with electrical tape.
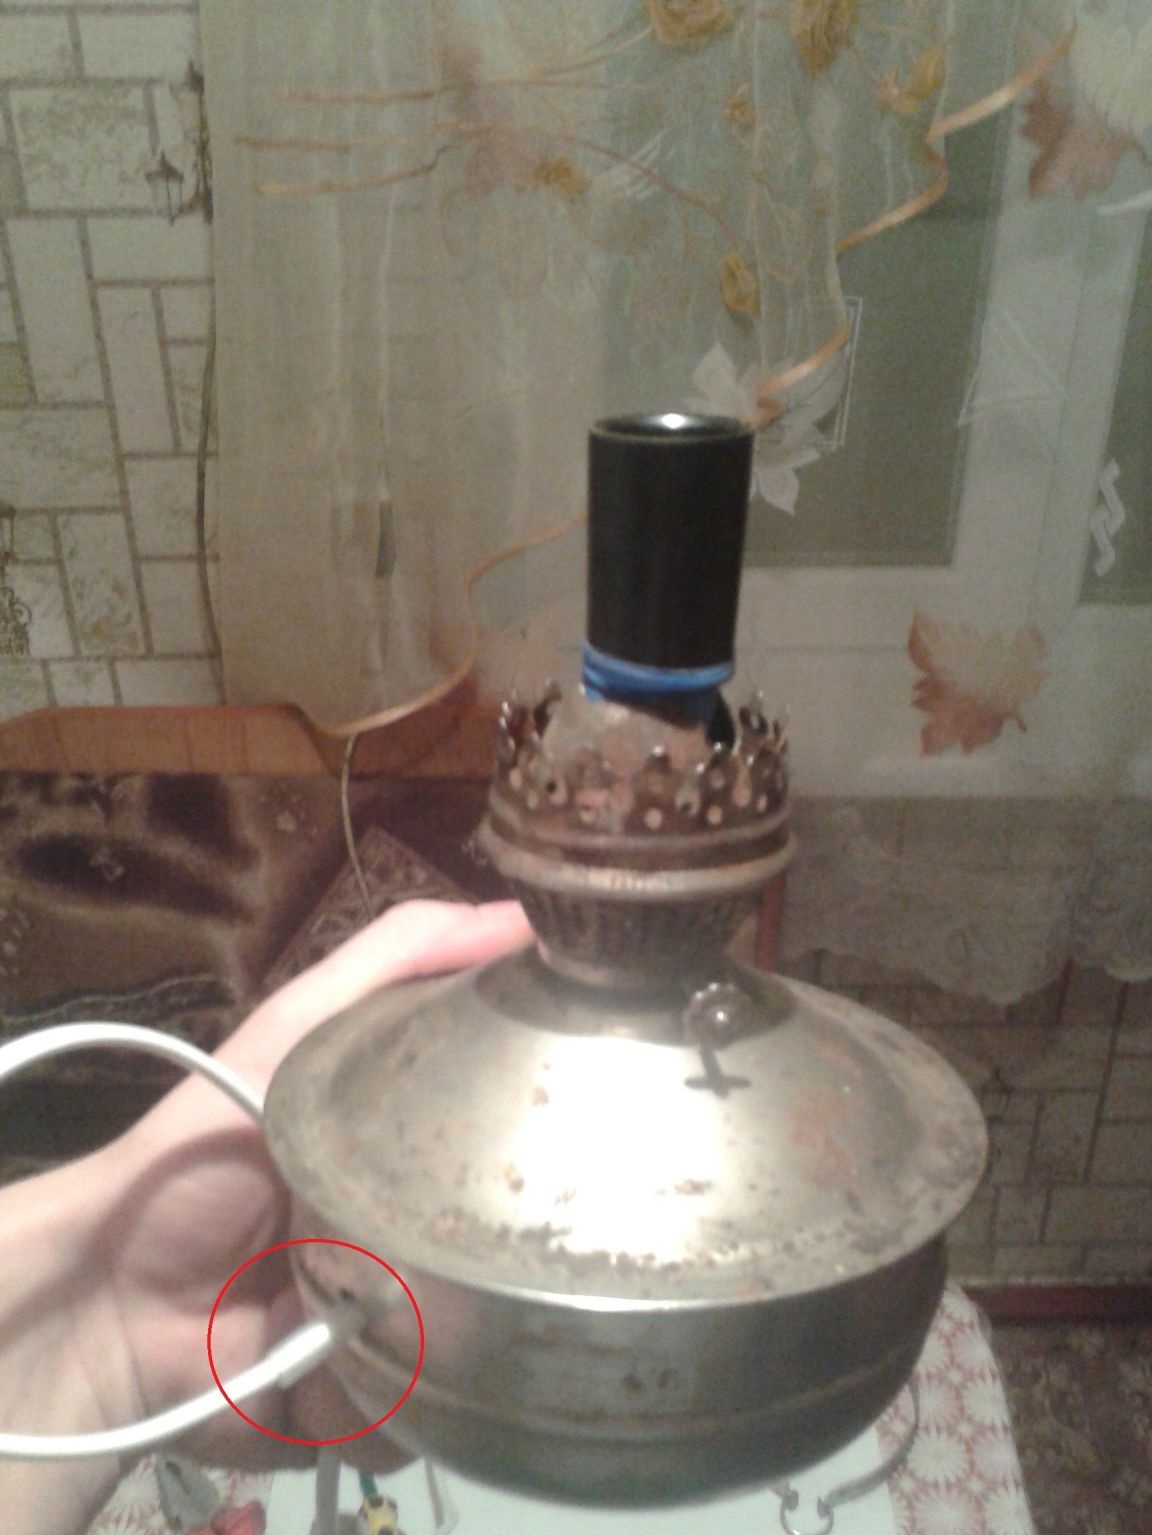
Step 7. Now we must assemble the already updated lamp into a single whole. Let's start with the pen. So that our hole, where the cable enters, is not visible, we will close it with a handle. It will turn out quite beautifully and, most importantly, the place where the capacity is drilled is not visible.

The photo clearly shows that the handle just closed everything. Only the cable itself and cambric are visible, which is specially made to be more authentic, so that even if it moves, there is no way to damage the common cable on sharp edges.
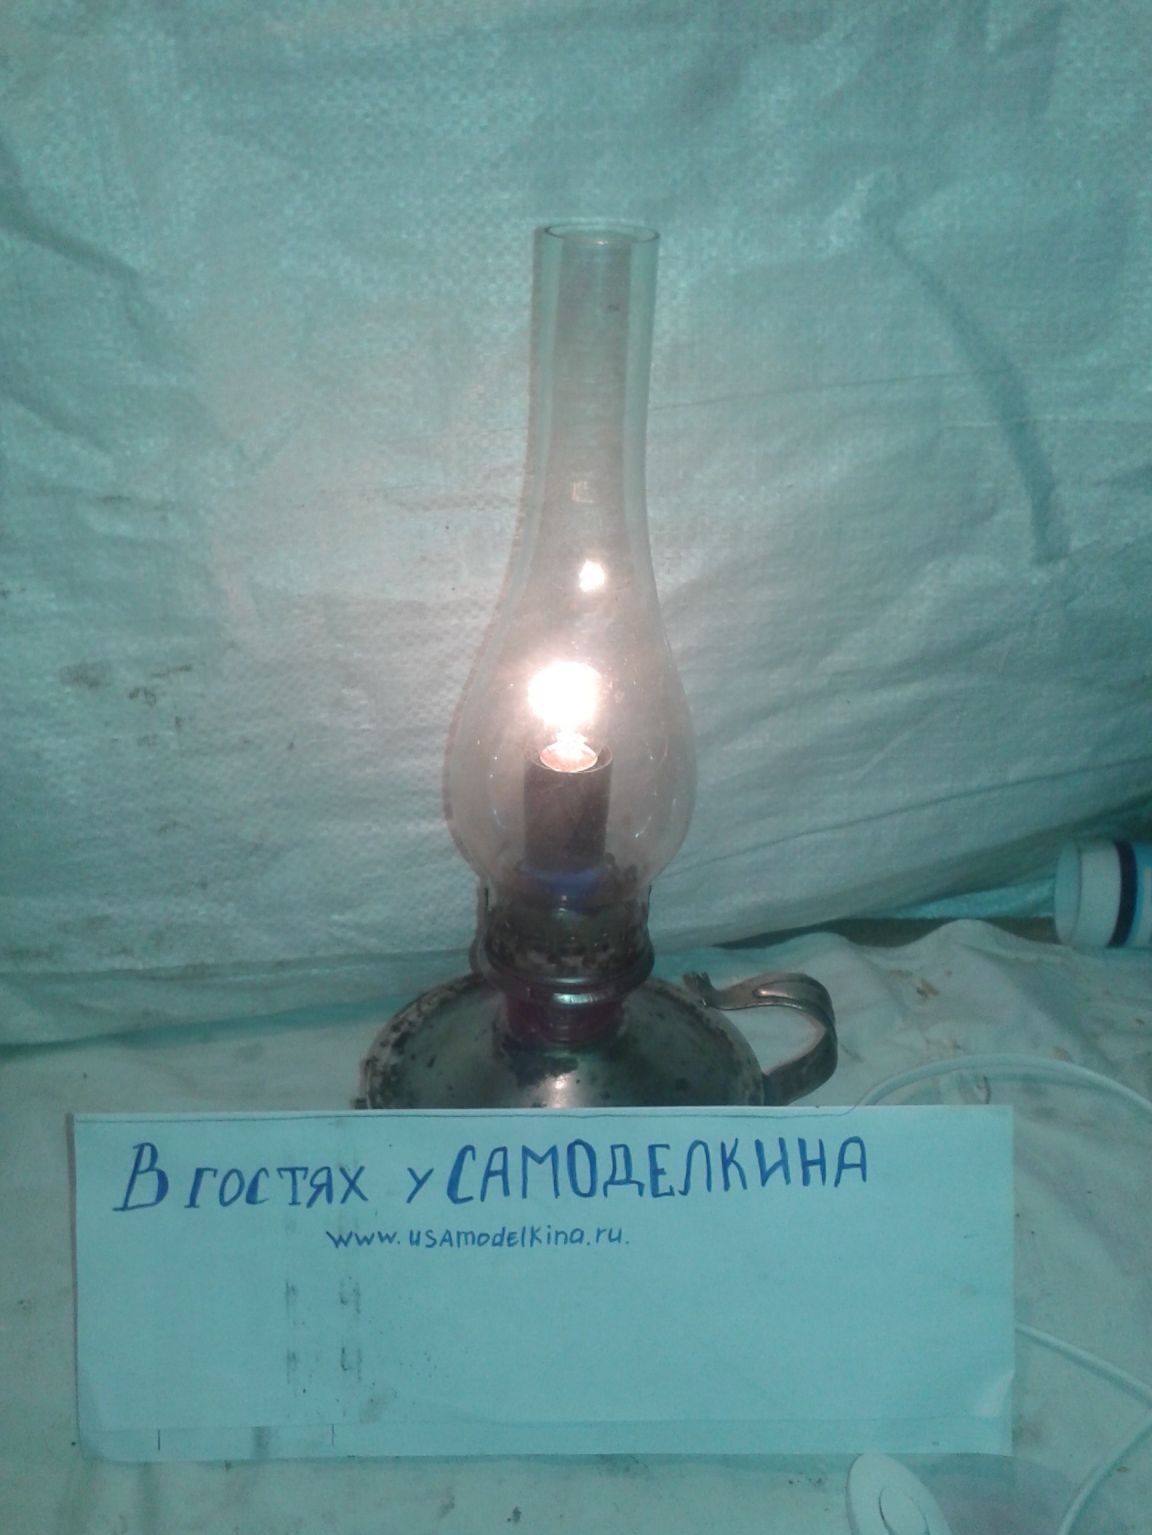
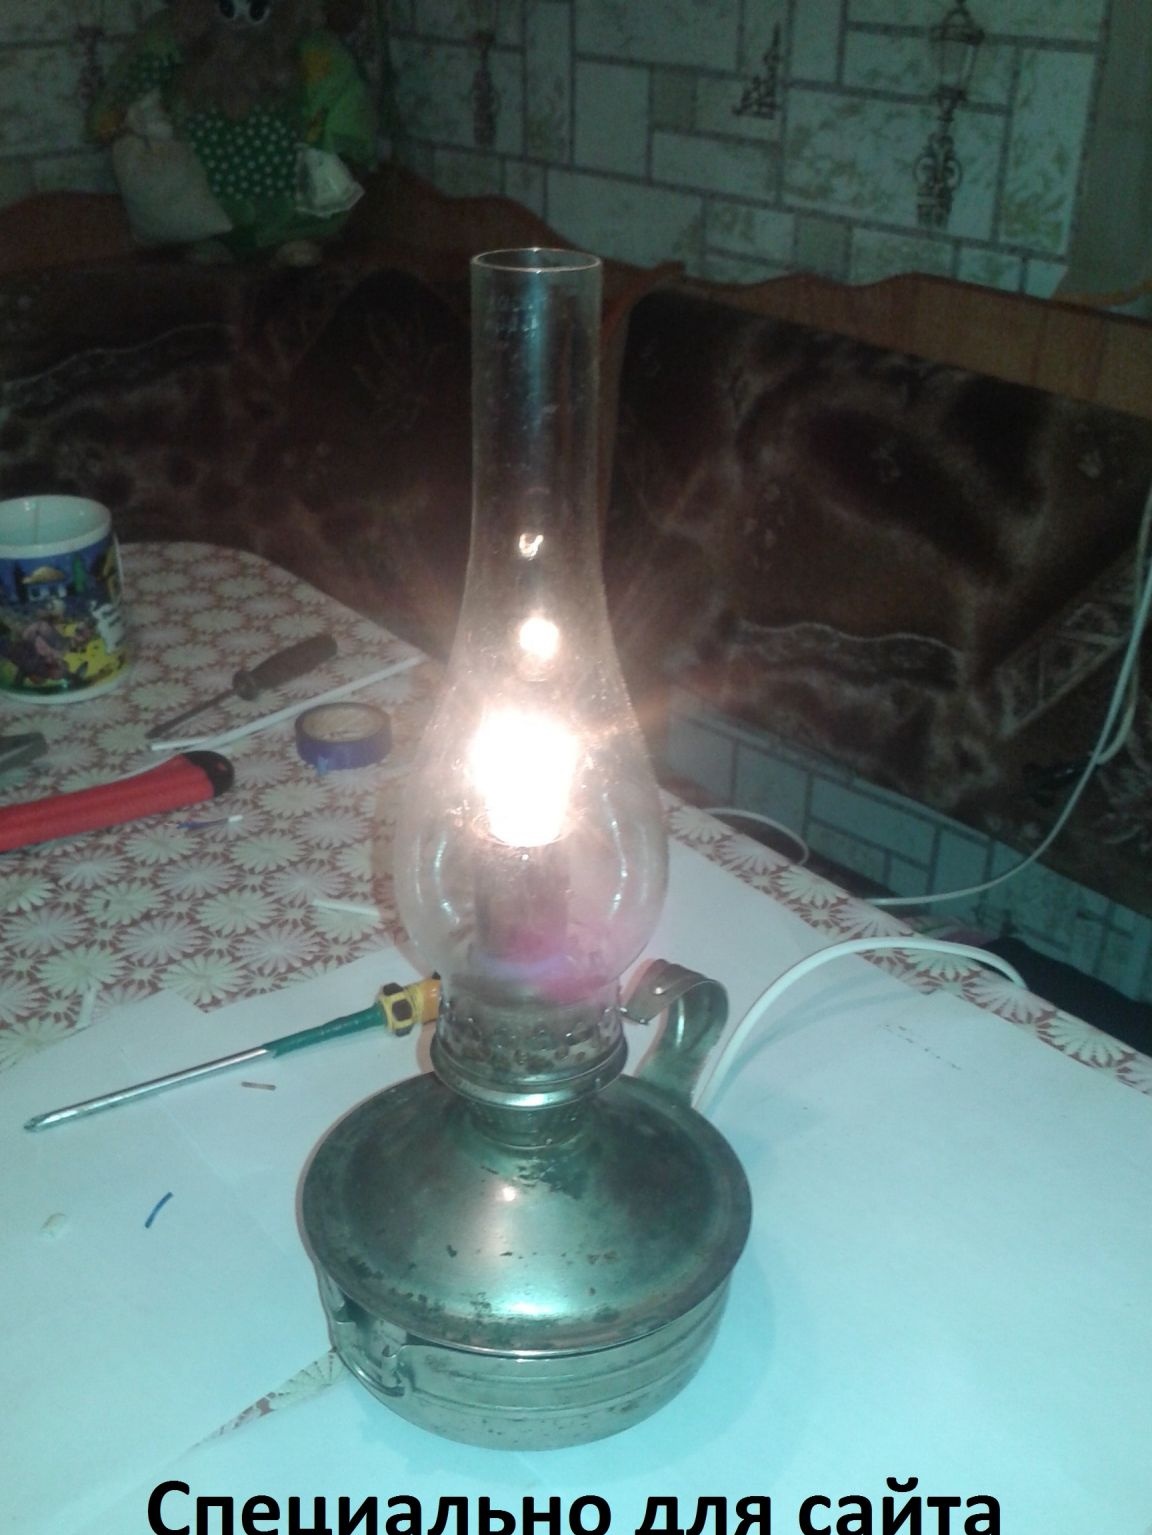
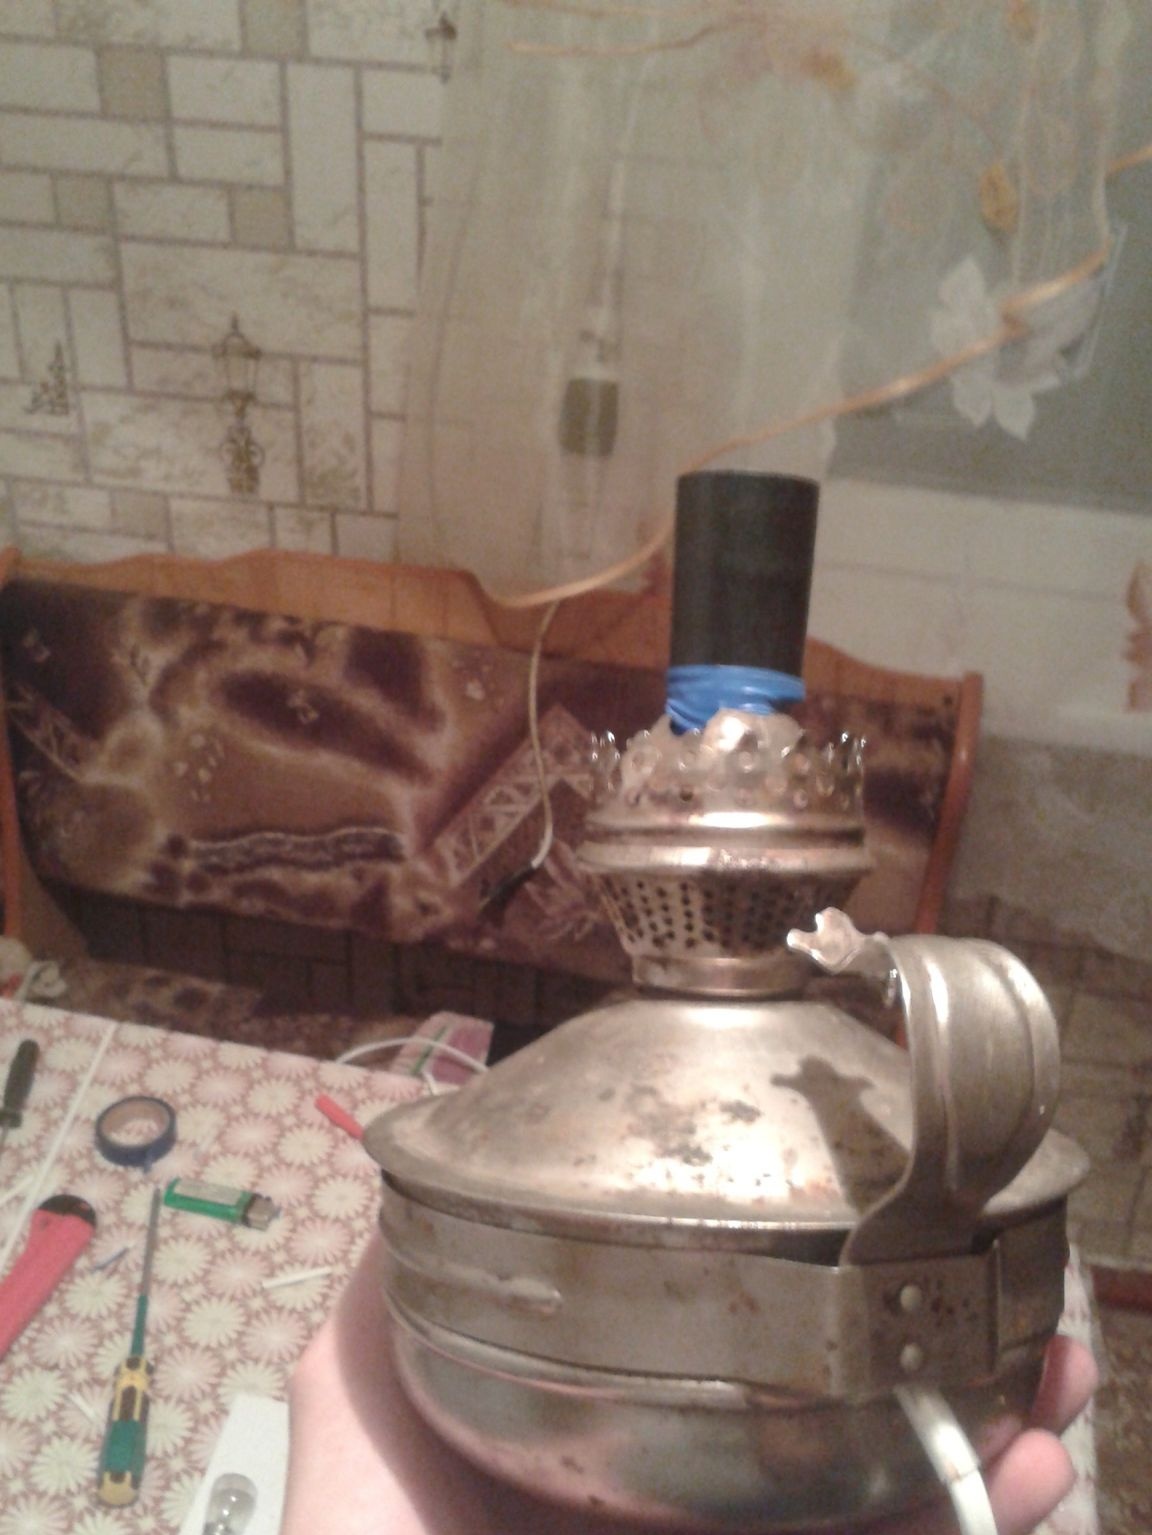
Now we put on the glass and our lamp is ready. The second life of the old, useless thing in the past things began! Thanks for attention. I wish you all creative ideas and their implementation.
Nikolay.