Materials and tools for manufacturing:
- thick cardboard (you need a lot of pieces);
- arduino (the author used an analogue for 210 p.);
- a small breadboard costing 80 r .;
- two ultrasonic range finders (cost 300 r.);
- motor controller (80 p.);
- two gear motors with wheels (300 p.);
- battery pack with 18 V charge controller;
- several meters of twisted pair;
- turbine from an old vacuum cleaner;
- computer cooler.
Manufacturing process:
Step one. We create a rotary platform for the robot
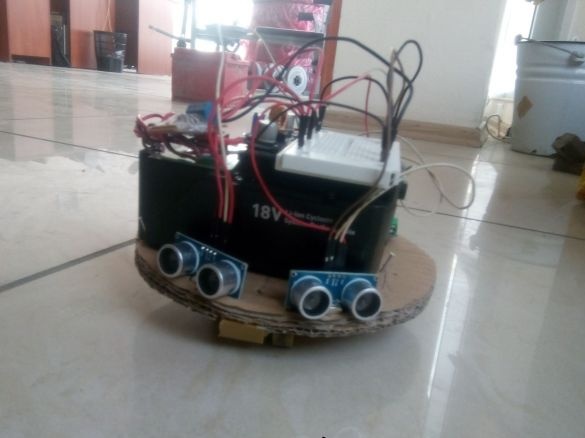
For his first homemade the author used a tank from the game "Tank Battle", all unnecessary details were thrown out of the toy, only the hull remained, as well as engines and wheels. After that, Arduino UNO, a motor driver and an ultrasonic rangefinder, was installed. Three lithium 3.7 V batteries were used as a power source.
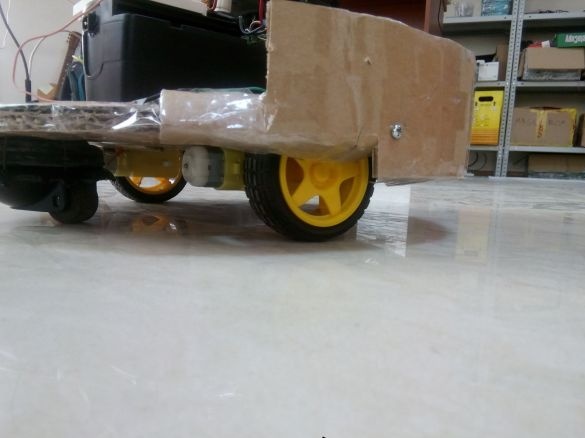
This design had several disadvantages. For example, due to the fact that the wheels were behind the platform, the robot had problems turning, the robot often skidded.
Also, due to the very high speed of movement, the robot sometimes did not have time to respond to the rangefinder signals and crashed.
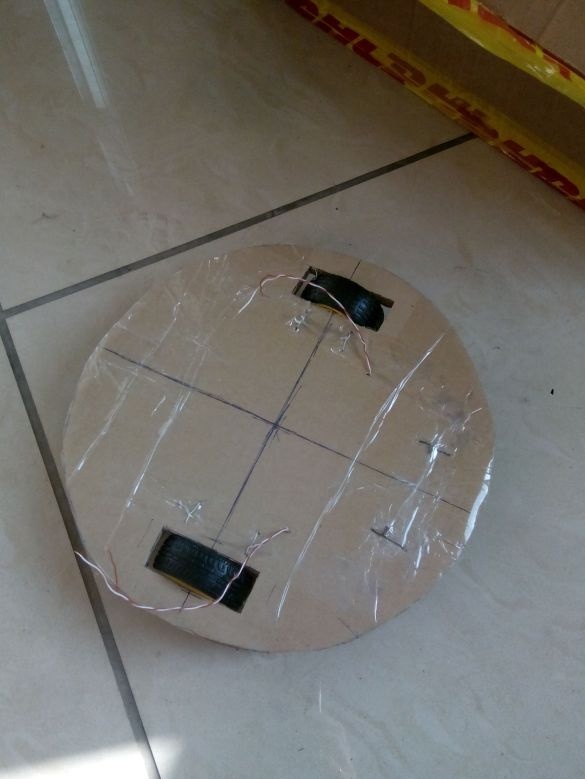
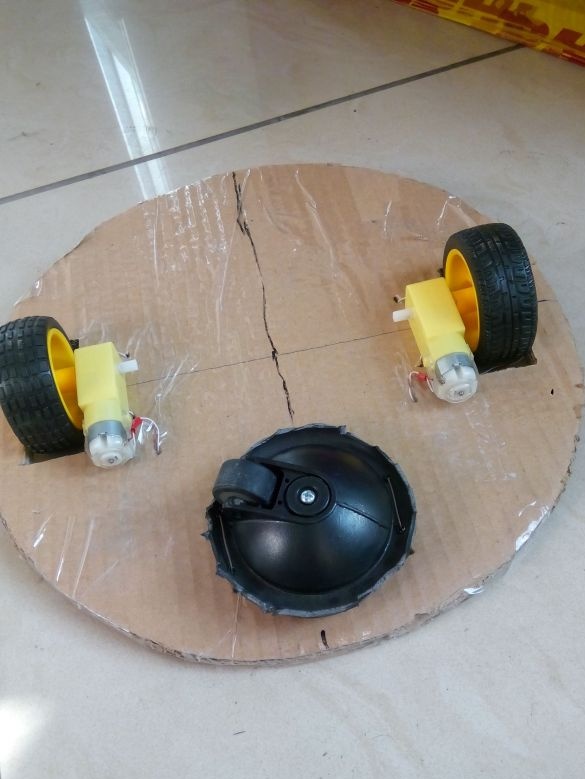
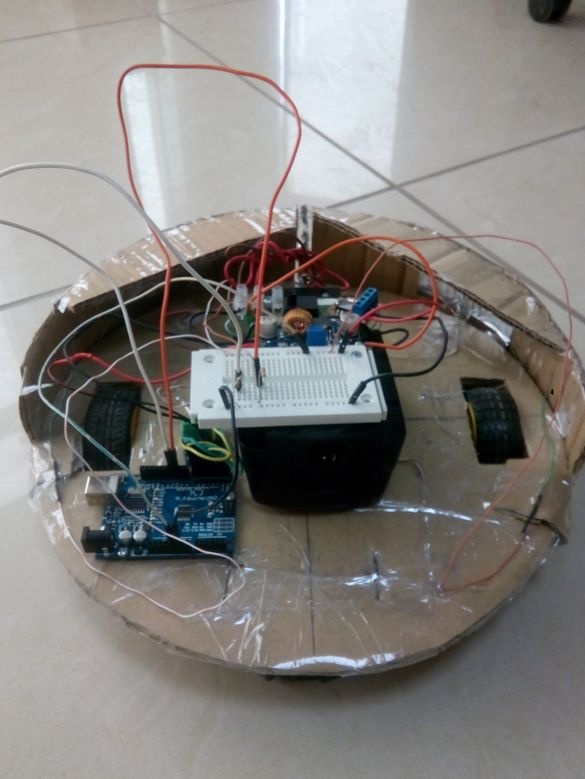
All problems were resolved by assembling a new cardboard platform. To do this, cut 2 circles with a diameter of 30 cm, and then glue them across the fibers. The result is a pretty solid bend design. As for the motors and gearboxes, they were taken from the previous homemade.
Step Two Create sensors
Initially, the robot was guided by range finders, but the author did not like their work and in the end it was decided to get rid of them. They were replaced by contact bumpers, while the robot began to behave more adequately, and less investment is required.
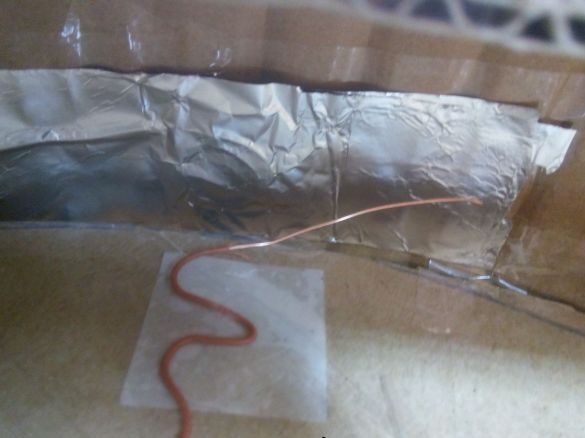
Contact bumpers are made very simply.You need to take cardboard and glue the foil on one side of it, this will be the first contact. A voltage of +5 V must be applied to this foil. Opposite the platform, you need to install a curved wiring from a twisted pair cable, it is connected through a resistor, so there will be less false positives. When the robot crashes into something, the contacts will close, and then electronics will turn the robot in another random direction.
Step Three Making a vacuum cleaner and a dust bag
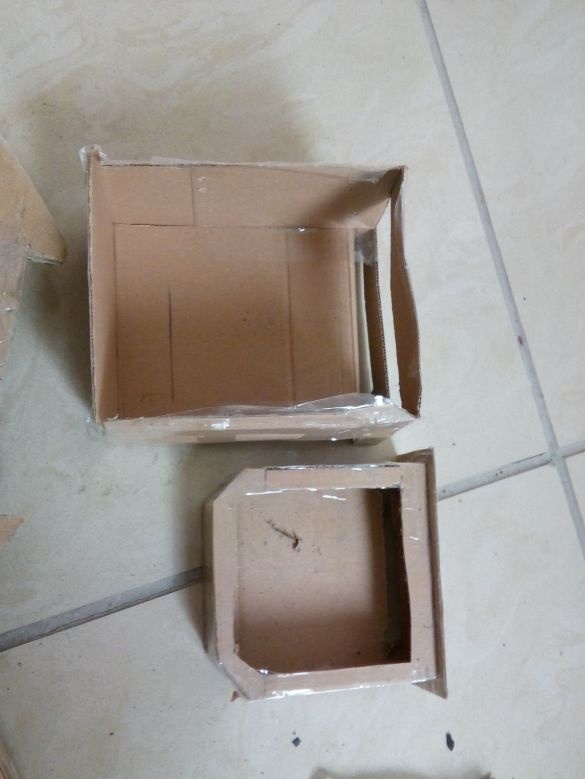
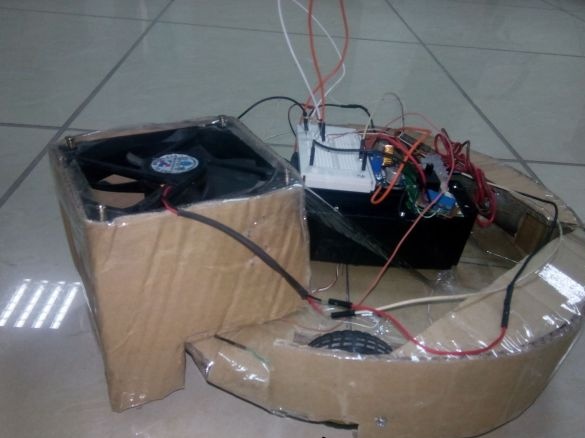
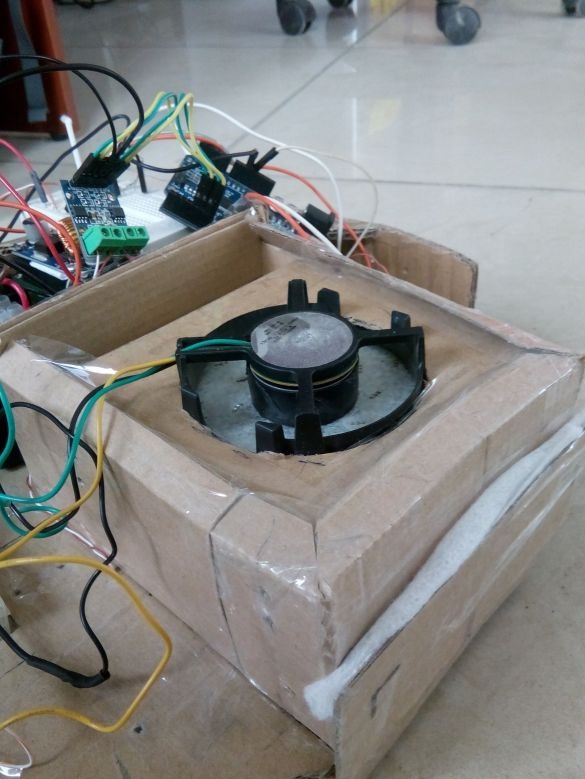
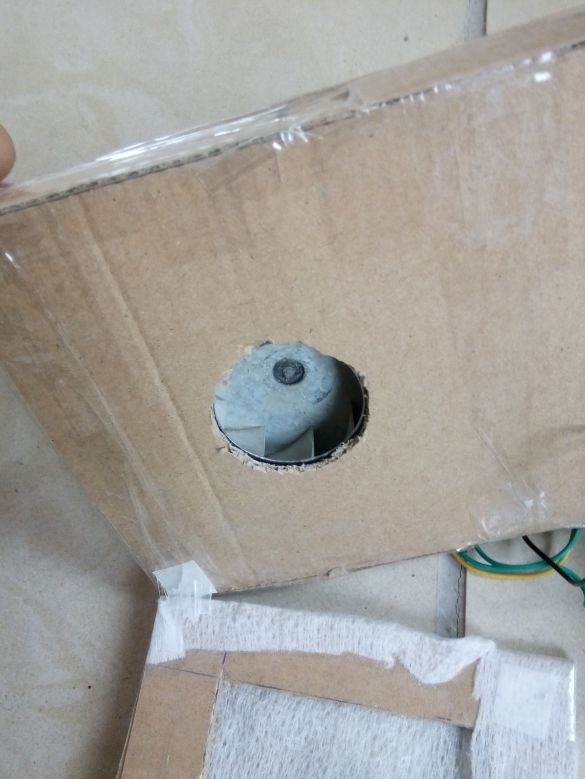
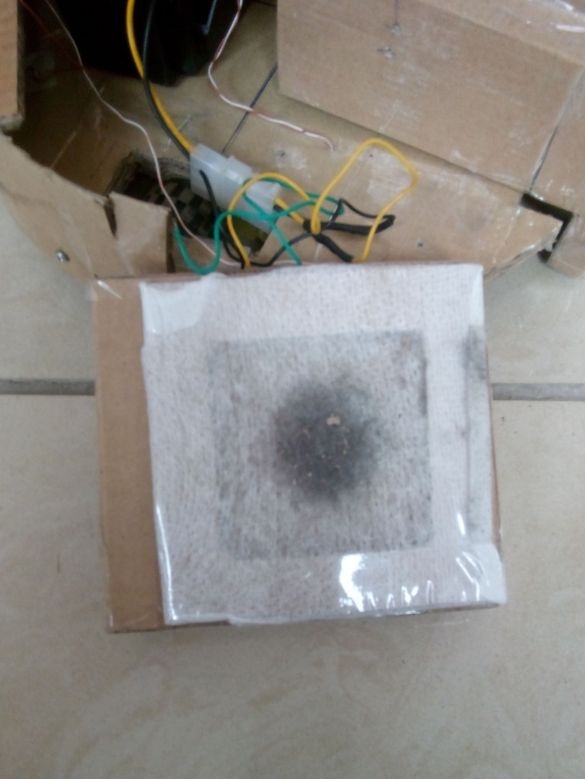
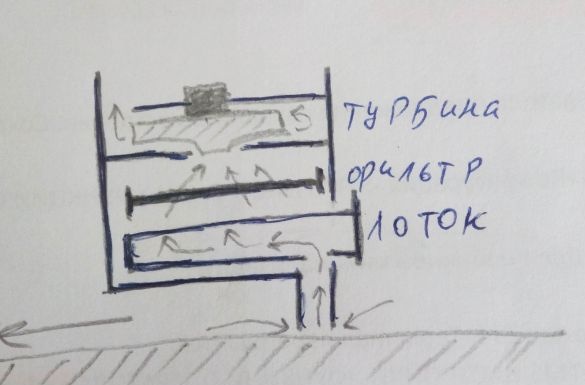
Thanks to materials such as cardboard and scotch tape, you can quickly assemble almost any layout. For the operation of the turbine, a power source of 18 volts is used, directly from the battery. With this load, the coolers heat up, but they work.
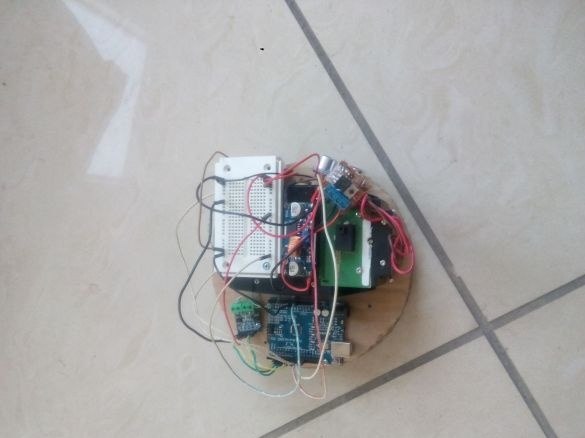
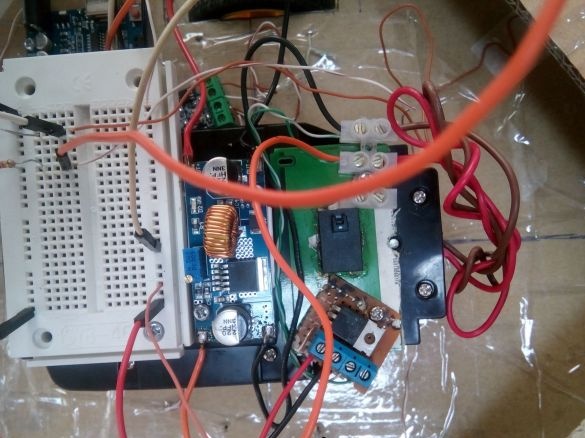
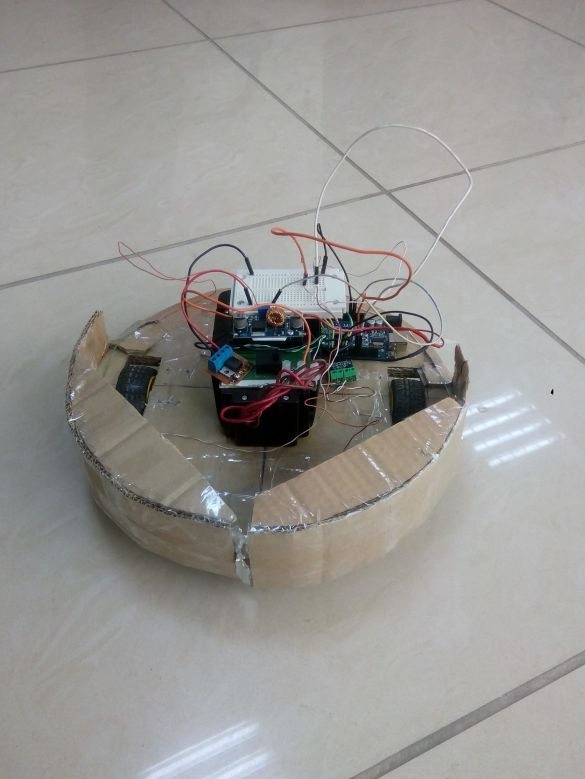
To make a turbine, a cooler is taken from a computer and then all blades break off from it. Next, the turbine from the vacuum cleaner is attached to the cooler, it must be glued with superglue. The most important thing here is to stick precisely, there should be no imbalance. Without load and 18 Volt power supply, the cooler produces about 2600 RPM, which creates excellent traction. In conclusion, the entire structure is assembled as can be seen in the photo and after that the robot can be tested.
As for the operation algorithm, it is very simple. If the robot crashes into something, then it turns around at a random angle.
In the future, the author plans to make the platform out of plywood so that it is stronger. It is also planned to install two brushes in front for more efficient garbage collection. The blown air can be directed under the platform to collect dust more efficiently.

