We will need:
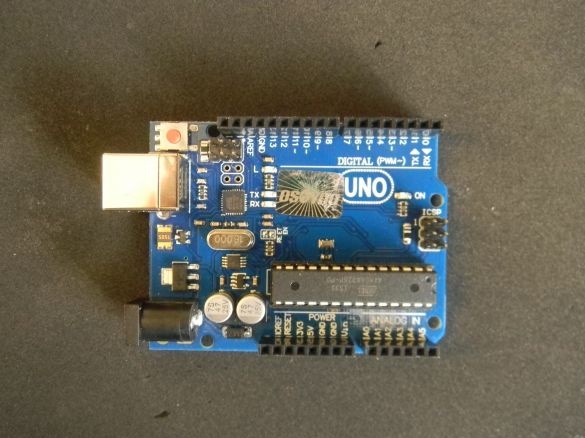
Arduino x1 (you can also use analogues)
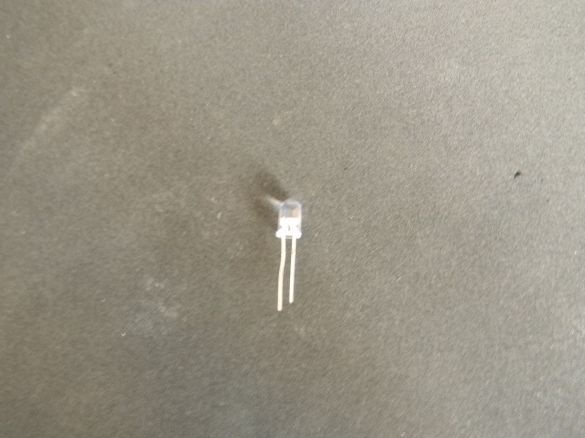
LED x1 (color to your taste)
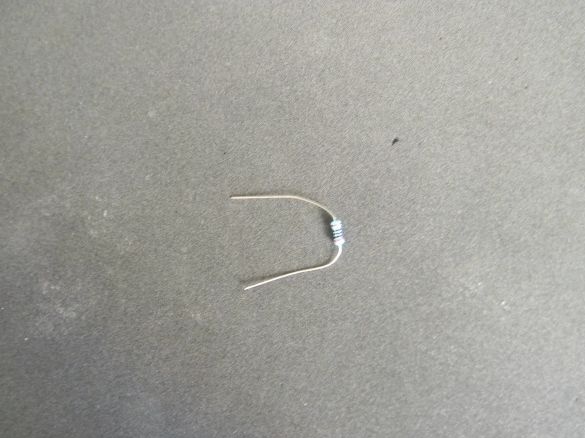
resistor x1 (200 - 220 ohms)
The program on the computer (it can be downloaded on the official website)
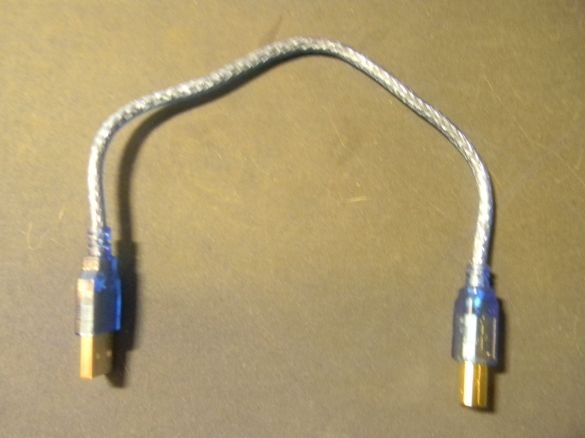
USB cable
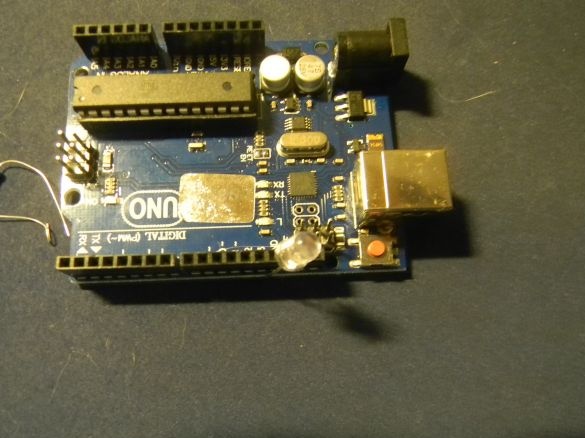
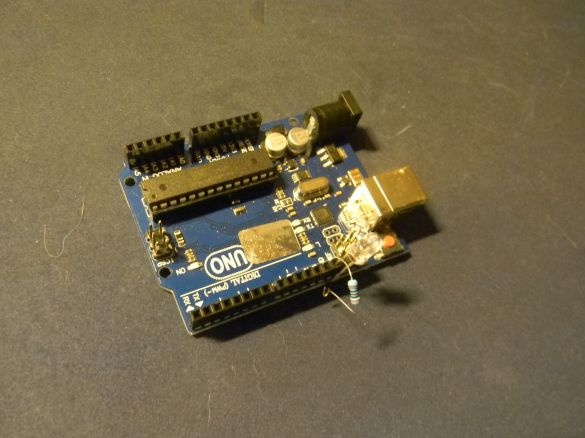
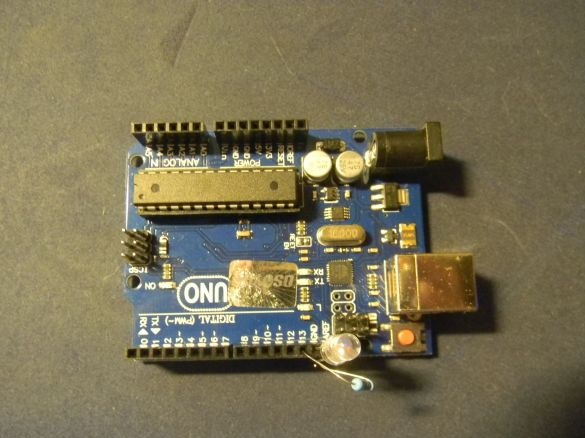
We connect the short leg of the LED to the 13th output in your Arduino
Connect 1 leg of the resistor to the ground (GND)
Connect 1 leg of the resistor and the long leg of the LED
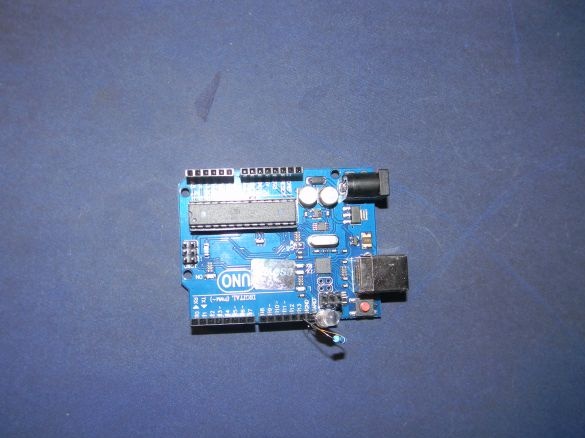
Here we have to get such a design
Now let's get started!
You must copy this sketch and paste it into the program.
void setup () {
pinMode (13, OUTPUT);
}
void loop () {
digitalWrite (13, HIGH);
delay (1000); this is the time when the LED is on and can be changed
digitalWrite (13, LOW);
delay (1000); // this is the time when the LED is off and can be changed
}
As a result, your LED should be on!

