
The printer has a working space of 10x10x10 cm and a speed of 20 mm / s.


Materials and tools for manufacturing:
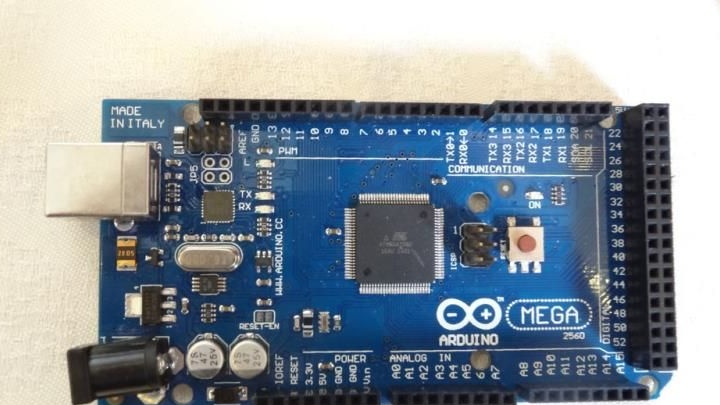
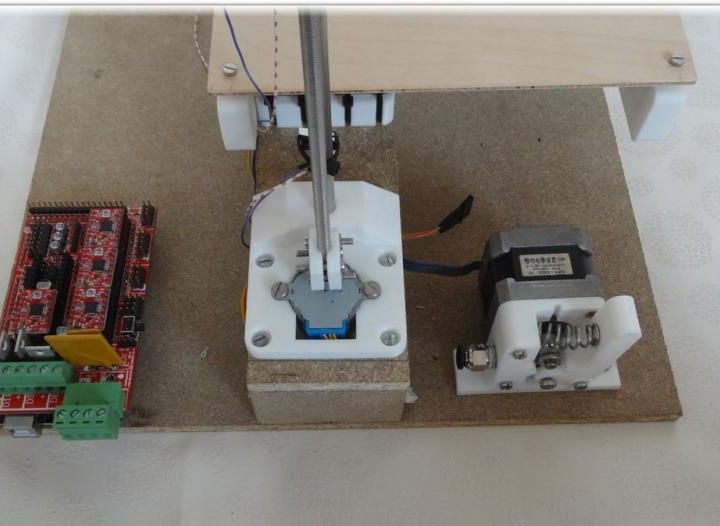
- one board Arduino Mega 2560 + Ramps 1.4;
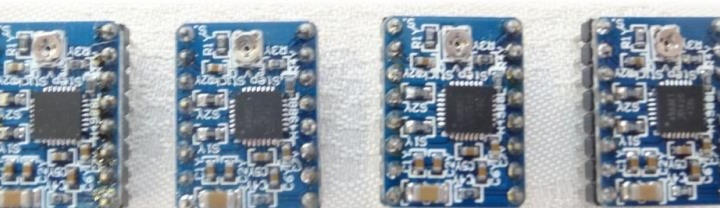
- 4 stepper motor drivers (A4988);
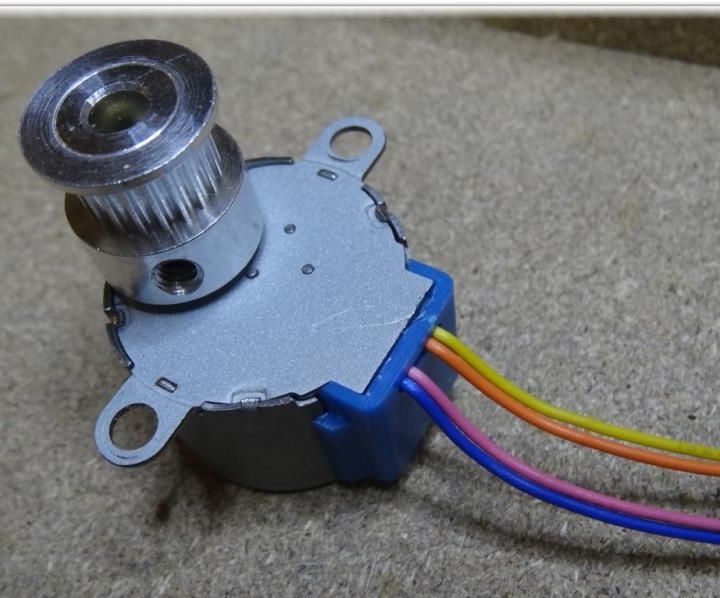
- 4 stepper motors of type 28byj-48;
- 3 limit switches (optical);
- stepper motor type Nema 17;
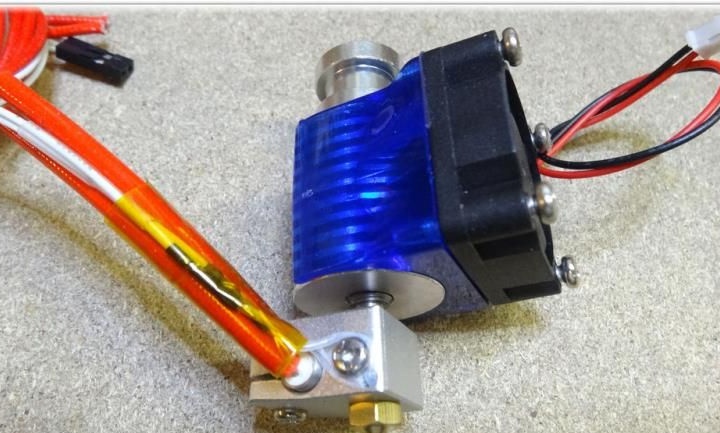
- extruder type E3D-V5 Aliexpress (or more expensive E3D-V6 Aliexpress);
MDF boards of different sizes, bearings and other elements will also be needed.
Also, for assembly, you will need to print several elements on a 3D printer. In addition, you will need screwdrivers, wrenches and other tools.


Build process:
Step one. Redoing a stepper motor
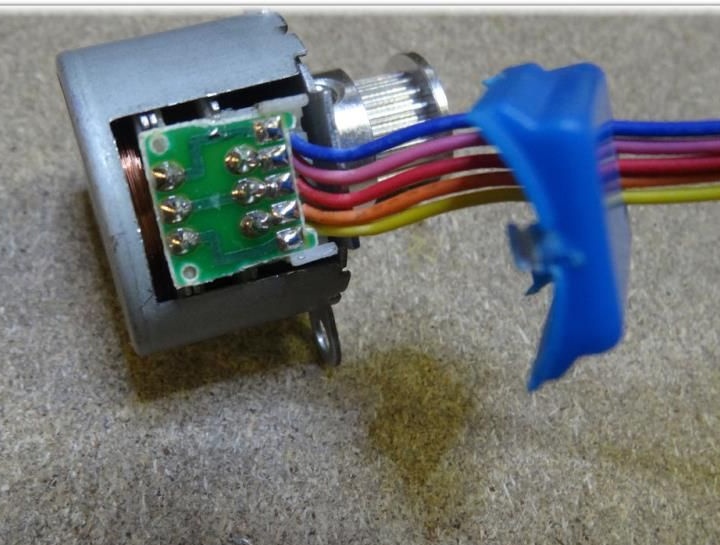
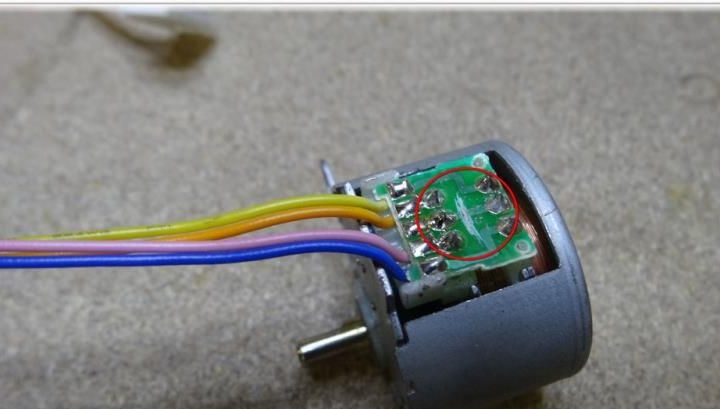
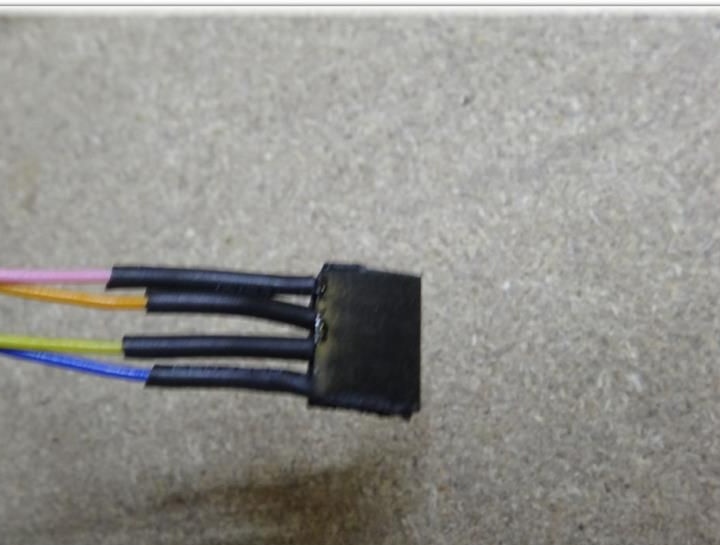
A stepper motor from a unipolar one needs to be converted into a bipolar one. To do this, on the 28BYJ-48 engine, you need to open the plastic cover. Next, you need to find the red cable and remove it, and open the contact track. How to do this can be seen in the photo.
Contacts should be arranged as follows: blue -> yellow -> orange -> pink.
After this modification, the engine can be directly connected to the contacts of the Arduino Ramps 1.4.
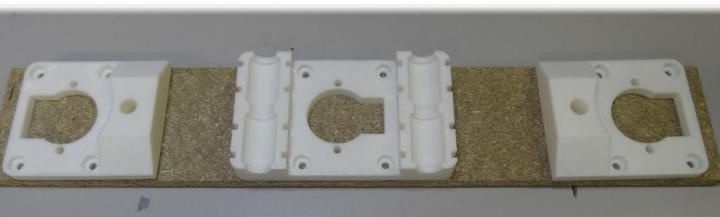
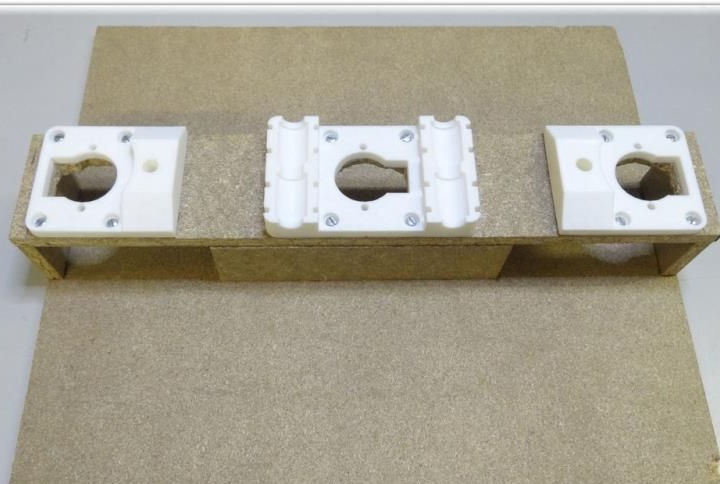
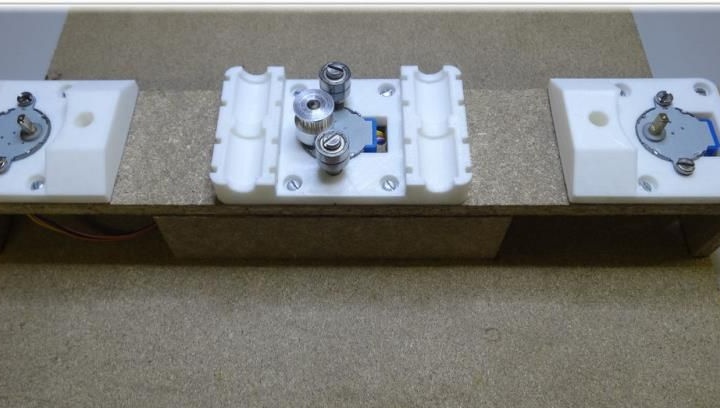
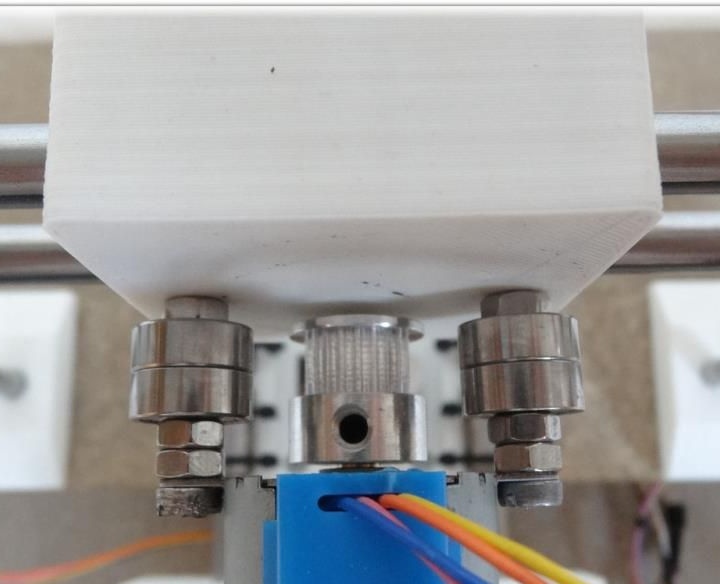
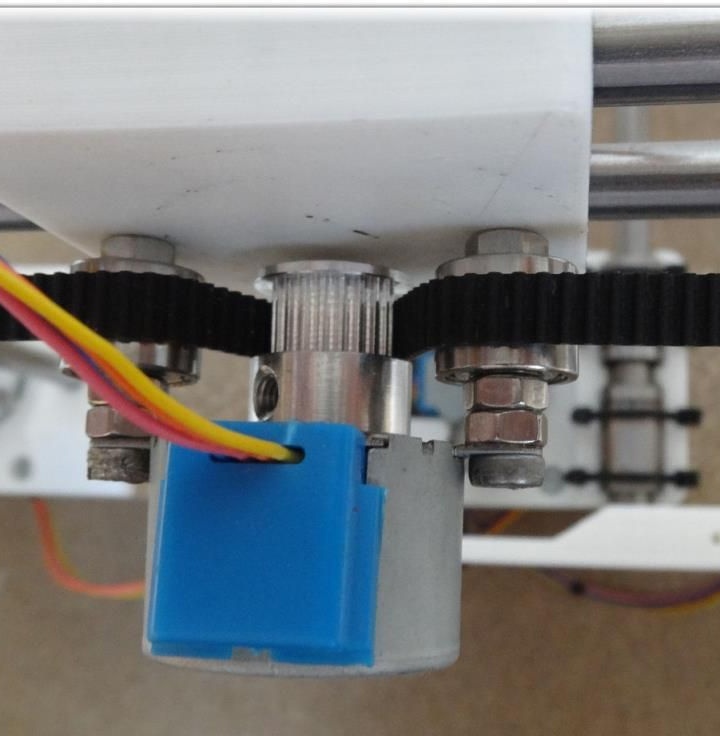
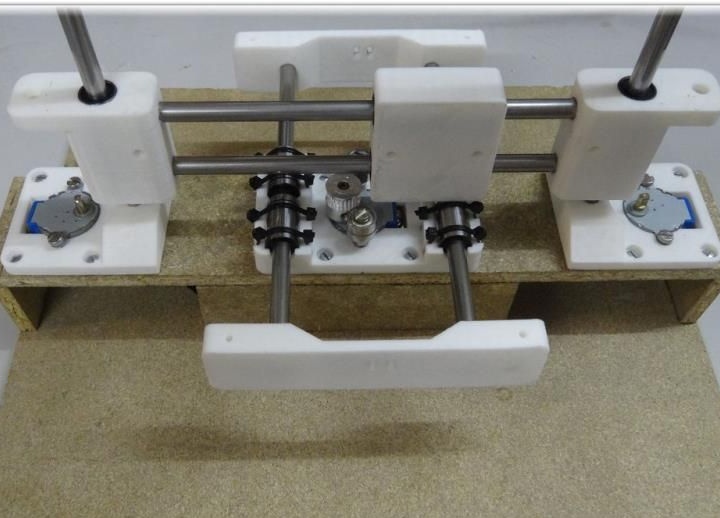
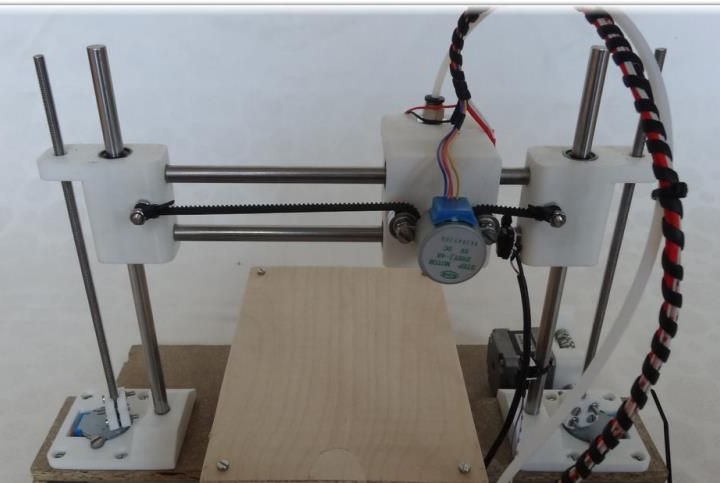
Step Two Y axis device
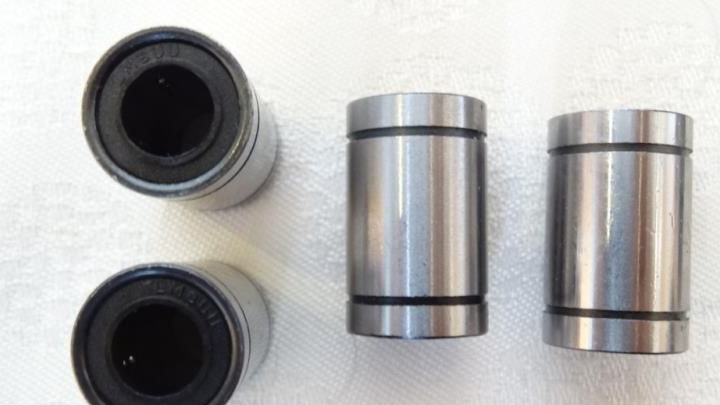
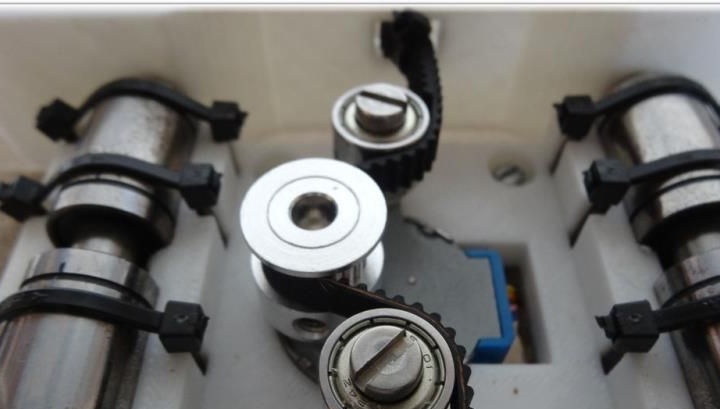
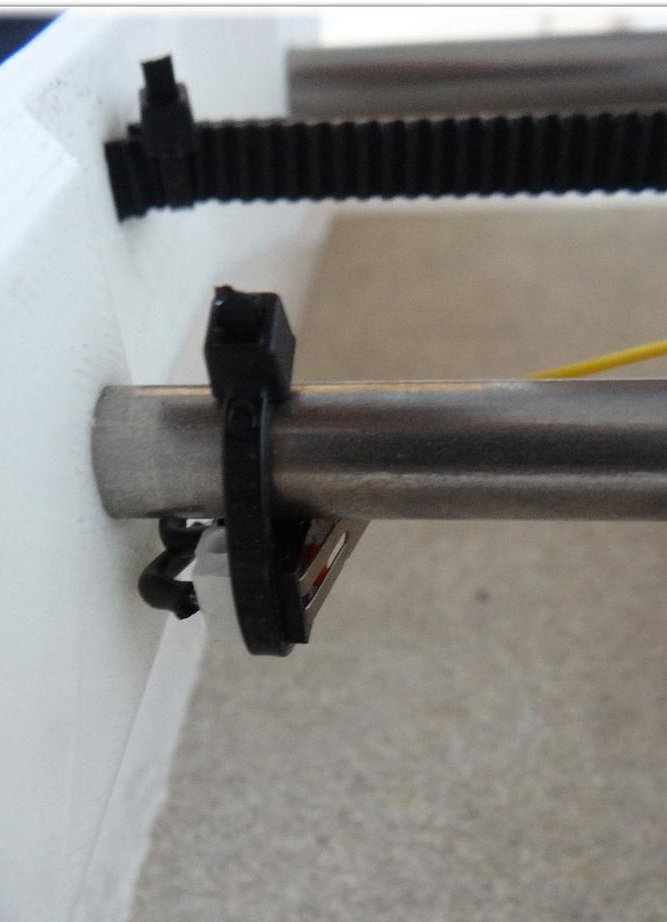
To create the Y axis, you first need to glue two plates. After that, printed “Motor” and “Z-Motor” elements are installed on the fabricated base. Elements are attached to the plates with screws. Next, you need to install motors in the grooves, and then bearings of the LM8UU type. A pulley is mounted on the engine, and next to it is a 624zz type bearing. To fix the LM8UU bearings, use plastic ties.
Now you can install the guides with a length of 17.5 cm and a thickness of 8 mm.
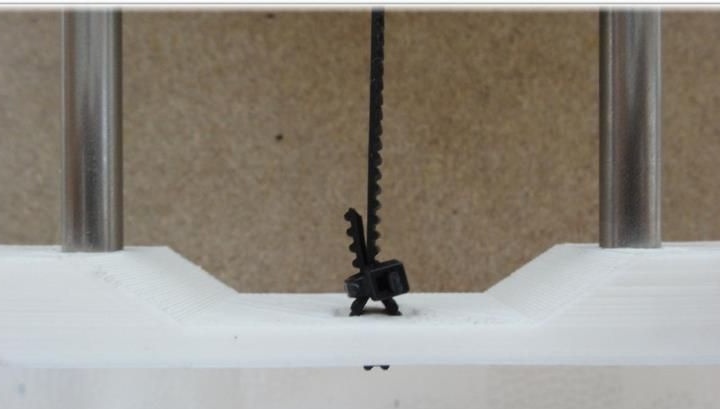
Finally, a belt is pulled through the Y-ends and a limit switch is installed.
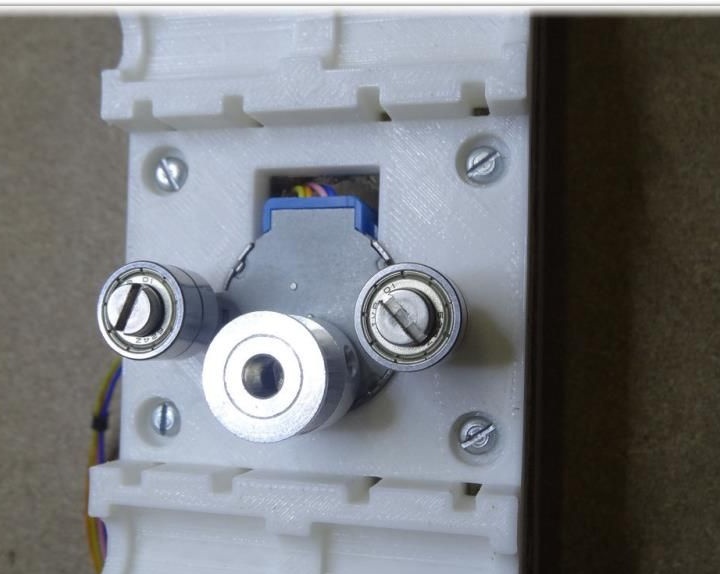

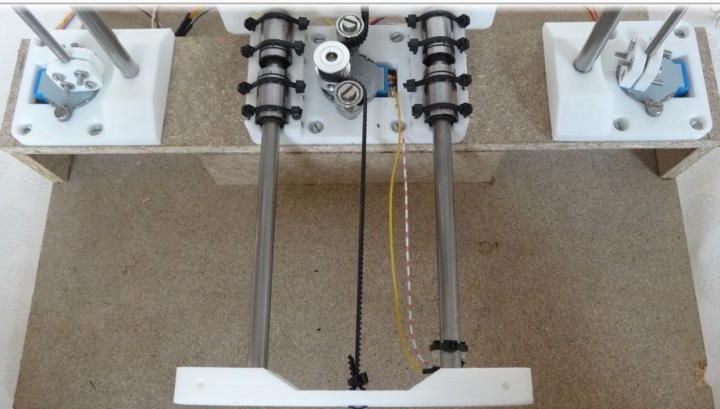
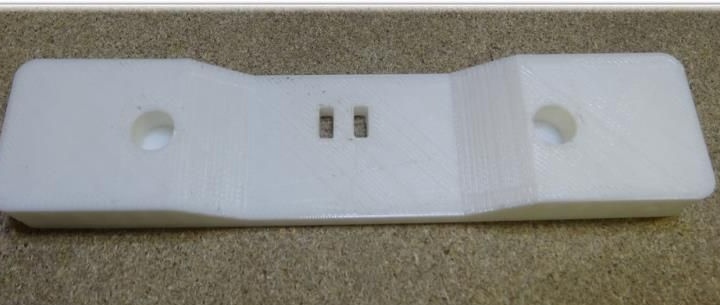
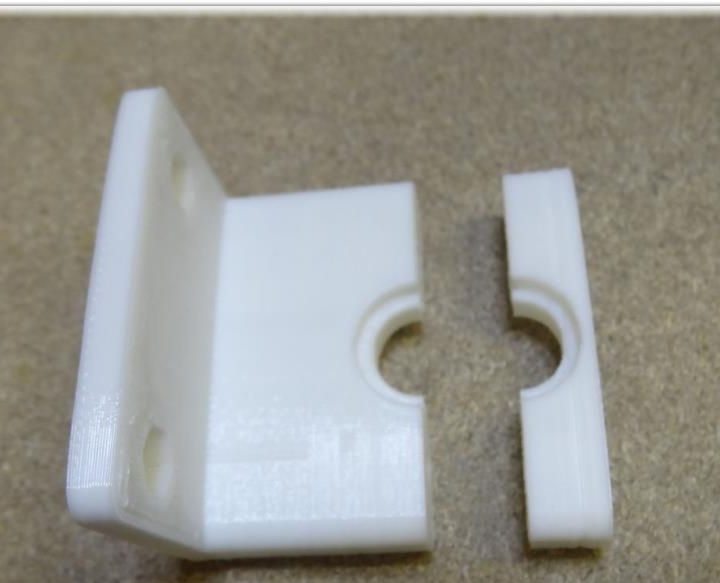
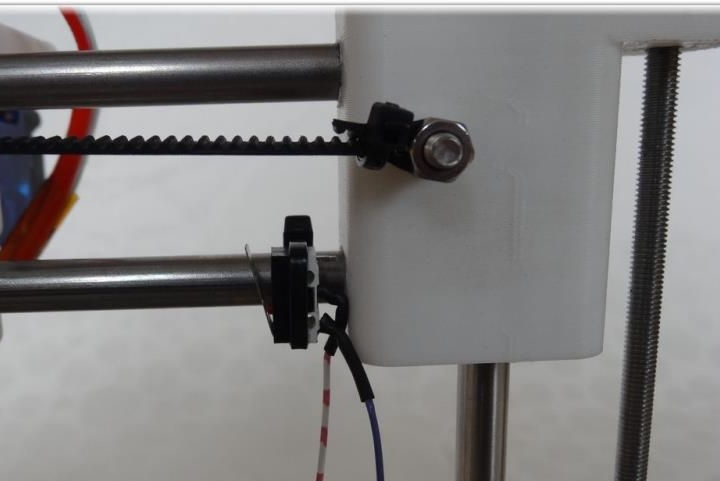
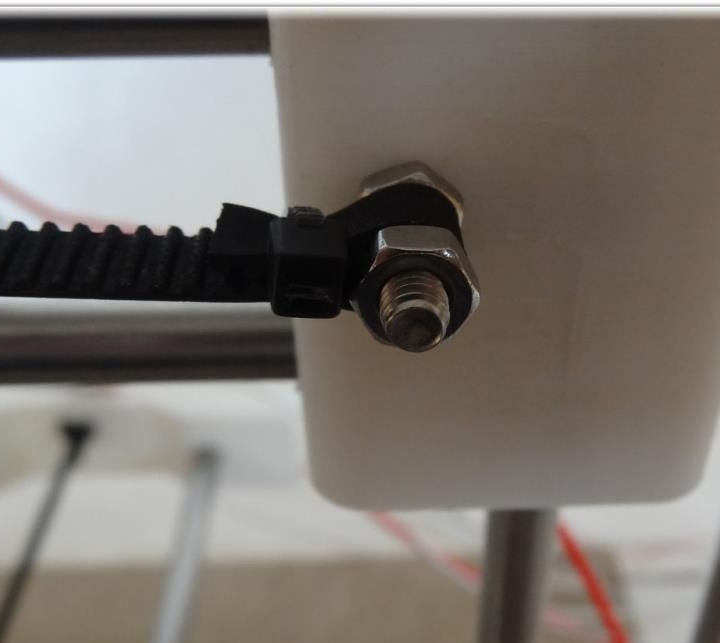
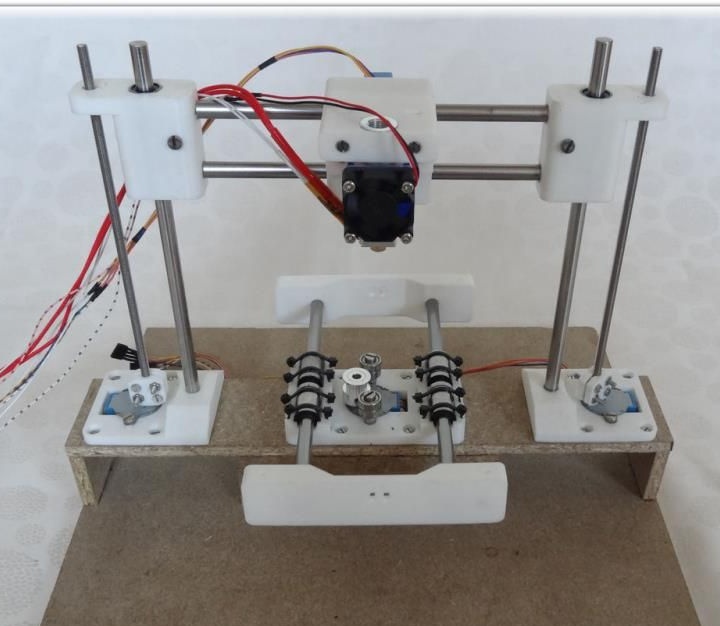
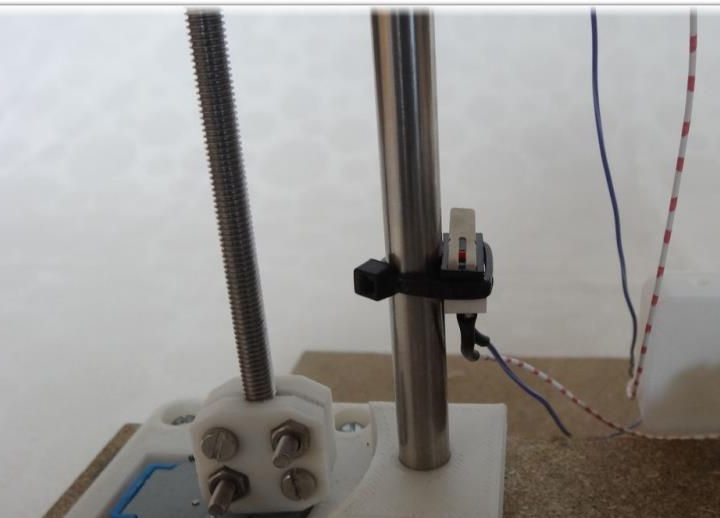
Step Three Create the X axis
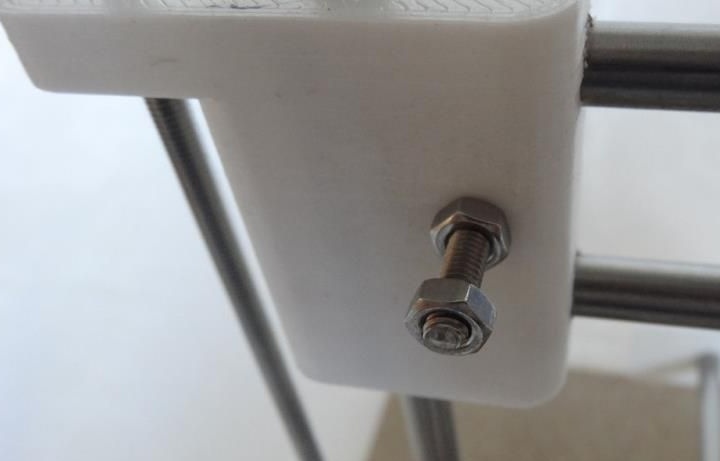
In order to create the X axis, two M4x45 bolts must be installed in the “X-End” part. Then you can connect the engine, how to do it, can be seen in the figures. As in the first case, now you need to tighten the belt and install the limit switch.
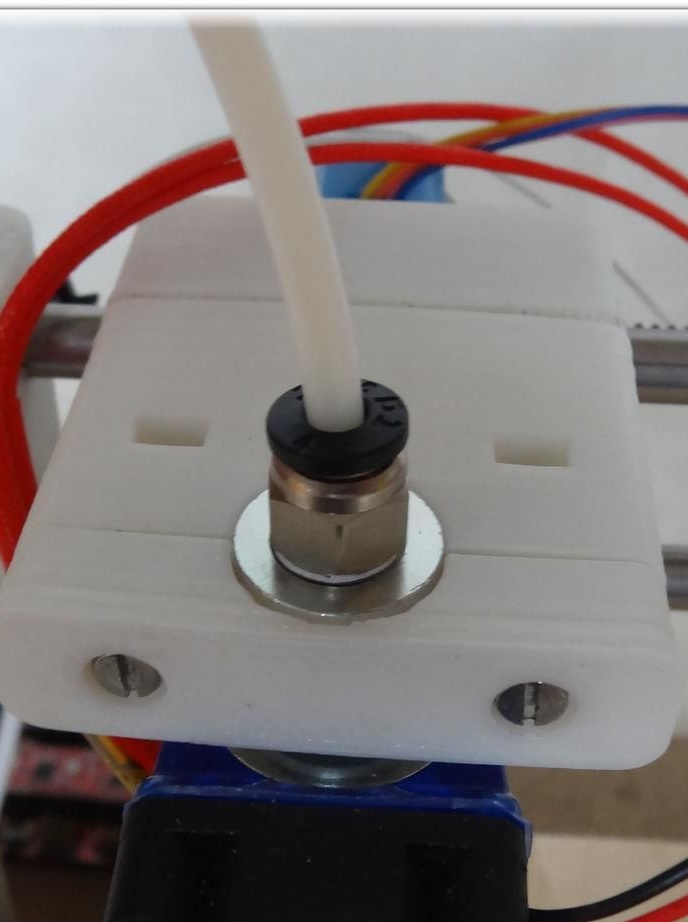
The extruder is attached using two bolts with nuts of size M3x25.
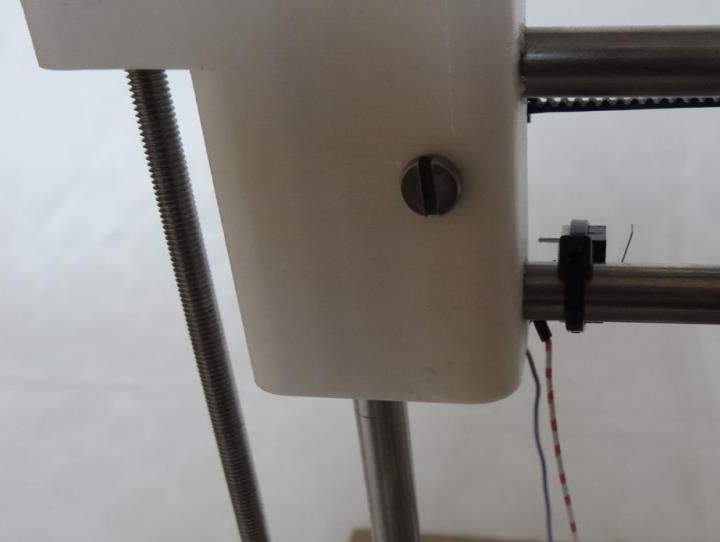
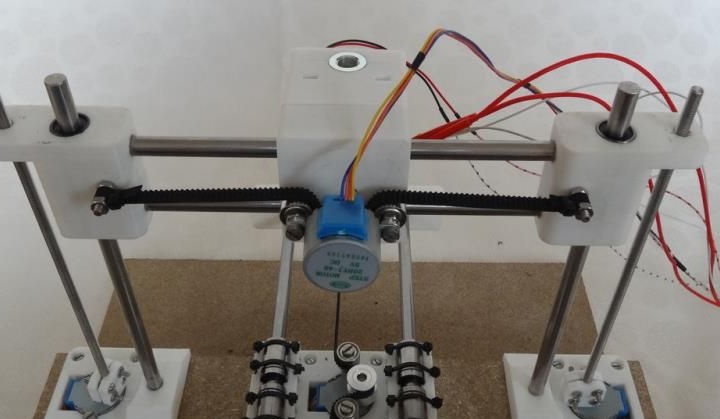
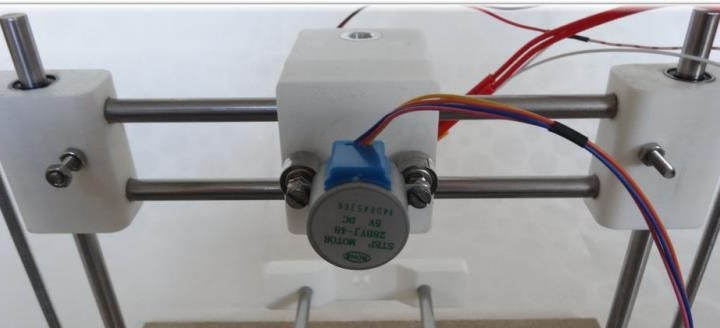
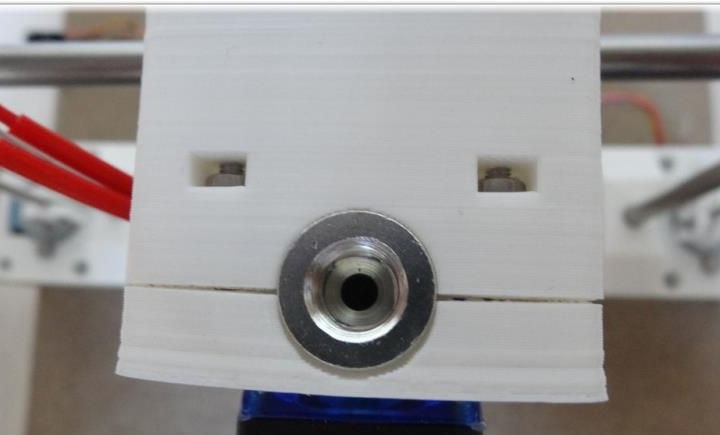
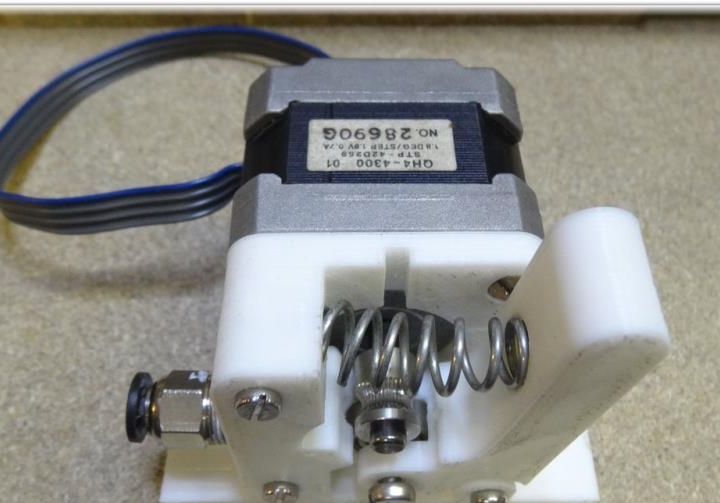
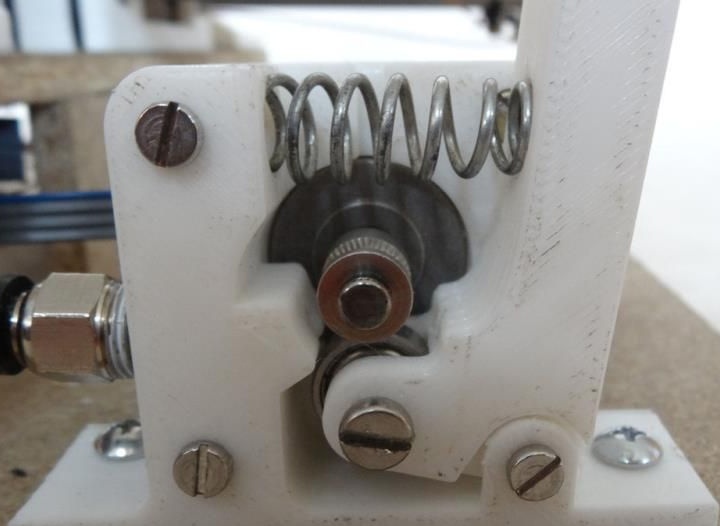
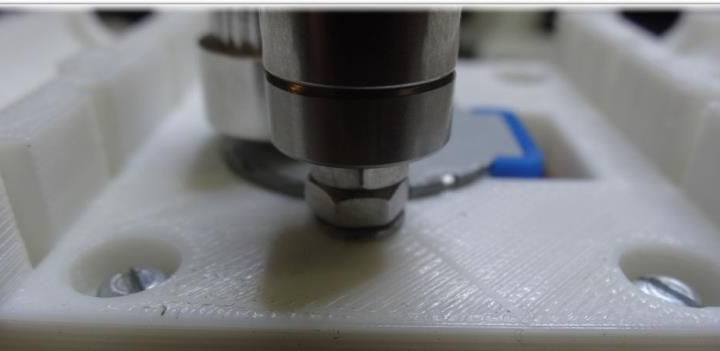
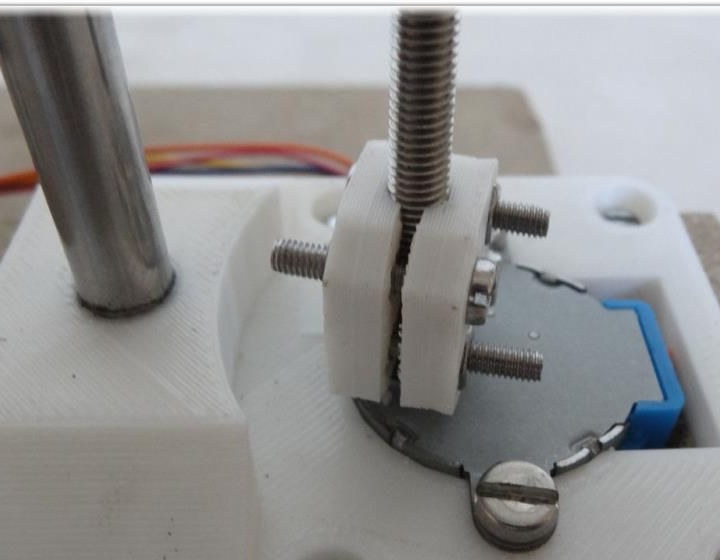
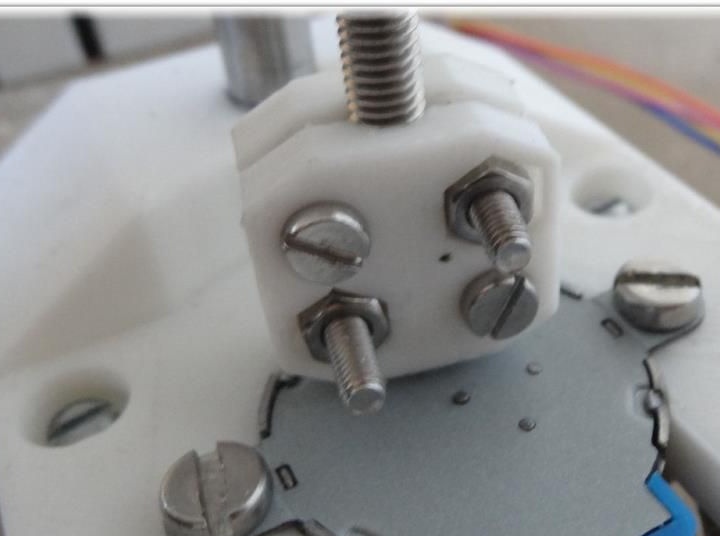
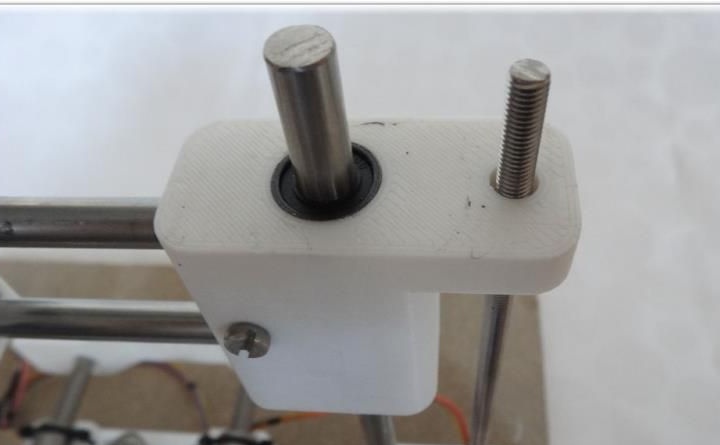
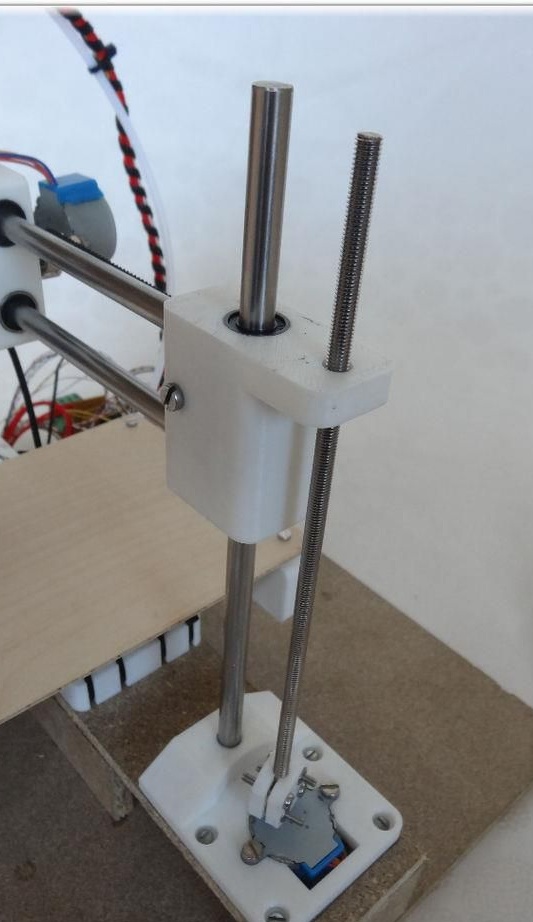
Step Four Z axis
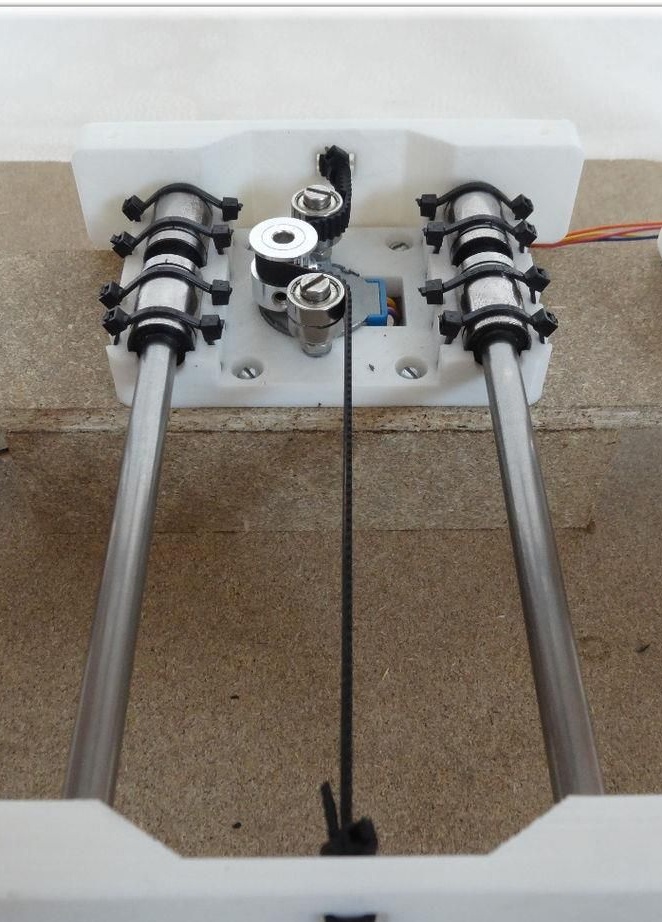
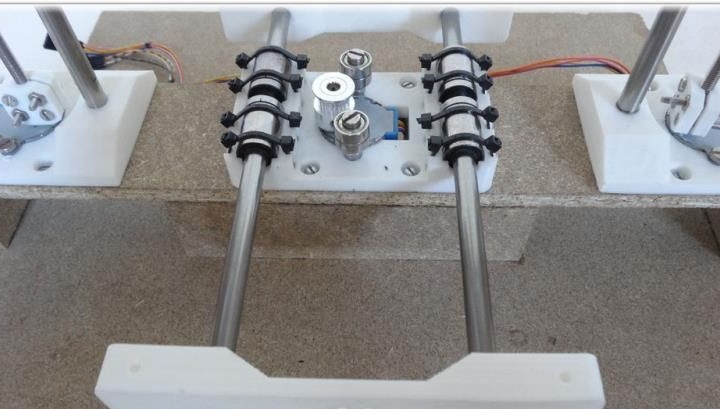
To assemble this axis, you need to take the elements “X-Carriage” and “X-Ends”, the LM8UU bearings are installed in them.Next, the design is installed on the guides 17.5 cm (X axis) and 21 cm (Z axis). At the final stage, the threaded shaft is connected to the motor.

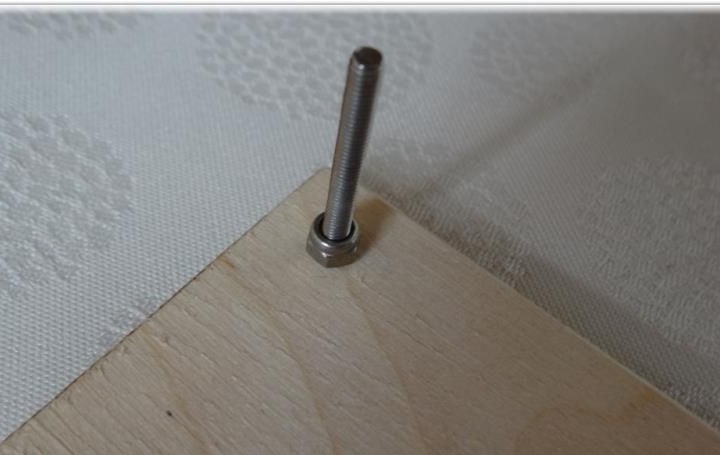
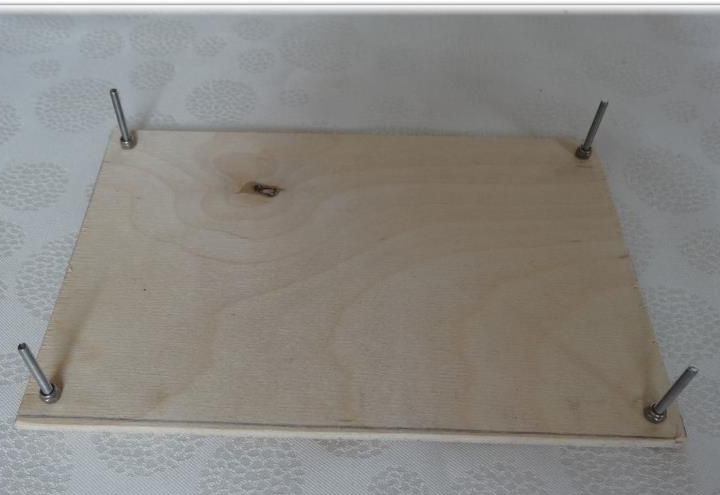
Step Five Printing table
In order to make a table, you need to take a 20x13 plate and drill four holes with a diameter of 3 mm in it. Then four screws M3x25 are twisted.

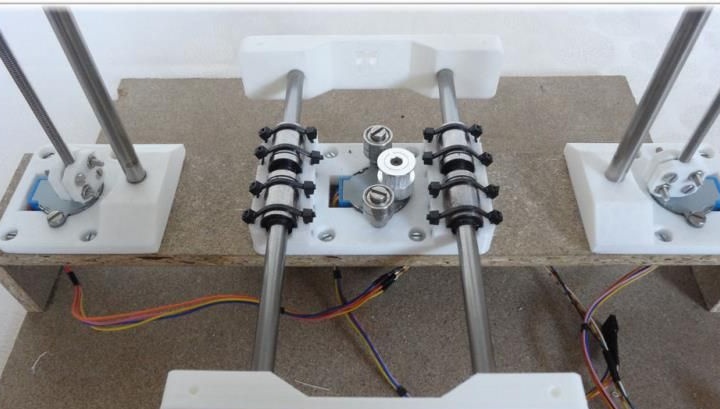
Step Six The final stage of assembly.
The printer must be assembled as indicated in the pictures. If in the previous steps the assembly was carried out efficiently, now assembling the printer as a whole will not be difficult.

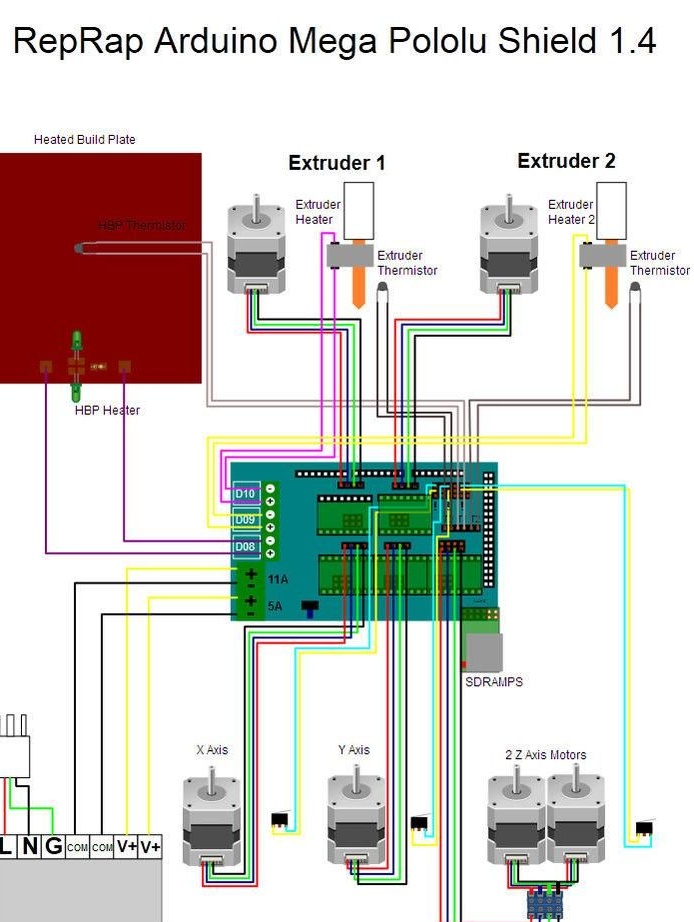
Seventh step. Electronic circuit and software
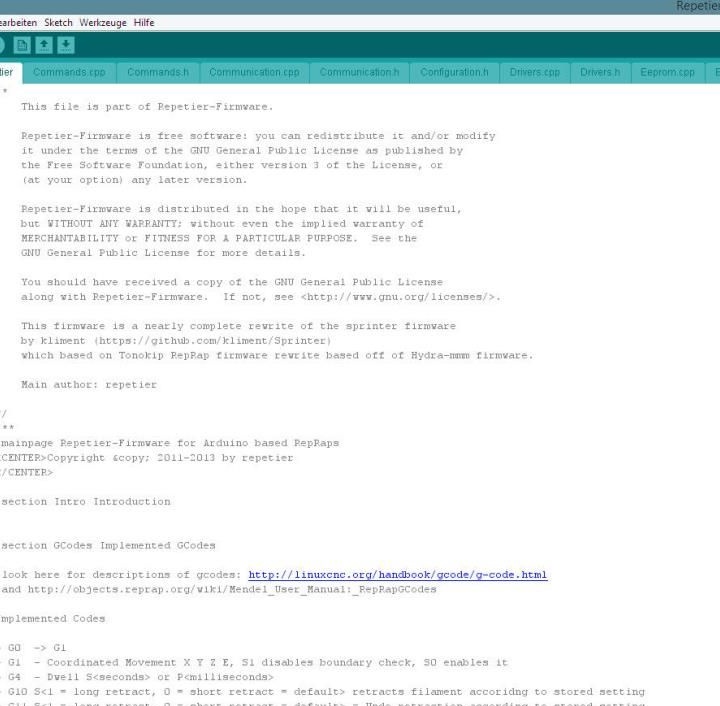
To connect the electronics, you need to navigate according to the provided scheme. As for the software, you will need a configuration program for the Arduino IDE. Further, the adjustment takes place depending on the size and other features homemade.
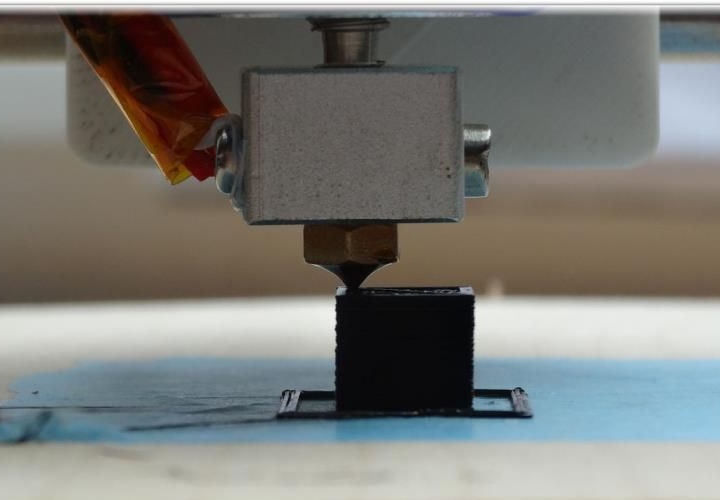
Step Eight. Printout process
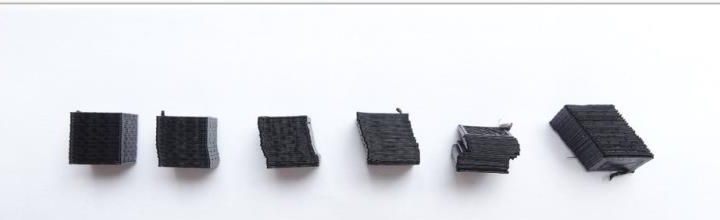
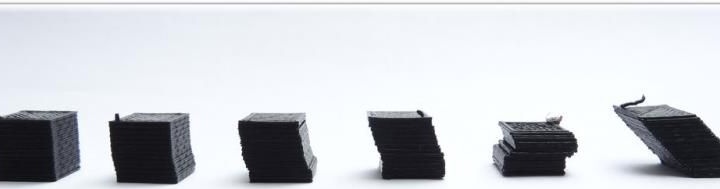
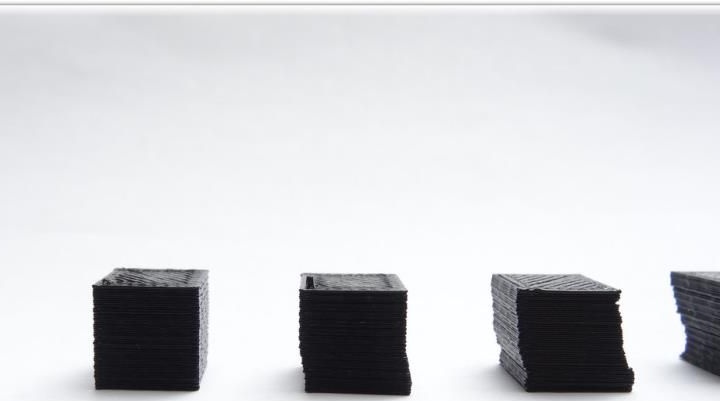
After the device was calibrated, it was possible to print 1x1x1 cm cube samples on it. When the device was working, a problem was noticed - overheating of the engines, as a result of which the layers were strongly shifted. To solve this problem, you need to use motors like A4988 with a microstep 1/16, and set the current to the smallest value. In addition, you can also redo the firmware, thereby achieving higher quality.
In such a simple way, you can assemble an inexpensive 3D printer. If you invest a little more money, the device will come out pretty high quality and durable.
Download the latest versions of 3D nodes by