
In this article, you will learn how you can heat your house with a pile of compost, the so-called mound de Payne. This design was invented by the French farmer Jean Payne in 1970. The heat received from this barrow is enough to receive hot water during the year.
in the video below you can see at an accelerated pace how the mound is built, described below
This video shows the same process, only on a more global scale.
The total thermal energy output for 18 months is approximately 1.5 GW. After the end of the fermentation cycle, the mound is used as a high-quality fertilizer.
Location and foundation
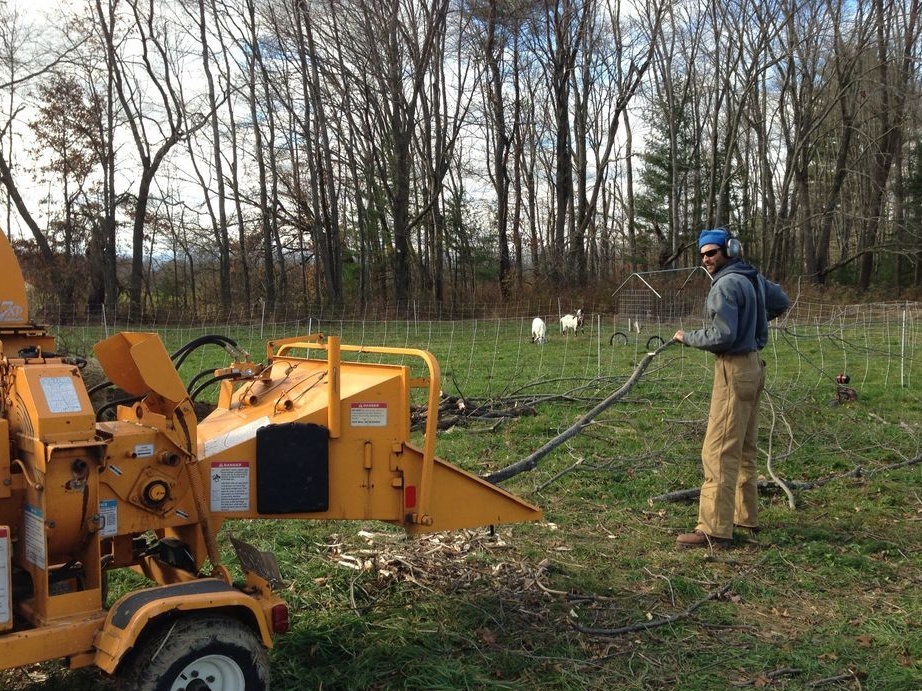
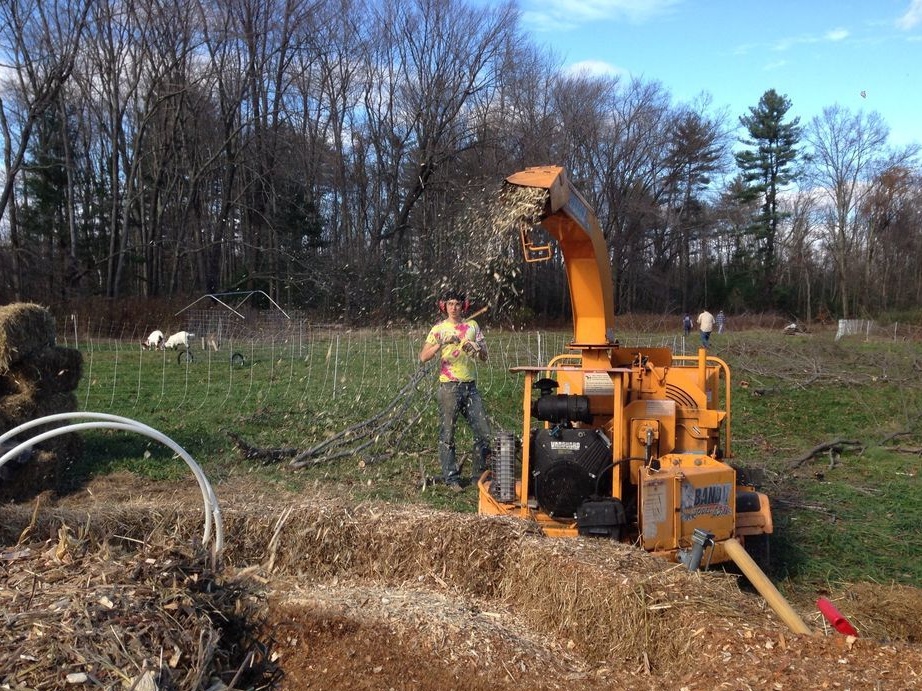
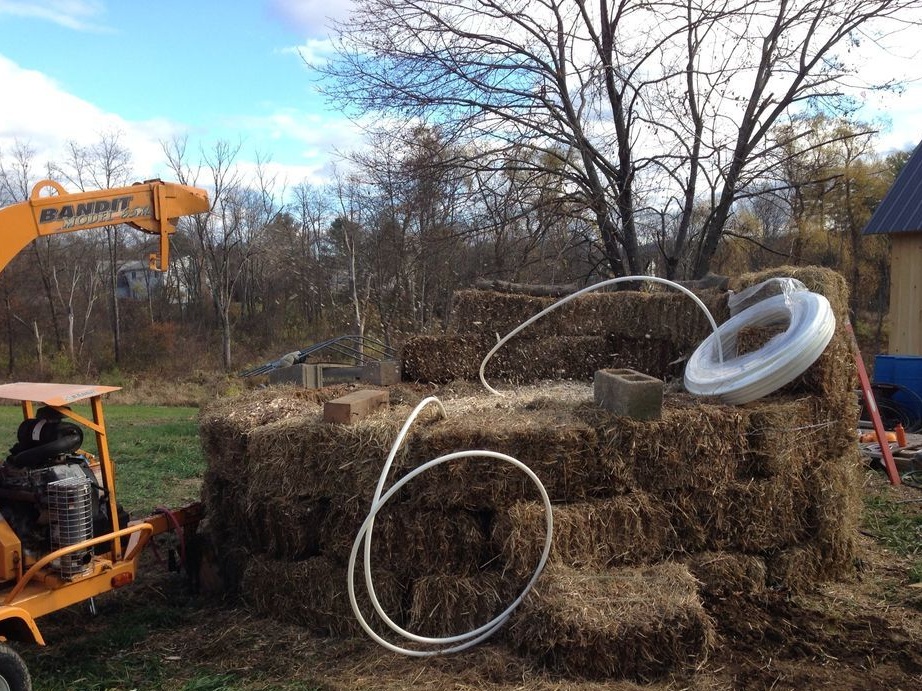
The mound should be as close as possible to consumers of hot water. Please note that you will need access from one side of the barrow for equipment (tractor or trolley). Construction begins with creating the level of the aerated surface of the foundation, by pouring a circle of dry large wood chips, about 60 cm thick and 1.5 m in diameter more than the mound itself will be.
To improve ventilation of the lower / central part of the mound, it is recommended to lay perforated pipes from the outside of the mound to the center, laying them on a foundation (wood chips), folding them in a circle. A flexible corrugated 4-inch perforated drainage pipe is an ideal solution, but for the lack of the best, any perforated pipe of large diameter is suitable.
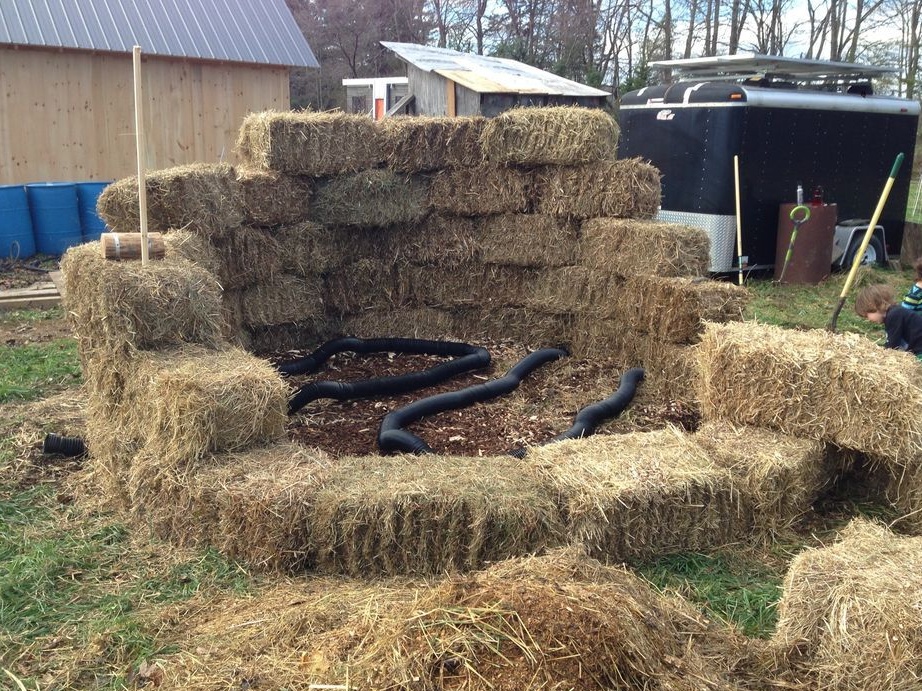
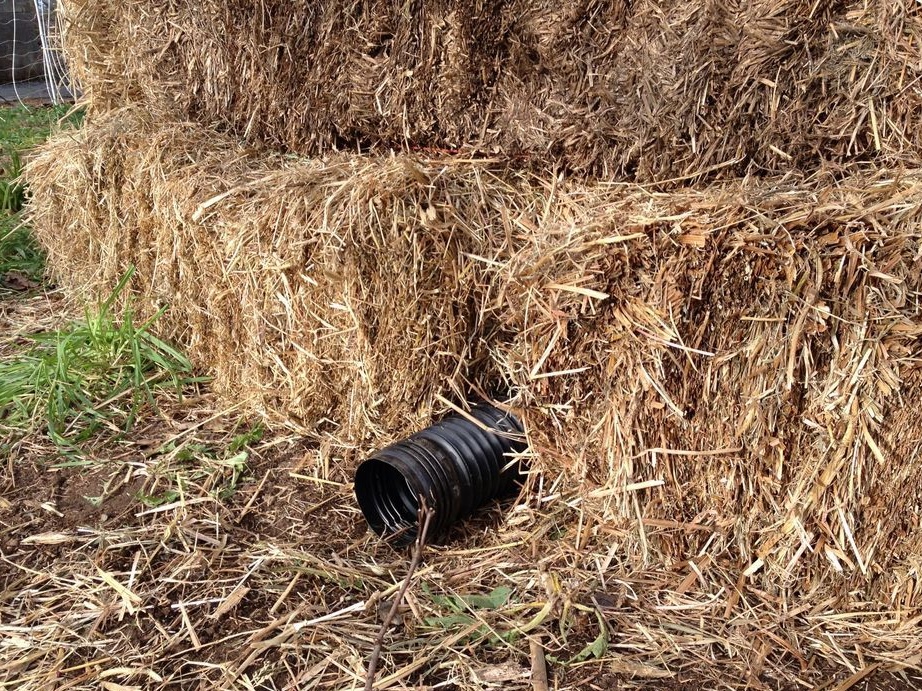
Pipes can be rolled up in a circle under the lower cut of the foundation layer, and can pass right through, but the pipes must be covered with wood chips from above. If you have 30-40 cubic yards (approximately 23 cubic meters) of "hot mix" (mulch bark or a mixture of mulch, wood chips, sawdust, manure). The diameter of the lower part of your mound should be 16-18 feet (approximately 4.8-5.5 m), and the diameter of the foundation 20-22 feet (approximately 6-6.7 meters).
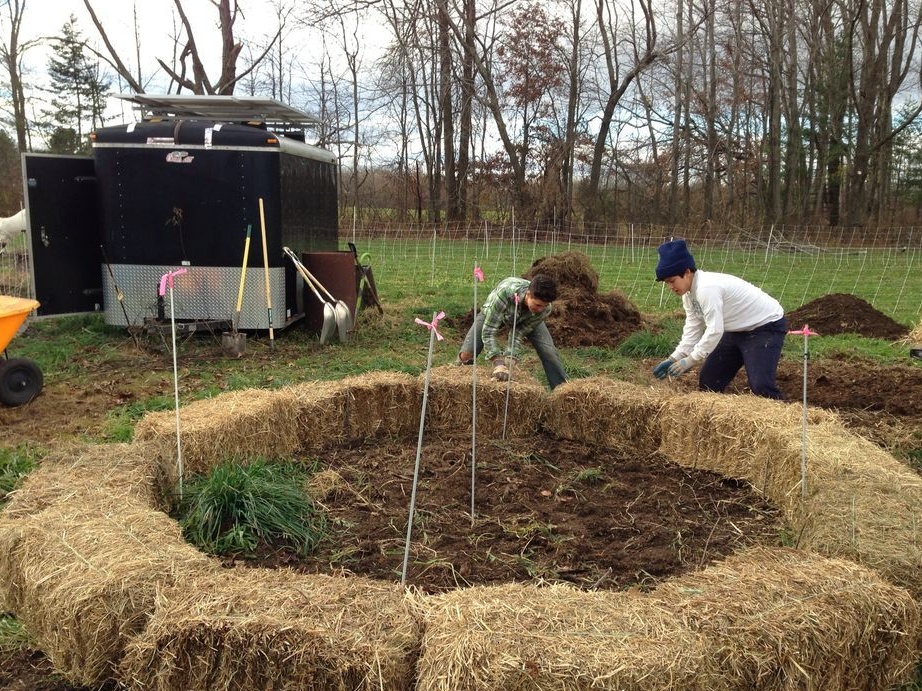
Center and perimeter. Measurements
Mark the center of your mound with a peg. Tie a rope with a length equal to the radius of the foundation of your mound. Let your assistant walk in a circle, and you mark the perimeter of the future design with pegs. Do not remove the center peg. After that, mark the diameter of the base of your mound (as described above, it should be 1.5m less than the foundation). Pour a 60 centimeter layer of “hot mix” or mulch bark on top of the foundation, forming the base of the mound. Spread the material as evenly as possible avoiding its seals.
Supply pipes.
Next, it is necessary to lay pipes “power” (hot water will come from the mound to consumers) and “return” (cold water will come from consumers to the mound). The “food” pipe must be laid from the consumer through the center of the mound. Temporarily tie this pipe to the central stake, leaving 3 meters of stock so that you can connect it to the pipe in the upper layer of the embankment.
Return
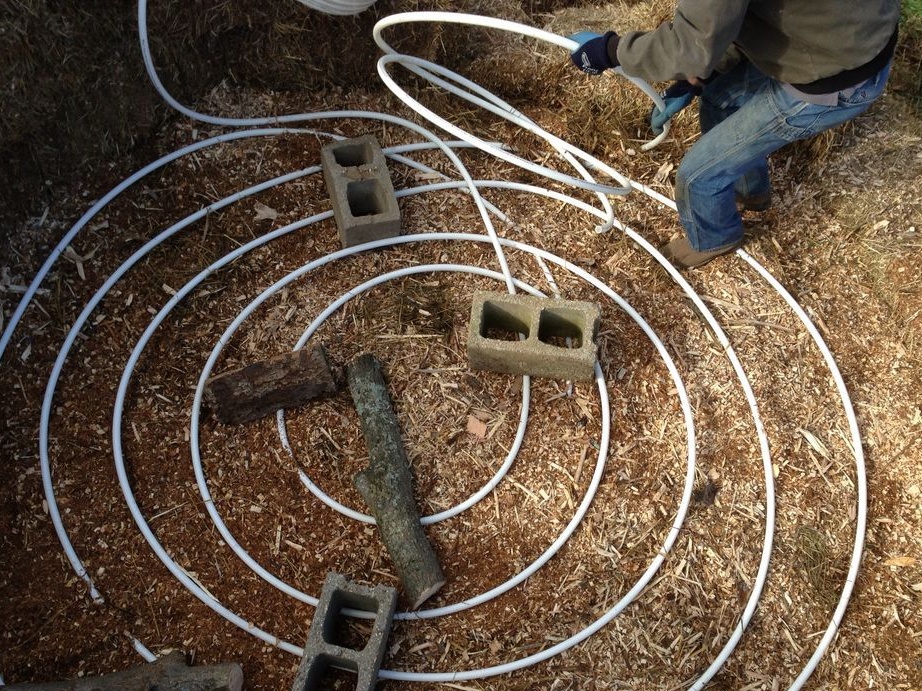
The authors recommend the use of 90 meter polyester pipe reels.
Leave the end of the return pipe close to the pipe leaving the hot water consumers. Start laying the pipe in a circle, wrapping it around the central peg, to the outer edge, avoiding bending the pipe. (60 cm for the first central section of the coil). Unwinding the pipes gradually, lay them around the first ring of the coil, keeping the distance between the pipes of 15-20 cm. Use cinder blocks or stones to keep the coil turns on the base.
For 4.8m base you must make 7 turns of the coil, it will be approximately 36 meters of tube. The first (external) coil coil should be half a meter from the outer edge of the “hot mixture”. Having finished laying the first layer of the coil, lay the coil outside on the foundation.
Hot mix. "Hot Mix"
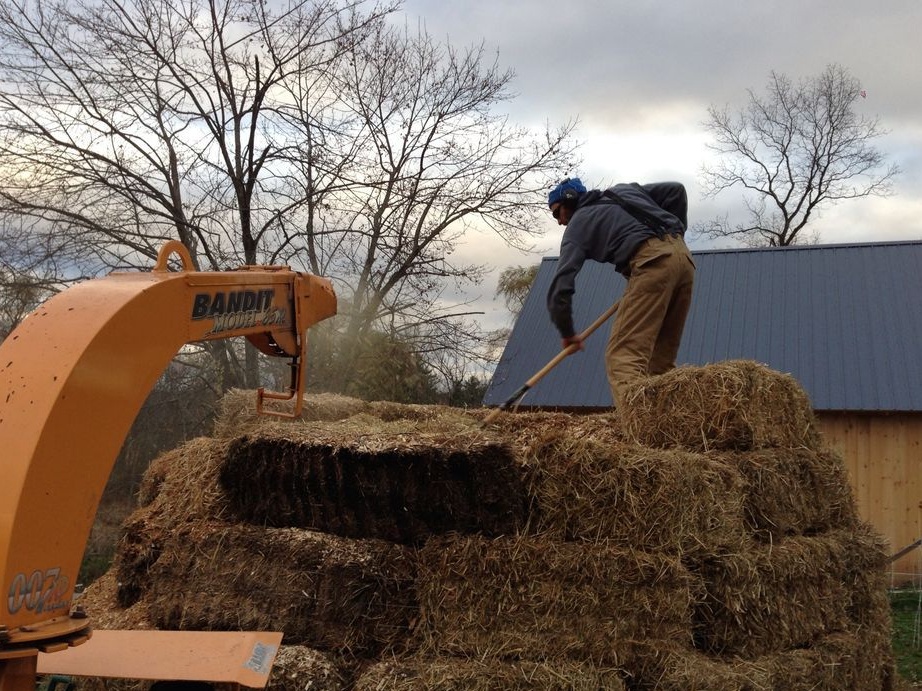
Pour a few cubic meters of the “hot mixture” over the top of the first coil, leveling it with a rake until it is flush with the cinder blocks. Cinder blocks are needed so that the coils of the coil do not move during laying and as a level of the mixture, and it was easier to determine the thickness of the layer. After you have distributed the mixture to the same level with the top edge of the cinder blocks, remove them and fill the remaining voids with the mixture. To avoid compaction of the “hot mixture”, distribute it with a rake while standing on the foundation.
Repeat the previous two steps for layers 2 and 3. Because the mixture will crumble from the external turns of the coil, the mound will begin to narrow. This means that you will need to reduce the distance between the turns of the coil (from 20-25 cm to 15) to get 270m of the coil, taken from the calculation of a barrow with a volume of 22 cubic meters. You will get 7-8 layers of a spiral coil. For layers 4 and 5, you will have to reduce the number of coil rings from 7 to 6. On layer 7 and 6, the number of rings will decrease from 6 to 5, while maintaining the distance between the turns of 15 cm and the distance from the edge of the embankment to the external coil of the coil equal to 25 cm.
When you have laid all the layers of the coil, the top / last layer must be connected to the “power” pipe that you left earlier. The authors use a propane burner for these purposes. Then cover the last section of the coil with at least 40 cm of a mixture. Do not forget that when laying each section of the coil it is necessary, whenever possible, to avoid compaction of the mixture, and to measure the layer thickness and temporary fixation of the coil, use cinder blocks.
External thermal insulation.
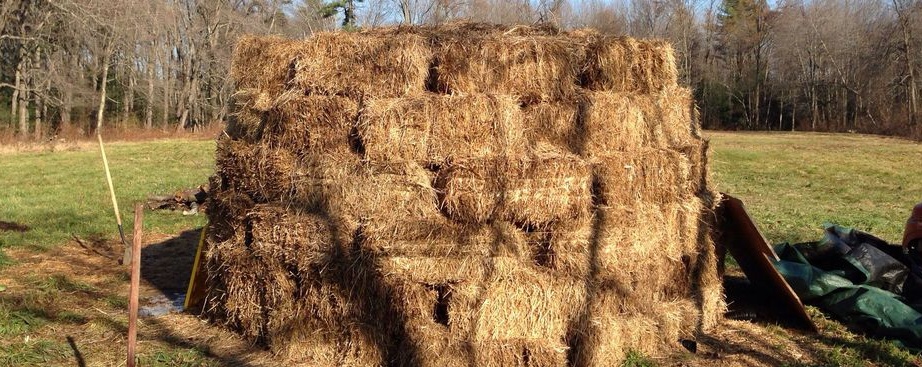
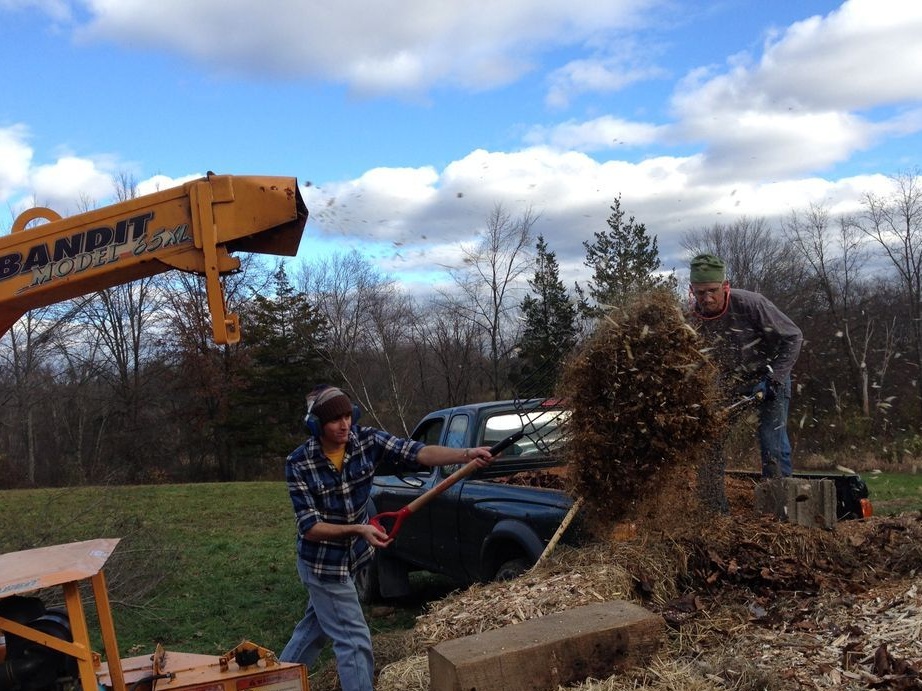
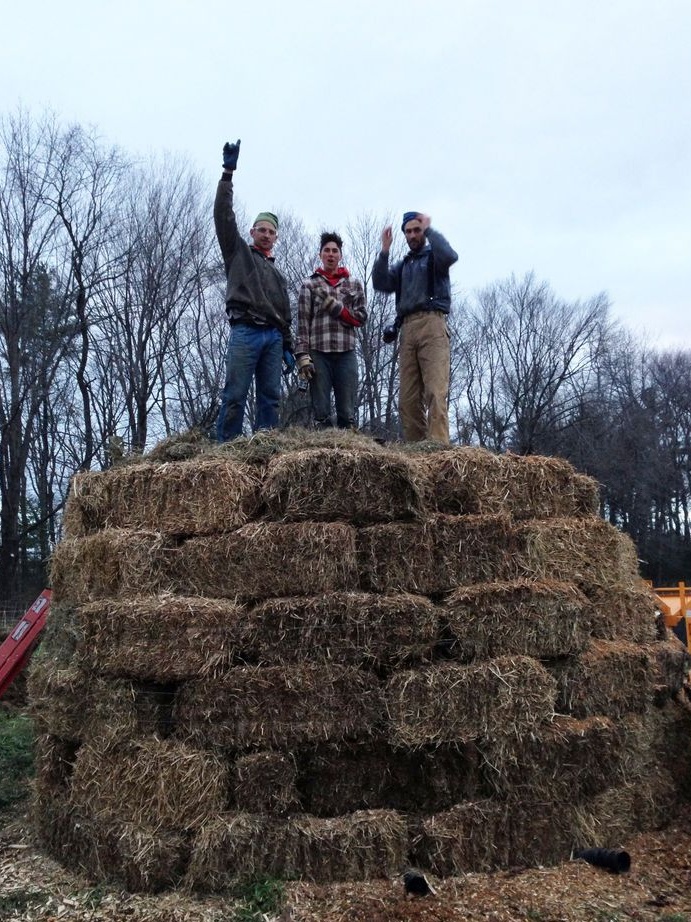
When you finish the construction of the main part of the mound, laying a heat exchanger coil inside, you will need to make breathable thermal insulation of the inner part. To do this, cover the mound with a layer of wood chips or non-pressed hay. This will provide air access, with passive ventilation, to the bacteria inside and increase productivity in the winter. The insulation layer should be 30-60cm thick.
After the construction of the mound is completed, pipes must be connected to consumers of hot water. You can put reservoirs for storing hot water, or distribute it to consumers using collectors. It is necessary to put a pump that will pump hot water into the tank, from which, in turn, the greenhouse, the warm floor of the apartment building will be fed. Any competent plumber will be able to design such a water distribution system for you.
Your compost mound should produce water at a temperature of 50-60 degrees 10 days after the end of construction. If the mound is excessively wet during construction due to rain, this process can drag on for 3-4 weeks until the mixture dries. 1.5 m thermometer probes are an excellent tool to measure the temperature of a barrow in various places.
As soon as the temperature of your mound reaches 50-70 degrees, you can fill the system with water. Ensure that there are no air locks in the system.It is necessary to drive out the water in the system until it is completely filled. After that, you can calculate the thermal performance of your system. The easiest way is to measure the temperature of the water entering the inlet of the mound, then measure the temperature and flow rate of water at the outlet of the mound. 22 cubic mound with a 270 meter coil should provide a stable temperature of 45-60 degrees at the outlet, at a flow rate of 1-4 liters per minute with an inlet water temperature of 7 degrees. By increasing the flow rate from 1 to 4 l / min, until the temperature starts to drop, you will know the performance of your system. Testing should be done within an hour. For this test, you can use flow meters, thermometers, which are used for measurements in solar collectors.
After you know the outlet temperature and measure the water flow, you can calculate the approximate heat output of your embankment. For example: if your water flow rate is 3 l / min at an inlet water temperature of 10 degrees and an outlet temperature of 55, then delta-t is 45 degrees at a water flow rate of 180 l / hour. Next, we calculate the thermal power by the formula Q = V * (1.16 * T). Where Q is power in kilowatts, 1.16 is the heat capacity of water, and V is the water consumption (cubic meters per hour). In this example, 9.3 kW / h is obtained. It turns out 38,000 kW / h in 6 months. You can search on the Internet how to translate these numbers into kilograms of coal, firewood or cubic meters of gas. Please note that your mound will last 12-18 months.
Such a mound with a small tractor, 5 assistants and all materials can be built in 8 hours. True laying the coil, falling asleep with its mixture, leveling with a rake is hard work.
The authors experiment with different versions of the mixture to get more heat for a longer period. Hard wood materials can give more heat than soft ones. But hard woods produce heat for a shorter period of time than soft woods.
It is important that part of the mixture consisted of crushed chips, to ensure air access to bacteria and create the necessary area for their reproduction. An embankment made only of wood chips will give a temperature of 35-45 degrees in the summer, spring and autumn, but will cool in the winter. Mulch from the bark will give a temperature of 50-60 degrees, if it is not contaminated with industrial waste. Rot-resistant wood varieties will not produce heat; they do not need to be used. Pine can be used in small quantities. Chips mixed with sawdust or manure will also work. The heat output and the value of the obtained humus will depend on the quality of the raw materials after your barrow ceases to produce heat. Moisture of the mound is also important, with high humidity, water will fill the gaps between chips and sawdust and reduce the access of oxygen. At low humidity, the biological activity of bacteria will decrease. The optimum humidity is 30-50%. Breathable thermal insulation will not allow the mound to cool in the winter. Pipes can be reused, which will reduce the cost of subsequent buildings. When laying pipes, mark their location, this will avoid difficulties when you pluck the mound

The picture shows an approximate diagram of the hot water supply, the location of the temperature sensors and the composition of the "hot mixture"
In the attachment, step-by-step instructions for the construction of the mound in English
View online file:
All formulas are taken from the Internet.