
Before creation, the author read a lot about the use of renewable alternative energy, and most of all he was attracted by the use of solar energy with the help of solar panels, since the method is the simplest and the panels do not require special maintenance during operation. The only negative was that the price of factory models of solar panels is very high. Therefore, the author decided to make them himself.
Materials that the author used to build solar panels:
1) A set of elements measuring 8 by 15 cm
2) Optical epoxy resin
3) two glasses with dimensions of 5 by 810 by 680 mm
4) aluminum corner
Consider the main stages of modeling and creating solar panels.
The author ordered the basic elements for creating solar panels through eBay. The main set of elements came out in the amount of about $ 100, and the epoxy resin, which was ordered already in the St. Petersburg company, came out at 1300 rubles per kilogram. Glasses on which everything was attached came out at 350 rubles each.
The main goal of the author was to create high-quality solar panels in home conditions that will look normal and last a very long time. It was for this reason that the author did not save on optical epoxy resin and on the elements themselves.
This is what the set of all the basic elements for assembling the solar panel looked like. Tires and a pencil with a flux, which will be needed in the process of soldering the elements, also came with the main set:
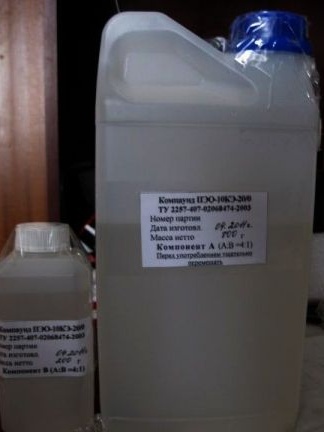
And here is a photo of that very special optical ultra-transparent epoxy:
To check the transparent epoxy resin, as well as the speed of its solidification, the author first applied it on just one element. The image below shows the result of this action.
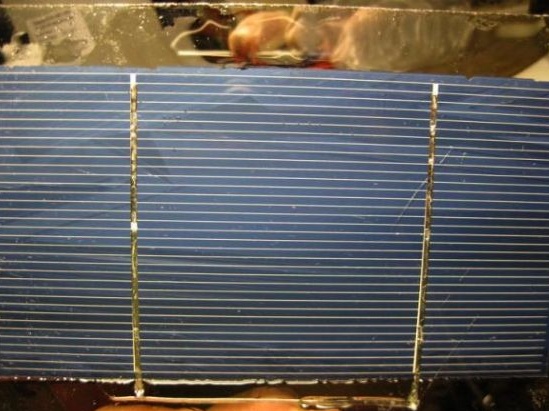
As a result, the transparency was perfect and the price of epoxy completely paid off.
Inspired by such a high-quality result, the author continued to assemble all the elements in the solar panel.
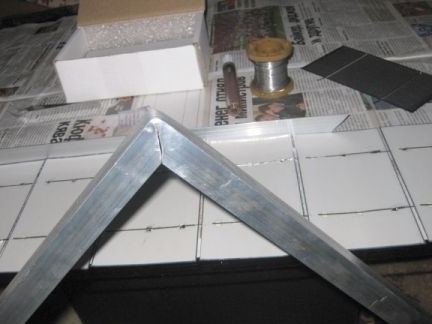
But before soldering the main elements, it was decided to make a base on which these elements will be attached, so that during the soldering process it is already possible to focus on certain dimensions of the future panel.
An aluminum frame was made from a corner. After which the author applied a layer of silicone sealant and installed glass. The result was a sealed frame for the solar cells of the future solar panel.
While the frame was drying, the author proceeded to soldering the elements.
250 grams of epoxy were prepared, which the author applied to the glass with an even layer over the entire surface. Already in this resin I installed all 36 elements in the order of the rows, after which I soldered them together.
At this stage, the first problem arose that the author did not immediately notice. The elements themselves were not completely flat, but slightly curved to the edges, so in order to firmly attach them with resin to the glass, you had to gently press them with heavy objects and wait until they stick, this process took a lot of effort, since the elements for the solar panel themselves are very fragile . It is for this reason that the author decided to solder the elements directly inside the frame, and not in advance. Indeed, when transferring an already soldered construction of elements to glass, the risk of damage to the soldered elements increases many times. In addition, fixing the elements on the glass before soldering gives a number of advantages regarding the aesthetic appearance of the panel itself. Thanks to this approach, no air bubbles remained under the elements and the whole structure as a result looked monolithic.

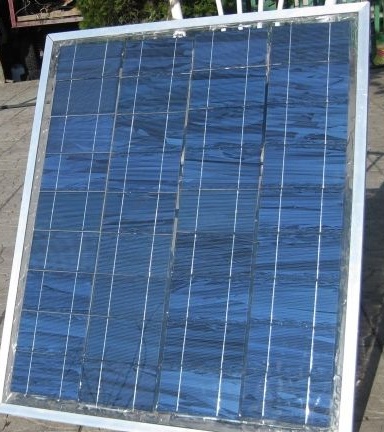
Here is a photo of the panels already assembled:
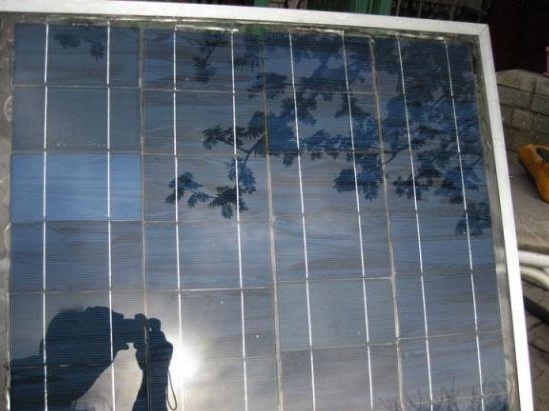
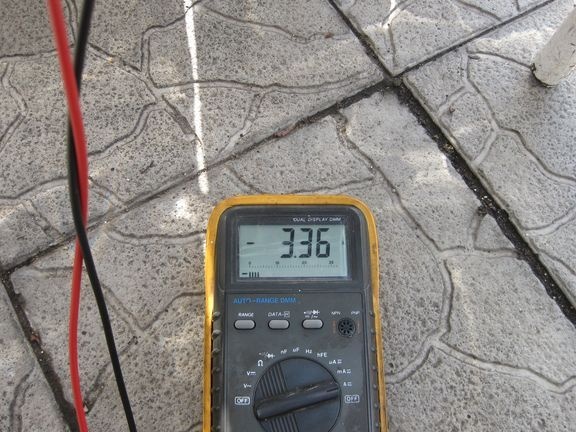
He then proceeded to test the solar panel. To do this, he placed it with solar cells and measured the short-circuit current, the strength of which was 3.6 A. It is this figure that was declared in the characteristics of the elements, and therefore the panel is assembled correctly and functions in full.
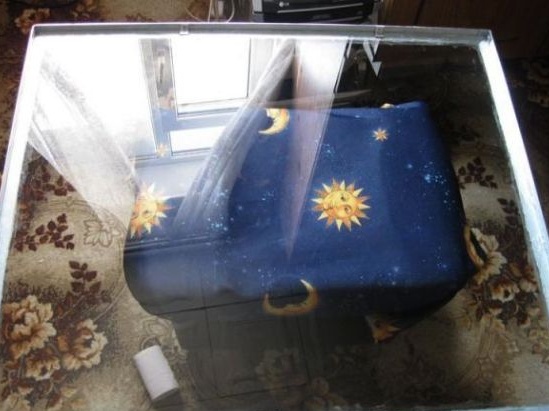
After checking, the author proceeded to final assembly of the panel. For this, about a hundred grams of optical epoxy were taken, which were used to fill the photocells.
Below is a photograph of the back of the solar panel. As you can see, all elements are protected from natural phenomena of the external environment (rain, snow, wind, dirt), which guarantees a long service life.
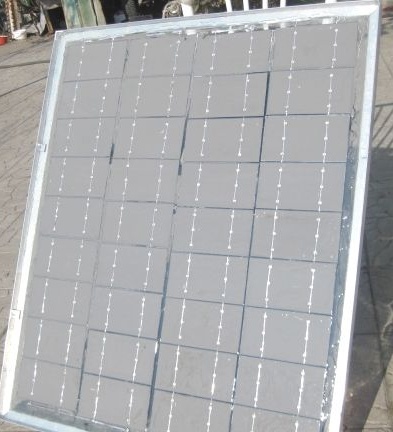
The panels even withstand such a hail:

The author also assembled the second solar panel. Below is a photo of both solar panels assembly:
Two such solar panels are capable of delivering 120 watts of power.
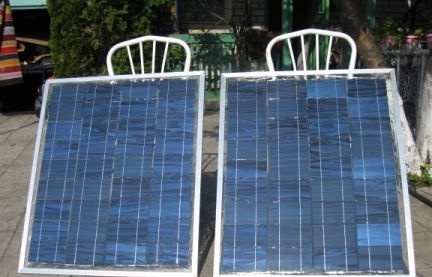
Factory panels of similar power cost about ten thousand rubles, and the author's costs for their manufacture amounted to only five rubles. That is, the same high-quality panels turned out, but much cheaper, this is what the author sought.