
Materials and tools for manufacturing:
- aluminum profile (it is used in the manufacture of mosquito nets for plastic windows);
- aluminum sheet (thickness 0.1-0.5 mm);
- stationery knife;
- hole punch (used when working with skin);
- aluminum tape;
- drill;
- absorber (black wrap or cinefoil);
- Double-sided tape;
- thermoresistant paper;
- hinges for attaching the collector to the window.

Collector manufacturing process:
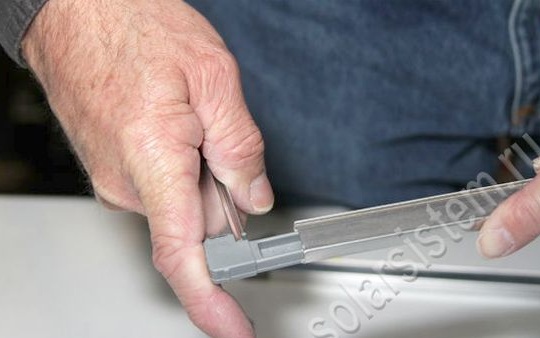
Step one. We make a frame
To make the frame, you will need an aluminum profile. From it you need to make two frames. The size of these frames can be varied, it all depends on the desired collector performance and installation method. If the collector will be installed directly on the window frame in such a way as a mosquito net, then the frame should be approximately 50-60 mm larger than the visible part of the glass packet.
If the collector will be attached to the glass with Velcro, then you can use any size, the main thing is that the collector is closely placed on the glass.
Step Two How to make a collector back wall
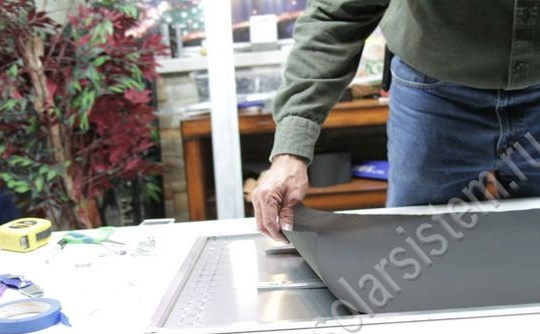
In order to create the back wall you will need an aluminum sheet with a thickness of about 0.1-0.5 mm. In principle, the thickness does not play a special role here, the main thing is that the sheet does not crumple and is not too thick so that it can be conveniently cut. Thin aluminum is cut using a conventional clerical knife.
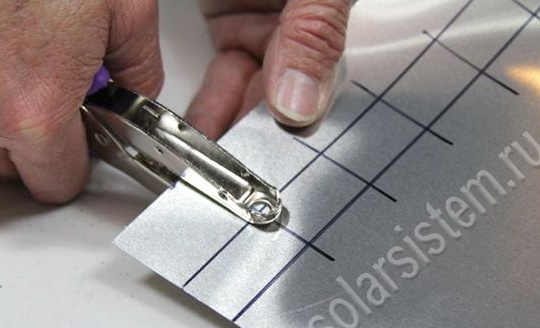
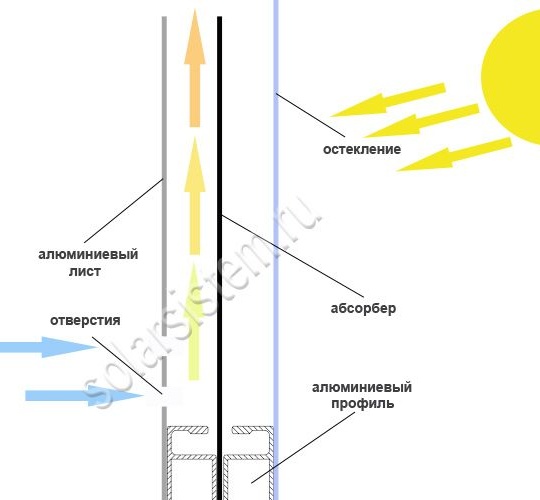
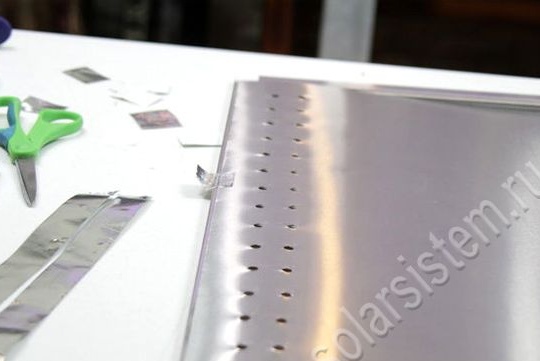
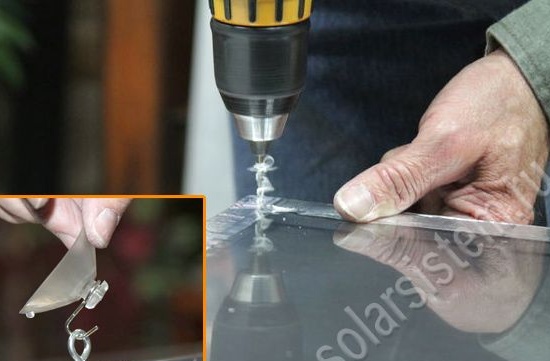
Now you need to make holes, the easiest way to do this is with a hole punch, the diameter of the holes should be 5-6 mm. The top and bottom of the manifold should have two rows of such holes. Thanks to these openings, natural convection will occur inside the collector. In other words, cold air will be sucked from the room into the collector through the lower holes, and then it will be heated and forced out through the upper.
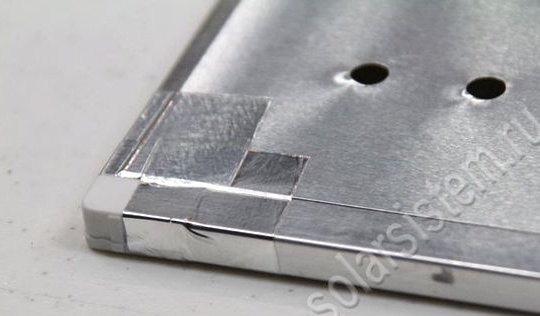
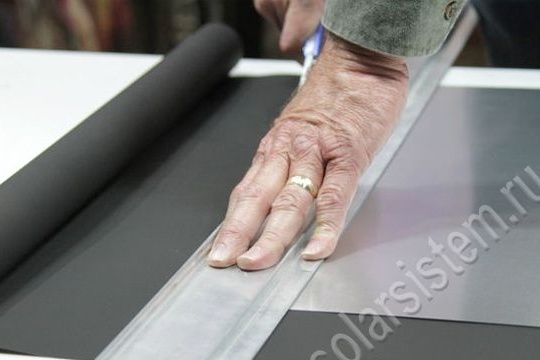
To fix the aluminum sheet to the frame, aluminum tape is great. Only need to be fixed in the corners and in the center of each side.
Step Three We make stiffeners
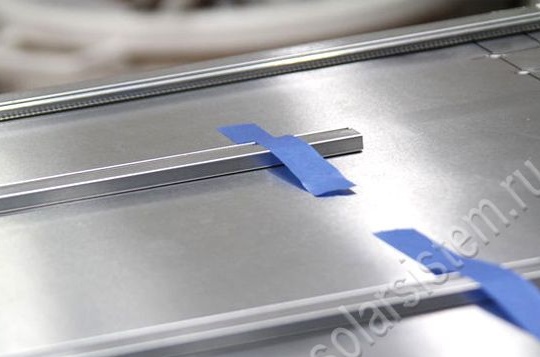
Due to the fact that the absorber and the back wall are thin, ribs must be installed to give them rigidity. For this, pieces of an aluminum profile are installed in the center of the collector. The ribs are fixed with rivets, for this you need to drill holes of a suitable diameter in them.

Step Four Production and installation of an absorber
An absorber is needed in order to receive heat from sunlight. That is, it should be some material that heats well in the sun. The author recommends using black wrap or cinefoil for this purpose (this is such a black foil). These materials are used when creating screens by illuminators and photographers. But to buy such a foil can be problematic, since it is quite rare. Yes, this, however, is not a problem, it can be replaced with an aluminum sheet painted with black heat-resistant paint. The use of copper sheet will be even more effective, since it has a higher degree of thermal conductivity, but then the design will be a bit heavier.
Aluminum should be as thin as possible, this will allow it to heat up quickly even in cloudy weather.
The absorber must be cut so that it fits the size of the back wall. An absorber is mounted on top of the stiffeners. The material is fixed using pieces of aluminum tape.
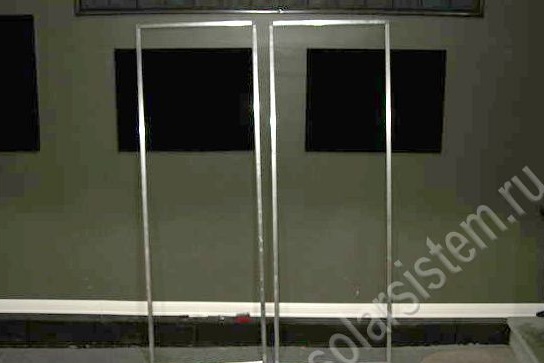
Step Five Collector glazing
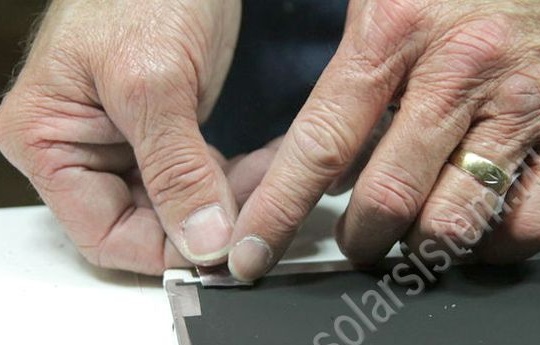
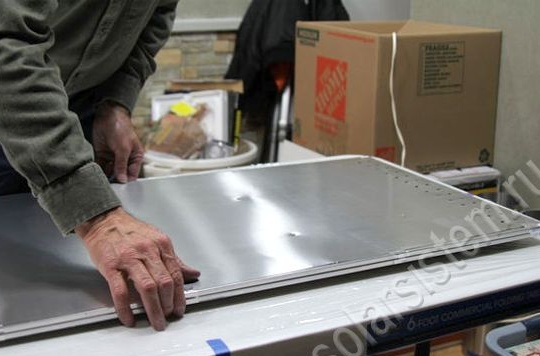
So that the collector can be glazed, a second frame, which was previously made of an aluminum profile, must now be installed on top of the absorber. The profile is fixed with pieces of aluminum tape. Thus, the frames are interconnected.
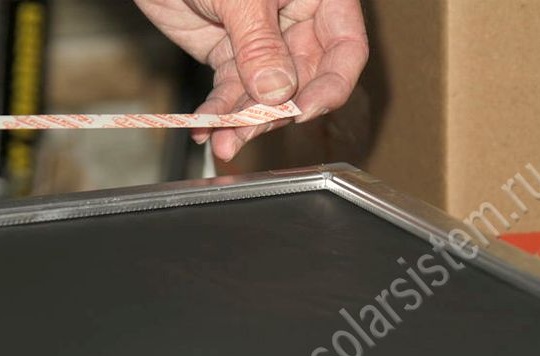
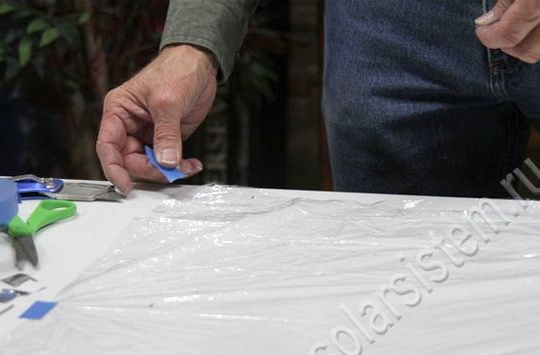
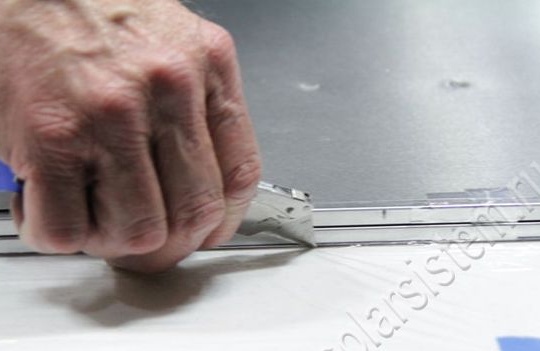
Now, around the perimeter of the upper frame, you need to stick a double-sided tape. Shrink film is best suited for glazing. It needs to be pulled on the table and fixed at the edges with tape. Now the frame with glued double-sided tape can be put on film. After the film sticks, you can trim the excess edges.
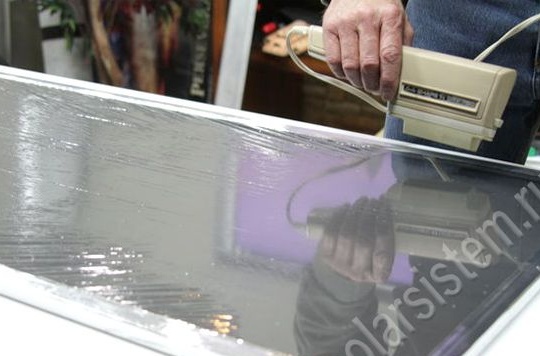
To make the collector more beautiful and to ensure maximum tightness of the device, it must be carefully glued around the perimeter with aluminum tape. You can use a hairdryer to smooth or stretch the film.
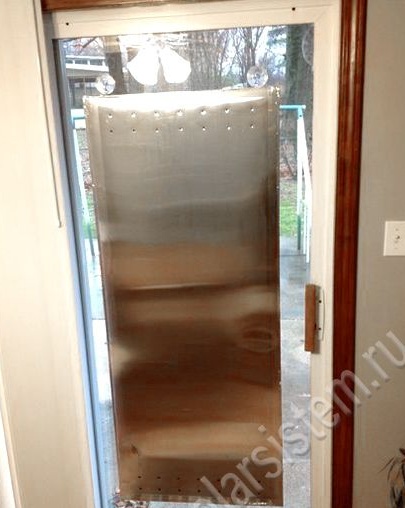
That's all, now the solar collector is ready for use. Now you just need to install it on the window. Specifically this model it is installed on the window with the help of Velcro, in this regard, loops are attached to the corners of the profile.
Such collectors can be made as many as you want, for example, they can be equipped with all the southern windows. Of course, the design will darken the room a little, but at will it can be removed at any time.
According to the author, in December, during cloudy weather, the collector gave out air at a temperature of 65 degrees. And in sunny weather, the temperature of the outgoing air was 85 degrees. The air convection was quite strong, if you put a paper sheet on top of the collector, then it would rise from the stream coming out of it warm air.