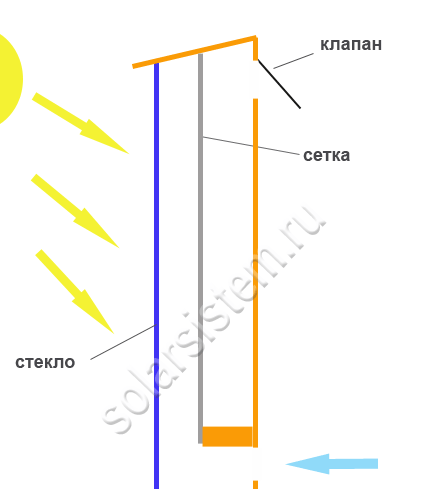
If we talk about the effectiveness of such a device, then it is quite high. For example, in clear weather, at an air temperature of -8 degrees, the collector can give out air at a temperature of +40, and in cloudy it is about +30 degrees. If the chicken coop is well insulated, such a collector will be a great help.
The collector works very simply, inside it there is a heating element that is very sensitive to sunlight. When air enters the collector through the lower holes, it heats up there and then is forced out through the upper ones. Thus, natural circulation occurs.
Materials and tools for manufacturing:
- timber (50x50 mm, 150x50 mm, as well as 100x50 mm);
- metal mesh with a small mesh (a thin aluminum sheet is best)
- matte black paint;
- polyethylene film;
- fine nylon mesh;
- glass (transparent slate, cellular polycarbonate or other similar materials);
- a minimum set of tools (drill, hacksaw, nails, etc.)
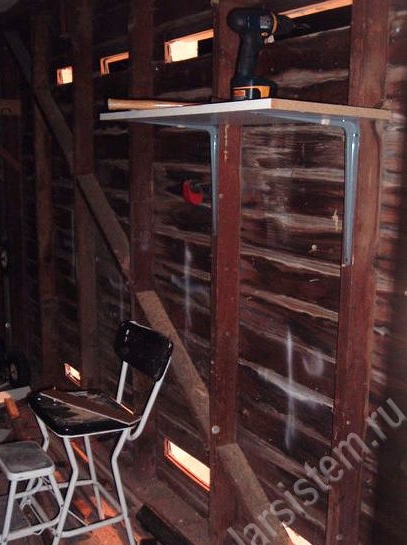
Collector manufacturing process:
Step one. Frame assembly
The size of the collector can be any, of course, the more it is, the more heat will be generated. However, the larger the size, the more materials will be needed for the manufacture.
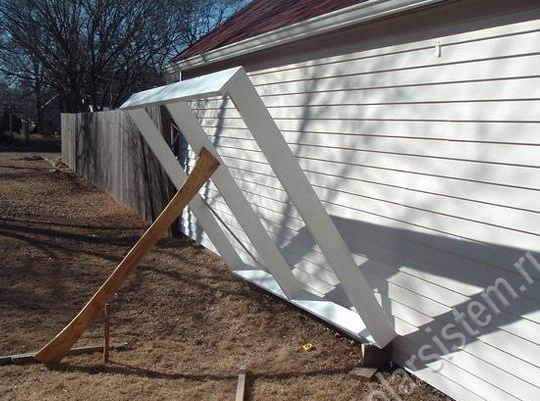
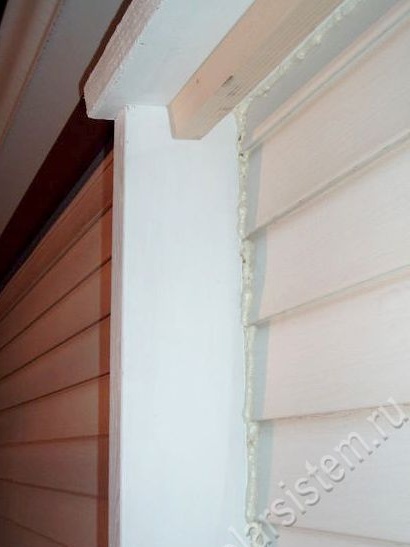
The frame is assembled from a timber measuring 150X50 mm, it is attached to the wall of the chicken coop. In order for the upper part of the frame to serve as a visor, it can be made of a bar 200X50 mm in size. When installing the frame between the wall and they will form a gap, it is necessary to achieve its smallest size. Subsequently, this gap needs to be repaired with the help of mounting foam, otherwise hot air will not go into the chicken coop, but out.
Step Two Making windows for heat transfer
To allow air exchange between the collector and the chicken coop, holes must be made in the wall. For some, this will be a rather difficult task, since not all of the walls are made of boards or plywood.
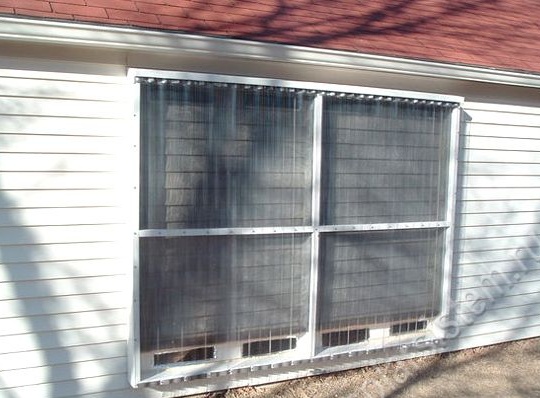
After the holes are made, they must be equipped with valves, thanks to which cold air will not pass into the chicken coop. Otherwise, the collector can work as a cooler in the evening, and this is unacceptable.
As a valve, a piece of plastic film is suitable, it is fixed for one upper edge. The film is installed on the upper inlet. When the coop is warm, it will increase pressure and the valve will close. If the air temperature in the chicken coop is lower than the air temperature in the collector, the valve will open, and warm air will pass from the collector into the chicken coop.
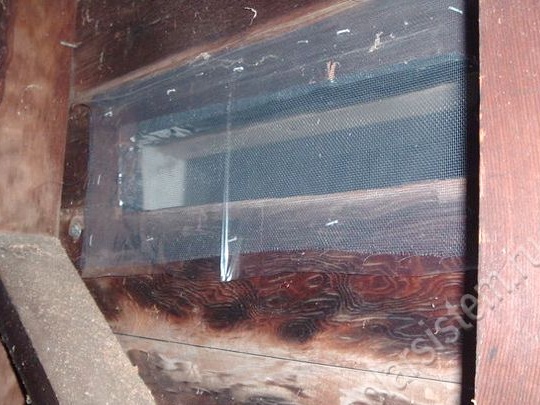
As for the bottom hole, here you need to install a fine nylon mesh, you can install it in several layers. It is needed so that dust and other dirt do not get inside the collector. If the glass becomes dirty, collector efficiency will decrease.
Step Three Create an absorber
In order to make an absorber, you need aluminum perforated or expanded metal, this metal is the best suited for the collector, as it has excellent thermal conductivity. But the author for these purposes used a metal sect with a thin cell, since no similar material could be found. In order for the absorber to take heat well from the sun, it must be painted with a black matte paint. Now the absorber can be installed in the frame.
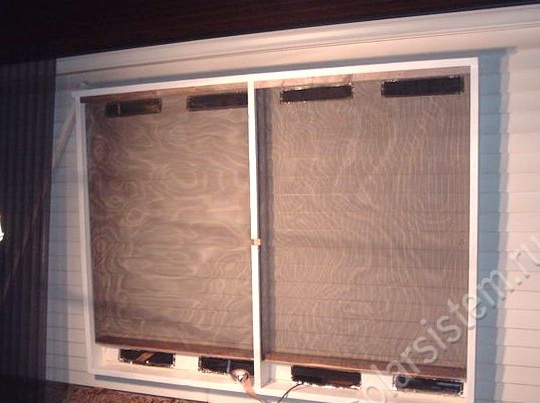
Step Four Collector glazing
For collector glazing, glass, transparent slate, cellular polycarbonate and other similar materials are suitable. After fixing the glass, it is very important to carefully seal it, otherwise hot air will go out and collector performance will decrease. Foam can also be used for these purposes.
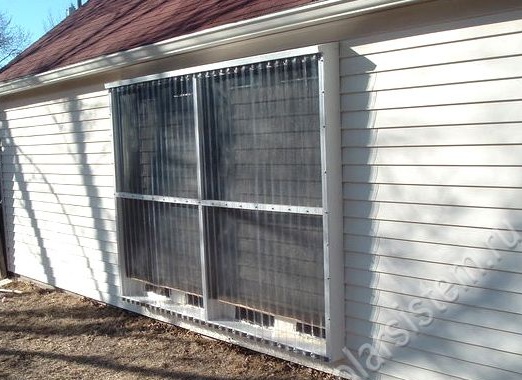
That's all, now the collector is ready. It is desirable that the design has the ability to adjust the angle of the absorber. This will allow you to get the maximum amount of heat depending on the time of year and day. Such a collector is installed on the south side, that is, on the sunny side itself. It is necessary to arrange it so that during the day the maximum amount of sunlight falls on it.
By the way, to increase the productivity of such a collector, it is possible to project the rays of the sun onto it using mirrors.
