
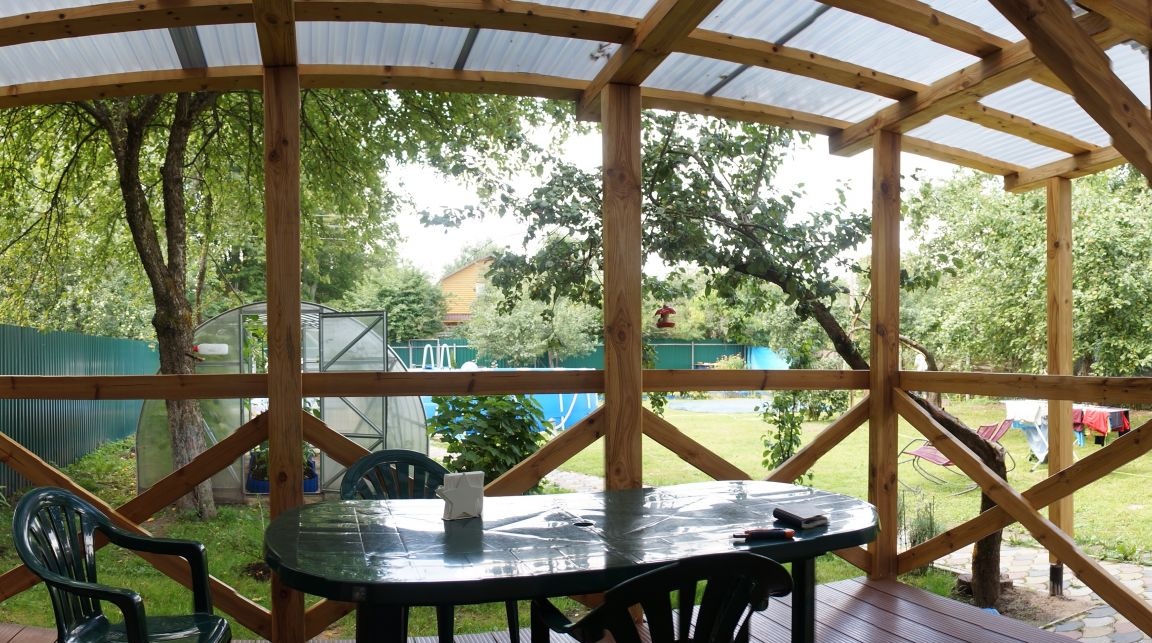
Sheltered cool terrace - a great place for a summer vacation, the best place for family dinners on a hot summer afternoon.
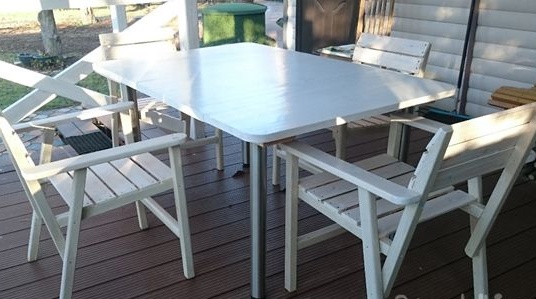
The plastic table for several years successfully coped with the role of the dining room, until it broke under the unaccounted weight of an unwary guest. I had to look for a replacement table, because the amount of damage was critical.
The best option was a home-made table, made one morning in the morning of December 31 for the New Year's Eve by a large company. Then it was assembled from furniture shields and finished metal legs bought in a network building store.
I must say that a table with a wooden tabletop fits perfectly into the new interior of the terrace, framed by a supporting structure of unpainted textured pine, but the plastic chairs, alas, clearly discord. Therefore, the need was born, and behind it the idea, to make wooden chairs for the terrace, so to speak “to fill the set”. The terms of reference were formulated as follows. The chair should be durable, comfortable, beautiful and inexpensive, made from improvised materials, using available tools, without the use of sophisticated equipment, precise milling and adhesive joints.
In search of suitable material, his eyes fell on the guest bed. Once, in the last century, he made a bunk bed for daughters. For the upper tier, several oak boards were obtained at that distant and difficult time. Daughters have long grown. The bunk bed eventually turned into two ordinary ones. And not so long ago, a bed of oak moved to the cottage as a guest sleeping place. And now the next “reincarnation” awaits rich wood.
Of course, the factor of having good material affects the design. Parts can be made relatively thin and durable, using simple mounting hardware and simple manufacturing technology. A pleasant bonus from the use of oak is its excellent appearance and good resistance of the finished product to fluctuations in humidity and temperature.
It was the turn of materializing what was conceived into the project. Having looked at some ideas in samples of industrial and artisanal production, I proceed to modeling.
How did we live without computers?
The draft design turned out like this.
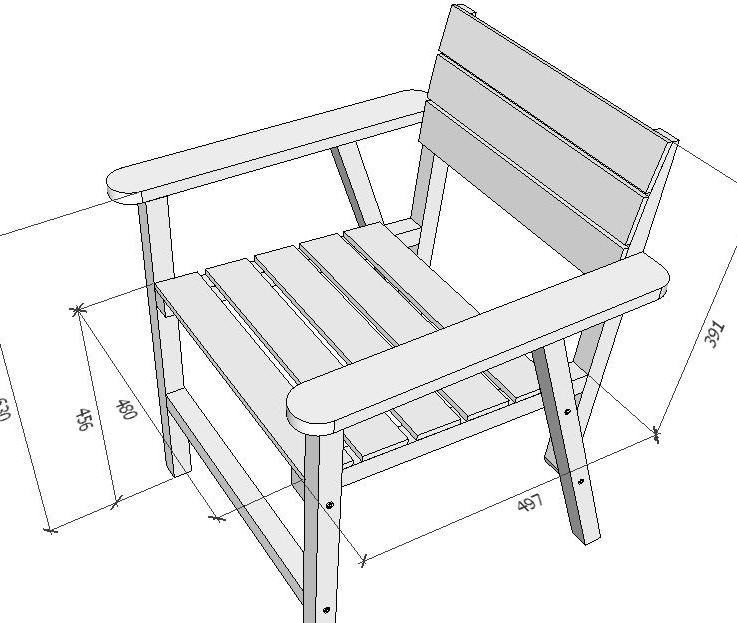
The main sizes from the aforementioned plastic chairs. The depth and width of the seat, the backrest and the width of the armrests are slightly increased.I wanted to get at the exit not just an ordinary chair, but a chair, sitting on which you can eat and relax.
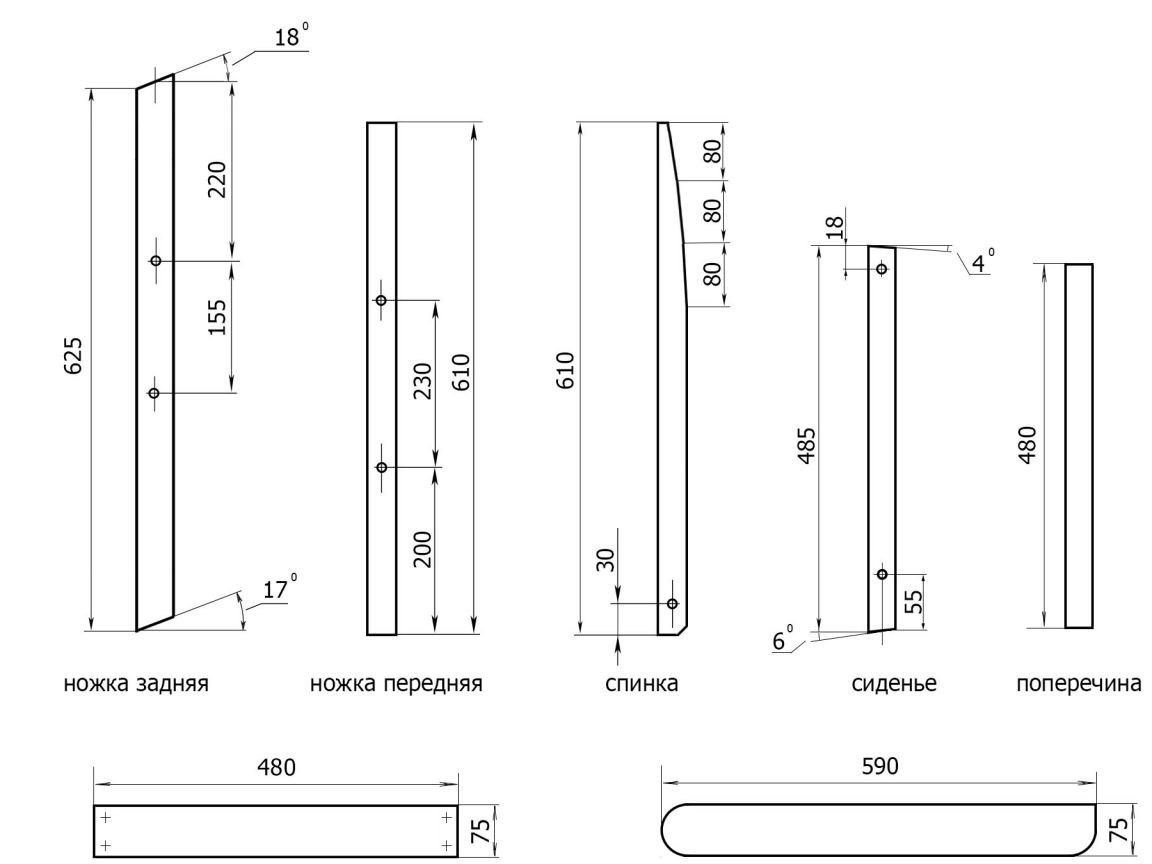
I extract all the basic dimensions from the computer model, make sketches of the details.
Fine art is over. I move from the computer to the workbench. The bed is undergoing global restructuring, I would not want to lose a berth for the sake of chairs. I replace oak parts of the bed with new parts made of pine boards in haste.
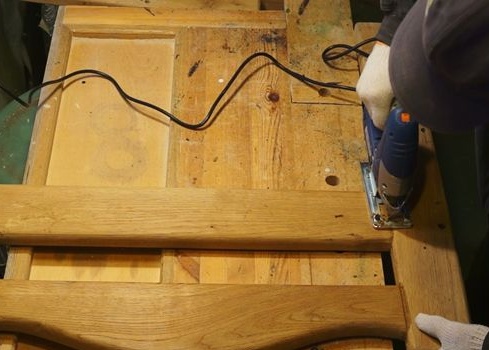
Saw the headboard that came into production by an electric jigsaw.
Using a hand-held circular saw, I dissolve the boards into blocks with a width of approximately 33-34 mm. Hard wood is cut slower than pine, but without any problems.

Irregularities remaining from the circular, manual work, nevertheless, I remove with the help of an electric planer. The surface of the tree remains flat and smooth. You can refuse further grinding. With the same plane, I remove right angles along the bars, I make bevels. For convenient work, I use wooden lining with a diamond-shaped neckline. These are simple fixtures securely hold the bar "on the edge".
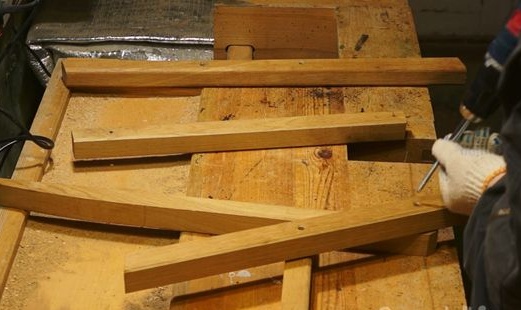
For one chair, I select nine bars of the desired length.
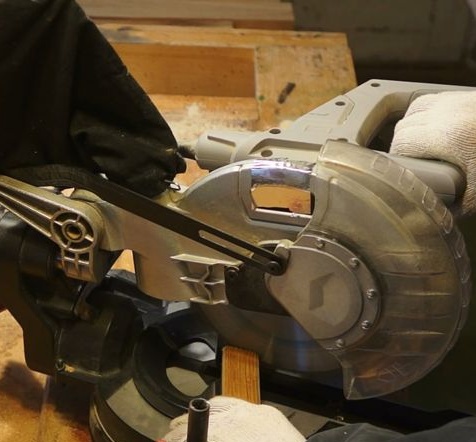
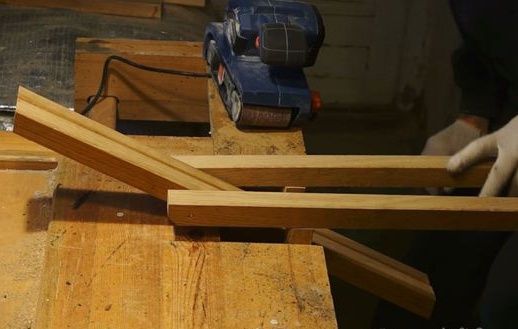
Armed with a pencil, tape measure and square, I do the overall marking. A miter saw, purchased at one time for the production of garden paths from a terrace board, is perfectly suited for cutting bars at the right angle, of which there are many in our details.
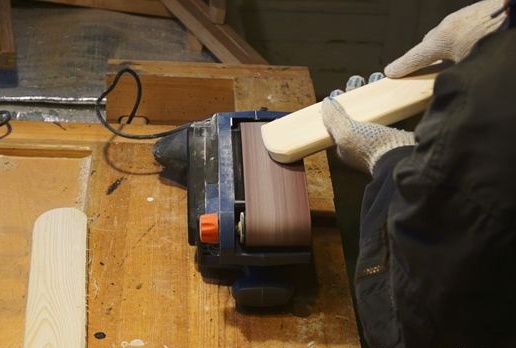
Slicing the back at sharp angles with a miter saw is difficult to do, so I do them with a jigsaw. The cutting blade is expected to "walk", but it does not matter. I clamp a couple of parts together and align the uneven planes with a grinder with a coarse-grained belt.

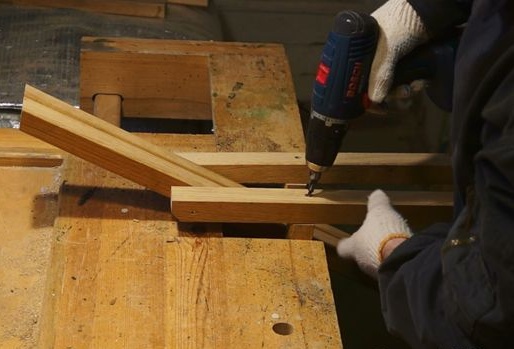
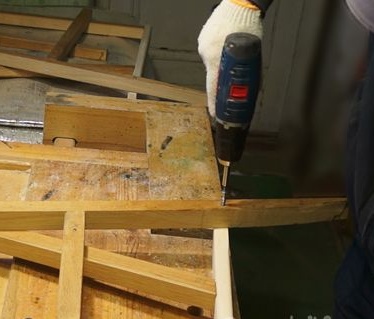
Next in turn is the crucial moment, marking and drilling holes in the bars for furniture screws. Both the strength of the chair and its beauty depend on the quality and accuracy of the assembly of three parts: the back leg, back and seat, which form the main supporting triangle. An inaccurate assembly of this unit can lead to the fact that instead of a stylish interior item, a lame freak may appear.
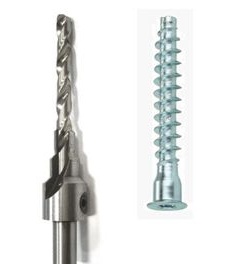 Such furniture screws (confirmats) and a special drill can be purchased at a hardware store. I had screws, but I decided to buy a drill, although I used to manage with three ordinary drills with a diameter of 5, 7 and 10 mm.
I do not do any holes for a screw fastening the back and seat parts yet. A little later I will make this mount "in place".
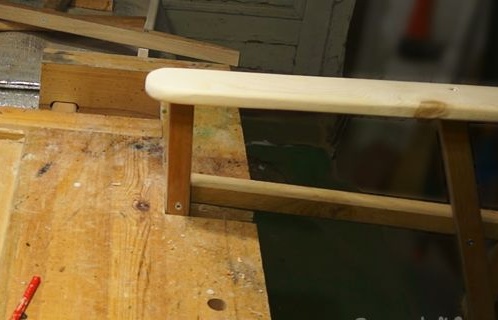
I begin the assembly of the left, and then the right “triangle” of the frame. I connect the back leg with the back and seat parts with two confirmations of 7x75mm.
Clamp the left and right pair of frame parts in a vise. There is an opportunity to correct small errors by polishing the end of the seat part of one of the assembled “triangles” in order to achieve their maximum symmetry.
I make holes "in place" and then screw the furniture screws connecting the back and seat parts without removing the assembly from the vice.
The next armrests. For them I take an ordinary pine board. I cut rectangular blanks in size. I make rounding with a jigsaw with a narrow canvas. I bring the thickness to 15 mm with a plane. The final processing of curves and surfaces is done with a grinder.
With a confirmation I connect the front leg to the seat part. The attachment point is still one and so the leg does not hold firmly.
I hold one of the "triangles" in a vice. I put the armrest to the upper ends of the legs. I straighten and press a little with my hand. I make a hole "in place" for mounting the armrest to the rear leg. I hold the axis of the drill at right angles to the plane of the armrest.
For this connection I take shorter screws. I have 7x55mm, this length is quite enough.
By placing the front leg in a vise, I orient its upper edge at the mark of 35 mm from the front edge of the armrest. Having drilled a hole “in place”, I fasten the armrest and the front leg, which now becomes a full-fledged part of the rigid half of the frame.
The last operation of this stage is the connection of the back and armrest. Here you need a long furniture screw.
I also collect the second half of the frame.
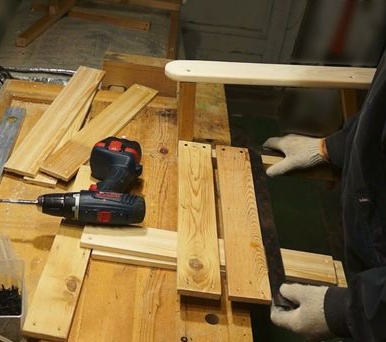
I take up the boards for the seat and back. I had in stock “lining”, two two-meter boards.They are sanded, fairly thin, about 10 mm thick, light and durable. I cut the eight parts I need in size, make holes for mounting screws, deepen the holes for the caps.
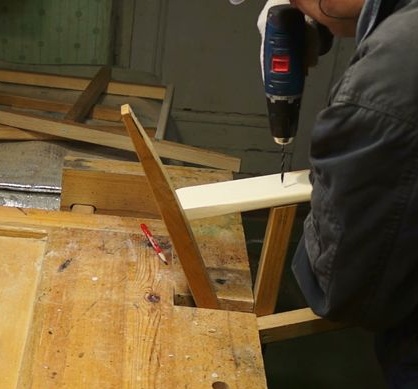
The process of mounting the seat and backrest is simultaneously the final operation of assembling the chair. He is very simple. Planks clamped in a vice of one of the halves of the frame are sequentially fastened with an interval of 1 cm. It is only necessary to maintain a right angle between the parts. I use self-tapping screws on wood 3x35mm. For the upper plank of the backrest I take short self-tapping screws, 18-20 mm long.
I fasten all eight parts. I combine this assembled part of the chair with the other half of the frame and fasten the planks on the other side.
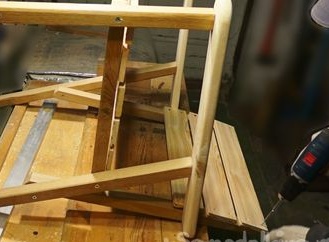
It remains only to establish the cross-member between the front legs and secure it with long furniture screws through pre-prepared holes in accordance with the drawing. You can’t do without the cross member, otherwise the legs will part.
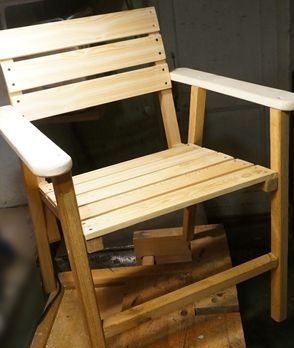
The chair is ready. Further short testing showed that the newly created item of furniture meets its purpose and, without large-scale modifications, can be "launched into a series."
A few words about painting. I liked the translucent decorative and protective acrylic water-based impregnation of one European manufacturer. Unlike varnish, it is partially absorbed into the surface of the wood. When dried, acrylic compresses the porous areas of the tree, emphasizes the texture and perfectly protects the wood from atmospheric moisture. Painting with an ordinary brush in two layers eliminates the noticeable difference in color of different types of wood, while maintaining a visible texture.
Ready-made chairs are in perfect harmony with the tabletop and supporting structure of the terrace, treated with the same impregnation a little earlier.
It remains only to equip the headset with soft pillows for a comfortable stay, but I think that women's hands will better cope with this task.
Video with a full production cycle can be seen here: