
The idea of creating a solar panel and using solar energy to understand what it is and how it works has not left the author for a long time. Even more interest arose when the author, in search of information, discovered that the number of fans of alternative energy was really very large. There are even those who try to completely switch to alternative energy sources, thereby abandoning the usual outlet, and most interestingly, some do. The author, of course, initially did not have such serious plans, but this inspired him to create his first solar panel.
Materials, tools, details used to create this solar panel:
1) A set of solar cells with tires and flux.
2) aluminum corner for the frame
3) sealant
4) tin
5) soldering iron
6) multimeter
7) glass 1050 by 700 mm.
8) silicone sealant 2 tubes of 300 ml
Consider the basic work on creating a solar panel.
The author recalls that before you also want to create something similar, you need to weigh the pros and cons. Naturally, if you make the panels yourself, you can significantly save on this, but the assembly must be done in a high-quality way, otherwise it will be at the expense of the life of the solar panel. If you are not confident in your capabilities, then maybe you should still order a factory-made panel.
The author decided to create a solar panel more because of curiosity and interest rather than profit. Therefore, it was decided to be guided by the priority of a low price for parts, so that it would not be so pathetic to spend money in case of failure.
The most affordable and cheap materials were used to create the panel, but nevertheless the author tried to make the protection of the elements from the environment maximum for their greater safety.
To begin with, all the necessary components for assembling a solar panel were found. From the online store a set was ordered consisting of 72 elements measuring 156 by 78 mm. The number of elements was ordered with a margin in case the author spoils a certain number of parts during assembly, then the elements will still be enough for one solar panel. In any case, solar cells not involved this time can be subsequently assembled into another miniature panel. But the author decided to collect the first solar panel from 48 elements, so that even in cloudy weather it would give out enough energy to charge the batteries. According to the author’s calculations, a panel of 48 elements should be up to 85 watts.
Next, the author proceeded to calculate the size of the solar panel. It was planned to make 4 rows of elements of 12 pieces each. Based on the size of the elements, the author came to the conclusion that glass should be 1050 by 700 mm in size.
An aluminum corner measuring 20 by 20 mm under the frame was also purchased. The author himself made the frame 5 mm wider on each side. This was done so that between the glass and the corner fits a layer of silicone, which will seal the entire solar panel.
After the frame was assembled, the author began work on solar cells. The author ordered elements without conductors on the front, as they are cheaper. Therefore, for starters, the tires were soldered to the front of the elements. Although the process itself took a long time, however, it turned out to be quite simple, and the fastening turned out to be very reliable. The author spent about two hours on attaching all the tires.
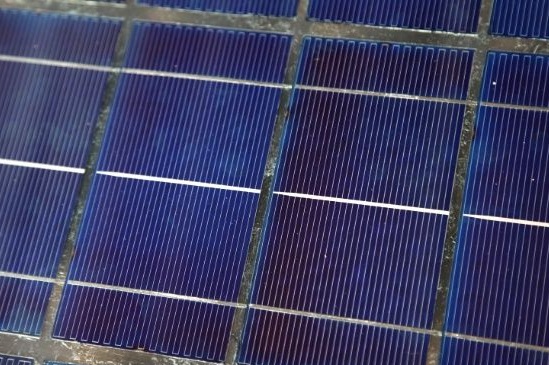
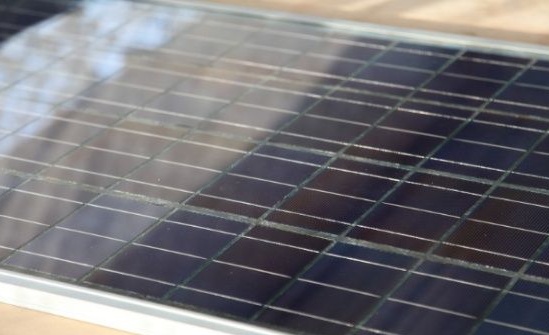
Then the author qualitatively degreased the glass and laid all the elements on it in even rows. Then the elements were soldered together.
The next stage of panel assembly was its sealing. For this, the author purchased silicone sealant. Sealing is very important for the solar panel, as it will be outdoors all the time, so the elements inside the panel must be protected from rain, wind and other external conditions. By the way, if when assembling the panels you are not sure of its complete tightness, then pay attention to the thinnest conductors that are located on the front of the elements. These postings will be primarily susceptible to oxidation.
Silicone sealant was also selected by price category, the author tried to save on everything. 600 ml of sealant was used on the panel. When applied, despite the fact that the consistency of the sealant was rather thick, the author still managed to distribute it normally over the entire surface, although it was originally planned to make the sealant layer thinner.
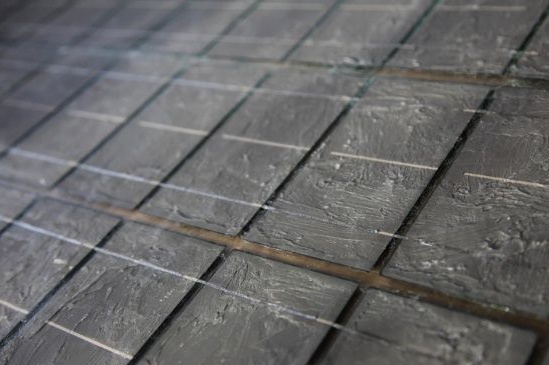
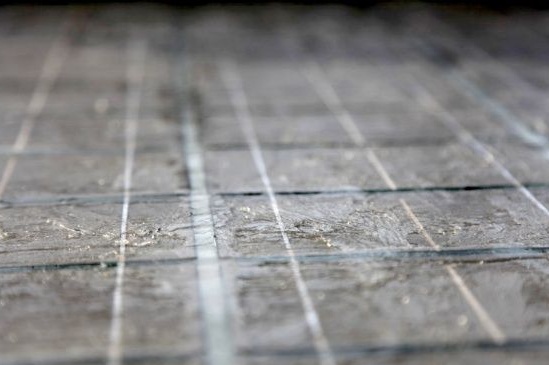
Silicone hardens 10 hours after application. As an experiment, the author tried to tear one element from the glass, it was very difficult, that is, the sealant holds the elements very reliably. When you try to detach, the sealant stretches very much, but does not tear, besides striving to maintain its original shape. So silicone is not only cheap, but also quite reliable, the rest will be shown by time.
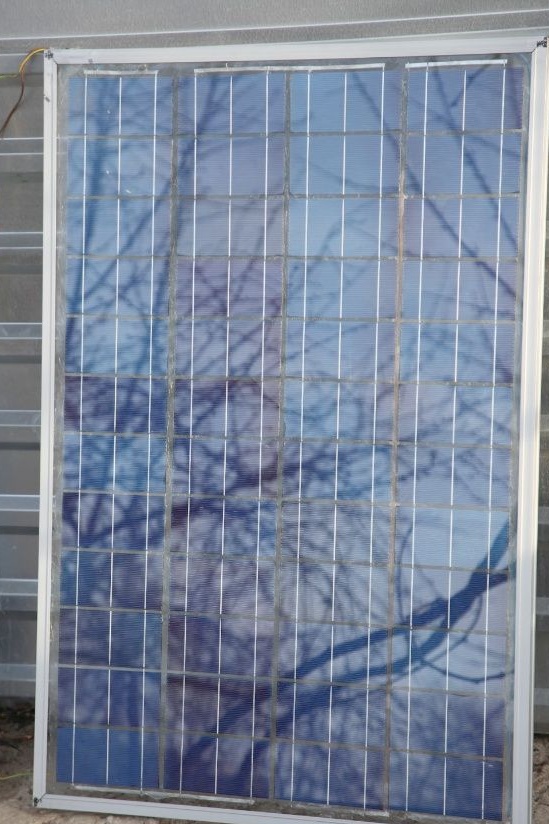
After assembling the panel, the author proceeded to test it. The initial measurement of the panel power showed the following results: 15 volts and 5.5 A, which corresponds to a power of 80 watts. Thus, in sunny weather, 50-80 watts of energy will be supplied to the battery every hour, which is pretty good.
Here is such a solar panel turned out by the author.
In the future, he plans to collect panels with a total capacity of 1 kW of energy. For this, it will be necessary to purchase a good controller, inverter and batteries.