Nikola Tesla believed that the whole world is energy, so to get it and use it, you just need to assemble a device that could capture this free energy. He had many different projects of “fuel-free” generators. One of them, which anyone can do with their own hands today, will be discussed below.
The principle of operation of the device is that it uses the energy of the earth as a source of negative electrons, and the energy of the sun (or any other light source) as a source of positive electrons. As a result, a potential difference appears, which forms an electric current.
In total, the system has two electrodes, one is grounded, and the other is placed on the surface and captures energy sources (light sources). A capacitor of large capacity acts as a storage element. However, today the capacitor can be replaced with a lithium-ion battery by connecting it through a diode so that the opposite effect does not occur.
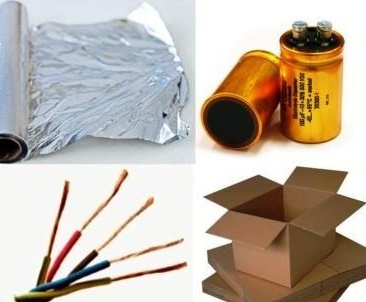
Materials and tools for manufacturing the generator:
- foil;
- a sheet of cardboard or plywood;
- wires;
- high-capacity capacitor with a high operating voltage (160-400 V);
- resistor (availability is optional).
Manufacturing process:
Step one. Make grounding
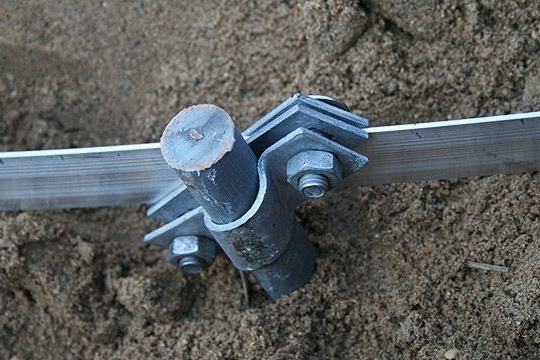
First you need to make a good ground. If homemade If it is used in a country house or village, then you can hammer a metal pin deeper into the ground, this will be grounding. You can also connect to existing metal structures that go into the ground.
If you use such a generator in an apartment, then here you can use water and gas pipes as grounding. Still, all modern sockets have grounding, you can also connect to this contact.
Step Two Making a positive electron receiver
Now we need to make a receiver that can capture those free, positively charged particles that are produced together with the light source. Such a source can be not only the sun, but also already working lamps, various lamps and the like. According to the author, the generator produces energy even in daylight in cloudy weather.
The receiver consists of a piece of foil that is mounted on a sheet of plywood or cardboard. When particles of light “bombard” an aluminum sheet, currents form in it. The larger the foil area, the more energy the generator will generate. To increase the power of the generator, several such receivers can be built and then all of them connected in parallel.

Step Three Circuit connection
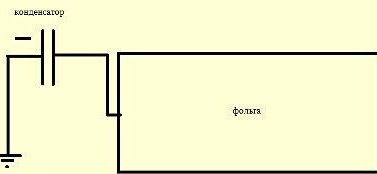
At the next stage, you need to connect both contacts to each other, this is done through a capacitor. If we take an electrolytic capacitor, then it is polar and has a designation on the case. To the negative contact you need to connect the ground, and to the positive wire that goes to the foil. Immediately after this, the capacitor will begin to charge and then electricity can be removed from it. If the generator turns out to be too powerful, then the capacitor may explode from an excess of energy, in this regard, a limiting resistor is included in the circuit. The more charged the capacitor, the more it will resist further charging.
As for a conventional ceramic capacitor, their polarity does not matter.
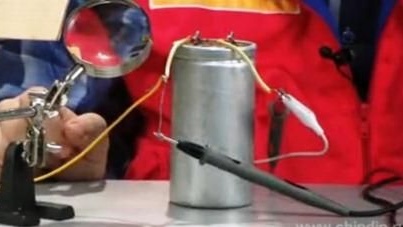
Among other things, you can try to connect such a system not through a capacitor, but through a lithium battery, then it will be possible to accumulate much more energy.
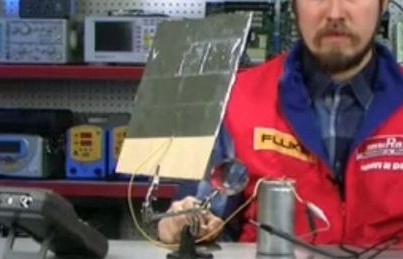
That's all, the generator is ready. You can take a multimeter and check what voltage is already in the capacitor. If it is high enough, you can try connecting a small LED. Such a generator can be used for various projects, for example, for stand-alone night lighting lamps with LEDs.
In principle, other materials can be used instead of foil, for example, copper or aluminum sheets. If someone in a private house has a roof made of aluminum (and there are many), then you can try to connect to it and see how much energy will be generated. It will also be nice to check if such a generator can generate energy if the roof is metal. Unfortunately, figures that would show the strength of the current in relation to the area of the receiving contact were not presented.
