
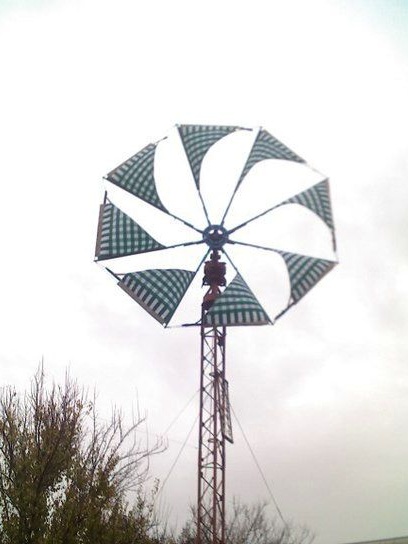
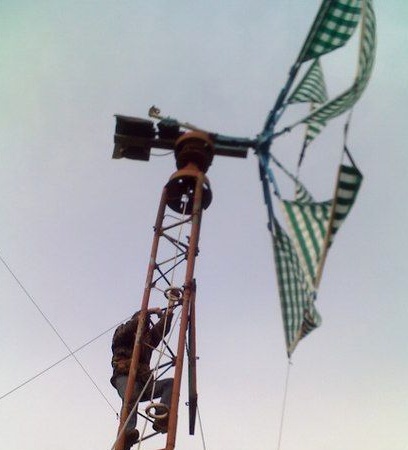
A rather interesting design was chosen by the author of this wind generator. This is a sailing wind generator with a truss mast and power up to 4 kW per hour.
Materials and parts used in the construction of this wind generator:
1) parts from the bridge and rims
2) profile pipe
3) winch
4) DC motor on brushes and magnets 1971 release
Let us consider in more detail the design of this wind generator.
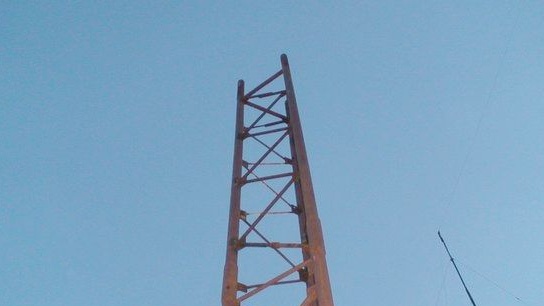
To begin with, the author made a mast on which the generator will be mounted. It was made according to the farm mast scheme, they can be quadrangular, but then the author decided to make a triangular scheme.
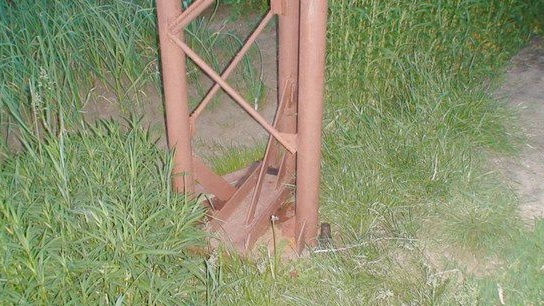
Under the base of the mast, the author dug a hole and poured it with concrete. Mortgages are made in concrete for bolting the mast to the mast. Thanks to such a thorough approach in the fastening, there will be confidence in the reliability of the mast to any winds.
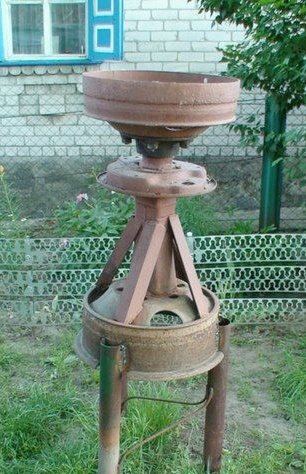
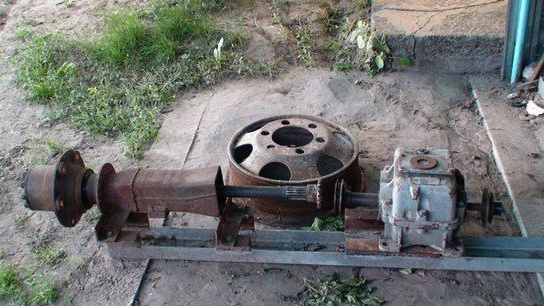
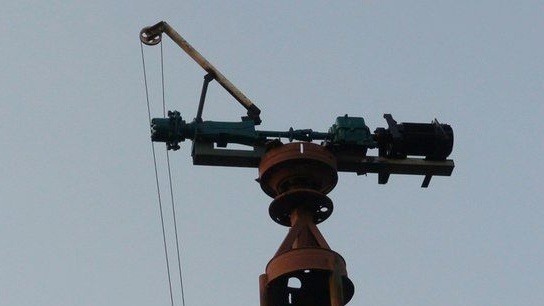
Then the author began to manufacture the rotary axis of the wind generator. The axis was made of parts from the bridge and rims. The total weight of the structure was about 150 kilograms.
The author used a 1971 DC motor as a generator for this windmill. This engine has the following characteristics: rated voltage of 48 volts, 30 A, 500 rpm and weight 55 kg.
Then the author proceeded to the assembly of drive units from the wind generator through the gearbox to the generator.
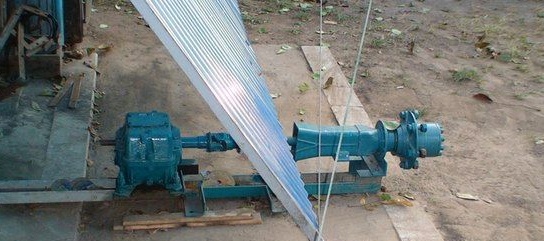
After the main assembly, the author proceeded to paint work.
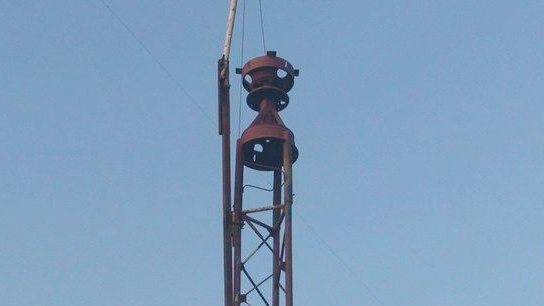
To raise and install the parts on the already delivered mast of the wind generator, the author used a simple winch.
Thus, the rotary structure was first raised, and then the generator itself.
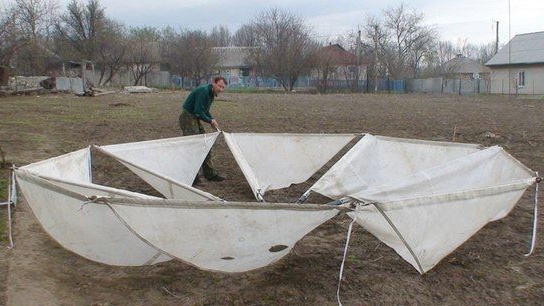
At the same time, he was engaged in the construction of a wind wheel.
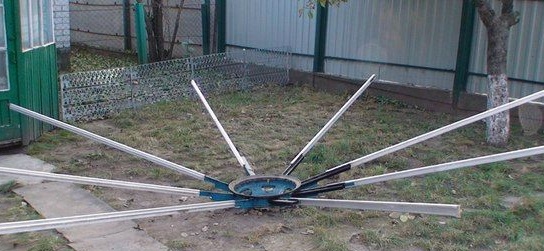
Then, sails were put on the frame of the wind wheel.
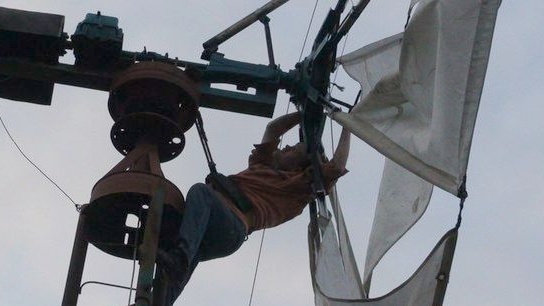
After that, the installation of the wind wheel on the mast of the generator began. The rise was carried out using the same winch. After that, the wind wheel was installed in its place and bolted.
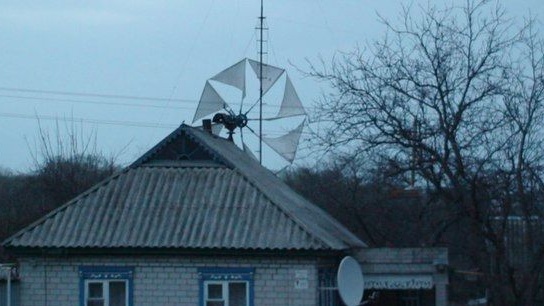
In this form, the wind generator has already begun to work and has provided the necessary energy to charge the batteries.
However, the author did not stop there and continued to improve the design of the windmill.
A new brush assembly was installed.

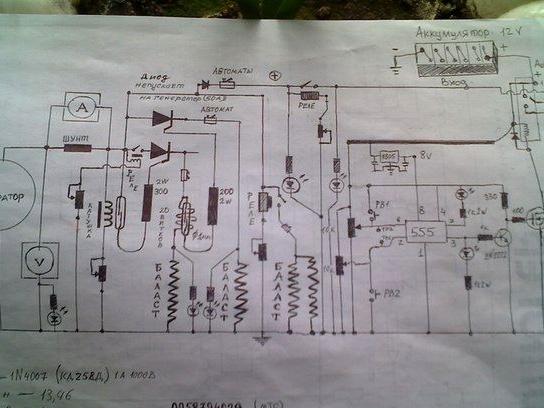
In this picture you can see the electrical circuit of the ballast controller.
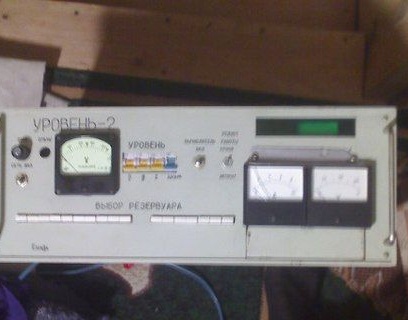
A charging and power take-off controller was also made.
And the windwheel itself was wearing more durable sails.
The author built this wind generator as an experiment. As a result, this experimental sample proved to be excellent. At the time of the completion of these upgrades, the wind generator was used complete with a 12 volt 155A battery. The design was supplemented with a standard inverter 12 \ 220 volts, so that the author could use a TV, laptop and other household electrical appliances from the energy of a wind generator. In the future, the author plans to make a converter, a Tesla coil for transmitting energy without wires, that is, continue to experiment.