

If you decide to assemble a solar panel yourself, then you are likely to come across such a thing as soldering conductors to photocells. The process of soldering tires to solar cells is very painstaking, therefore, difficult. In order for your desire to use alternative energy sources not to encounter such an obstacle, you can familiarize yourself with the main aspects of the correct soldering of conductors to solar panel elements.
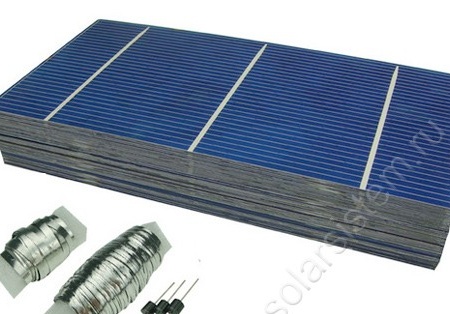
Materials are necessary for soldering elements:
1) solar cells
2) thin flat conductors
3) soldering iron
4) wide flat conductors
5) flux
6) solder
Let us consider in more detail all the nuances of the process of soldering elements of the solar panel.
The most important thing in this process is not to rush. The solar cells themselves are very thin and fragile, their thickness leaves only 0.2 mm, so any excessive force or sudden movement can cause them to break.
On average, it takes about two days to solder a single solar panel consisting of 36 elements. Therefore, if you decide to assemble entire systems consisting of many solar panels, then seriously think about the amount of time spent on soldering the conductors, it is possible to purchase solar cells with ready-made conductors will be more profitable for you.
The main mistake of those who first decided to assemble a solar panel is that they consider it sufficient to purchase only the solar cells themselves in the store, and the rest can be replaced with analogs sold on the local market of radio components. However, this vision is not entirely true, flat panels are used in solar panels, which are not recommended to be replaced with ordinary wires, since sufficiently thick wires are required, which means a lot of soldering time, an aesthetic appearance of the structure and, in addition, excessive wire stiffness can cause damage to the element itself.
That is why the author recommends ordering a set of solar cells already with diodes, buses, thin flat conductors for soldering the elements and wider for connecting the sections to each other. This approach will save both your time and money for delivery.
We also need a 60-80 W soldering iron.If the soldering iron is less powerful, then most likely it will cool faster due to the fact that the large surface of the solar cell will draw heat, therefore it will be necessary to press the soldering iron and hold it on the solar cell for longer. This in turn can cause the element to break or overheat. As solder, the author recommends using wire tin, even with rosin. Any acid-free solution for soldering radio electronics is suitable as a flux, but it is advisable to use one that does not require washing and leaves less greasy traces.
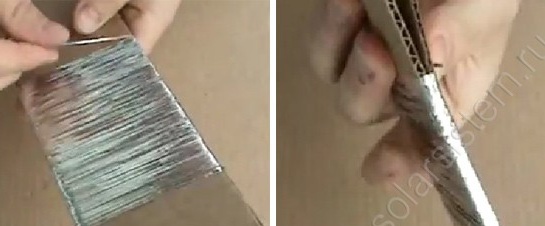
After all the necessary tools and accessories have been assembled, you can begin to prepare for the soldering of solar cells. First you need to cut flat conductors. The length of the conductors must be calculated so that it is slightly shorter than the width of the solar cell. Thus, when using solar cells with a size of 78 by 156 mm, the length of the conductor should be 146 mm, given the gap of 5 mm between the cells. The conductor distribution over the element is as follows: 78 mm is soldered to the front of the element, 5 mm leaves a gap between them, and 63 mm is soldered to the three contacts located on the back of the element.
It is quite convenient to cut the conductors using thick cardboard. Two sheets of cardboard are taken with a width of 63 mm and a thickness of 5 mm, they are folded together, and then a conductor is wound on them. Then the cardboard is opened and on one side the conductor is cut with scissors.
It should also be noted that when soldering elements 6 to 6, in order to save, it is permissible to solder the tire not along the entire length, and simply tin the rest of it.
However, remember how efficiently the conductors are soldered, the efficiency of the entire solar battery will greatly depend.
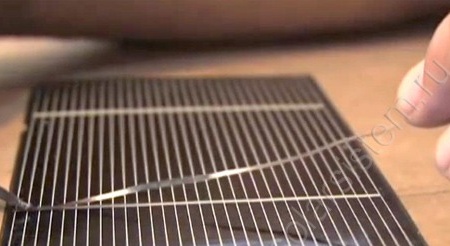
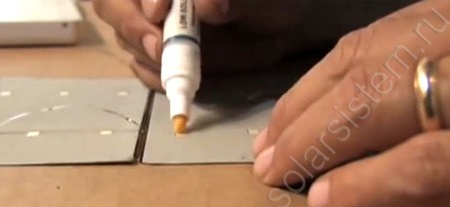
After cutting the conductor, you can begin to prepare the elements for soldering. Typically, the front element of the element is a minus, and the back is a plus. therefore, along the entire length of the contact pad of the front side, it is smeared with flux.
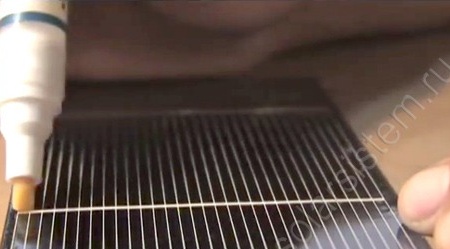
Then the flat conductor is applied and fixed with a soldering iron. Tinning the contact is not necessary, since the contacts on the front side are silver-plated, and on the bus itself there is a thin layer of tin. The main thing is that the tire is soldered firmly to the contacts and held well, otherwise you should still tin.
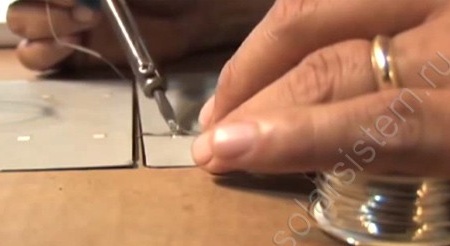
After this, the conductor on the back of the element is soldered by smooth movement, the main thing is to ensure that in the process the element itself does not overheat.
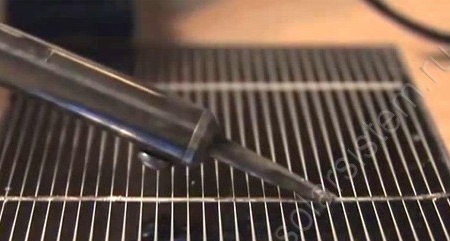
These actions must be done with each element, and then begin to solder them into a common circuit. It is customary to connect elements in series from plus to minus in one chain, so the voltage of all elements is added up, and the current remains the same.
Below is a diagram of soldering elements into a common circuit:
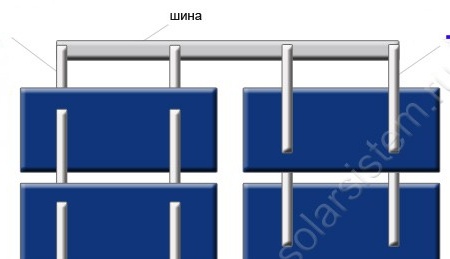

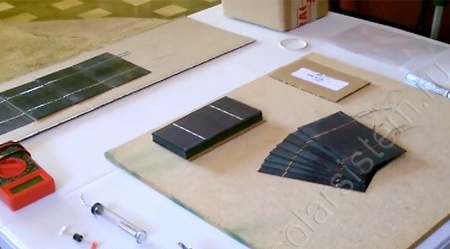
After you have decided on the final form of the solar panel, you should place the elements in several rows on the work surface with the back side up.
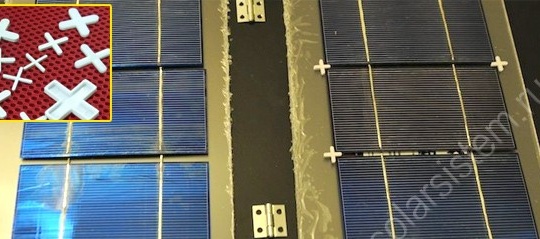
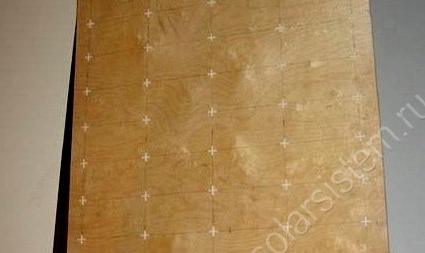
There are several points that will help you fix the elements during soldering, so that at the end the panel has a beautiful and neat appearance. The edges of solar cells can be grabbed with tape, which later simply cut off with an office knife. In order to ensure that the distance between the elements is the same, you can use the construction crosses, which are usually used for laying tiles, these crosses will provide a gap of 2-5 mm.
It’s best to make a whole mockup of plywood onto which crosses are glued.
After fixing the elements, it is necessary to apply a flux and tin the contacts.
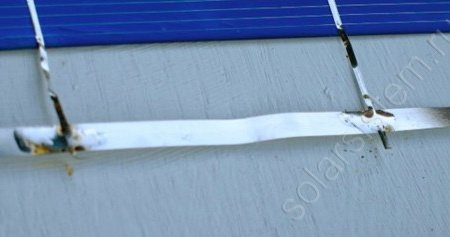
According to this scheme, several rows of solar cells are soldered. Joints between the rows must be made by soldering a wider conductor.
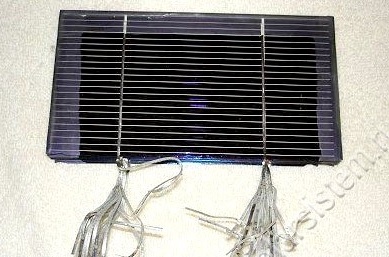
After that, you will already have a ready-made panel of solar cells, which will need to be mounted in the housing and sealed to protect the cells from external weather conditions.