
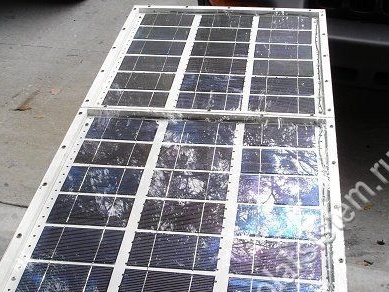
To make this solar panel, the author needed 36 polycrystalline solar cells. The size of the elements is 3 by 6 inches. Since each element separately produces a voltage of 0.5 V, then combining 36 elements in series, respectively, a voltage of 18 V. is obtained. This voltage is enough to power a 12 V battery even in non-sunny weather.
The materials required for the manufacture of this model of a solar panel:
1) solar cells
2) screws
3) glue
4) wooden blocks 20 to 20 mm
5) plywood sheet 10 mm thick
6) org. glass
7) dustproof perforated tape
8) fiberboard
9) copper wire
10) silicone glue
Consider in more detail the process of manufacturing a solar panel.
For starters, solar cells were purchased from two different sellers. One of them was reinsured and in order to prevent the elements from being damaged on the road, glued them together with wax. The second set of elements from the second seller was not so neatly packed, so it showed up various chips along the edges of the elements. However, even with chips, the elements still continue to work and generate electricity, so such shortcomings are more related to the appearance of the future solar panel.
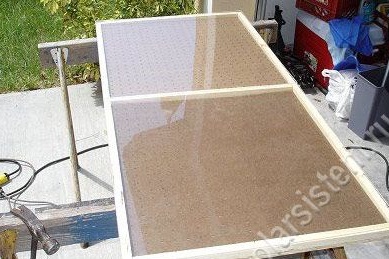
Even before the elements were delivered, the author began to build the building of his future solar panel. The author decided to assemble the panel body on his own using dense plywood 10 mm thick and 20 x 20 mm beams that will be fastened along the edges of the plywood sheet. The bars were attached with glue and screws. Unfortunately, the author could not find org. glass of the required size, therefore, divided the panel into two parts by installing a bar in the middle. This allowed the use of smaller org. glasses that the author had.

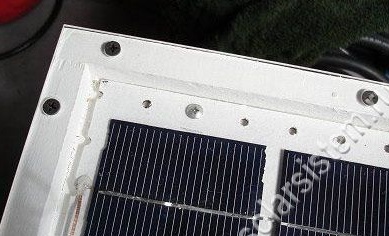
In order for the glass not to fog up in the sun and the extra flag to come out of the panel body, the author made 6 mm diameter ventilation holes in the lower part of the box and the middle bar. To protect against dust and small insects that could crawl through these holes, it was decided to close them with a dustproof perforated tape.
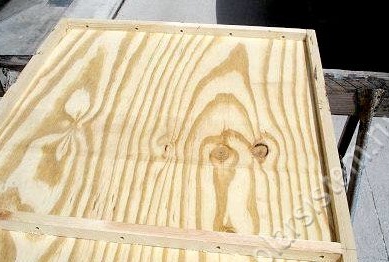
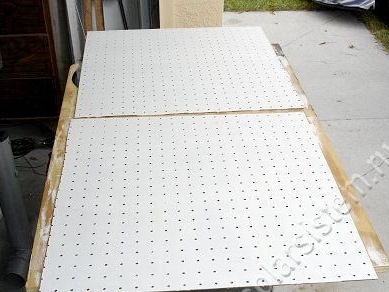
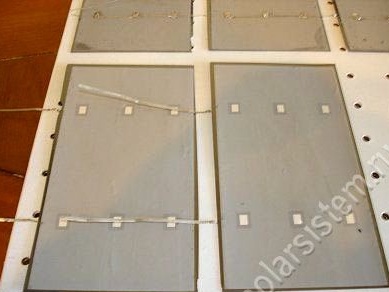
In order to make it more convenient to mount solar cells, the author cut out two substrates from fiberboard. The substrates must be sized to fit freely between the sides of the hull.

I would also like to note that the holes on the fiberboard do not carry any need, just the author came across just such material.
As already mentioned, the author used org. glass to protect the solar battery and its elements from external weather conditions, but do not forget that silicate glass is quite fragile, so it is not recommended to use it for large areas without any reinforcing material (for example, a special film).
Since the panel body itself is made of wood, it also needs to be protected from external weather conditions. For this, the author treated them with an antiseptic and covered with several layers of paint. The author recommends painting the structure in light colors, which will significantly reduce the heating temperature of the box itself.
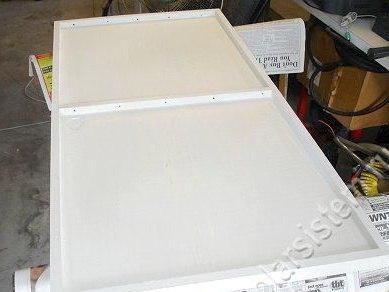
In order to prevent the fiberboard substrates from changing their shape under the sun, it was also decided to paint them in several layers on both sides. Otherwise, when wet, and subsequent drying, they can be deformed by harming the solar cells that are attached to them.
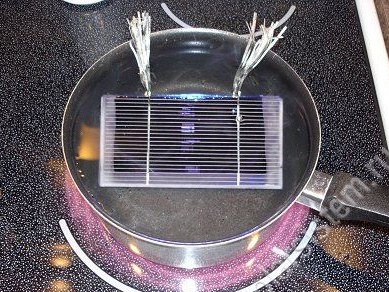
After the main parts of the case for the solar panel were prepared, the author proceeded to assemble the solar cells themselves. To begin with, it was necessary to separate the elements that were glued together using wax. To do this, they were dipped in warm water. In order to prevent the elements from being damaged by temperature jumps, the author recommends putting them in water at room temperature, then slowly heating the water to 60-80 degrees. At this temperature, the wax holding the elements will melt and can be easily disconnected from each other.
In order to completely clean the elements from wax, the author recommends using a container with heated water and a cleaning agent, as well as another container with warm water, for rinsing.
After this procedure, the elements must be left to dry naturally, as sudden changes in temperature can cause cracks on the elements themselves.
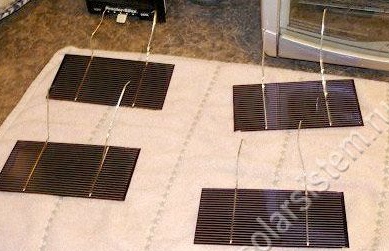
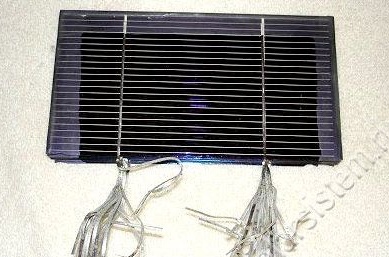
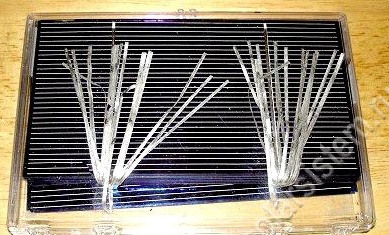
After the elements have dried you can start soldering. To do this, the author laid out the elements face down. Tires that have already been soldered to the front of the elements must be soldered to the back of each subsequent element.
Below is a diagram of the soldering of elements:

To fix on a substrate on the back side of each of the elements, the author applied a drop of silicone glue, and then gently pressed down for better adhesion to the surface.
As you can see from the photo, the first and second row are interconnected by copper wire, although you can use the usual one.
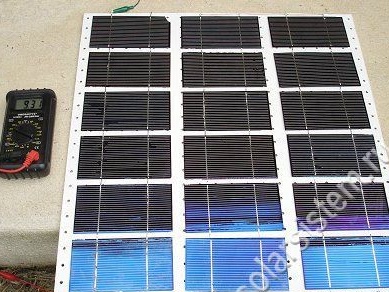
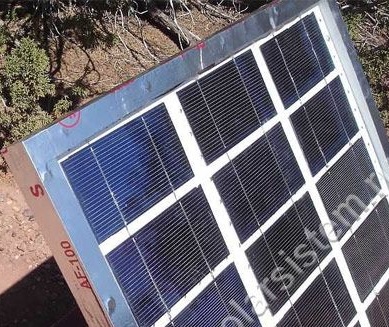
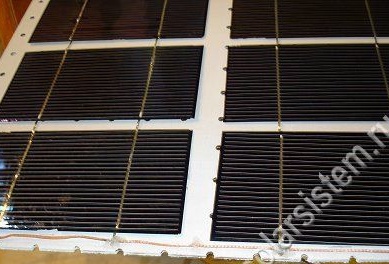
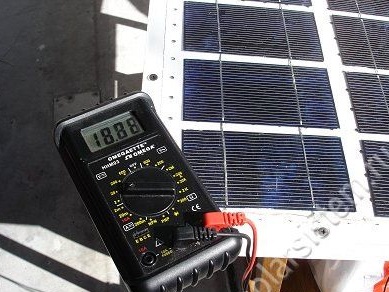
After assembling the first half of the module, it was checked for operability and installed in the housing.
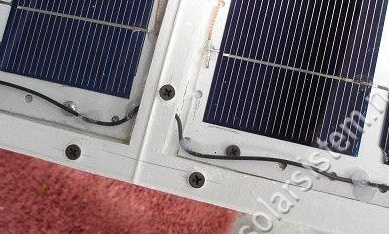
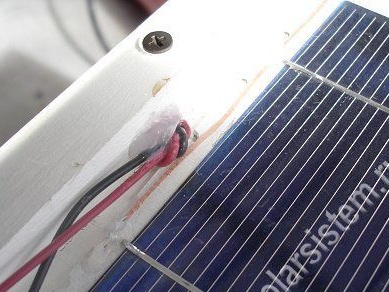
The wires that connect the two halves of the solar panel pass through the ventilation holes, the wires themselves are fixed with silicone glue.
In order to prevent the discharge of the battery through the solar cells at night or in cloudy weather, a diode was connected in series at the output of the solar battery. The diode must be rated for the appropriate current strength.
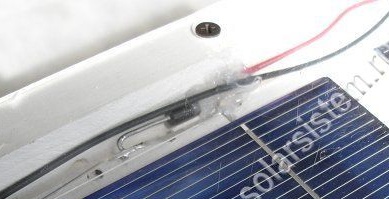
In order not to accidentally tear out the elements from the inside, a knot was tied to the outgoing wires, and the holes were smeared with silicone.
After testing, which showed the excellent operation of the solar panel, the author glued the edges of the casing with aluminum tape. This will prevent dust and moisture from entering through the gap between the housing and the glass.
The author recommends connecting the solar battery to the battery through the charge controller, this will avoid overcharging the batteries and maintain their performance.