

Even beginners can make this project, with a little effort. The work does not use any complex parts, and does not require additional skills when assembling it. It’s not even necessary to own a soldering iron, since a beadboard is used in the bug, so no soldering is needed. Programming is also not difficult, because the author provided a ready-made code for this project.
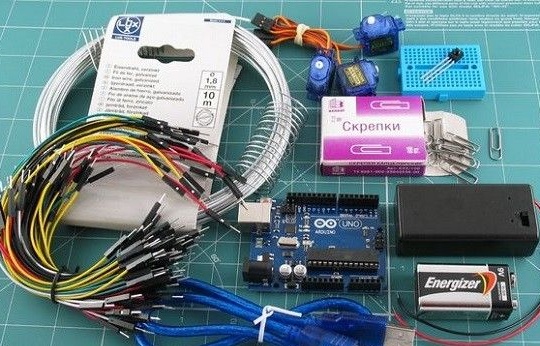
Materials:
- Arduino Uno with USB cable
- 9V battery box
- 9V battery (7.2-8.4V battery can be used)
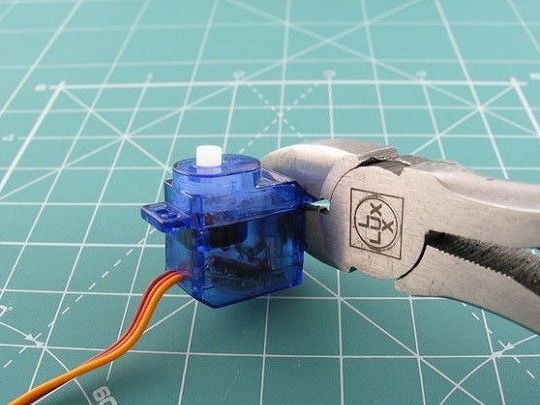
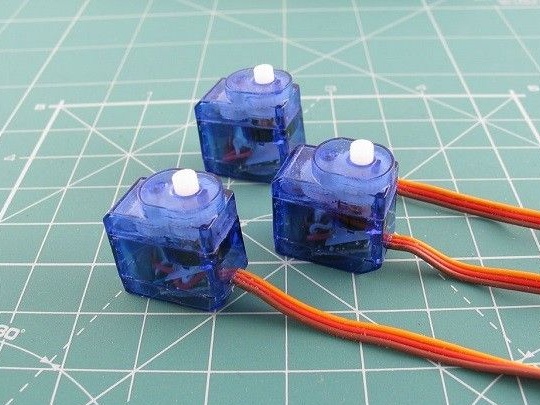
- Servo analog 3 pcs
- IR (infrared) receiver and transmitter
- Bradboard mini
- Connecting wires
- Steel wire (diameter 1.5-2 mm)
- Metal paper clips 2-3 pcs
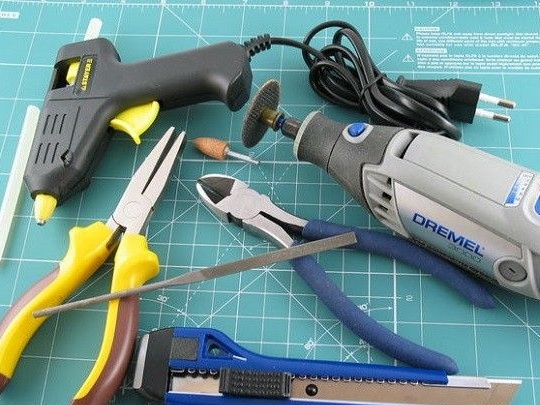
Of course, we still need tools:
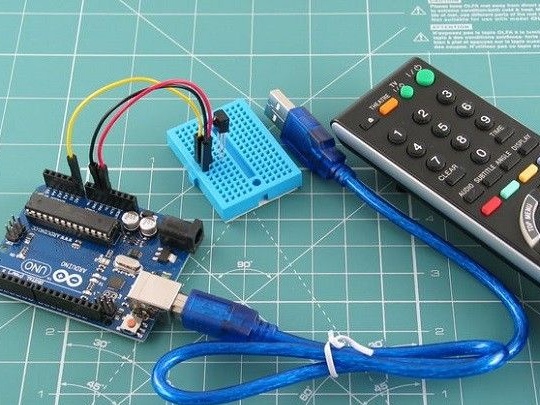
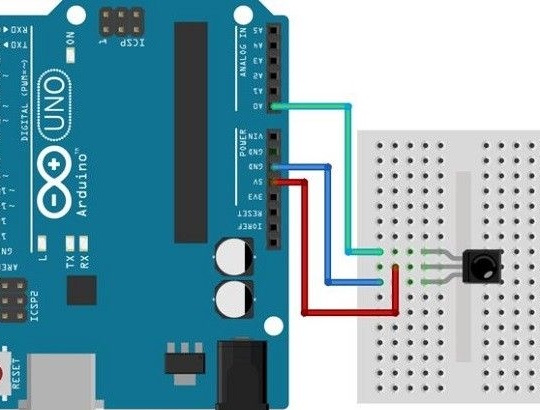
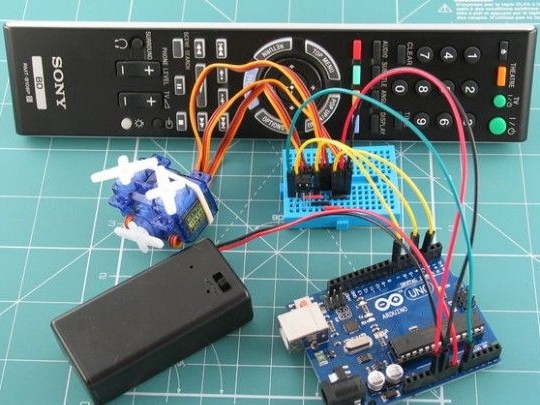
Step 1 connecting the IR receiver to the Arduino:
An IR transmitter can be your TV remote control. To begin with, the author reads and remembers the signal code in order to use it later to control the robot. For this step, connecting wires, Arduino, a deliberation board and the receiver itself with a transmitter are taken. The circuit is assembled as shown in the photographs below.
The circuit is used for Tsop2136 receiver. If you use a different receiver, you must first look at its specification. Next, a file from the archive called ir_receiver.ino is opened via the Arduino IDE. There you can see the first line of #include "IRremote.h" code. This line indicates that the sketch will use a library that will implement all the functionality for transmitting IR signals. IRremote.h itself is not part of the Arduino IDE software, so it is installed in advance. Next, the author opens the Serial Monitor and checks the signal transmission speed. The speed is set manually at 9600. Having picked up the remote control, we are checking for the assembly working, I click on the remote control buttons, and if the codes are visible in the Serial Monitor, this means that model works.
For each remote control model, the codes may differ, and to simplify the task of matching the pressed buttons to be used are simply written out. It should be noted that some of the codes correspond to a long or repeated press, however, they will not be used in this project.
Robot will be able to execute 13 different commands:
1. Move forward.
2. Move back.
3. Turn left.
4. Turn right.
5. Move forward with a left turn.
6. Move forward with a right turn.
7. Move back with a left turn.
8. Backward movement with a right turn.
9. Stop.
10. Setting the 1st speed (slow).
11. Setting the 2nd speed.
12. Setting 3rd speed.
13. Setting the 4th speed (fast).
Convenient buttons are selected for executing these commands by pressing the buttons and writing a unique code for each of them.
Step 2 assembly of the prototype:
Before proceeding with the assembly, the operability of the delivered iron and the program itself is fully checked. The sketch is loaded into the microcontroller. Codes are changed according to the previously compiled table. By pressing the buttons on the remote control, the servomotors are checked for their reaction. It also checks the operation of the model with power not only from USB, but also from the battery.

Step 3 beetle gait:
Having 3 servos, it is possible to implement the gait of a six-legged beetle. The legs of the future robot are made in one piece. They are installed in a row from left to right. The left servo will be responsible for the left front and right hind legs, the right for the front right and hind legs, and the center for the middle legs. The legs of the future robot are made in one piece.
Video showing the correct operation of servos:
Step 4 installation:
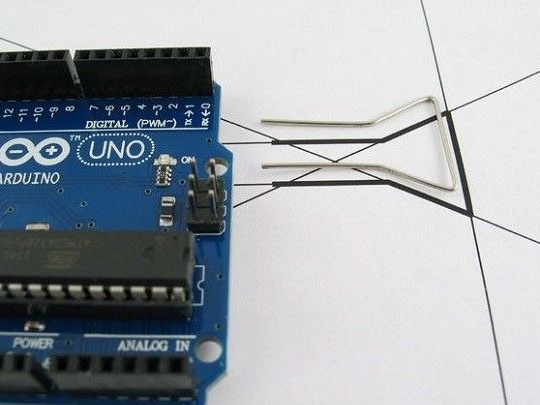
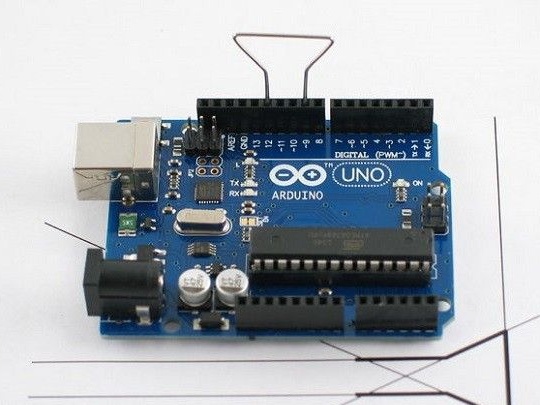
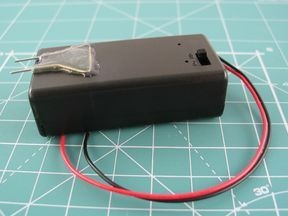
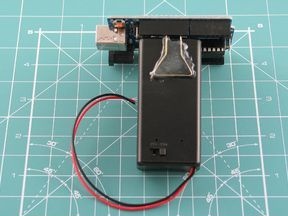
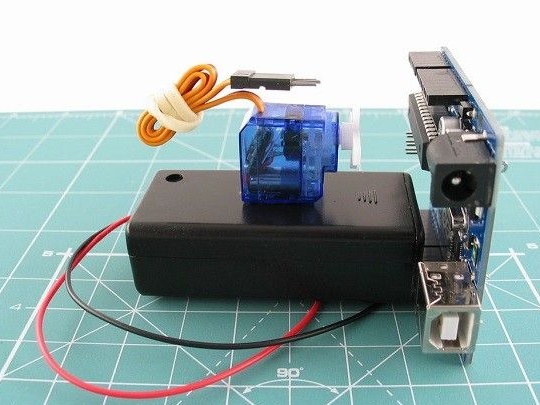
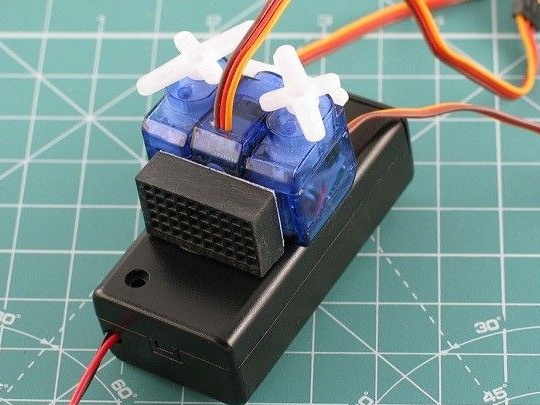
To attach the battery compartment to the board, a brace was needed, a bracket was made of it. The paper clip was made according to the stencil, which is attached at the bottom of the article. It is important that the size of the stencil matches the dimensions indicated. The remaining components are installed on the Arduino Uno: mini-bradboard, servos.
The paper clip bends along the stencil and connects to pins 9 and 12. You can not worry about closing the contacts, since they are not used in the sketch. The bracket is glued to the bottom of the battery holder.
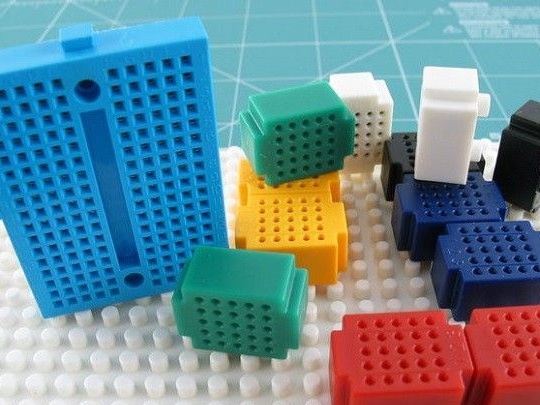
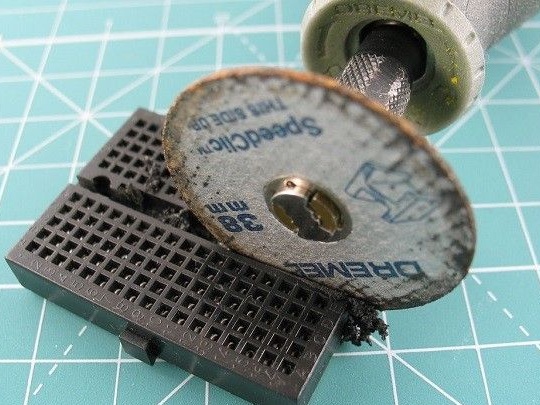
The author recommends using a braidboard of the smallest possible size, in his opinion the best option would be the size of 5 * 10 pins. A bradboard of this size can be cut off from the breadboard or bought immediately ready-made.
Then the servos themselves are prepared - the stickers are removed and the loops that take up too much space are cut off. This process takes place with particular care, as the servos are quite fragile.
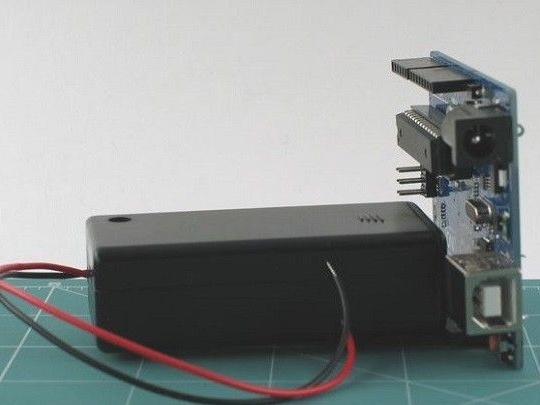
Stickers that have been removed previously stick the servos on top of the battery holder. They are installed so that there is a place for a small bradboard next to them.
Next, put the breadboard. The IR receiver is directed upward for high-quality signal reception. Once again, everything is checked for performance.
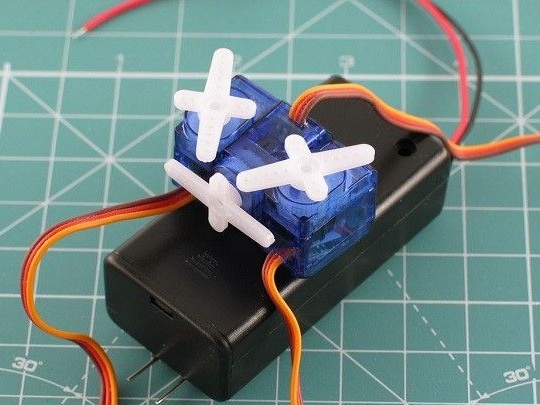
Step 5 feet:
For that selection of the size and shape of the legs of the beetle there are also stencils (attached below). The first for the front and hind legs, the second for the middle. Feet stick to servomotors. Now the robot can safely go where you point it.
Robot Dance:
This project can be further developed at the request of everyone. It is possible to change the appearance, and change the code. You can also attach a camera or Bluetooth adapter to it. And, in general, all you have enough imagination for.
Another video with the work of the robot: