The author used copper oxide as the main material, while the bulk of such batteries are made of silicon. When sunlight enters copper oxide, a photoelectric effect forms in it, which turns light into electricity. It was copper oxide that became one of the very first components in which scientists discovered the photoelectric effect.
Materials and tools for making batteries:
- a sheet of copper, you can buy in a hardware store (area of about 45 sq. cm);
- a clip like "crocodile";
- sensitive microammeter (measuring scale 10-50 μA);
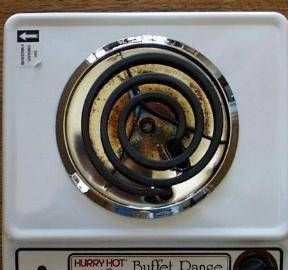
- electric stove (at least 1100 watts, the spiral should turn red);
- a plastic bottle (volume 2 liters);
- a few tablespoons of edible salt;
- water;
- sandpaper or a drill with an abrasive nozzle;
- sheet metal.
Manufacturing process:
Step one. We extract copper oxide
To obtain copper oxide, it must be oxidized, and for these purposes, heat and exposure to oxygen are needed. First of all, you need to prepare a copper sheet. It is necessary to cut a piece of such a length that it is as large as a spiral electric stove. Next, you need to wash it well with soap, like hands. If fat is present on the metal, it simply will not oxidize and nothing will work. To remove sulfide and other elements of small corrosion, a sheet of copper must be treated with sandpaper. Now you need to put it on an electric stove and turn it on at full power.
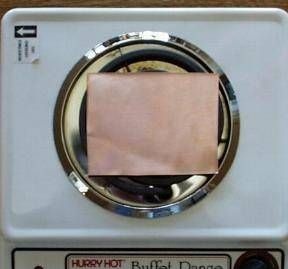
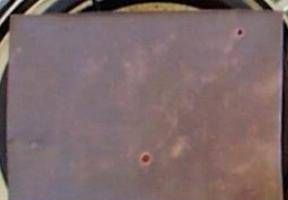
When heated, the copper will oxidize, in the first stage red-orange spots will appear.

When the copper heats up even more, its surface will darken, this will be the beginning of the formation of copper oxide on the surface of the copper sheet.
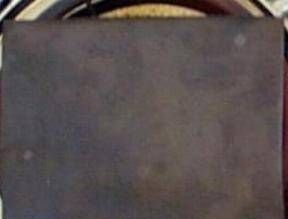
When the tile warms up as much as possible, the copper sheet will turn black. From this moment, you still need to let the sheet warm up for about half an hour.During this time, the top layer will become thick, and this is very important, since the thicker the film, the easier it will be to remove. A thin layer will stick to copper and it will be very difficult to remove.
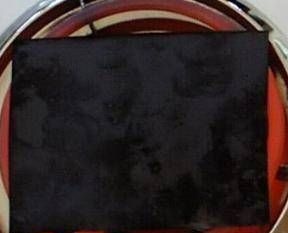
After that, the tile can be turned off and allowed to cool. It is important that when cooling the sheet was on the plate and cool slowly, otherwise copper oxide will stick to the sheet and everything will have to be done first.
Since copper and copper oxide are compressed at different speeds during cooling, in the process, copper oxide will break off the sheet, it is quite interesting to observe this phenomenon.
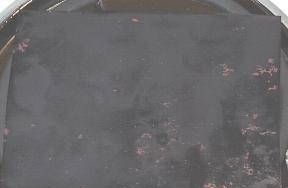


Step Two Collect the battery
After the copper cools down, the sheet must be washed carefully under running water. You do not need to bend it at the same time, since copper oxide can very easily lag behind the sheet, and this is the most important element of the device.
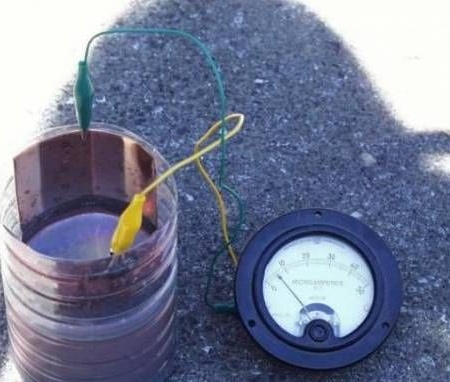
Now you need to prepare a second contact, it is also made from a sheet of copper, but without oxide. You need to cut another sheet of copper exactly the same size as the first. Next, the sheets are carefully folded into the shape of a bottle and inserted into it. However, they should not touch each other. Sheets are attached with the help of "crocodiles" or clothespins. In this case, the wire from a clean copper plate will be a plus, and from copper with oxide minus.

Now you can pour the "electrolyte", it is made from table salt. In a glass of hot water you need to stir a couple of tablespoons of salt and pour the solution into the bottle. About 2.5 cm should remain to the edge of the plates.
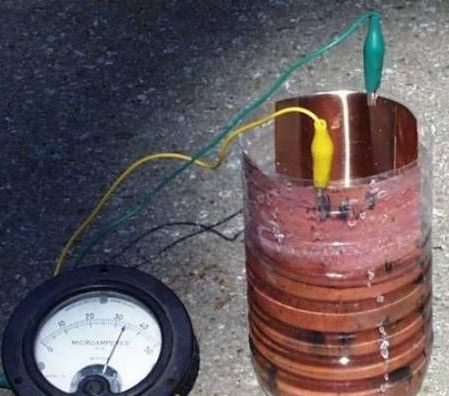
After that, the battery will be ready and you can conduct experiments. Even in the shade, the device produces about 6 milliamps. According to the author, the battery produces some voltage even in complete darkness. In daylight, the ammeter shows a current of 34 mA, and sometimes it can rise to 50, or even more.
Of course, a light bulb cannot be lit from such a battery; for this, its dimensions should be much larger. This is just an example of how to make this kind of device from improvised materials. By the way, such a battery can be used without problems as a light sensor.
Step Three How to make a flat solar panel
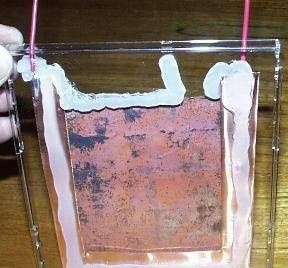
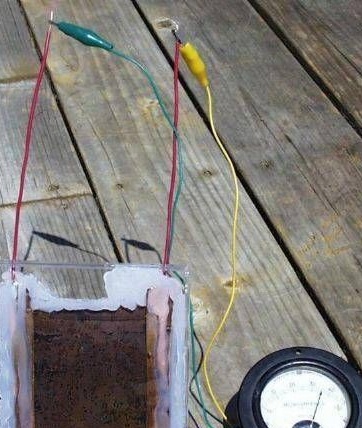
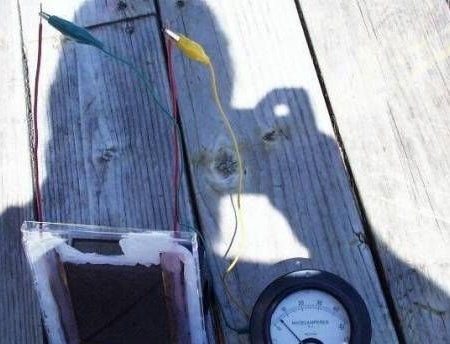
The author went further and decided to make a flat version of the solar panel. As a case, a case from a CD is used. For bonding, silicone glue or sealant is used. First, a sheet of copper oxide is made and an insulated copper wire is soldered to it. It will be a minus.
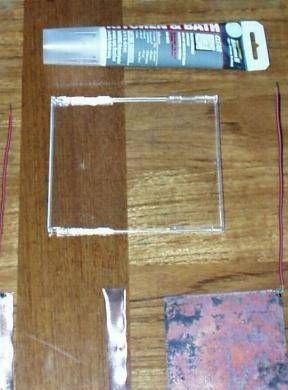
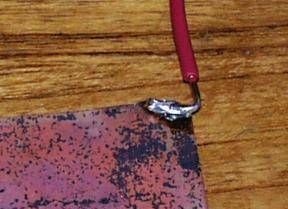
As for the plus, it is made of a piece of pure copper, you need to cut out the shape in the form of the letter U. A wire is also soldered to it, this will be a plus. First, it is this plate that needs to be glued to the body, it is necessary to thoroughly glue the soldering spots with glue, otherwise salt water will quickly destroy this compound.
Well, after that you can glue a second sheet of copper, that is, a sheet of copper oxide.
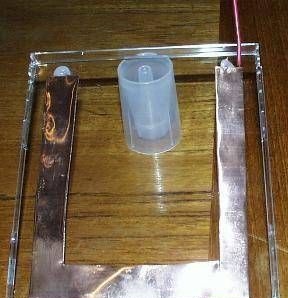
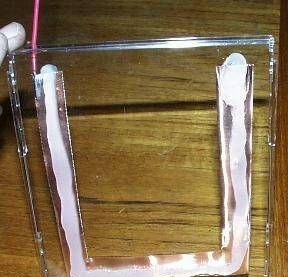
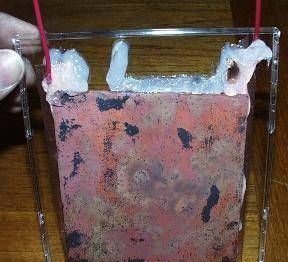
In conclusion, the entire structure is carefully sealed with silicone sealant and then green water is pumped into it using a syringe. The battery is ready for testing. When exposed to sunlight, the battery produces 36 μA.
