
Materials and tools for manufacturing:
- type controller Arduino Mega
- ultrasonic sensors of type SR04 (4 pieces);
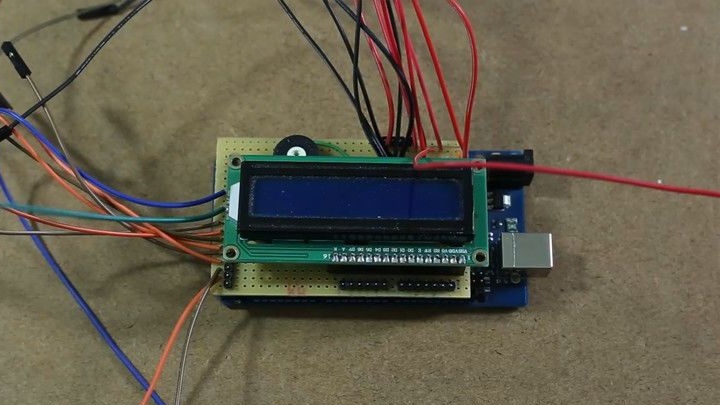
- LCD display 16X02;
- board (plywood for building);
- two 10K resistors;
- one potentiometer per 10K;
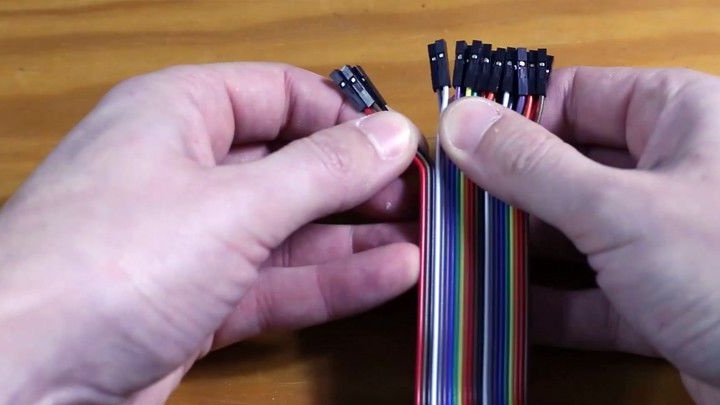
- connectors for Arduino type "mother" and "father";
- wires;
- some tools;
- glue;
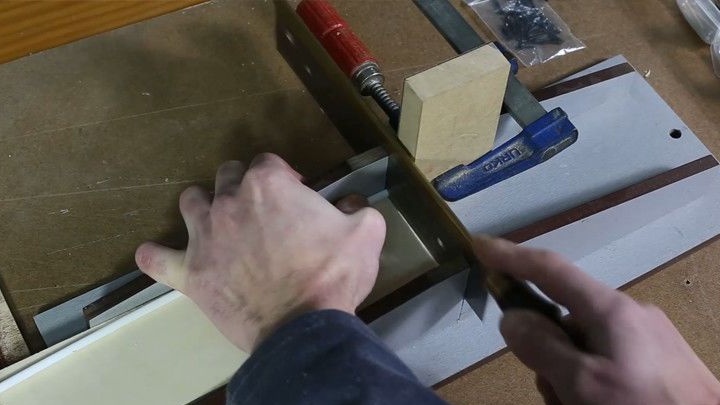
- a tool for cutting plywood;
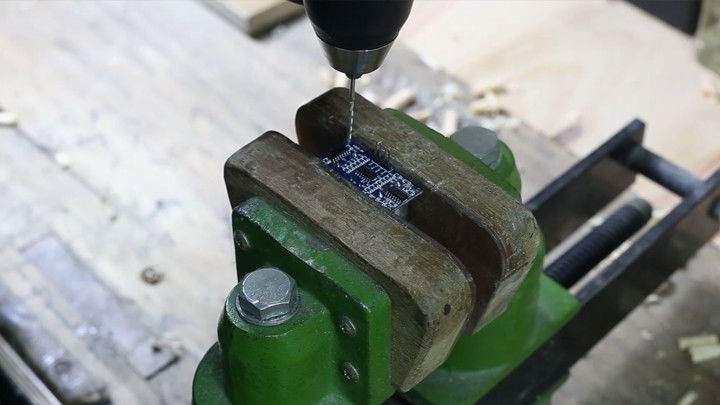
- drill;
- a piece of plastic pipe (to make struts);
- varnish.
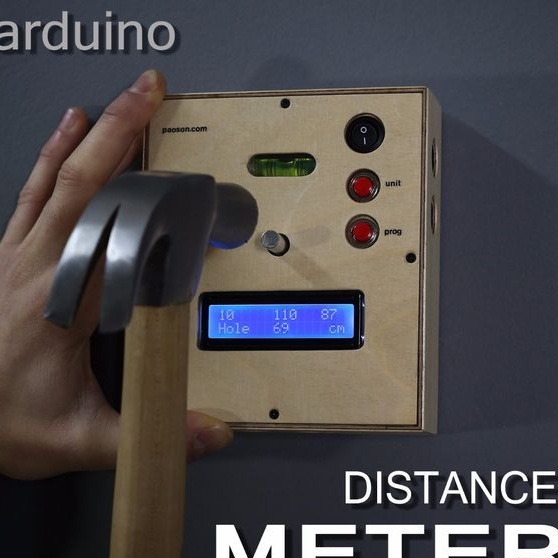
In total, the device has four programs. The first allows you to find the center to drill a hole. The device measures the distance to the right, left, up and down, and thus the center is then calculated.
The second program is called Rel and when it is used, all previous indicators are reset. After that, the device takes measurements from this point, which was marked. This will allow you to measure the distance from one to the second point in any direction.
Thanks to the Total program, you can determine the distance to the opposite wall, floor or ceiling.
Well, the fourth program calculates the area, for its measurement the device is placed in a corner.
Instrument manufacturing process:
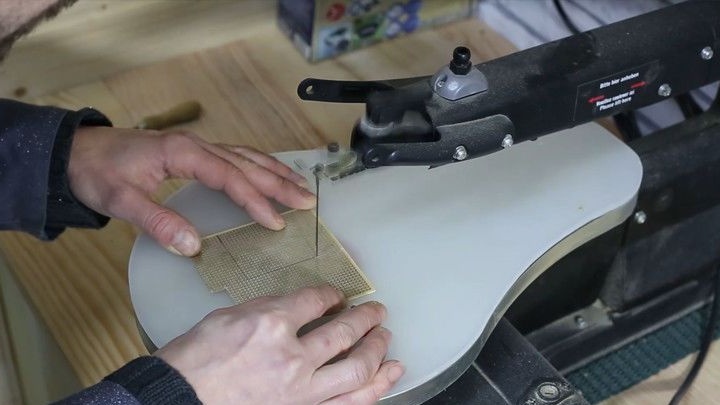
Step one. Create a case for the device
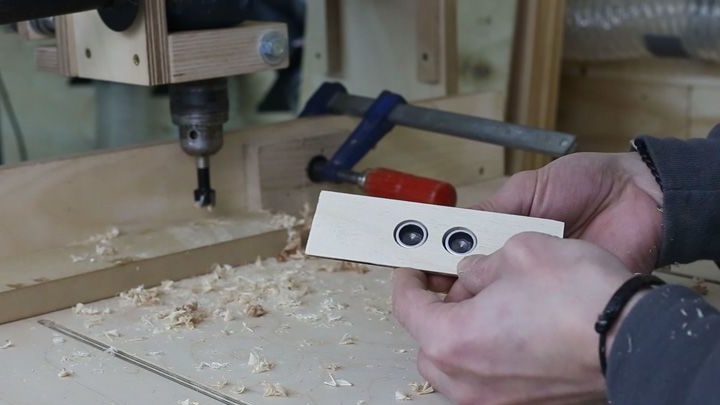
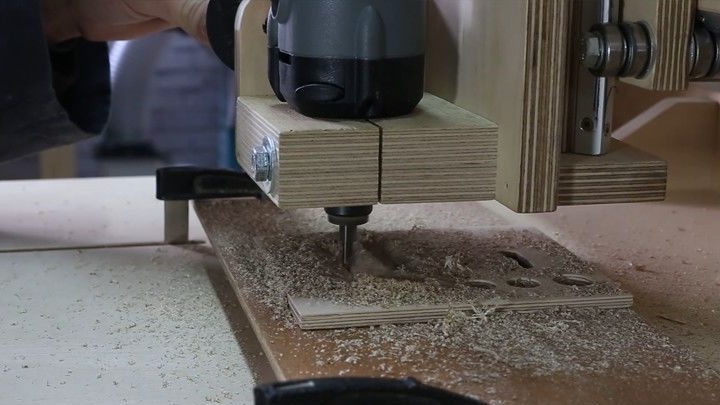
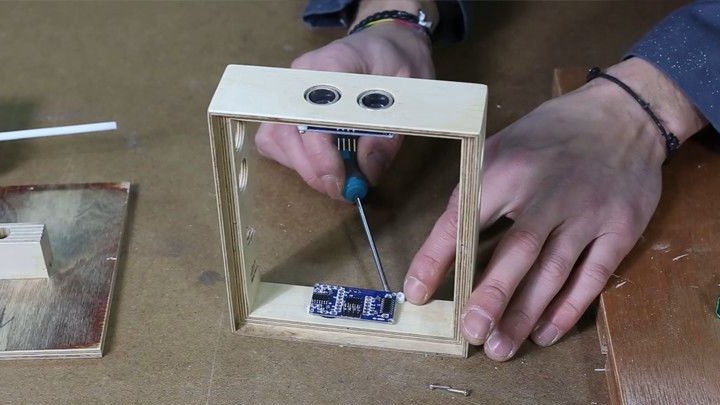
In order to make the body you will need plywood and a cutting tool. You must remember to make holes for the sensors and the USB connector.
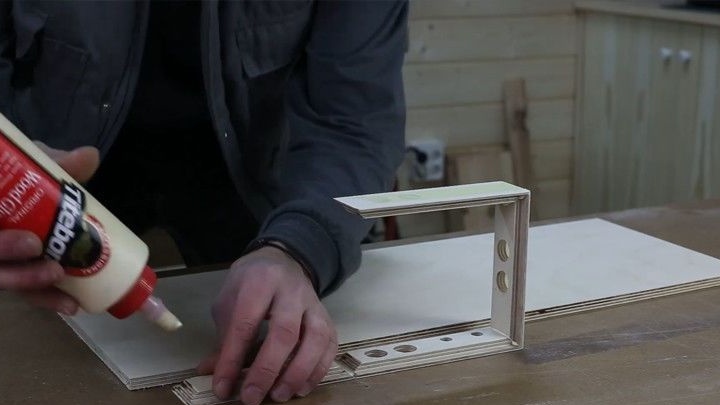
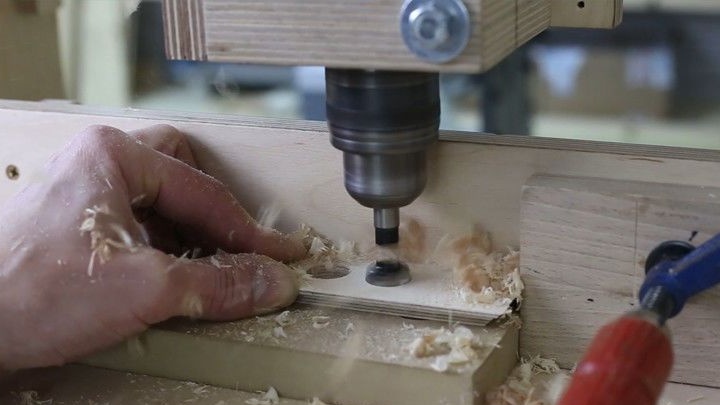
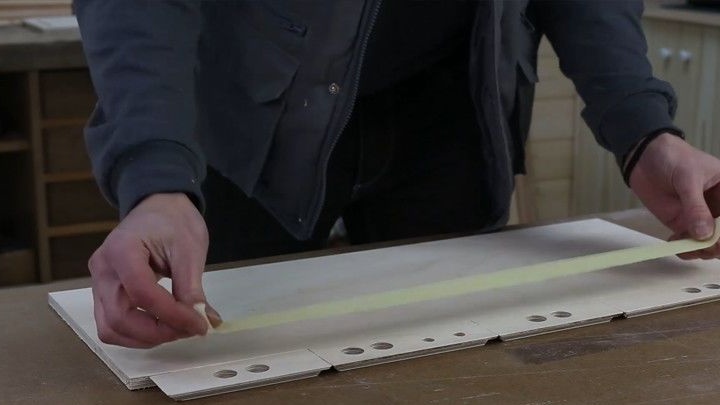
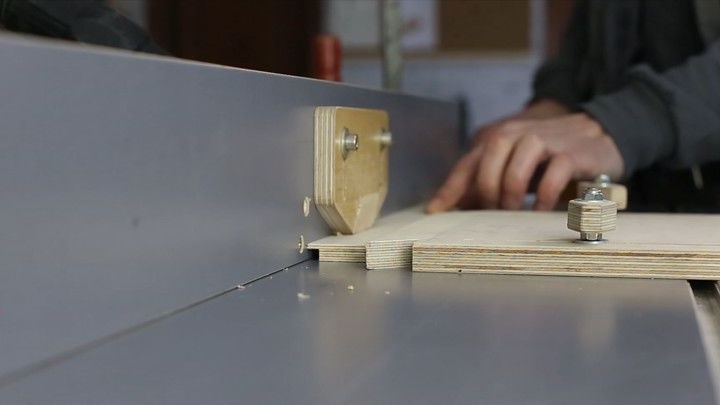
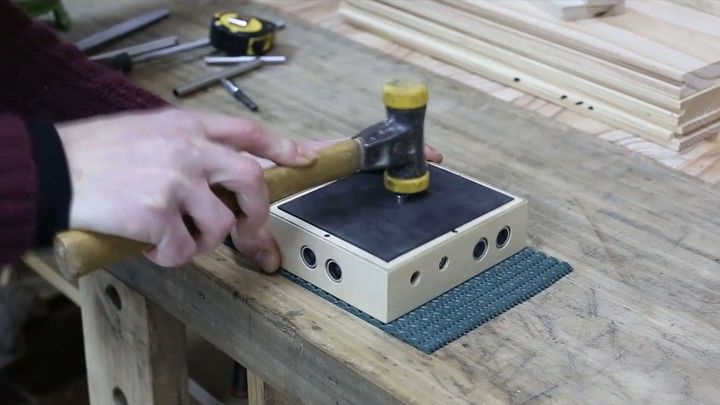
First, the individual elements of the body are cut out, and then they are glued together with hot glue. You can use another case as desired.
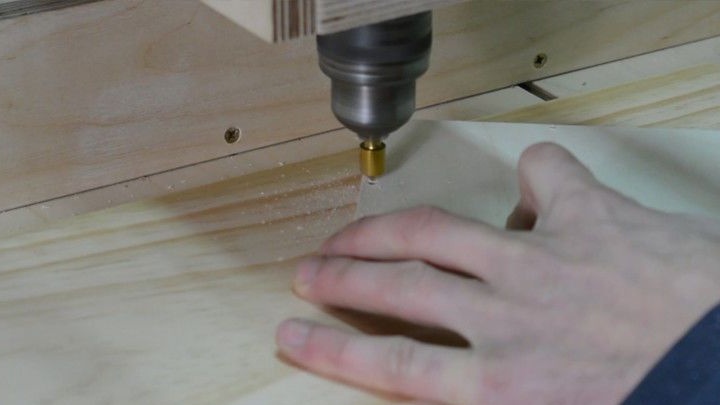
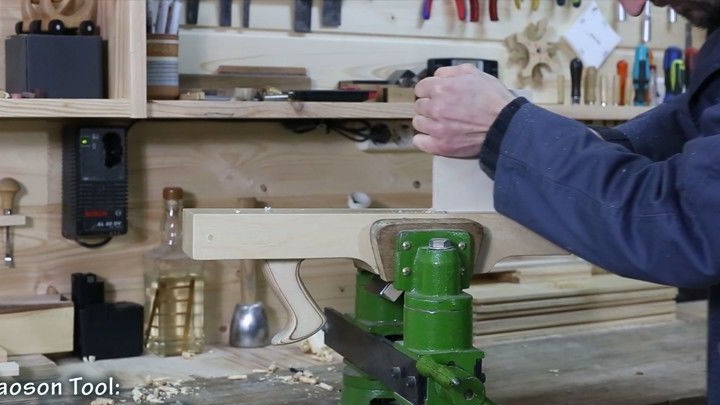
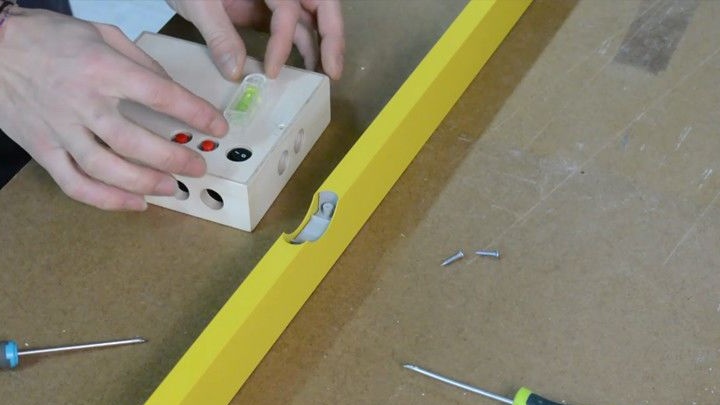
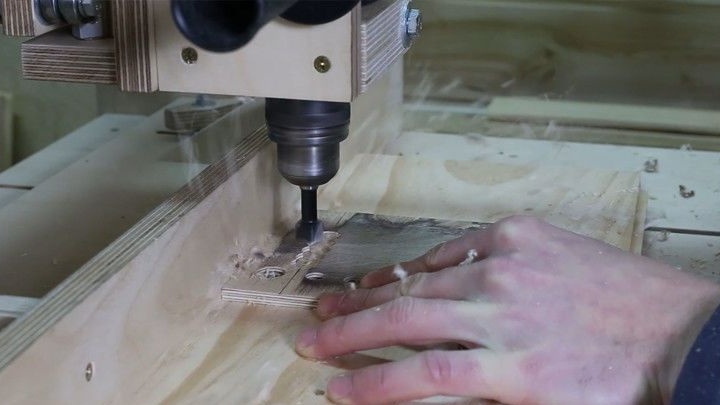
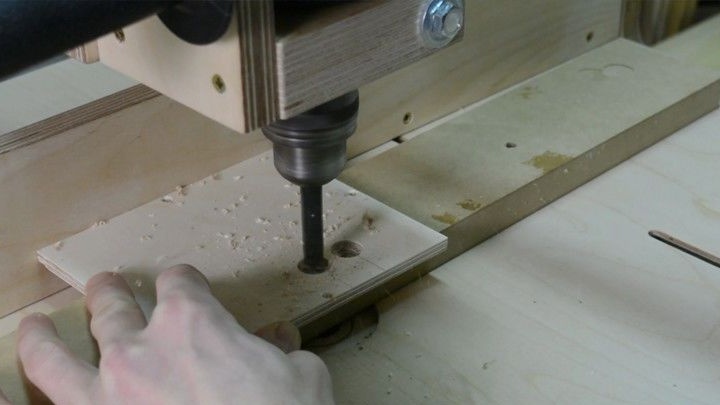
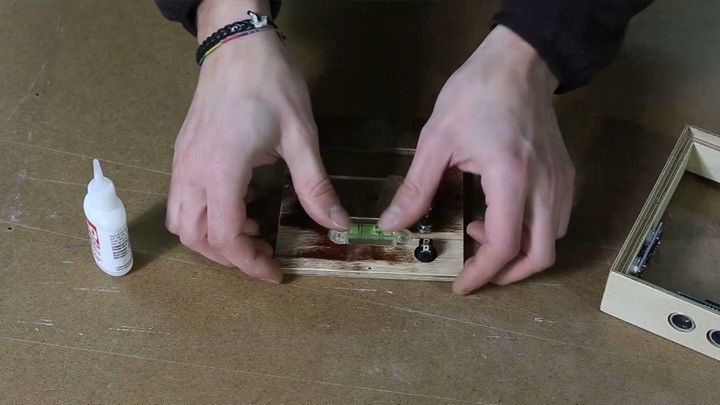
In the lid you need to drill holes for the buttons, as well as the “bubble” with which it measures the level.
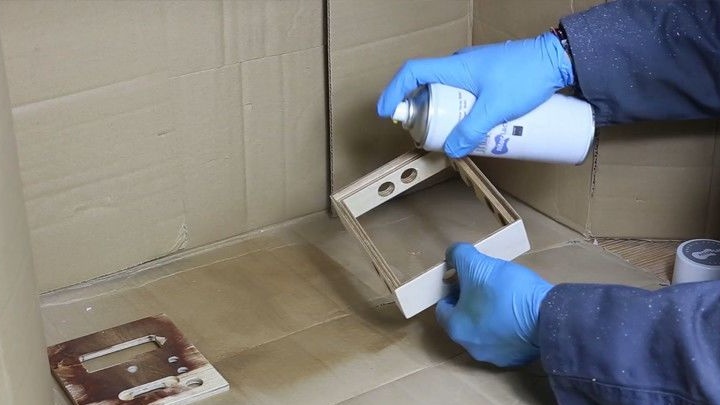
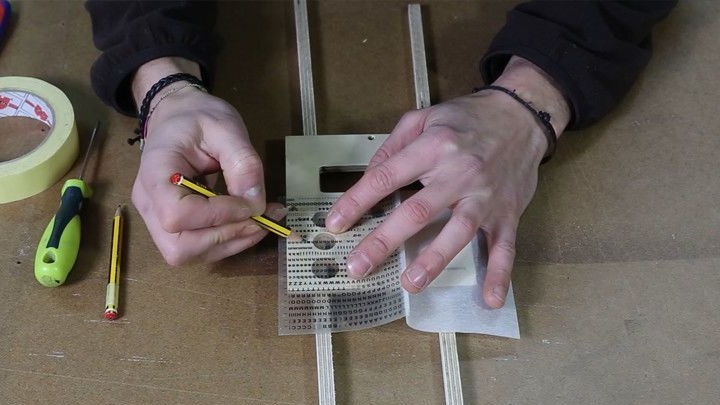
After assembly, three layers of varnish are applied to the body. The author uses nitrocellulose for these purposes. To write the names of the buttons, carbon paper is used.
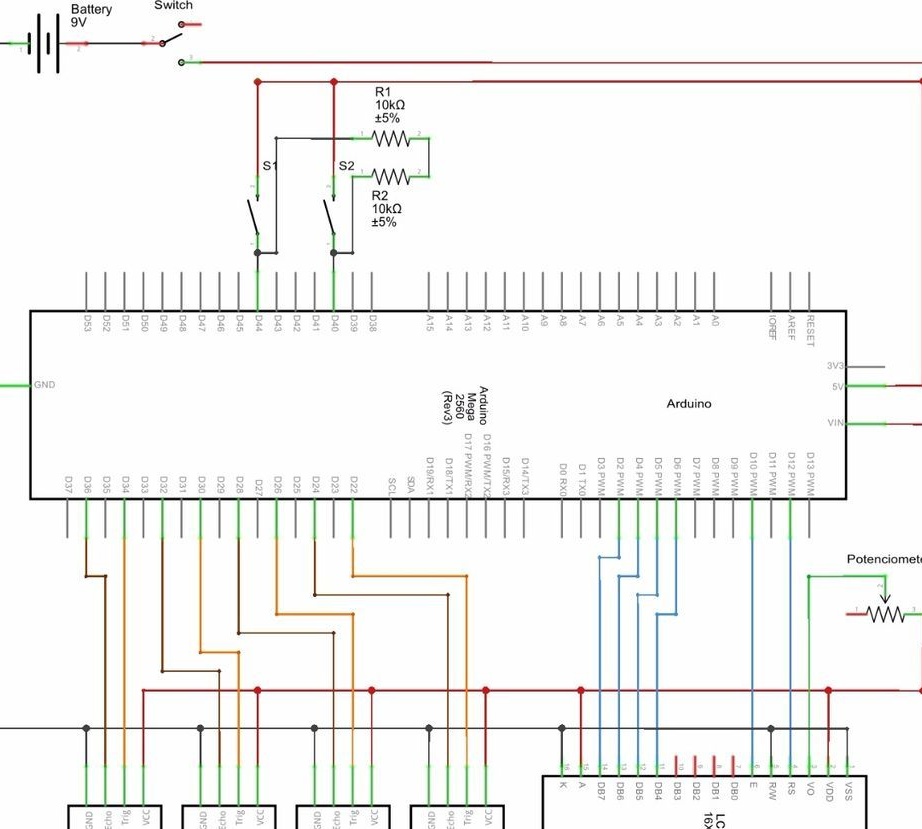
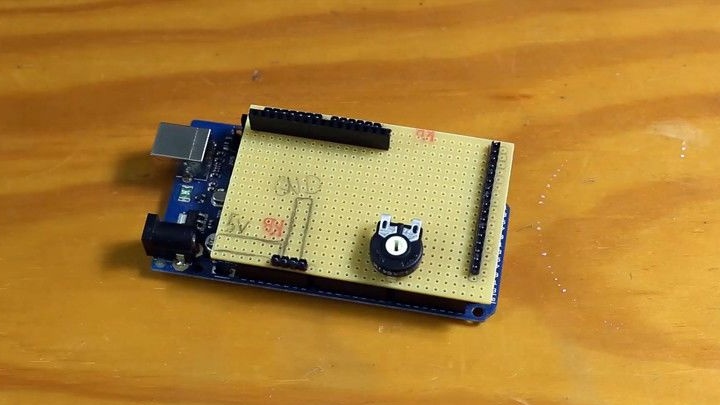
Step Two Electronic part
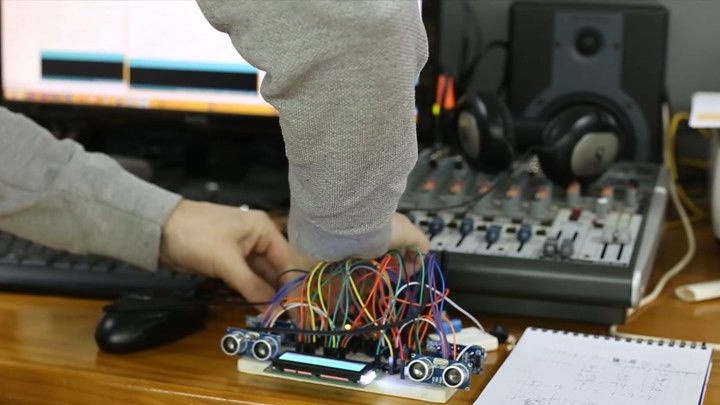
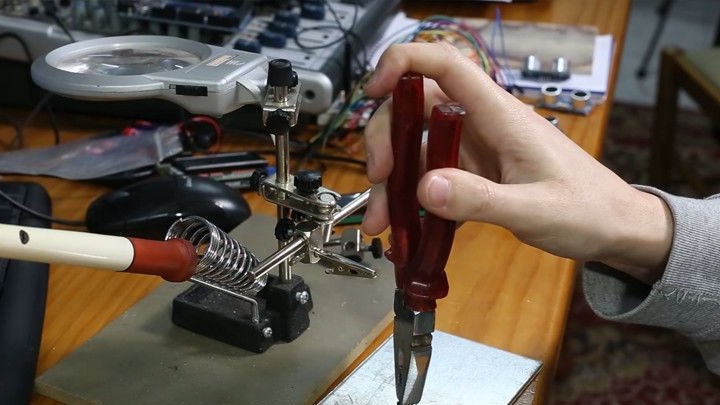
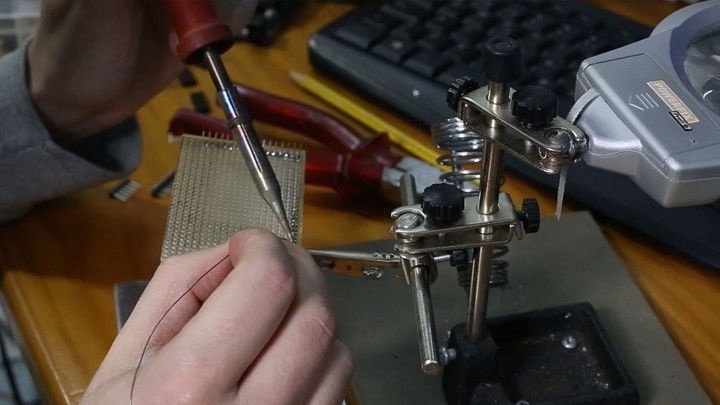
At this stage, you need to connect all electronic components, as indicated in the diagram. The easiest way is to connect everything using connectors, but if they are not provided on some components, you will have to work with a soldering iron. After assembling the electronic circuit into the Arduino controller, you need to download the code.
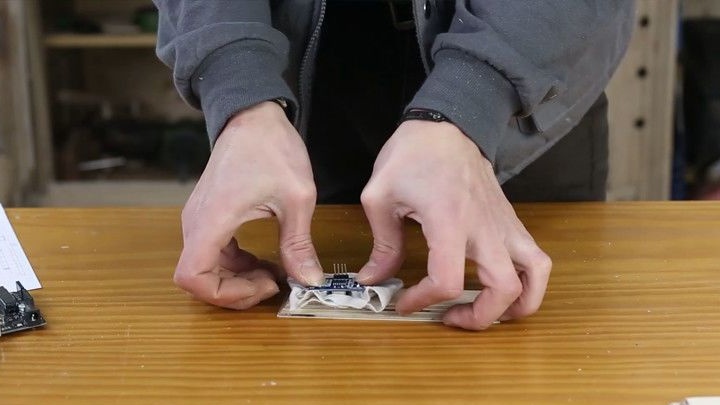
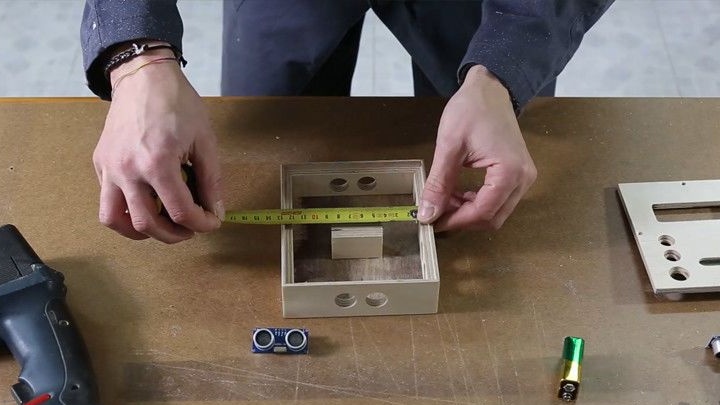
Step Three Putting the system together
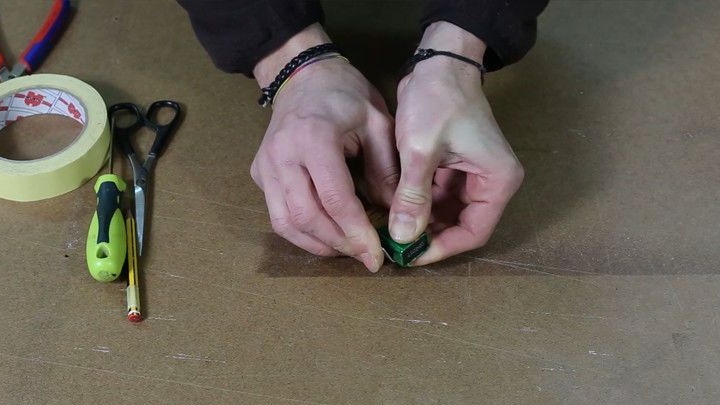
At the final stage, all the electronics are installed in the housing and securely fixed. For fastening the lid, small plastic pipe spacers are used. As for the sensors and buttons, they can be planted on hot glue.
That's all, now the device is ready and you can begin to test. The device needs to be checked, for this it is necessary to manually measure the wall area and then see how the device will cope with this task. Other functions of the device are checked in the same way.