
1. With one press of the switch, the headlight on the driver's side starts flashing;
2. When pressed twice, both lights begin to lower or rise;
3. A short press causes one headlamp to rise and one to fall;
4. A long press turns off the headlights.
The author conducted all such experiments on car Mazda Miata, but similar tricks will work on other cars.
Materials and tools for homemade:
- Arduino Uno controller (approximately $ 7 on eBay);
- 12V to 5V converter and USB connector (the author cost $ 6 on eBay);
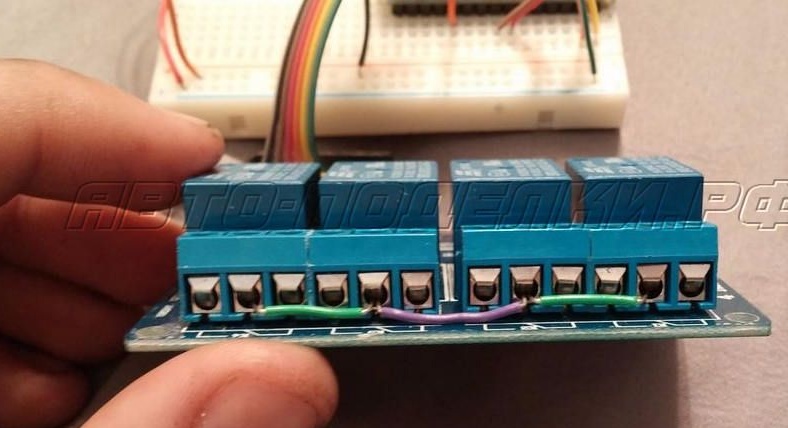
- a four-channel relay module with a high active level of 5V;
- wires, breadboard, connectors, soldering iron with solder and so on.

Homemade assembly process:
Step one. Redoing the switch
This step is not necessary, because the operation of the switch can be easily modeled on an Arduino and it will be even easier than redoing the switch. Before disassembling the switch, it is advisable to place it in a container so as not to lose elements. The switch has a spring and a small curved metal plate, when disassembled, they can fly out and it will be very difficult or even impossible to find them.
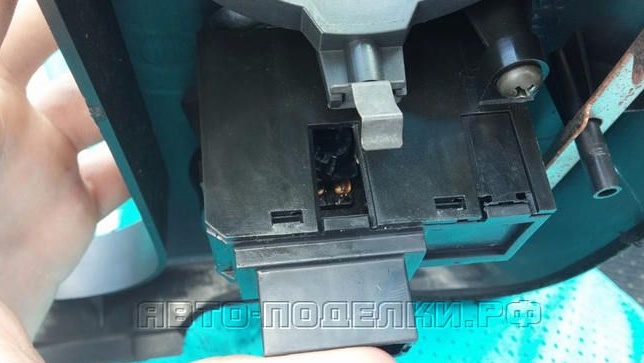
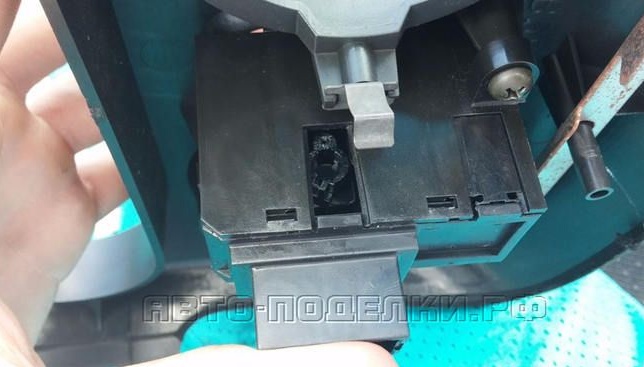
To disassemble the switch, you need to take a flat screwdriver and insert it between the clamp and the body. In this case, four small clamps should pop out. After that, it will be possible to pull out a large spring, and a small one does not need to be touched. You also need to pull out the small curved plate. Everything else is going in reverse order.
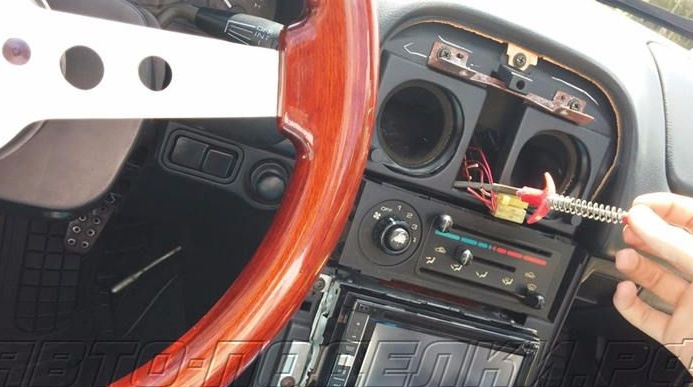
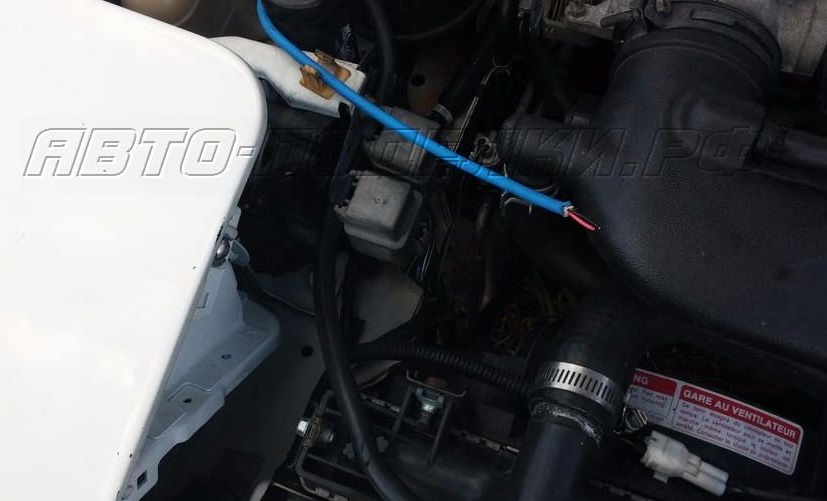
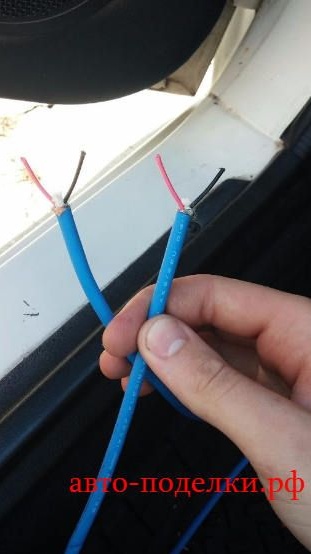
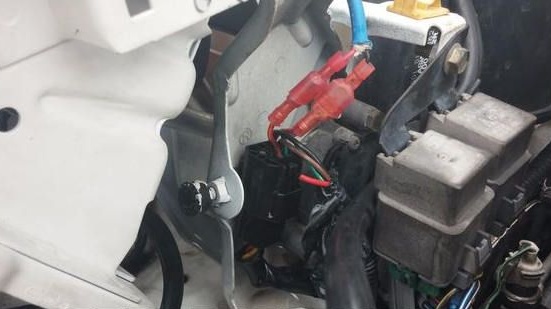
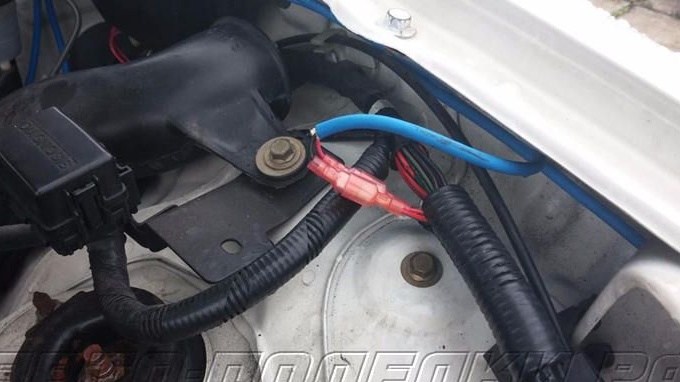
Step Two Wiring
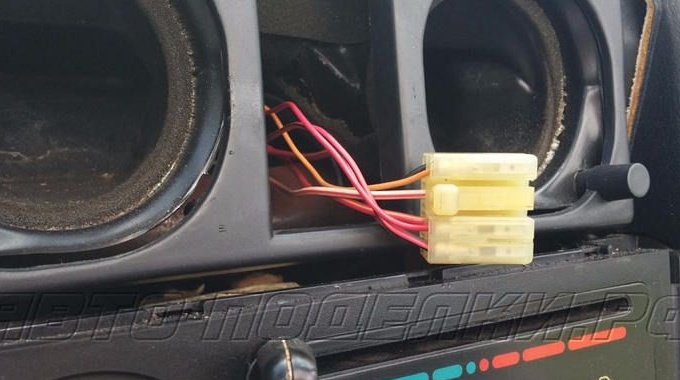
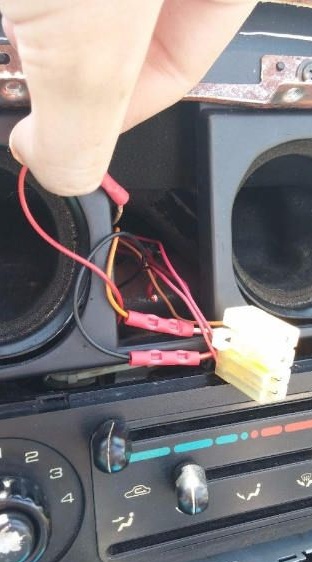
Now you need to draw wires, you need to do this carefully and slowly. The wires should not rub against metal elements while driving, otherwise there is a risk of short circuit. From the switch connector under the dashboard, the wires must be pulled and connected to the motor of each headlamp.

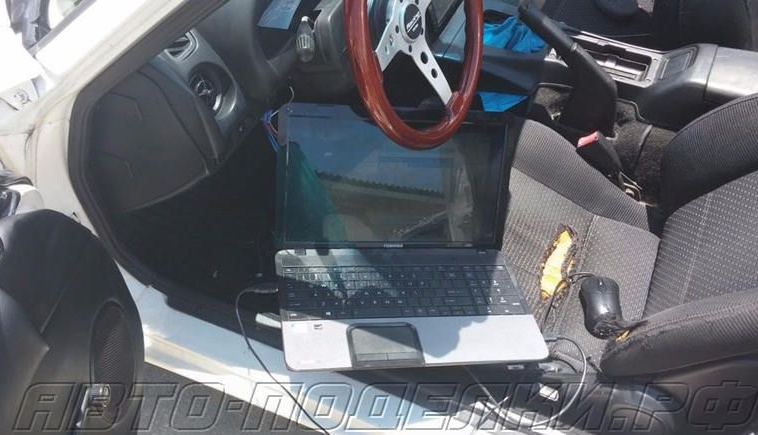
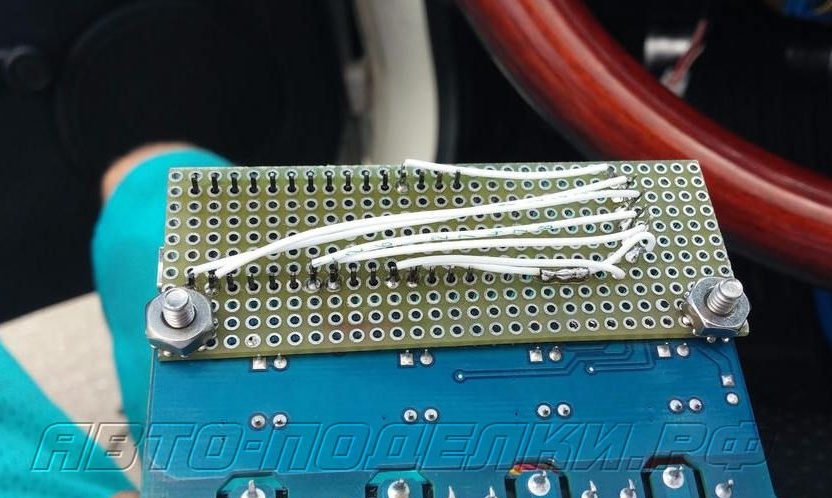
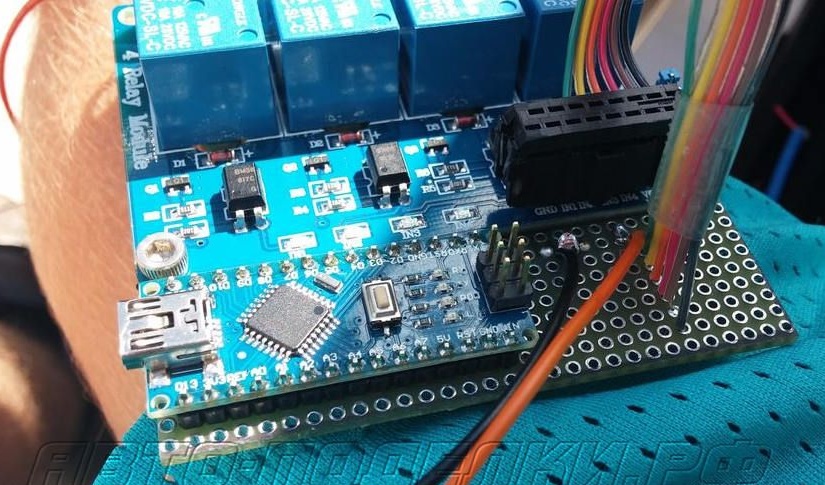
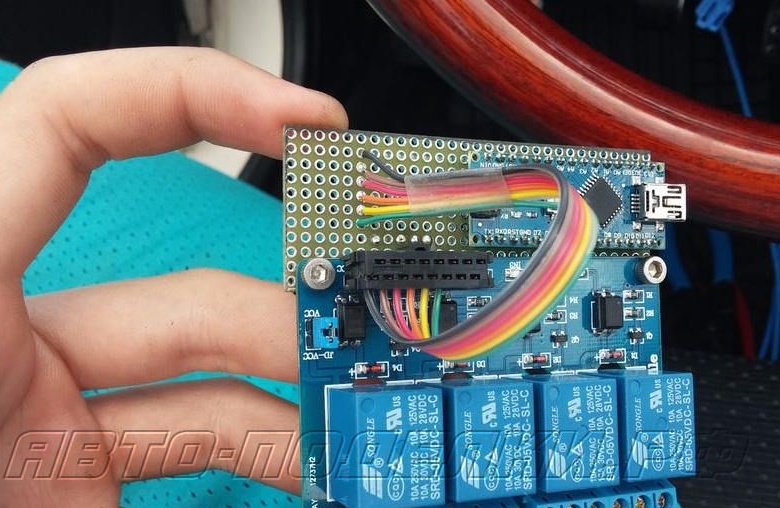
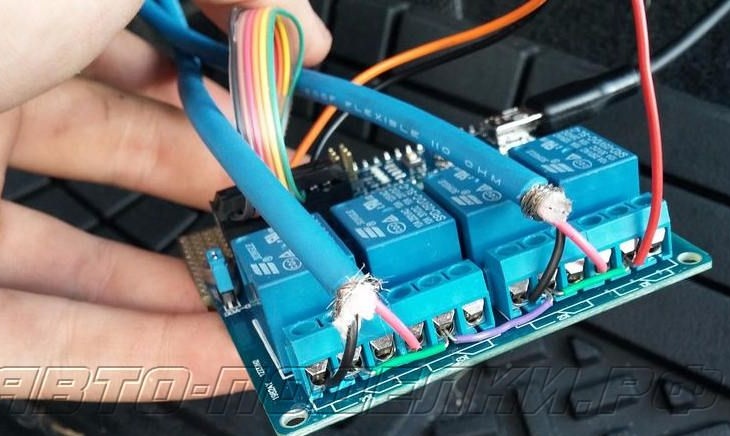
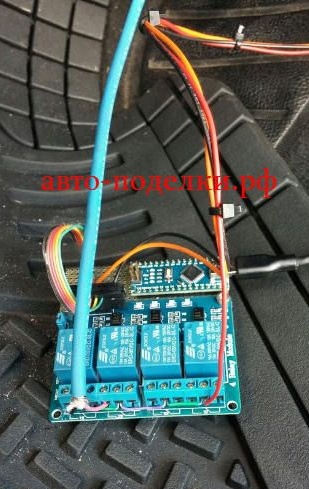
Step Three We collect electronic part
The whole system runs on an Arduino controller; anyone who is familiar with this board will have no problems at this stage. To understand how to connect the wires, enough photographs attached to the article. For the Arduino controller, you need to figure out some kind of case so that dust does not get into it.
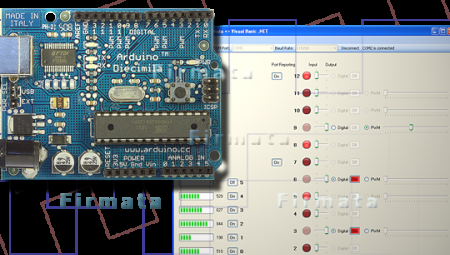
Step Four Software part
In order for the system to work, software must be installed in the controller. This is not difficult and there is a lot of information on the Internet how to do it. If you have experience with the controller, then you can redo the code at your discretion and force the electronics to do anything. For example, you can add a sensor to such a system, change the code, and the system itself will turn off the headlights if the driver forgets about it. Arduino features are very wide.
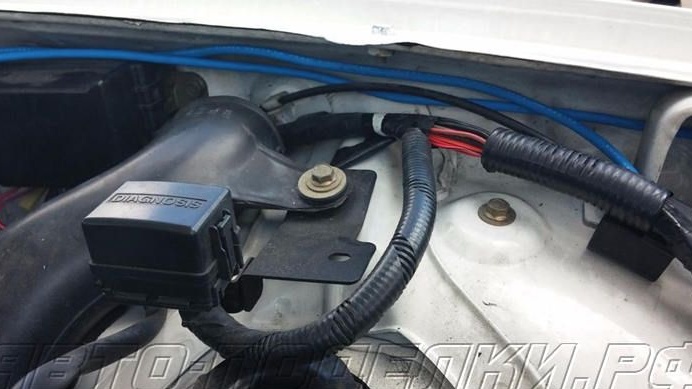
It is also important not to forget that it is advisable to connect the Arduino controller through a fuse in order to avoid the risk of a short circuit or other undesirable consequences.
That's all, the homemade product is ready. Now you can surprise your friends with unusual headlight modes.