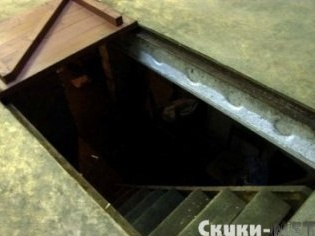
A real cellar does not have to be large or require enormous material costs. The main thing here is the accuracy of the work and the literacy of the owner cottagesthat masters almost everything do it yourself.
Often construction cellars in the country are complicated by groundwater. Many people even abandon the idea of building a basement, afraid to throw time and money down the drain. Known to many methods of building cellars in such conditions cannot be applicable. Even waterproofing begins to flow in two years.
In order to defeat the owner of the cottage against groundwater, you first need to dig a pit 2.5x2.5 m, 3 m deep. It is not so easy to cope with this task yourself, therefore it is better to ask friends for help. And you should stock up on the pump to pump out incoming water during operation (although a real summer resident has a pump for sure).
Then fence the walls of the pit and pour a 20 cm sand pillow to the bottom of the cellar. Dig a drainage ditch along the perimeter of the pit.
Now drive four racks into the bottom of the pit in the corners and drill holes in them that will help to attach slate sheets with nails. When pumping the cellar with a pump, a hose will be placed between the technological wall and the foundation pit fence.
The bottom of the cellar is covered with asbestos cement sheets, on which waterproofing is welded. The height from the bottom of the pit to the sheets should be at least a meter, otherwise the water will get into the cellar before the pump has time to pump out the water. It is best to isolate the cellar from moisture, hydrostekloizol, roofing felt or liquid glass. If rolled materials will be used for waterproofing, it should be ensured that the lines of intersection of the floor and walls of the cellar do not coincide with the joints of the strips of the waterproofing material.
The next stage is concrete work. The thickness of the walls will be 15 cm, the floor - 20 cm. Inside the wall there should be reinforcement grilles that should be connected with wire. The fittings will withstand wall deformation and microcracks in waterproofing.
Fill the floor with concrete and install the formwork.Fill the walls with concrete. Cover the space between the walls of the pit and the slate with sand, and then make a ceiling and build a hatch. Insulate the ceiling with glass wool laid on roofing material or waterproofing. An expanded clay layer of 20-25 cm is poured on top, and then the same soil layer.
Such a cellar will keep the summer resident’s harvest throughout the cold season, until spring. The new construction will serve more than one year. Another advantage of this cellar is the ability to leave it for a while, because not all people live near the summer cottage. Reconstruction of this reliable cellar will not be needed soon.
If you can get hydroglass glass, then there will be nothing to worry about at all. The only thing worth paying special attention to is the height of the pit between the pit and the floor. If you know that you can’t often go to the dacha in the winter and you may not be in time by the time the water begins to flood the cellar, it’s better to increase this distance. Special costs for the construction of the cellar with their own hands are not required, the main task is to choose an excellent waterproofing material. Now you can be calm for your harvest!
