

Having in stock all the details and tools of such a robot, you can assemble in just 2 hours. Of course, such robot It will not replace a real vacuum cleaner, but you will be pleasantly surprised how much dust it can collect from a seemingly clean floor.
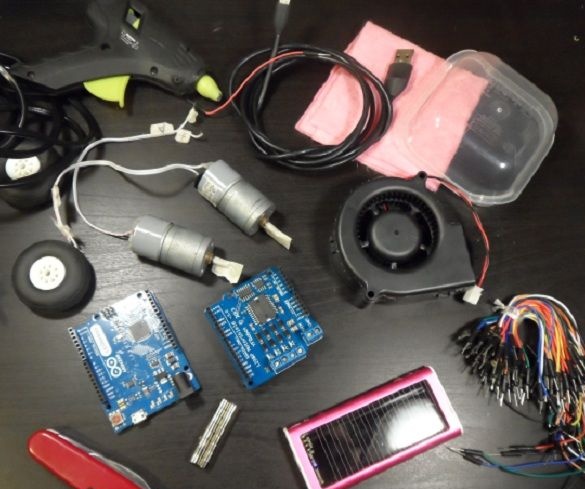
Materials:
- Arduino
- Motor control module Motor-shield (H-Bridge)
- Two motors with gears
- A pair of wheels
- Power bank 5 volts, or other power source
- Cooling impeller for a computer of 5 volts (not a fan)
- Strong magnets
- USB cable
- Power cable for Arduino
- Wires to connect Arduino pins
- Thick cardboard
- glue gun
- A piece of tin (for example, from a can)
- Plastic box (serves as a dust container)
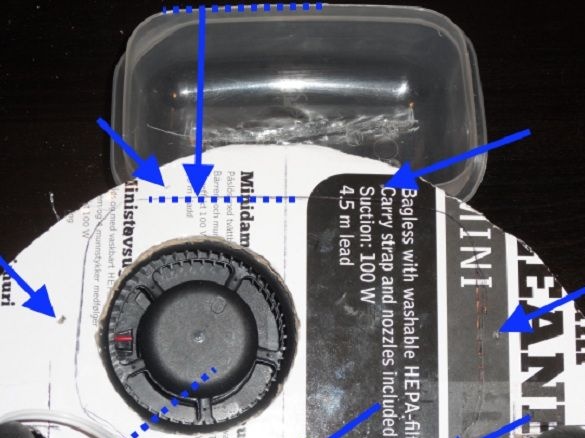
On the cardboard, approximately the location of the parts is determined, and a circle of a suitable size is cut out (chassis of the vacuum cleaner).
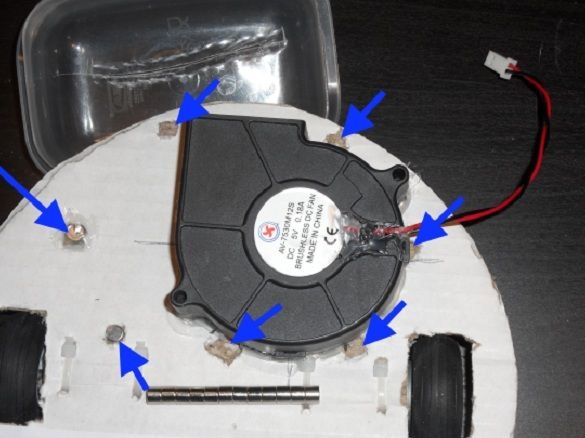
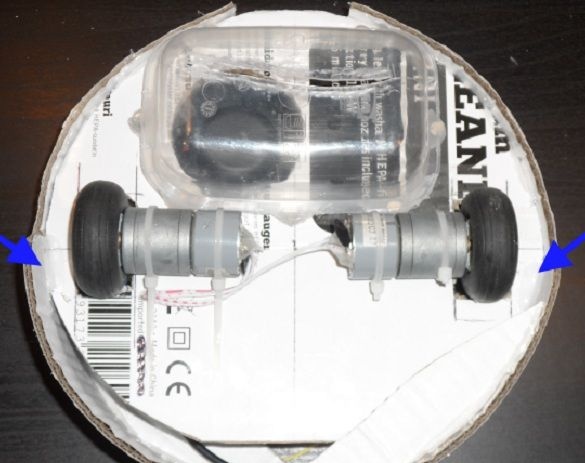
At the bottom of the future robot, holes are cut under the wheels, and under the turbine. Motors are attached to cardboard with plastic ties.
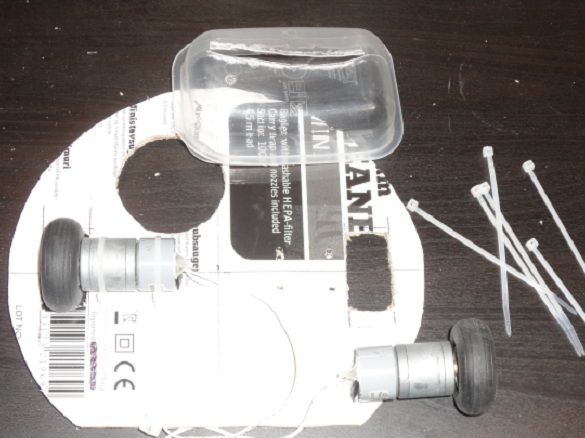
Further, a turbine is fixed to the chassis with hot-melt adhesive.
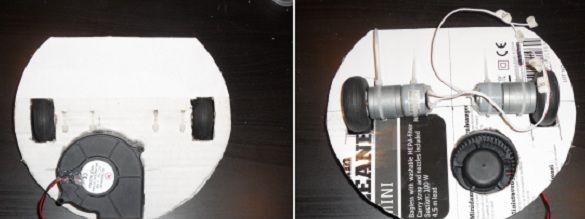
It turns out that the turbine is on the top of the cardboard, the motors are at the bottom.

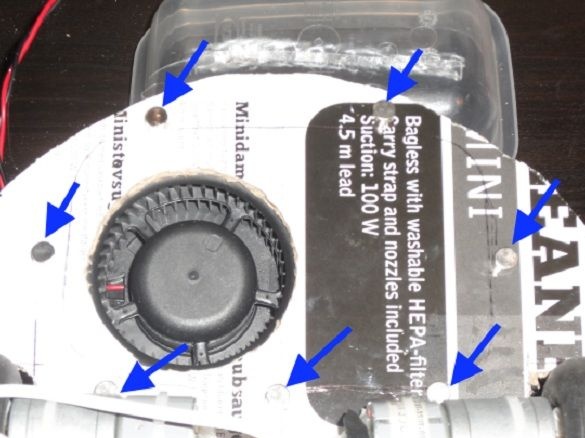
The contour of the plastic box (which will collect dust) is marked on the underside, the author makes through holes around this contour and notes the location of the magnets. Magnets will hold the box on the chassis.
On the upper side of the chassis, magnets are glued to previously marked locations.
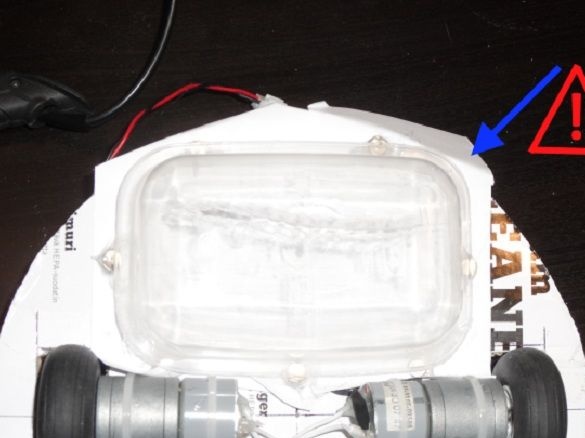
Now, with magnets applied from the bottom, pre-placing a sheet of paper under them.
A dust box is installed between the magnets and glued to them.
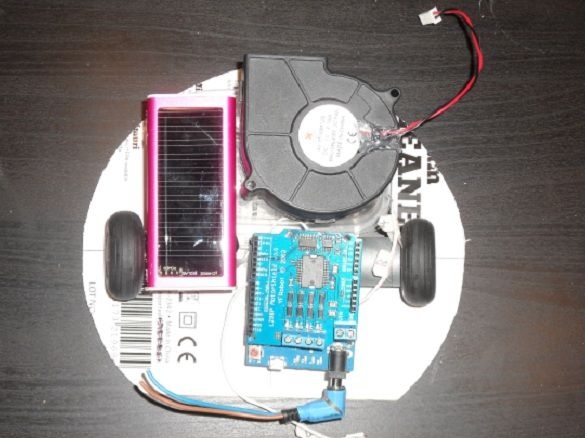
Further, the battery and mounts for the Arduino are already glued on the top side of the cardboard. The author uses pieces of wooden skewers as fasteners.
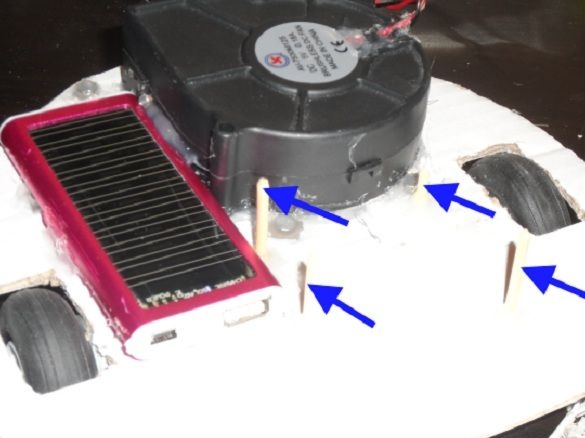
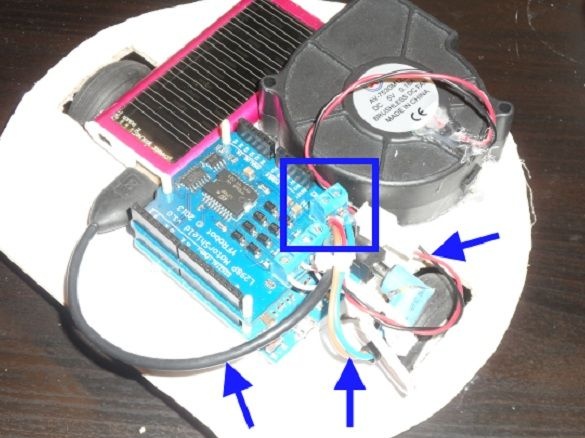
Now you can install motor-shield and Arduino in mounts. The power wires and Arduino are cut to size. The power wires are recommended to solder and insulate. Then they are connected to the Arduino, turbine, battery and motor-shield.
From the strips of existing cardboard, bumpers are bent and glued in a semicircle.
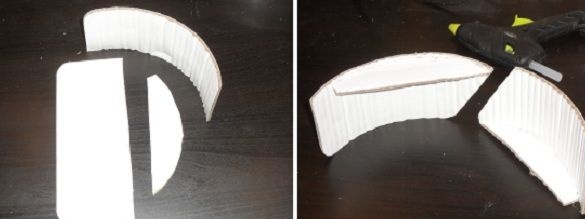
Bumpers are glued to the sides of the chassis. Also, the chassis was preliminarily trimmed a bit so that the installed bumpers could be crushed to it in a collision.
Next, take two conductors and connect them with pieces of tin with hot melt adhesive.
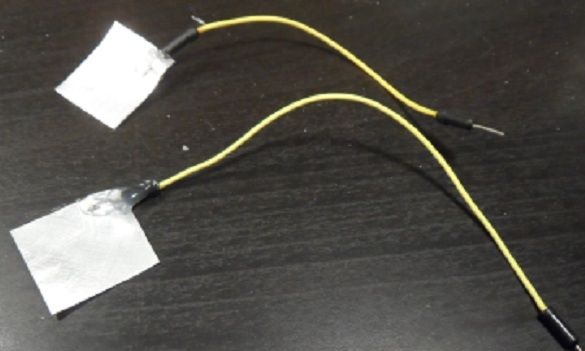
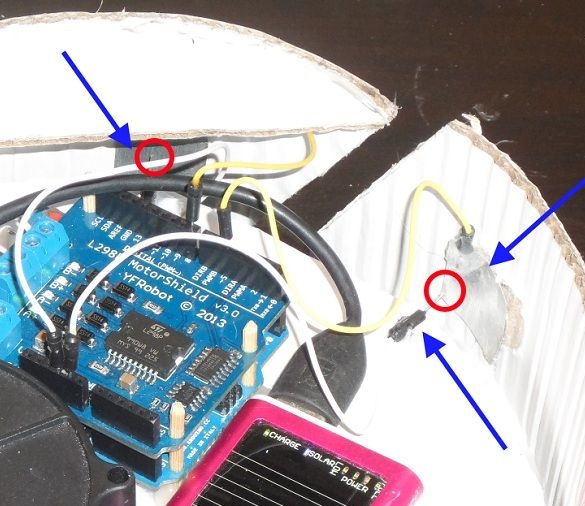
Pieces of tin are glued to the bumpers, and their wires are connected to the Arduino (to pins 5 and 8). In addition, in front of them, glue fixes the contacts of two more conductors that attach to the GND Arduino contacts.
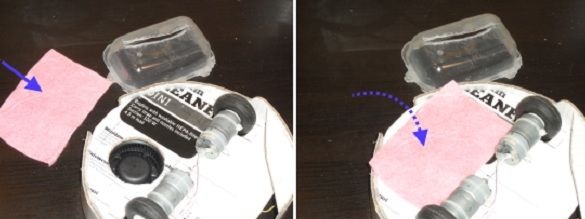
A cut rectangle from a kitchen napkin is used as a dust filter. The filter is placed at the bottom of the chassis and secured with a box of magnets.
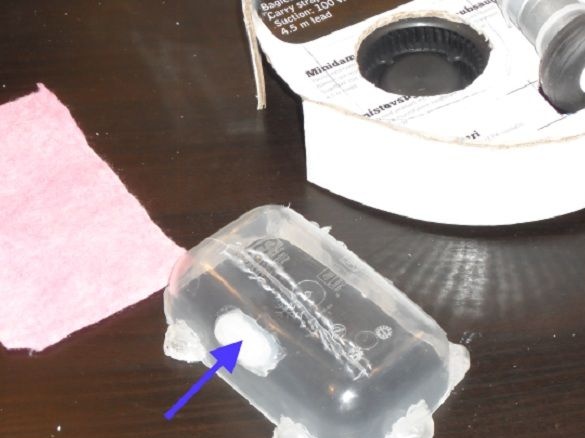
In the box, make a long hole with the edges curved outward. In addition, a rounded support (piece of plastic) is glued to the box so that the edge of the hole is 1 mm above the floor when the robot stands on wheels and rests on the support. The height of this support controls the patency of the robot.
High box walls can be shortened by gluing magnets.

Program for motor-shield and Arduino
Vacuum cleaner operation example: