
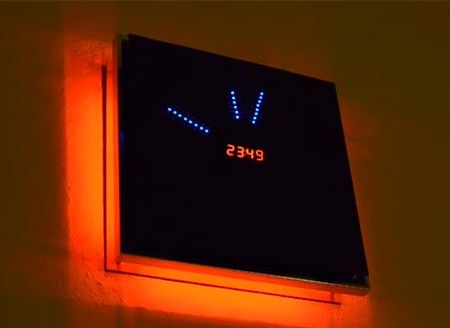
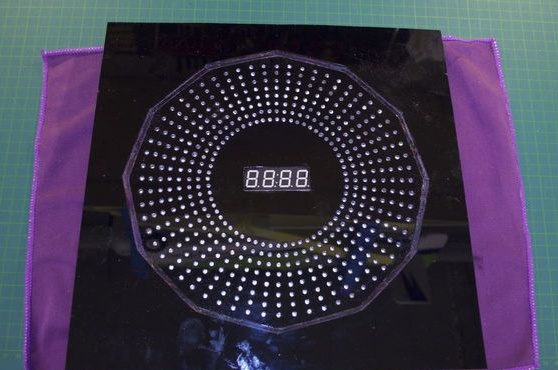
Such a watch will look very original on the wall, they have LED hands imitating a clock, LED clocks in the center and a beautiful background RGB-backlight. Performance of such homemade hard to call simple, but the time and energy spent will not be wasted.
Materials for the case:
- Black acrylic plates 300x300x3 mm 3pcs
- Transparent acrylic light 300x300x3 mm 1 pc.
- Polishing agent for acrylic plates
- glue
- Spacer sleeves 15 mm with m3 thread 20 pcs
- Screws m3 with washers 20 pcs
- Picture frame 300x300 mm 1 pc.
Electronic materials:
- Shift register CD74HC595 8pcs
- 1pcs TLC5940 LED driver
- Real-time clock (RTC) DS1307 1pc
- Linear regulator LM317 1pc
- 8pcs BD139 Bipolar Transistor
- Electrolytic capacitor 1 uF 2pcs
- Capacitor 0.1 uF 1pc
- Resistors 120 Ohms 60pcs
- Resistors 10 kOhm 9pcs
- Resistor 2 kOhm 1pc
- Resistors 1 kOhm 9pcs
- Resistor 330 Ohm 1pc
- 480pcs LEDs
- 4-digit LED digital indicator (with common anodes) 1pc
- LED RGB tape (with a common anode) 1pc (long under the circumference of the dial)
- Module Arduino Mega ADK (Rev3) 1pc
- 12 V 1pcs battery
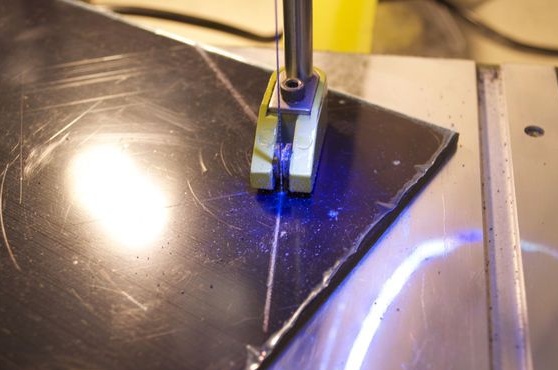
Step one. Case manufacture.
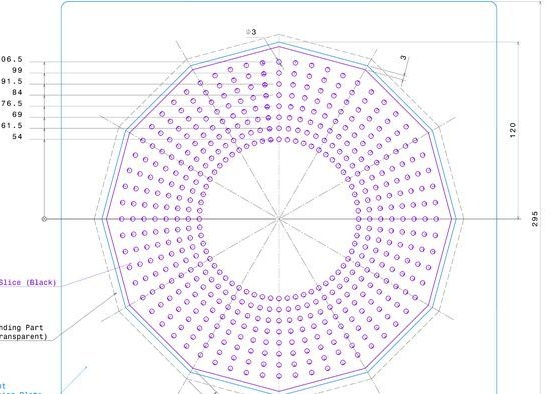
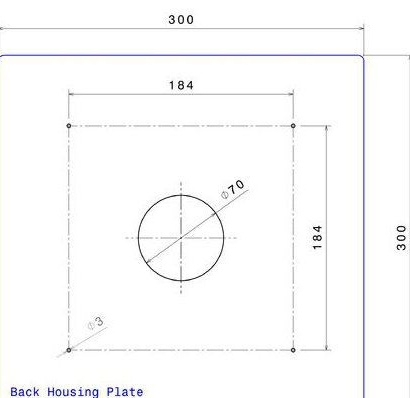
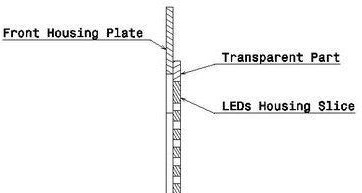
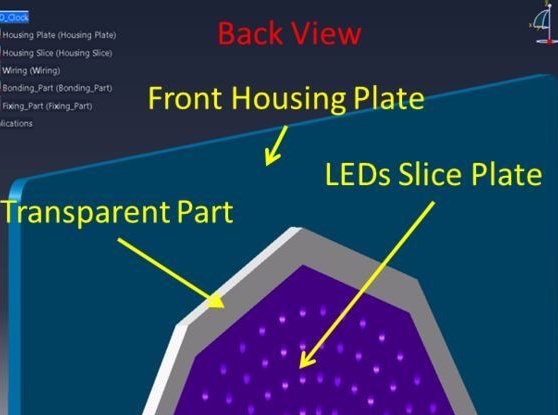
First, cut into acrylic plates and drill according to the drawing. Further, the case of the front black plate is glued together with the connecting part (transparent), and with the plate under the LEDs.
Step Two The end of work on the body.
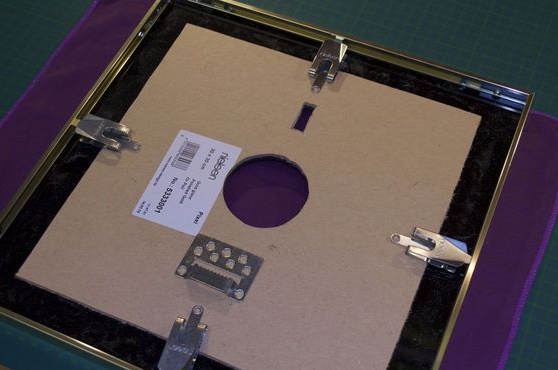
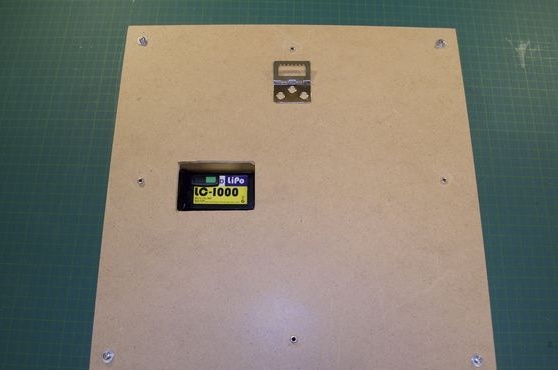
For better stability, the author glues one acrylic plate to the back of the picture frame, the glass from the frame is previously removed and will no longer be needed.
Four 15 mm bushings are screwed to the plate as in the photo. Now, it is possible to glue the bushings from the frame to the front plate. Then these glued bushings are twisted out for future use.
Step Three LED insertion.
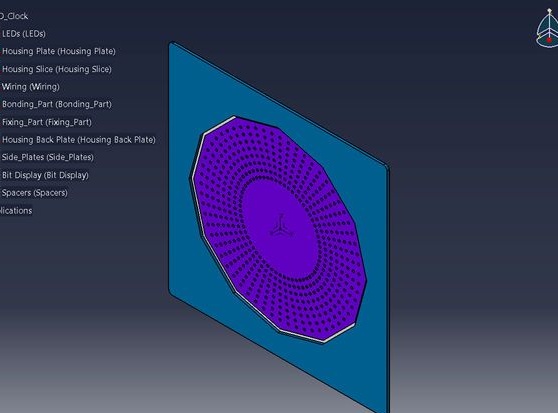
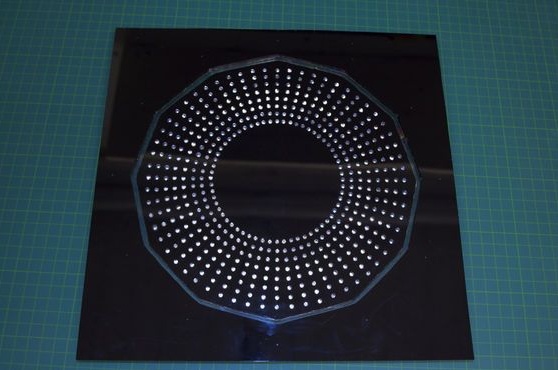
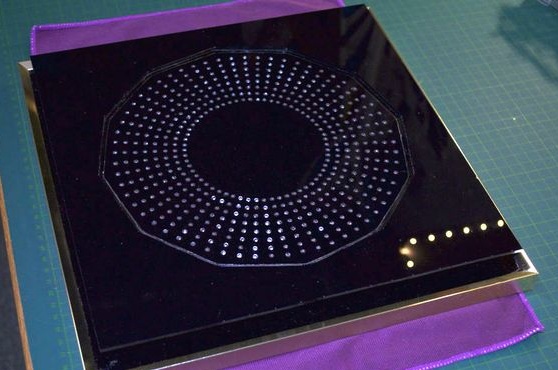
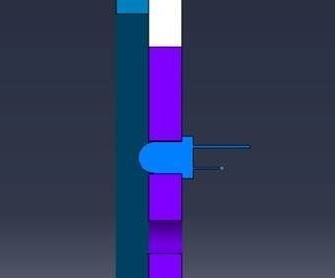
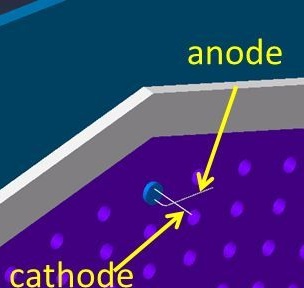
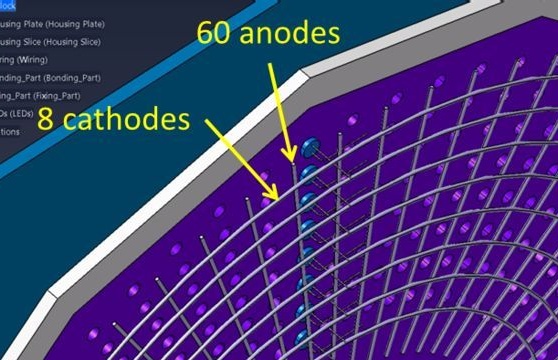
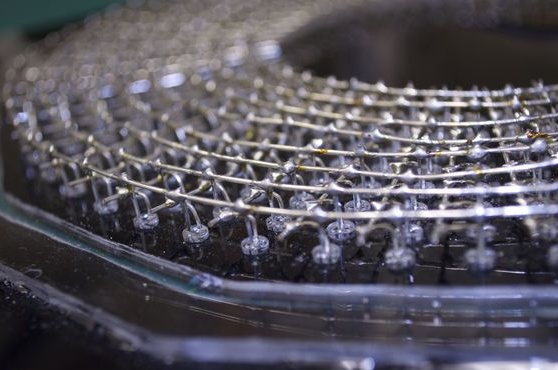
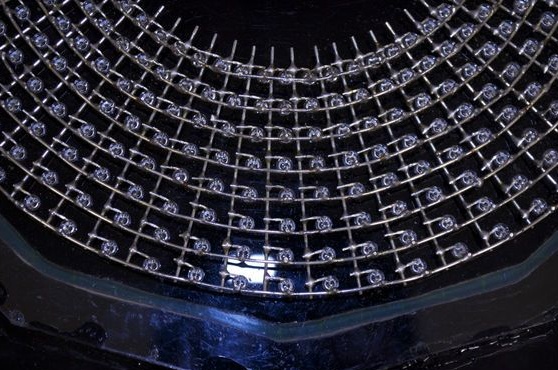
First of all, LEDs are inserted into the first row of holes (60 LEDs went to 1 row). The cathodes are soldered together around the plate using a 0.8 mm copper wire, and the anodes are bent to the side. This procedure is repeated for the remaining 7 rows. Now that the anodes are arranged in one column, they are also soldered together. Thus, a matrix of 8 rows and 60 columns was obtained.
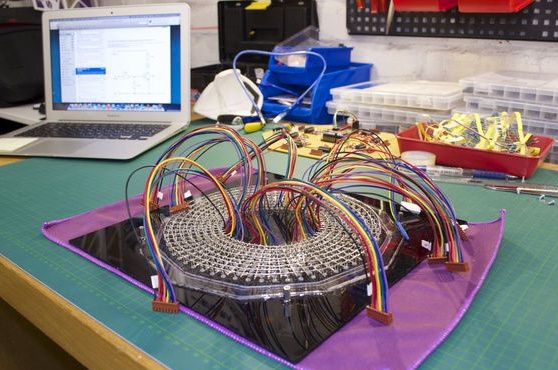
The fourth step. Soldering cables to the matrix.
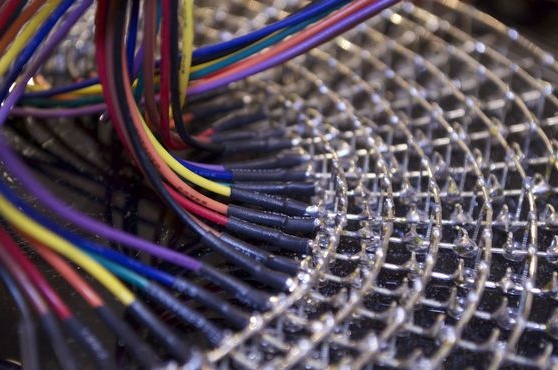
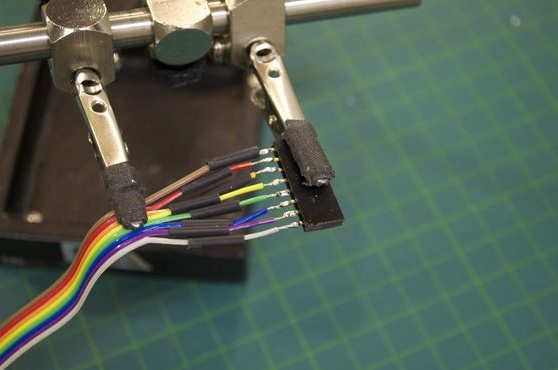
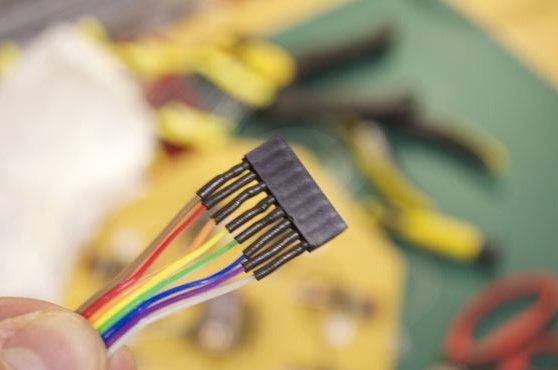
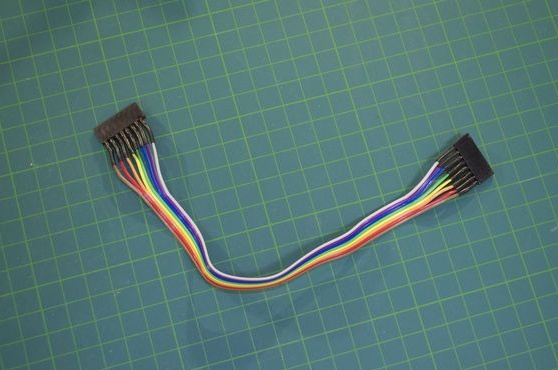
For this step, 8-wire cable connectors are used, one of them is soldered to the cathodes on the matrix. Eight of these connectors were soldered to 60 columns of anodes. Since the author used 8-wire connectors, he received a cable with 64 wires, which means that 4 remained, they were wrapped with electrical tape.The author also recommends using seven 8-wire and take one 4-wire connector in order to get exactly 60.
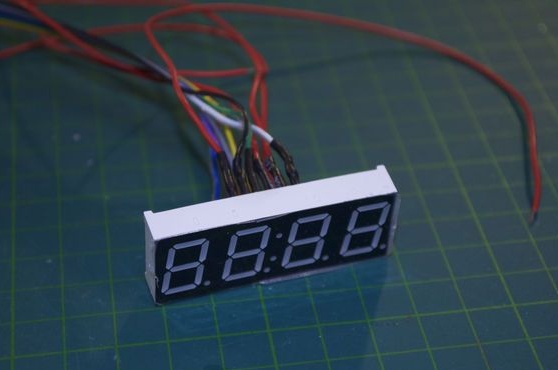
Step Five Attaching an indicator.
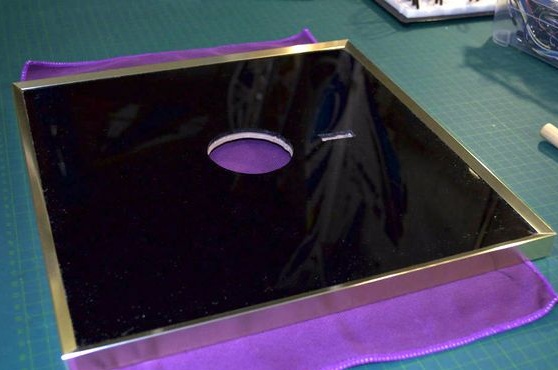
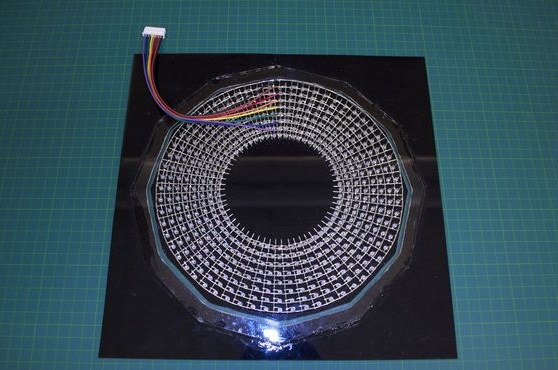
In the acrylic plate in the form of a disk, a hole is made and an indicator with pre-soldered wires is glued for convenience.
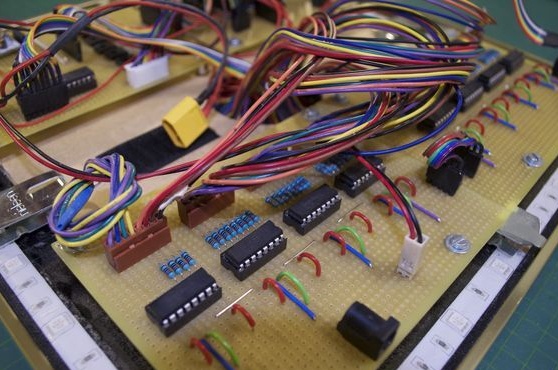
Step Six Pay.
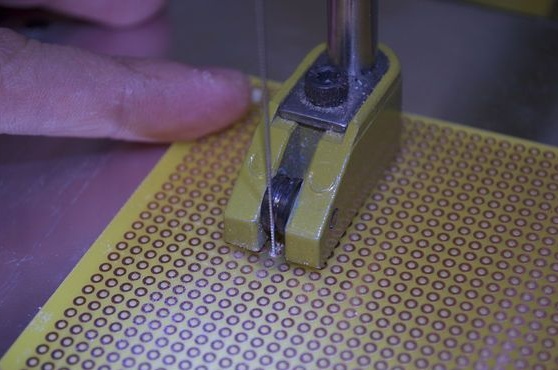
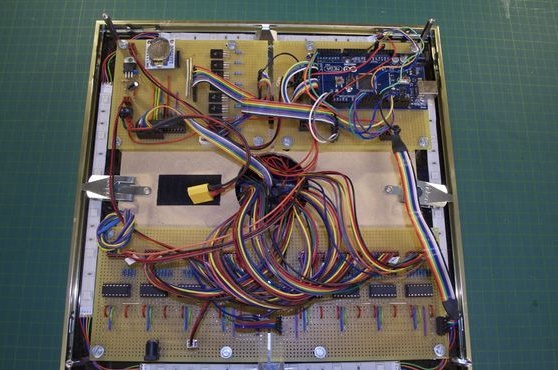
2 pieces are cut from a piece of a breadboard larger than required, so that they fit into the picture frame. Further, several connectors are manufactured on their own, as can be seen in the photo below.
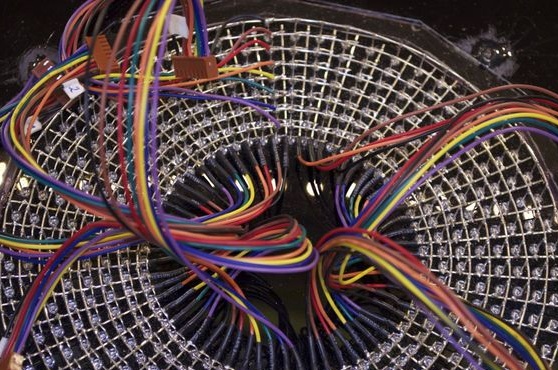
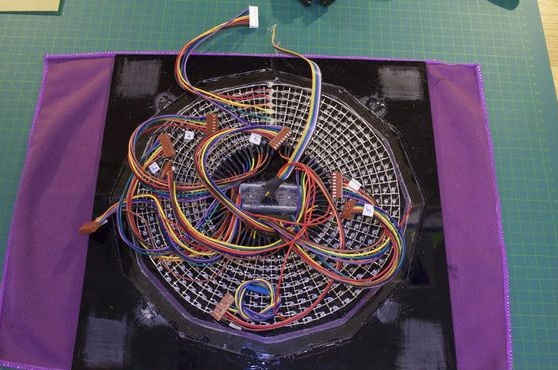
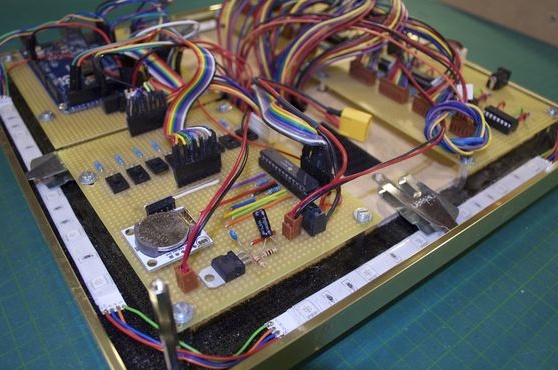
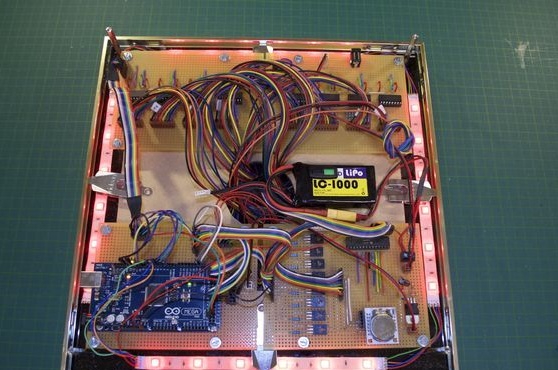
Seventh step. Watch assembly.
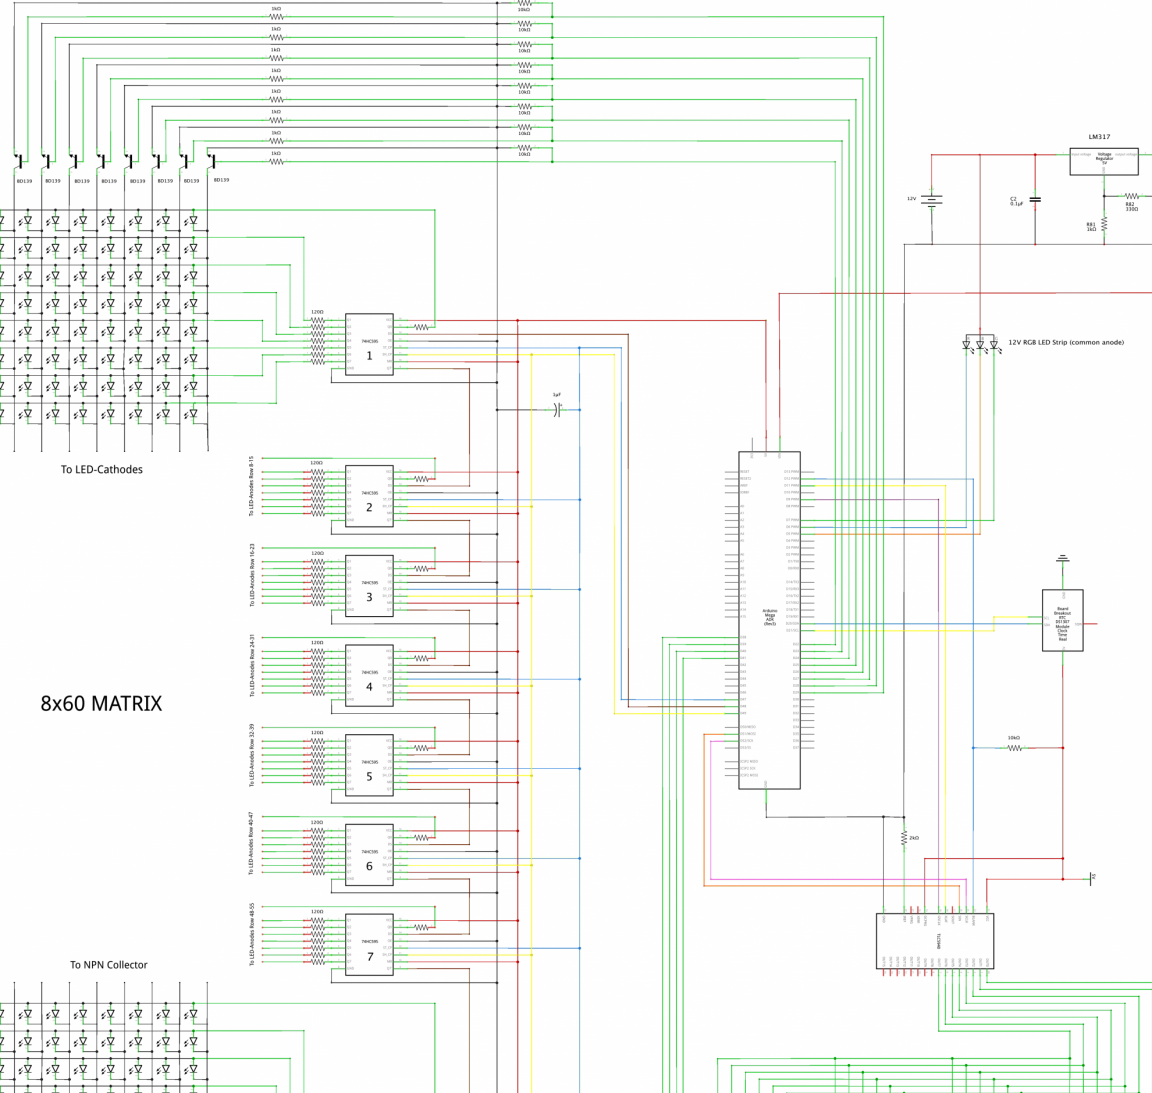
Next, all parts are installed in the housing according to the scheme attached below. In the watch, the author installed a 1000mAh rechargeable battery so that they could work without an external cable. Arduino installs the program code attached at the bottom of the article. So, libraries for the real-time clock module and the TLC5940 LED driver are installed, which are also attached under the article. Good resolution circuit:
Such a watch can be optionally upgraded by automatically controlling the brightness using a photoresistor, or by manually adjusting the brightness using a 10 kΩ potentiometer. There is a space for installing the button and with its help it will be possible to switch between different programs. In addition, it is possible to put an LED strip that will highlight the plastic transparent part of the front panel.
Partial assembly video and watch example