
Materials and tools for manufacturing:
- one barometer type BMP085;
- 500 kΩ photoresistor;
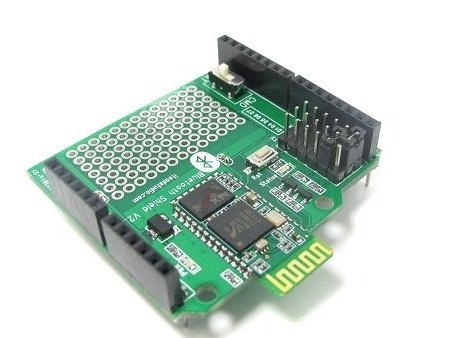
- BT-module HC-05 (x2);
- Arduino UNO R3 (x2);
- LCD display, LCD screen LCM 1602 i2c (x1);
- breadboard, resistors, diodes and other components;
- soldering iron with solder.
The process of manufacturing a weather station:
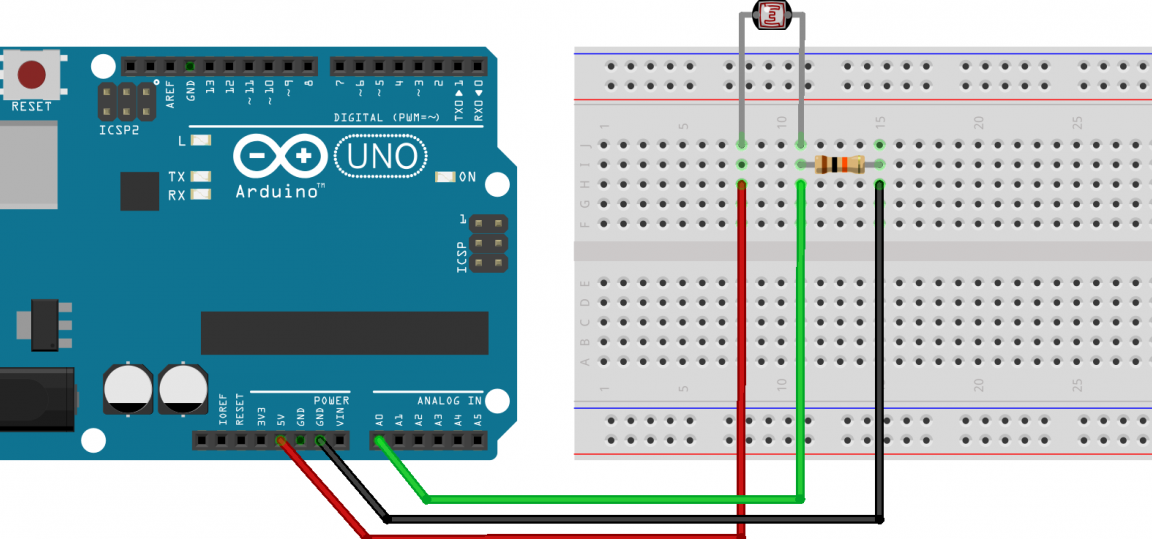
Step one. How to connect a photoresistor
Assembly of the device can be started by connecting a photoresistor. Resistance to this electronic component depends on how much light falls on it. When a photoresistor is used in conjunction with a conventional resistor, the effect of dividing the voltage is obtained, which means that the voltage that will pass through the photoresistor directly depends on the light intensity.
To achieve the desired sensitivity level of the photoresistor, you need to conduct a couple of experiments, choosing the nominal value of a conventional resistor. According to the author, a 10 kΩ resistor is best suited for these purposes.
Sensor values are output using the analogRead (pin_number) function.

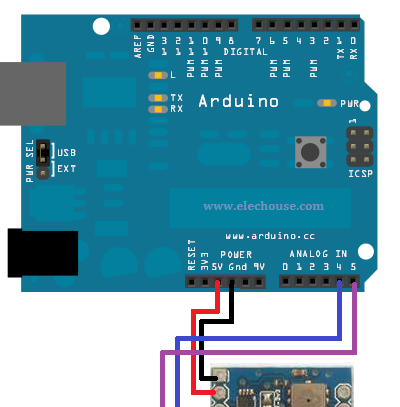
Step Two We connect the temperature and pressure sensor
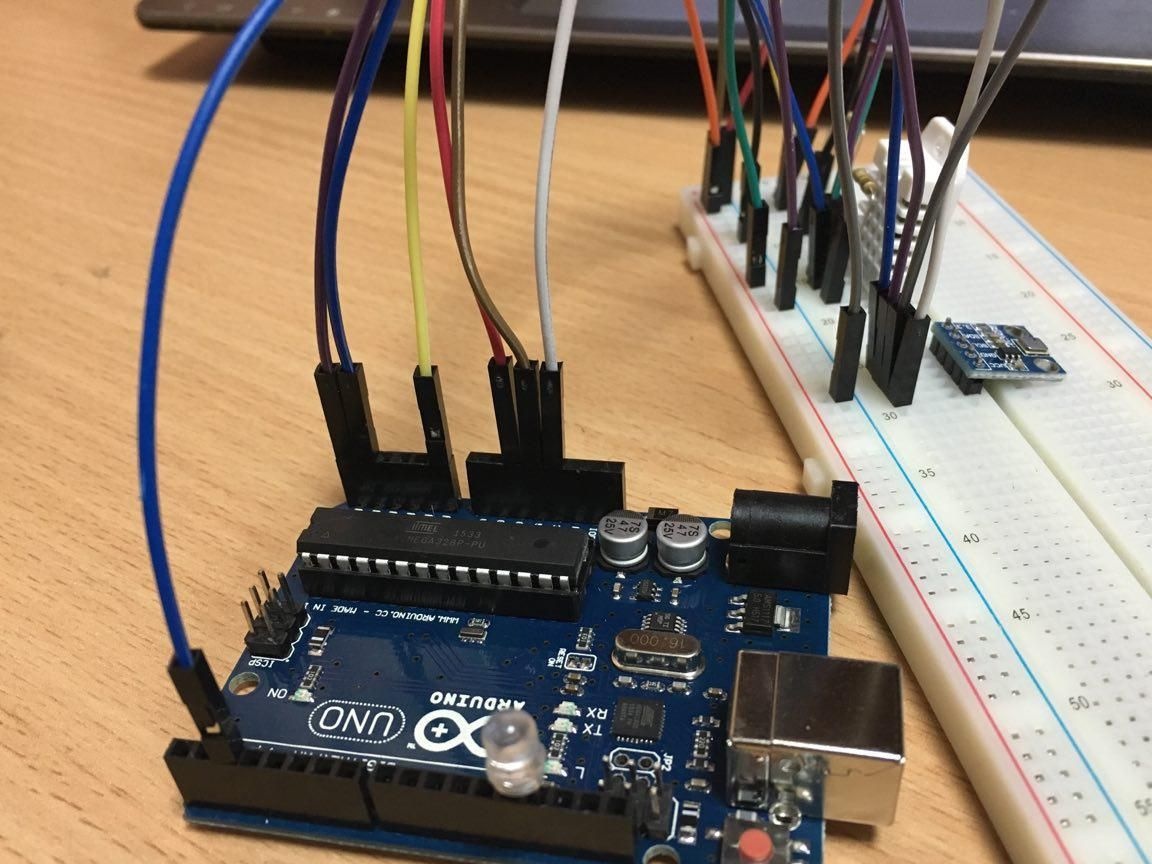
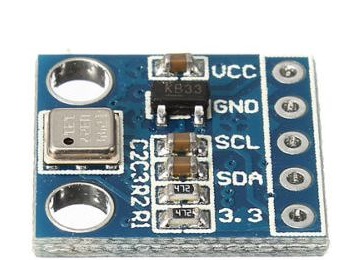
To obtain data on temperature, pressure and altitude, a BMP085 type barometer is used. In order to connect this sensor to the Arduino, you need to use 4 pins. Vcc pin is supplied with + 5V power. The SDA pin connects to the corresponding pin on the Arduino (A4). The SCL output must be connected to the SCL input on the Arduino (A5). Well, GND means earth. In order for the sensor to be able to take readings, you need to connect the Adafruit library.
This is what the code looks like:
Step Three We connect the display
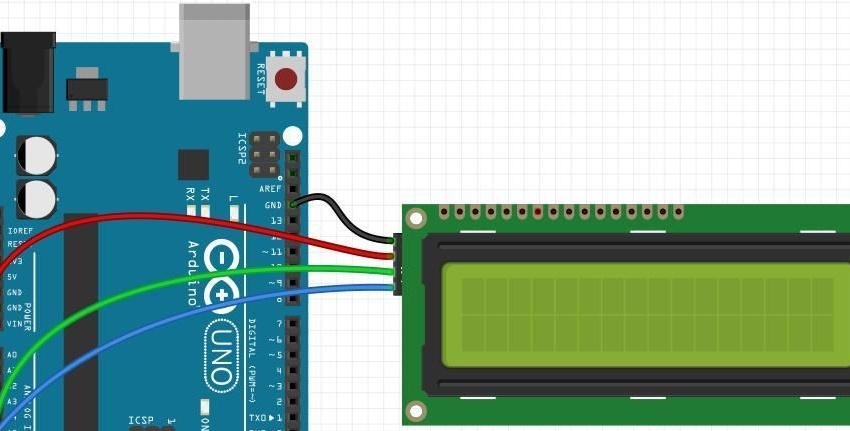
The display is connected very simply, for this you just need to follow the specified scheme.
LCD GND -> Arduino GND
LCD SDA -> Arduino SDA (A4)
LCD VCC -> Arduino 5V
LCD SCL -> Arduino SCL (A5)
Also included is an example code:
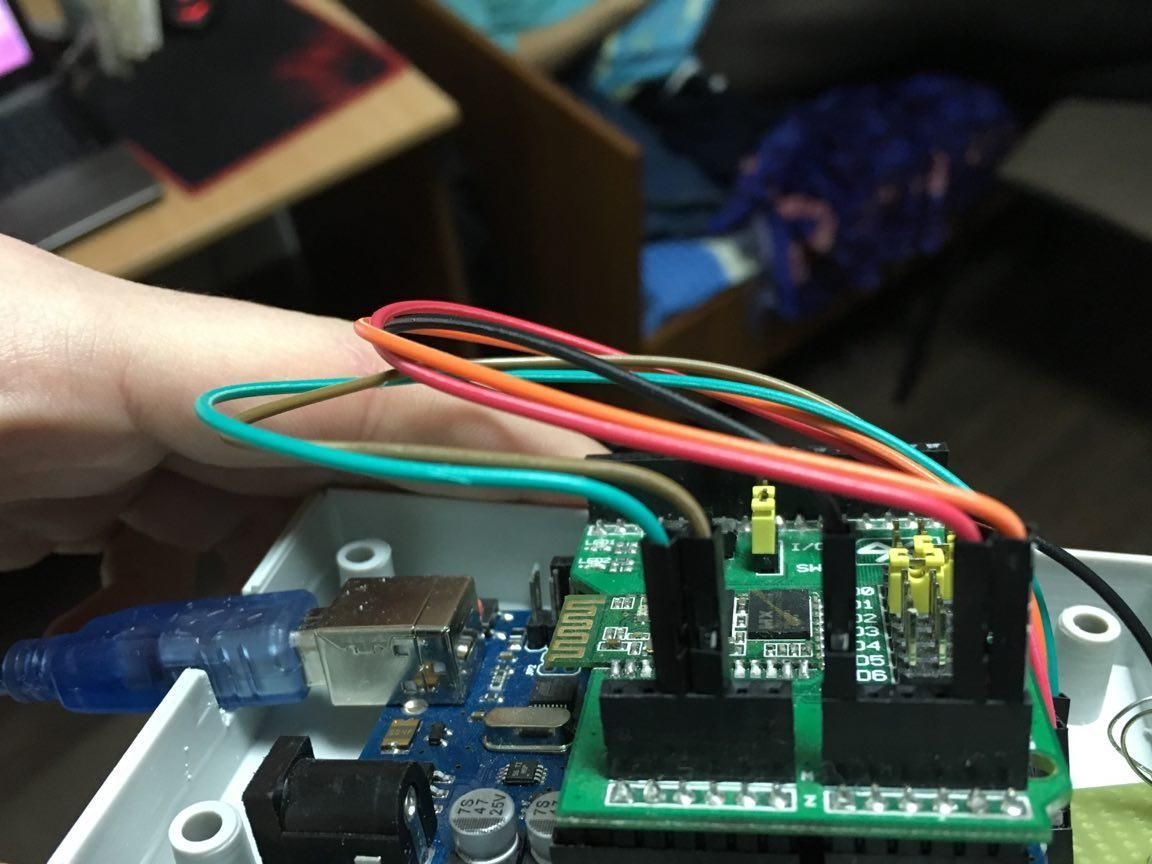
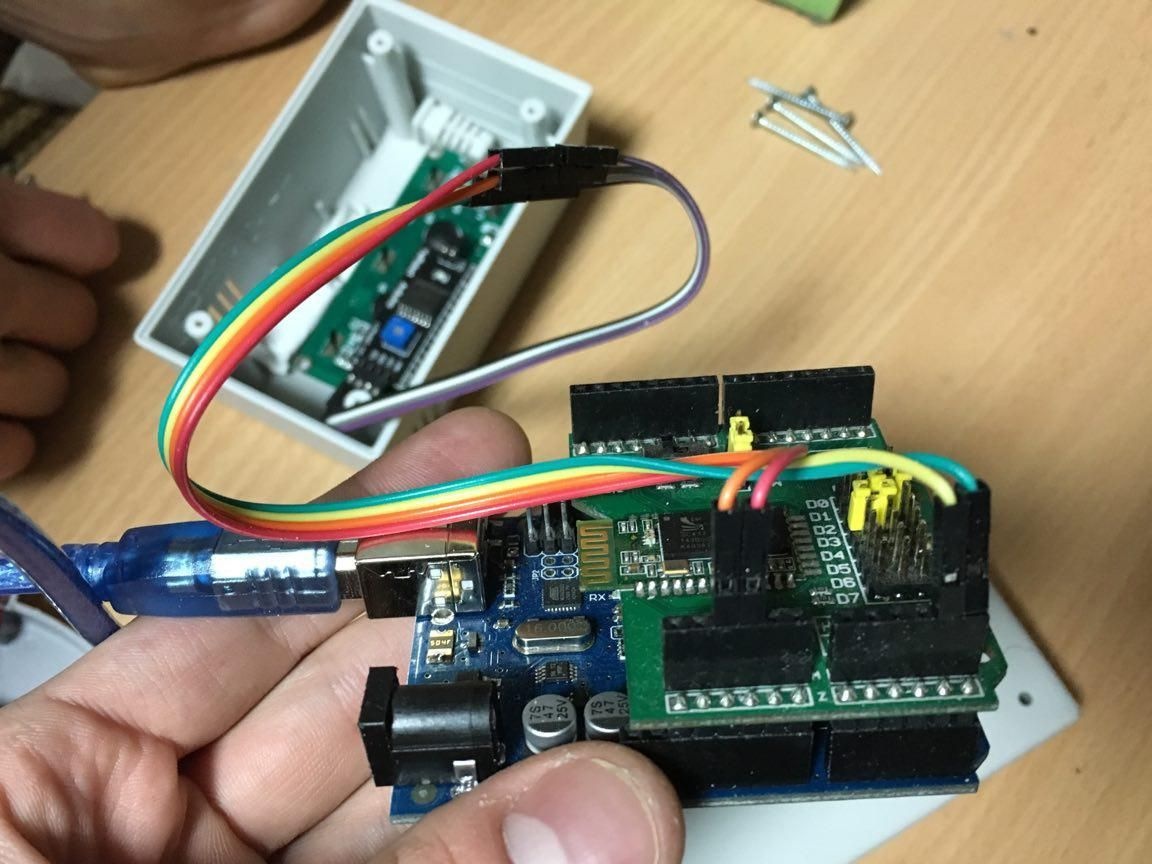
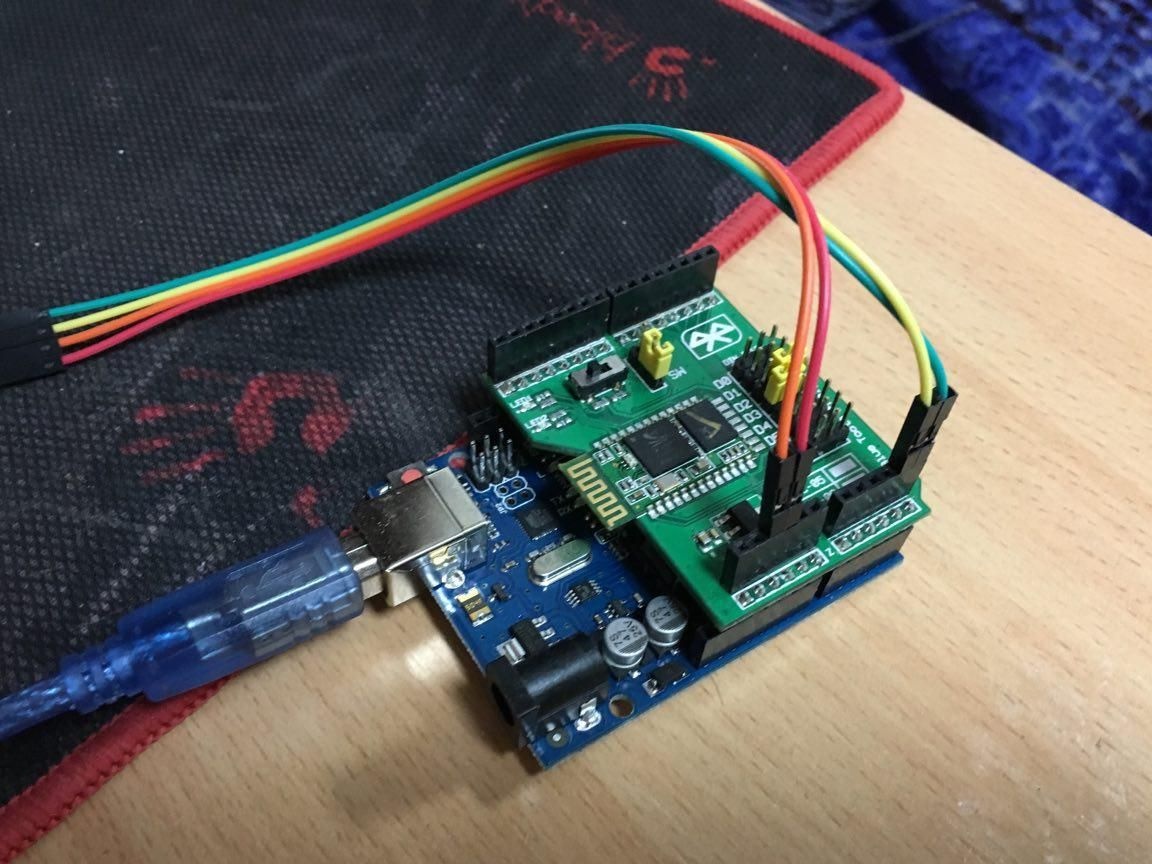
Step Four Electronics Connection
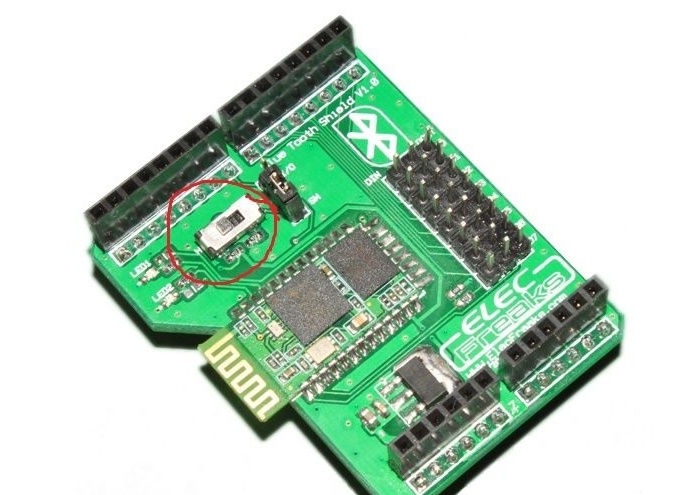
This assembly phase is final. Now you need to connect the bluetooth module to the Arduino controller. A Master device must connect to a Slave device, which in turn will wait for an incoming connection. To create a board of type Master you need to install a switch in it on N. On another board you need to put a switch in L, it will be a Slave. After the modules are connected to the Arduino controller, you can proceed to the configuration.
To configure Master, you need to send a certain set of commands to the bluetooth module, this is done using the Serial Monitor (Ctrl + Shift + M). In the process of messaging, it is best to set Baud rate -> 38400 & “Both NL&CR”.
After the AT command is sent, you need to wait for the OK response. This will mean that everything is connected correctly, and you can proceed to the next step. If there is no such answer, then you need to check everything, perhaps the bluetooth module is not connected correctly.
Here are a few commands you will need to configure your device:
AT - just returns “OK”, then everything is in order
AT + NAME? - will return the name of the module. We can also set our name by sending, for example, AT + NAME = WEATHER_MONITOR
AT + ROLE? - one of the key commands will return the role of the device, master / slave. You can set the value using AT + ROLE = 0 - switch to slave mode, or AT + ROLE = 1 - master mode.
AT + PSWD? - will return the pin code used to connect.
AT + ADDR? - will return the address of the device, for example, “14: 2: 110007”. It is worth noting that when using the address in the sent AT-commands, the colon ":" must be replaced with commas ",", i.e. “14: 2: 110007” -> “14,2,110007”.
We proceed to configure Mastera. It consists of two stages, from configuration settings and direct connection.
1. First you need to send the AT + ORGL command, this will return the module to its original settings.
2. If you want to change the name of the module, this can be done using the command AT + NAME = myname.
3. Using the AT + RMAAD command, you need to delete all information about previous pairings.
4. By sending the AT + ROLE = 1 command, we make the device work in Master mode.
5. The AT + PSWD = 1234 command allows you to set a password.
6. When sending the AT + CMODE = 1 command, the device can connect to any addresses.
And now you can go directly to the connection.
1. To make sure that the device is working, you can send an AT command and wait for an OK response.
2. Initialization is carried out by the AT + INIT team. If the answer is ERROR (17), it isn’t scary, probably the initialization has already been done before.
3. The search for available bluetooth addresses is started using the AT + INQ command.
4. The process of connecting to the device itself is carried out using the AT + LINK = command. For example, a command might look like this - AT + LINK = 14,2,110007.
If everything is done correctly, the flashing frequency of the diodes will decrease.
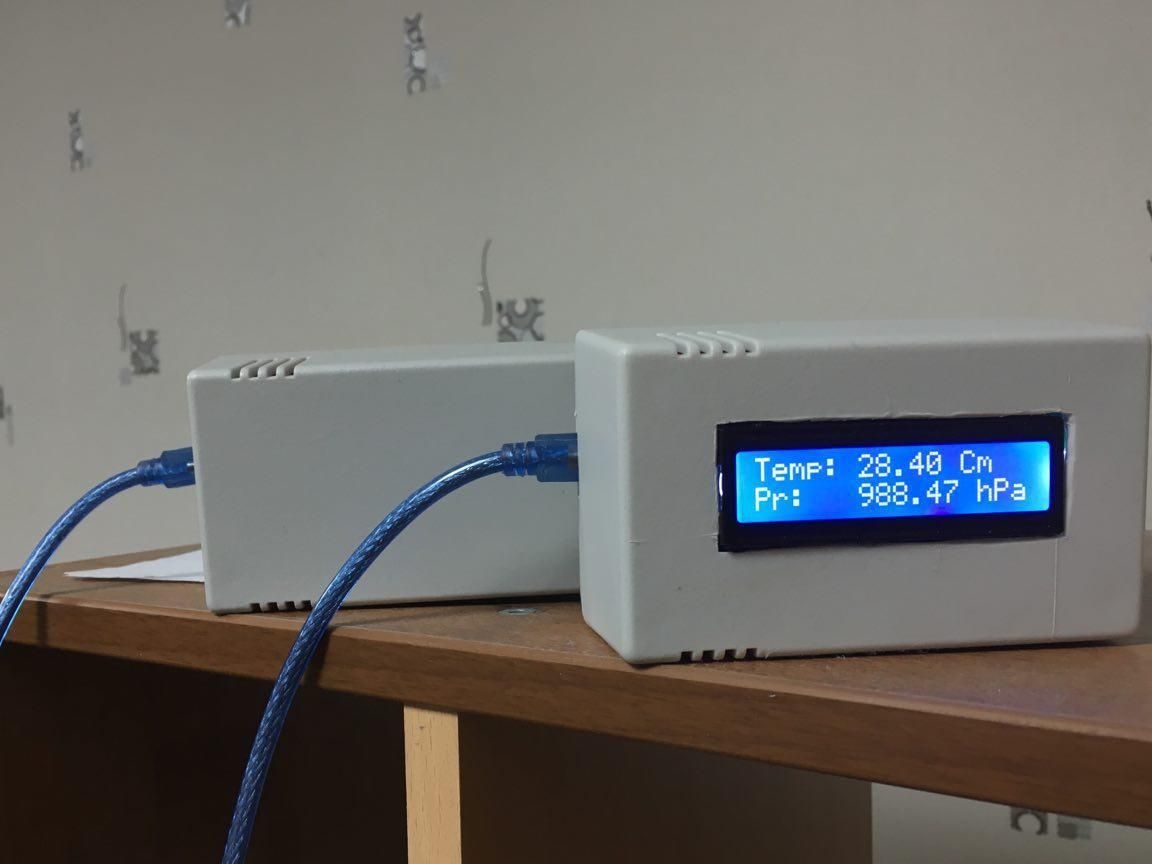
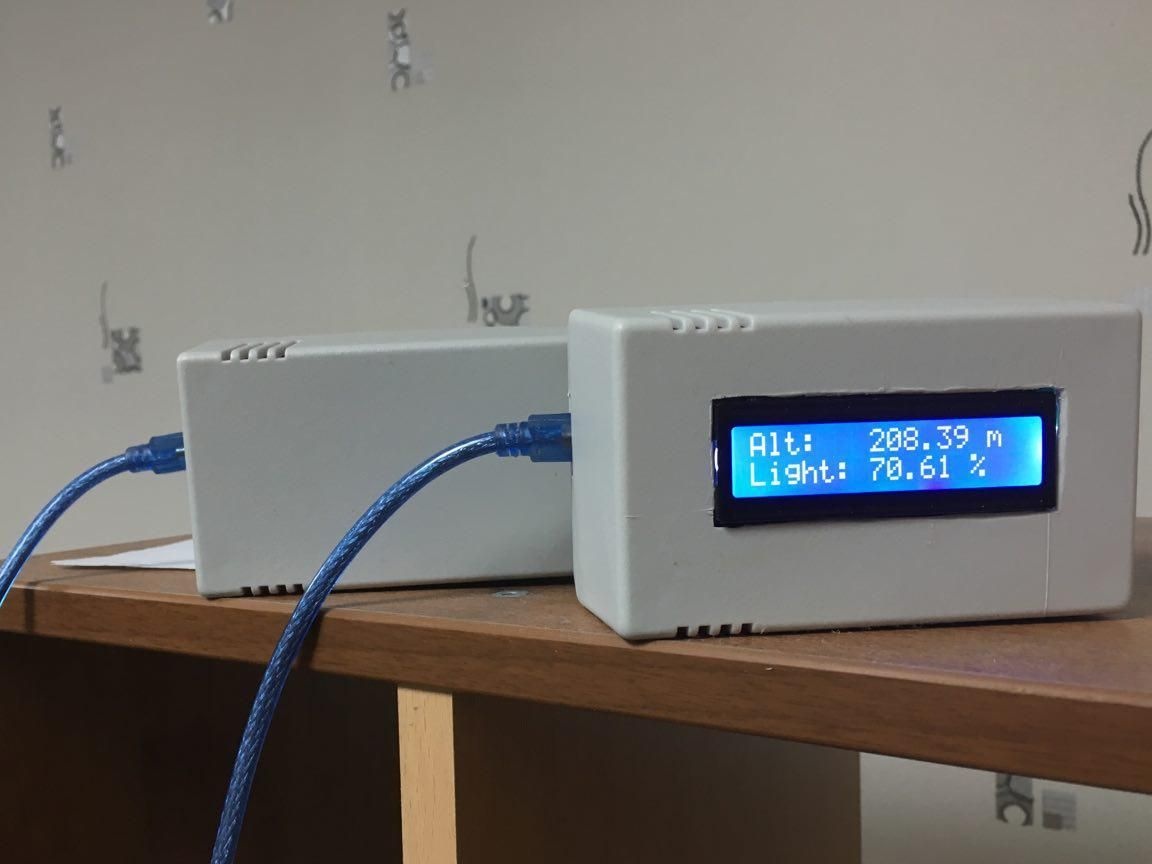
In conclusion, the device will have to flash so that it can receive, send, read and display weather data. If you want, you can not use the breadboard, you can connect everything with a soldering iron. In conclusion, the electronics are hidden in a housing. That's it, the home-made home-made weather station is ready for testing.