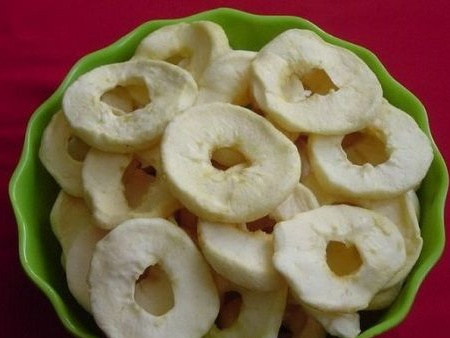
Using a dehydrator allows you to cook a huge number of different delicious, and most importantly healthy snacks. In addition, dried fruits and berries are easier to store, and they will retain their beneficial properties longer.
Therefore, the author decided to make a simple dehydrator for his needs, whose work is based on solar energy.
Materials and tools that the author used to create a simplified miniature model of a solar dryer:
1) glass with a frame for mounting
2) sheets of thick moisture-proof plywood
3) jigsaw
4) wooden blocks
5) nails
6) hammer
Consider the main structural elements of this model of the dryer and the stages of its assembly.
As you will see later, creating a solar dryer or dehydrator is quite simple. All structural elements in it are quite simple, for their manufacture does not require special skills or materials.
Model the solar dryer that the author decided to create is quite miniature. It has the most simplified design, and just a couple of shelves on which to put food for drying. Therefore, he considered that such a solar dryer is perfect for those who first decided to create such a device on their own.
After the author decided on the design of the device of the solar dryer, he collected all the necessary materials and tools and proceeded directly to the construction of the dryer.
The image below shows the design, as well as the dimensions of the main elements of a solar dryer:
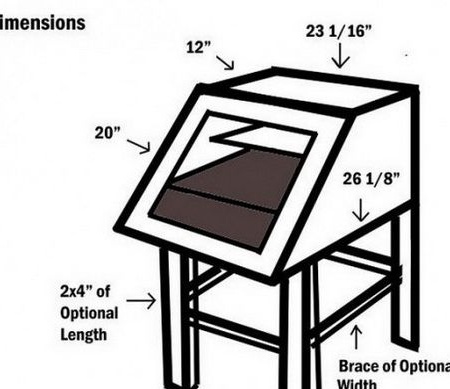
As you can see, the dryer consists of a glazed box, which is installed on four legs.
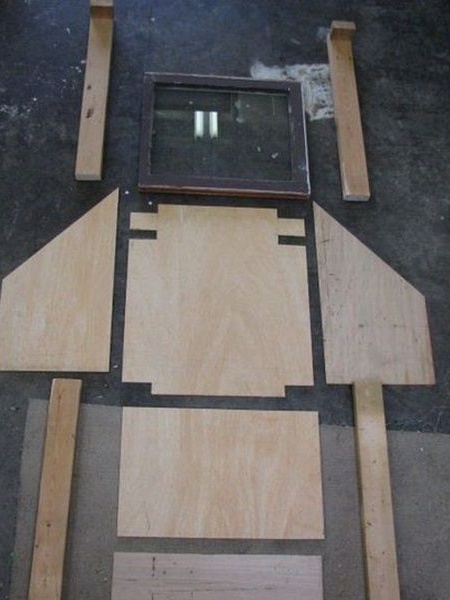
Armed with a jigsaw and a saw, the author began to manufacture the basic structural elements of the dryer. The side, rear, lower and upper walls of the dryer were made of a thick sheet of moisture-proof plywood. As a sheath, wooden rectangular bars were used.
This is how all the main fragments of the dryer design look:
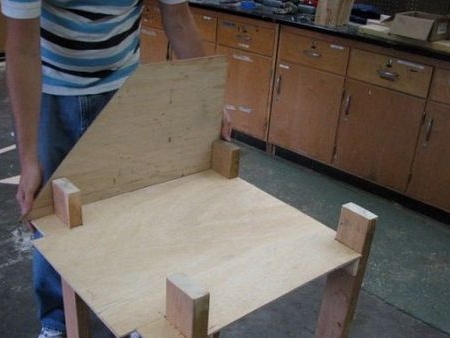
Further, the author proceeded to assemble them into a single integral design. To begin with, he decided to assemble a stand on which the camera of the solar dryer will be held. Taking four legs and the bottom sheet of plywood, he connected them with nails and got this design:
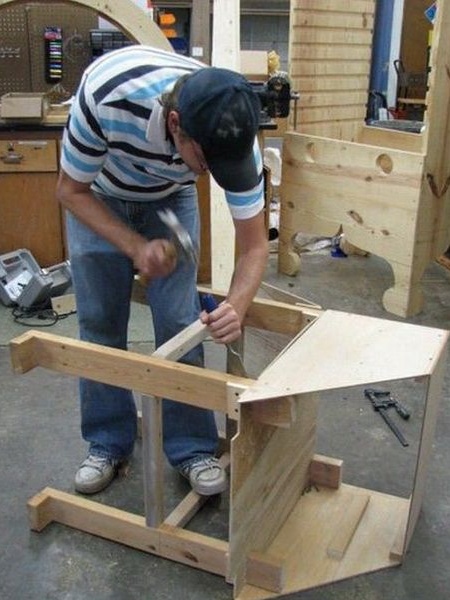
Then he began assembling the drying chamber, and also strengthened the stand with the help of transverse rails:
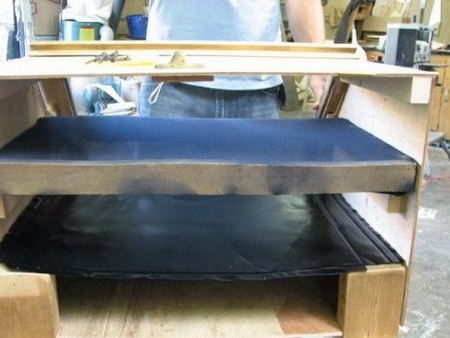
For the inner chamber, the author made a pair of shelves on which products for drying will be stacked:
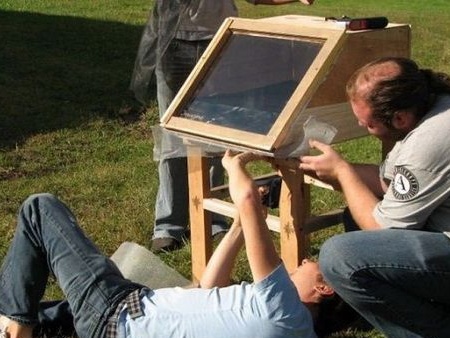
After that, the camera was closed by a frame with glass. As you can see the frame has an inclined surface so that the direct rays of the sun penetrate the drying chamber and heat the air inside.

In this form, the dryer is completely ready for use: on sunny days, products that need to be dried are laid inside the chamber, after which the glass side of the dryer turns under the rays of the sun. As the sun moves, the position of the dryer must be adjusted relative to the sun. As a result, you can enjoy dry fruits and berries in the same way as it became available to the author of this solar dryer.
