Hello. Today I decided to tell you about how to make a bow toy for entertaining shooting at the cottage, picnic, etc.
At the very beginning of this article I want to focus on one very common mistake "home gunsmiths. "Namely: manufacturing"weapons"most are trying to make it the most powerful ...
WHAT FOR???!!!
Answer yourself this question! Will you go hunting with him? I think no! After all, for this you need to get permission, and homemade - it is against the law ... (And in any case, it’s better for hunting - a firearm ... Because you can’t compare the energy of a shot, the usability is also ...). Admit to yourself - you just want to shoot at targets! True? And if so, power is not important to you. After all, in order to confidently shoot from a bow, you need to have the appropriate physical training !!! Yes, that’s why in ancient times the archer was preparing all his life, starting from childhood: he developed certain muscle groups by training! I also underestimated this factor at first. The first bow made with an effort of 20 kgf. After all, this is not a weapon, even by law. He is considered weak ... And what in the end? .... I, as a person who is quite physically developed, could shoot out of him ... at most ten times! ... Then - a break for rest ... And women, to For example, they could not once !!! (Yes, that's right. After all, even “miserable” for onions 20 kgf is an effort with which you hold two full buckets of water in your hand !!! All your friends can do this for enough time to aim? And at the same time - without trembling in a tense hand !!!
Agree, no !!!
The second point on which we must focus: the range of aimed fire! Precisely AIMED. Those who did not shoot from a bow often imagine that if you look along the arrow, you will get there! But in fact, this is not at all the case: there is practically no direct flight with an arrow - after all, even a bullet flies along a parabola. And the arrow is much, many times heavier than a bullet, and the energy of a bullet is orders of magnitude higher! At the same time, the plumage, passing near the bow handle, rejects the arrow flight to the side! So archery is "intuitive", based on the experience of hundreds and thousands of shots!
And therefore, if you are not a trained athlete archer, you will be able to shoot at 20-30 meters maximum, if you want to hit the target meter per meter ....
To summarize:
If you want to make a bow from which it will be INTERESTING to shoot campaigns of friends at a picnic in the forest, or at the cottage - you will have enough effort of 10-15 kgs! Such a bow is capable of throwing a light wooden arrow up to one hundred meters when shooting from an angle of 45 degrees. With targeted shooting, he will provide INTERESTING shooting to amateurs at a distance of up to 30 meters! (At a greater distance, your arrows will still be "disposable" - you will not find them!))) And, at the same time, a light arrow is not so traumatic!
I have long thought to make such a bow. We often go out into the country with a group of friends. At the same time, he set himself several conditions:
1. The bow should be easy to disassemble for easy transportation
2. It should be strong enough and not be afraid of weather conditions.
3. It should not have a large pulling force, but, at the same time, should provide a range of at least 30 meters.
So, having shoveled many Internet pages and having touched a lot of materials with my hands, I opted for the so-called composite reinforcement. Now it is being widely introduced instead of steel in construction, because it has great strength and, most important for us, flexibility and resilience ..
We will need:
1. Composite fittings with a diameter of 8 mm. and a total length of 2m. 40 cm.
2. A piece of a profile pipe with a section of 20 by 25 mm, a length of 20 cm.
3. A piece of plywood 40mm thick. (This is difficult to find, so I glued with PVA glue two pieces of Finnish phones in a vise, 20 mm thick.)
4. Steel cable, 1 mm in diameter (for making a bowstring)
5. Cable clamps.
6. 2 furniture bolts.
7. Synthetic thick thread.
8. Heat Shrink Tubing (Optional)
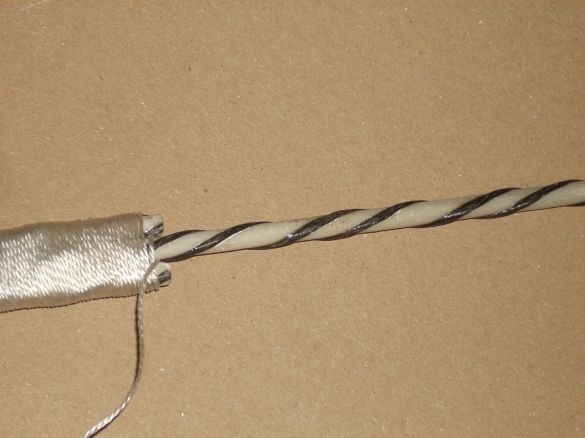
So, let's get started ... First, I started making shoulders. For each shoulder I used two pieces of reinforcement, 50 cm long, and one, 70 cm long. Putting them together (long in the middle), I wrapped them tightly, turn to turn with synthetic thread
This must be done along the entire length, because when bending the shoulder, the reinforcing bars must be tightly connected into a single whole.
After that, I impregnated the resulting shoulders with epoxy. (I did not photograph this “sticky” process because of dirty hands.))))
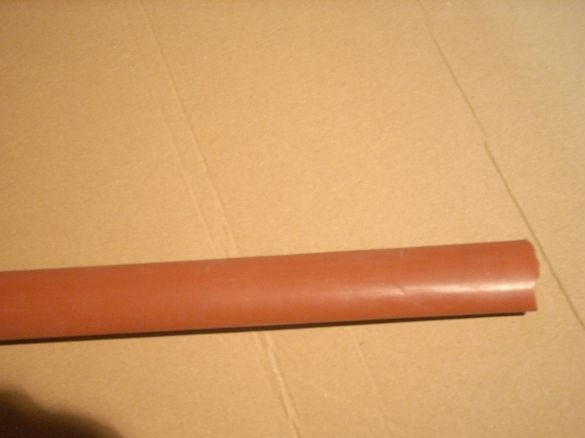
After that I prepared a heat shrink tube.
He put it on and planted it with a hairdryer. This operation is optional - I pursued exclusively decorative goals. Perhaps this even reduces the elasticity of the shoulders.
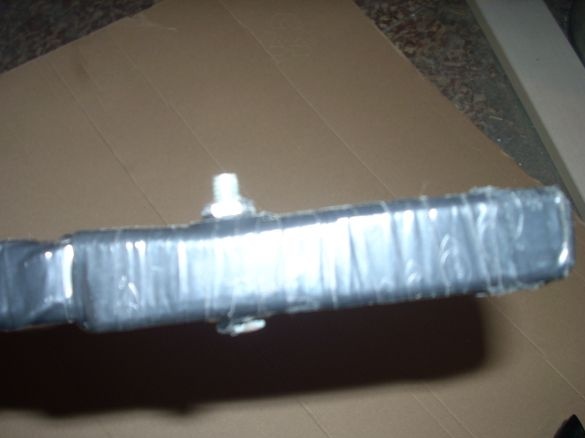
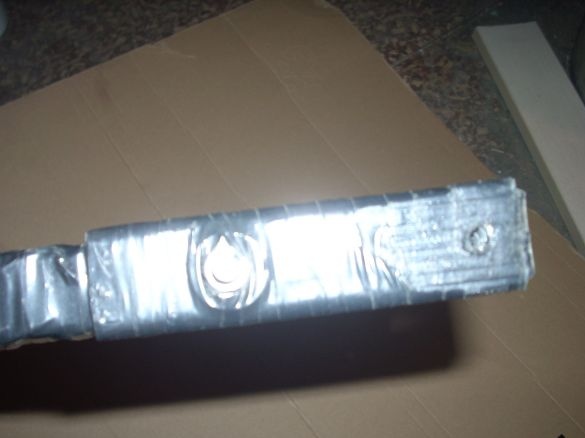
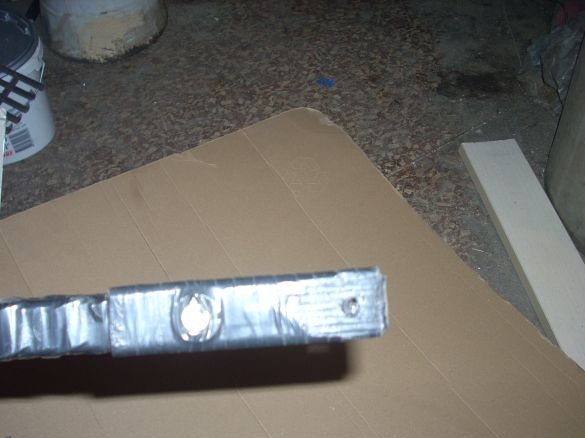
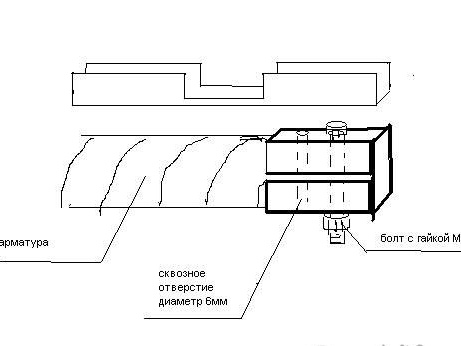
I cut the profile pipe along the "grinder". Measuring the middle along the length and making cuts, I folded two boxes, placing inside the beginning of my shoulders. Then, having drilled through holes, I squeezed these boxes with M6 bolts.
Here's what happened after wrapping the construction with electrical tape (for decorative purposes. It was rusty):
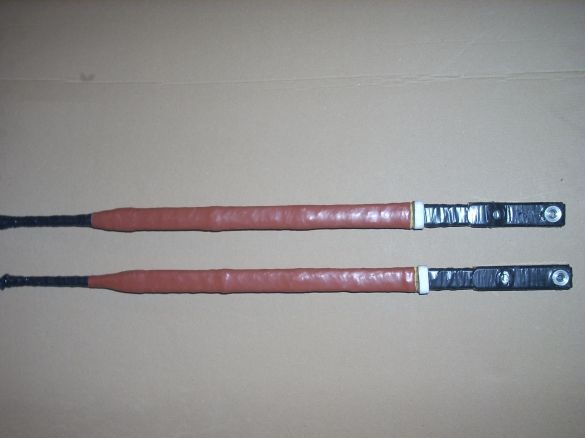
So, I have two shoulders:
Looking ahead, I will describe how I made the fastening of the bowstring ... There were different ideas, but to temporarily experience it, I stepped back one and a half cm from the edge of my shoulders, wound a "tubercle" of thin knitting wire, wrapped it all with electrical tape .... .da remains!)))) The bowstring loop does not pass through it, and this is enough ...
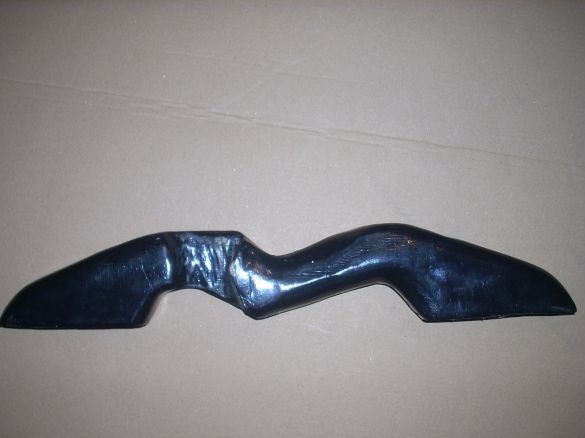
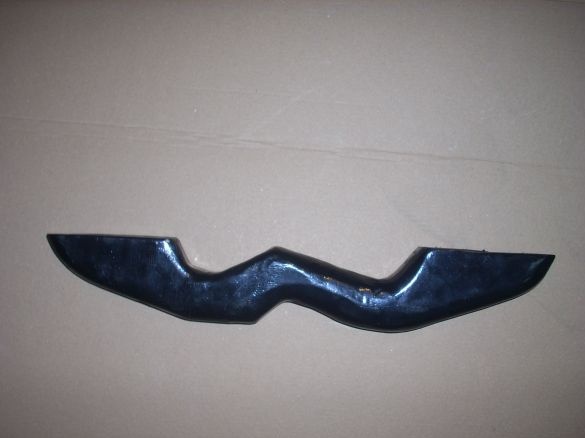
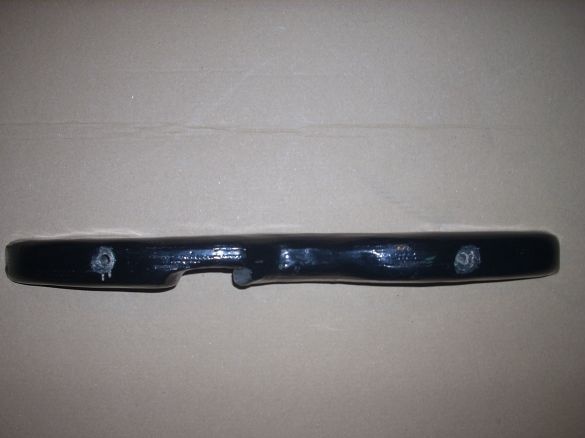
We proceed to the manufacture of the handle. It can be made of wood. But, since it will experience enormous loads, do not even think about conifers. An oak or birch comel is suitable ... It is difficult to get such wood in urban conditions, so I decided to make a handle from plywood ... Since it will take at least three centimeters of thickness (preferably 4), I glued two pieces with PVA glue " Finnish "plywood, 20 mm thick. You can easily find the shape of the handle on the Internet and choose it to your taste - with the right or left arrangement of the shelf for the arrow. After processing the workpiece with a grinder (first with a “toothy” circle on a tree, then emery-petal), and painting, I got this handle:
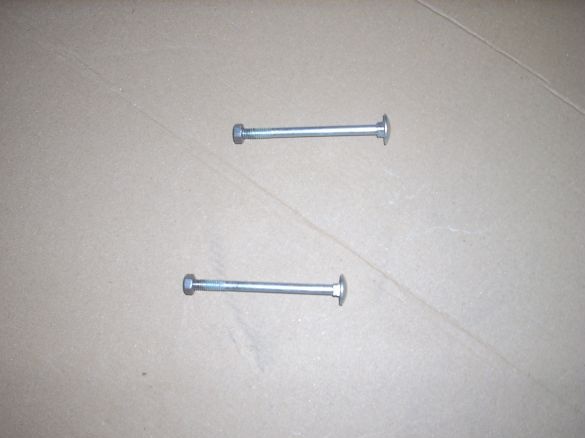
I drilled one through hole, and one deaf one, I connected the handle to the shoulders with ordinary furniture bolts:
The nut of the bolt with which the metal ends are pressed on the shoulders enters a blind hole and fixes the shoulder to the handle. And all this is pulled together by a furniture bolt.Initially, I planned to use a wing nut for simplicity of disassembling and assembling, but in practice, the effort "by hand" was not enough for reliable fastening - the shoulders dangled. Therefore, I replaced the nuts with ordinary ones and understaffed the onions with a cheap Chinese ratchet with a 10 mm head.
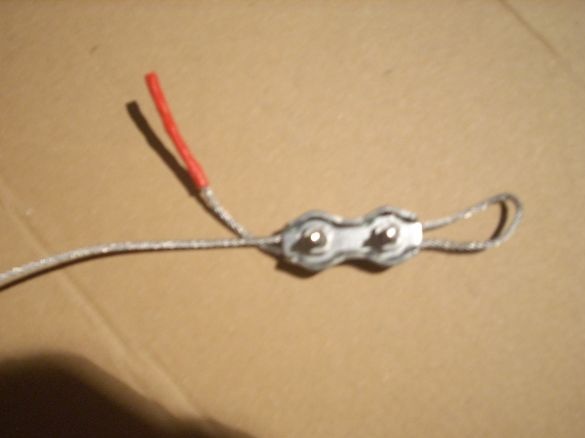
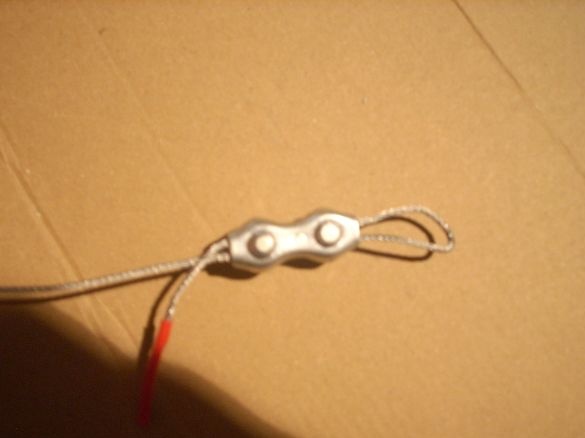
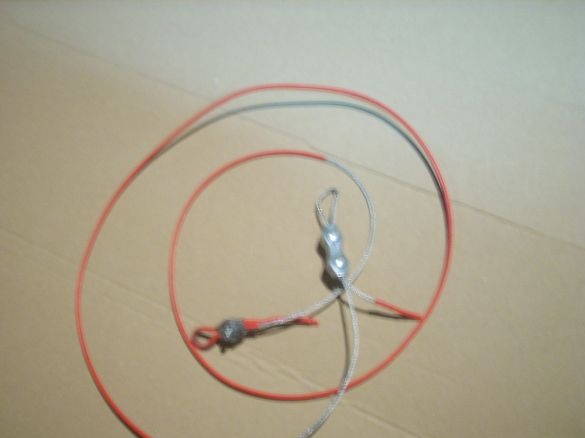
The next step is a bowstring. I, without further ado, made it from a steel cable with a diameter of 1 mm. He put on a thin red heat-shrink tube on a cable so that he wouldn’t cut his hands so much. He fastened the hinges at the ends with crimps sold where he bought the cable.
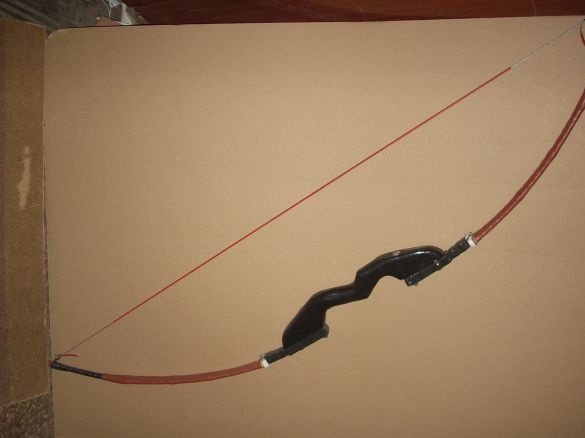
So, I got such a handsome man!
The force measured using conventional scales showed that when fully stretched to the length of the boom, it is 12 kgf. That is, by law, this is not a weapon, but a “product structurally similar,” that is, a toy!
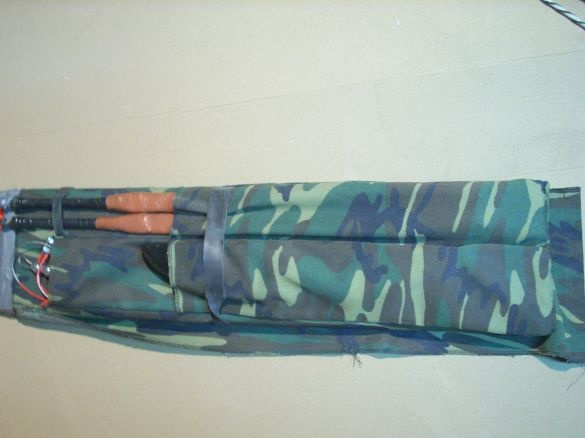
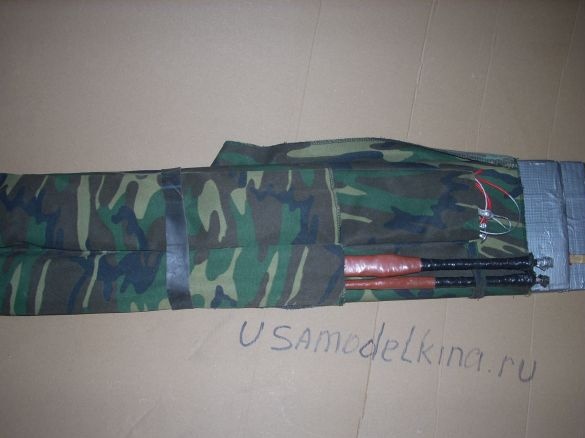
It remains to ask the daughter to sew a cover on the sewing machine, and the bow is ready! It is very convenient to take with you to picnics. Everyone is capable of shooting from it.
I’ll pay special attention to arrows ... Of course, you can buy good arrows in a store ... They will provide good accuracy, range, and lethal force .... But remember, again, for what we need a bow !!! If you shoot only in specially equipped places, and at the same time you are a trained archer, then do so! And if you shoot “in nature” or (horror) in the forest, then the only qualities that you will need from your arrows are “easy to make” and “not a bit miscarriage”))))) I can assure you if the arrow flies away for forty meters, even in a clean field - the chances of finding it will be .. 1 in 100 !!! Because it falls at a small angle and burrows itself into the ground. And the arrow that flew into the forest is not worth the search!
Therefore, we buy the cheapest window glazing bead and red tape. We plan the glazing bead along the entire length with a plane; from two pieces of adhesive tape glued together, we make plumage by putting an arrow in the center. Using a grinder in the end we make a cut for a bowstring. Tip? .... You do not need it !!!! Just sharpen the arrow. You can then dip in varnish, or epoxy. Such an arrow easily sticks into a tree trunk from 20 meters. And you will most likely shoot at a cardboard box)))) Well, or at empty plastic bottles - she also easily breaks them from this distance ...
But she is not at all sorry - for each "nature" I make a dozen of them. At first, he made round ones, driving a square blank, clamped into a drill, through two dies for cutting threads. After which he worked with a knife box. It turned out smoothly and beautifully .... and it’s very a pity, because at the end of the "shoots" one or two out of a dozen anyway .....))))))
Enjoy your shooting ....


