I'll start with the theory. Crossbow - in essence, is nothing more than a modernized bow. Its advantage is that for firing from it one does not have to have special skills and physical training. In addition, the crossbow’s pulling force can be significantly higher than that of a bow - because when cocking it, firstly, you need to hold the bowstring for a very short time (jerk), and secondly, even when manually cocking using a stirrup, they work other, more developed muscle groups (back) than when pulling a bow. In addition, you can use various fixtures - gate, lever ("goat leg"), blocks, etc ....
But we do not need weapons !!! All we need is entertaining shooting. After all, the manufacture and storage of missile weapons is a criminal offense !!! In Belarus, for example, these laws are even more stringent, since there are many reserves in the republic (Belovezhskaya Pushcha, Nalibokskaya Pushcha), where poaching with the use of powerful crossbows is widespread. Therefore, we are forbidden to hunt with any silent and low-noise weapons, and for entertaining crossbows, as well as for bows, an effort of up to 20 kgf is allowed. (In Russia, I know - more). That is, if the effort is less, the crossbow is not a weapon, but a “product structurally similar to a weapon,” that is, a toy. What he, in fact, is - from such a sparrow that you can shoot, and even then at close range ....
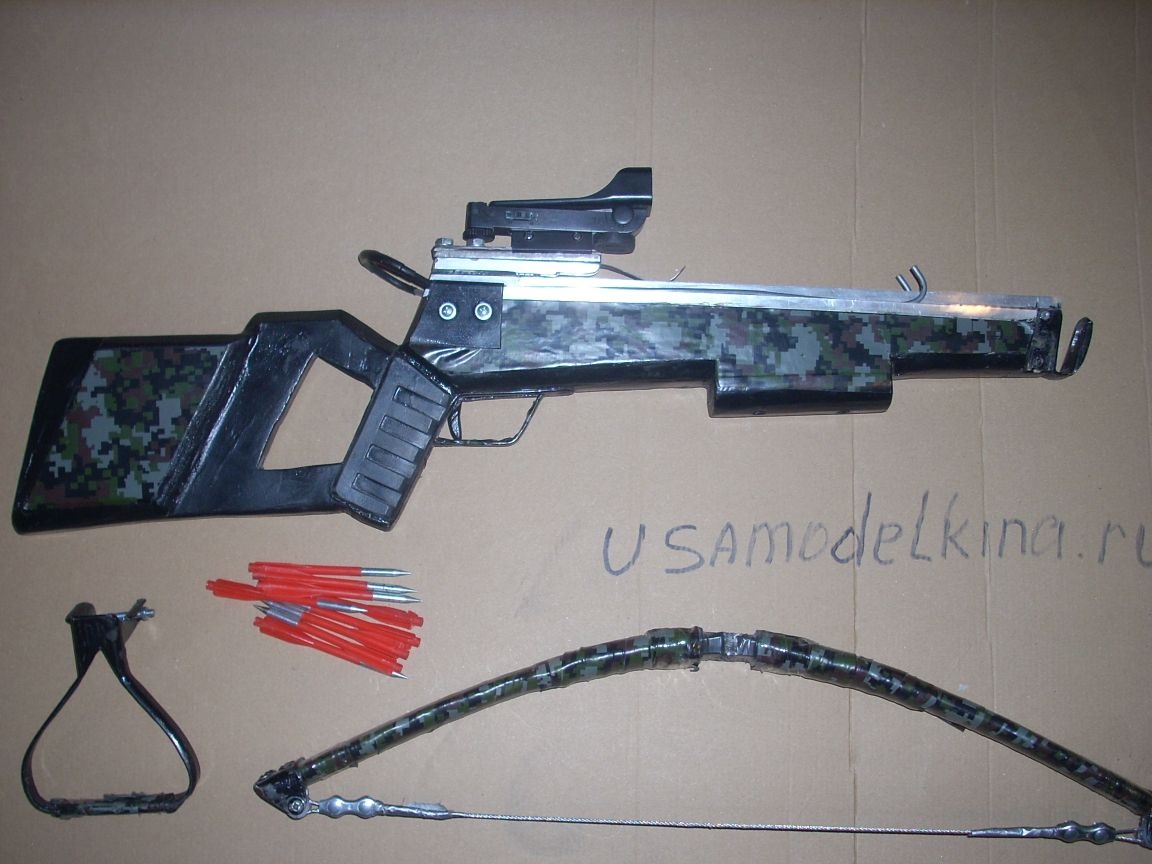
And it is precisely such a crossbow that I will present to you today. It is impossible to strengthen it by making a more powerful bow - the whole simple structure is designed for its force. But, as in the case of onions, I had previously planned to make it folding for easy transportation. As a result - it is very convenient, lightweight, does not take up much space, and fully fulfills its entertaining function - it provides an INTERESTING aimed shooting with light darts at a distance of 30 to 40 meters. Light darts stick into a plywood target, but at the same time, they are easy to remove. (A OTHER CROSSBOW IS NOT NEEDED FOR YOU !! Do not pursue power! Believe my experience - to shoot from a powerful crossbow ..... NOT INTERESTING !!! .....We need space, we need a special target, because it is very difficult to remove a bolt that has pierced through the board. And it’s impossible to extract a tree that has sat in a tree trunk !! Why do you need all this trouble, and even under the threat of criminal prosecution !!!)
So we need:
1. Composite fittings.
2. Cutting of profile pipes of different diameters.
3. Epoxy resin.
4. Heat shrink tubing.
5. Galvanized wire with a diameter of 4 mm.
6. Sheet metal with a thickness of 3-4 mm.
5. Aluminum U-shaped profile with a cross section of 10 by 10 mm.
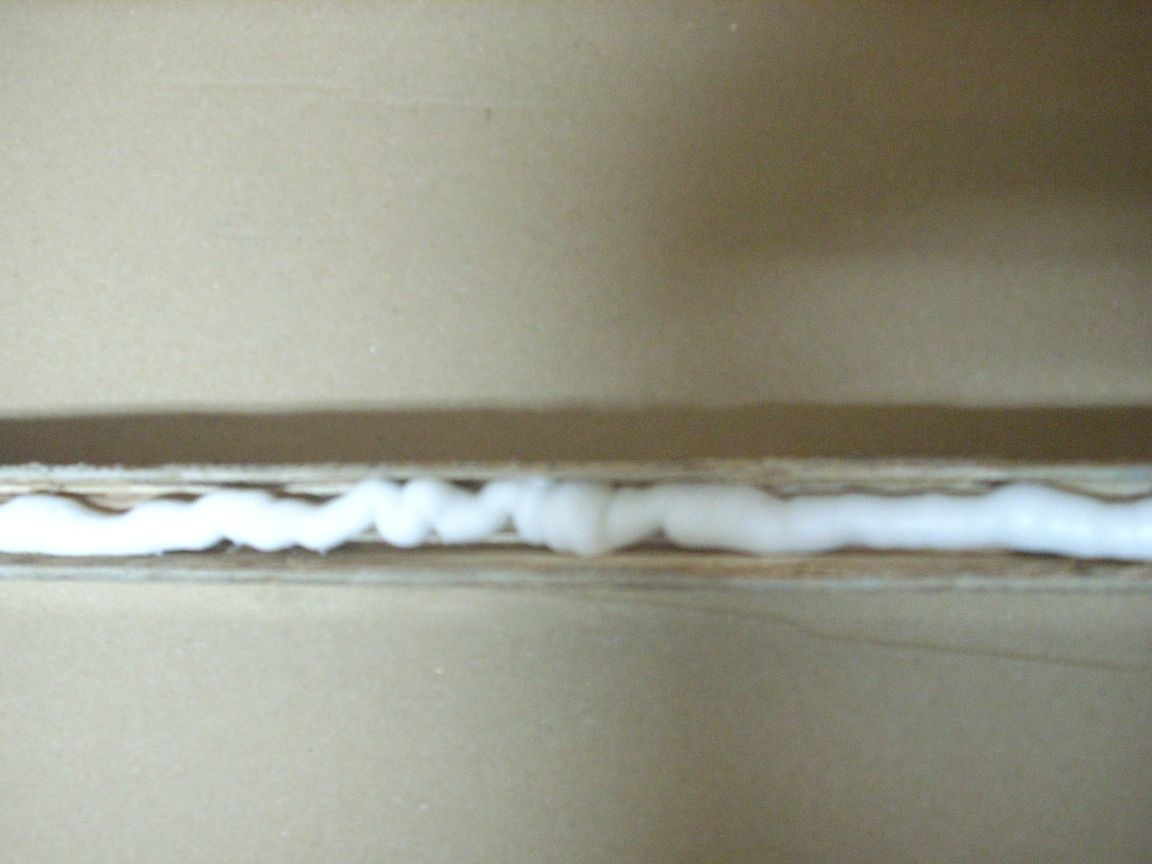
6. "Liquid nails.
7. Furniture bolts.
8. A metal cable with a diameter of 2 mm.
9. Vinyl film.
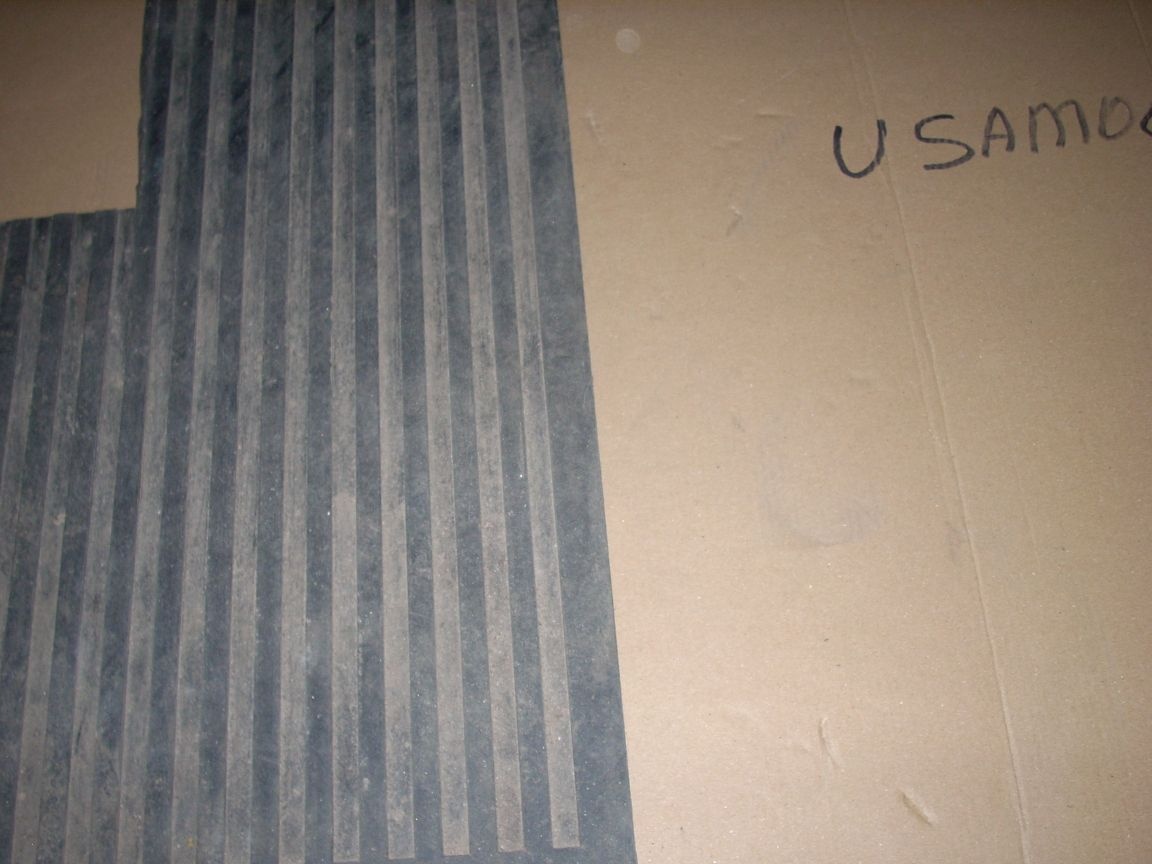
10. Old rubber mat
11. Nuts, bolts, screws of various sizes.
I apologize in advance - I have lost many photos of the process. (The flash drive fell into the water). I was able to recover something programmatically, re-photographed something, just describe something ...
And so, let's get started. As I said, a crossbow is a mechanical bow! therefore making a crossbow always starts with making a bow! As a firearm is always designed for a cartridge, (and not vice versa, as many people think), so a crossbow is made for a bow !!! Indeed, such important aspects as the type of the trigger mechanism and the length of the boom (bolt) acceleration, i.e., the length of the guides, and, as a consequence, the shape and size of the box, depend on the properties of the bow.
Bows are simple and blocky. What are blocks for? They transform the strength of the bowstring into speed! Indeed, in order to sharply give acceleration to a heavy bolt, the shoulders of the bow must have high potential energy. This indicator is affected by the material from which they are made, and their thickness. The elasticity of the material determines the speed with which it straightens, i.e., the initial velocity of the projectile. By increasing the thickness of the shoulders, we increase the elasticity (i.e., speed) .... and with it the weight of the shoulder. And he, in turn, affects the strength of the shoulders (not to be confused with power and work performed). If you made a powerful bow with heavy shoulders, then it is capable of throwing not only your arrow, but also an arrow that is twice as heavy, which you simply do not need !!! Moreover, the unused energy of heavy shoulders harms - it increases the jerk and seeks to break the bowstring and destroy the bow. And this "unnecessary" energy is converted into blocks by the speed !!! - the bow tension decreases, but the bowstring speed doubles !!! Accordingly, the projectile gets a higher initial velocity. As a useful side effect - removing half the load from the trigger, respectively - a softer trigger, and easier cocking.
All this is needed for weapons! But WE DO NOT MAKE WEAPONS! The arrows will be light, so the bow should be resilient and light! And we don’t need any blocks !!!
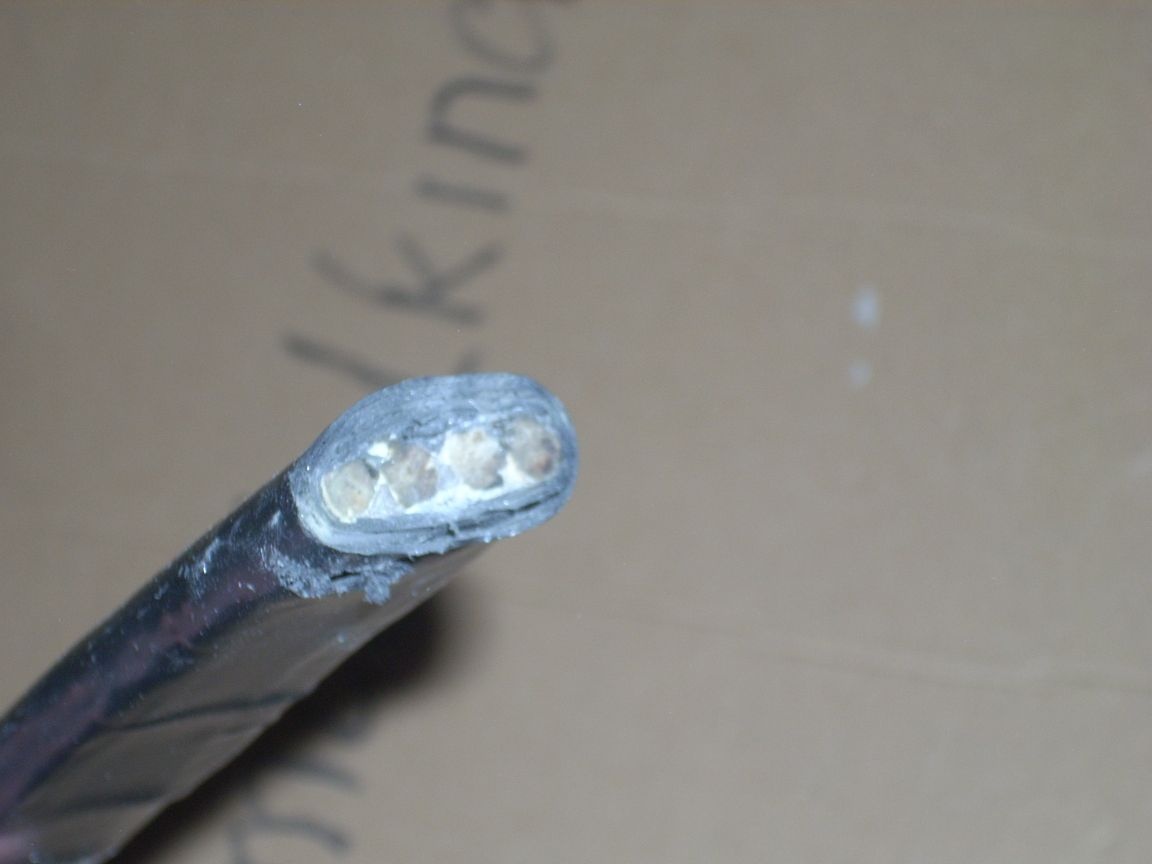
I made onions from composite fittings in the same way that I described in my article about making onions. I wrapped the fittings with synthetic thread and impregnated with epoxy, after which I put heat-shrinkable cambric on it and cased it with a technical hair dryer.
But this time I took four pieces of plastic reinforcement, with a diameter of 6 mm and a length of 60 cm.

I want to warn you separately: do not hang anything heavy! For reliability, I first secured it with two clamps, not considering that they are heavy. (At such enormous speeds with which the shoulders straighten, even a couple of grams - this is palpable.After all, energy is a product of mass and speed!) As a result, the “excess energy” already mentioned by me above simply broke my shoulder when fired. I had to make a new bow ...
For the same reason, never lower an empty bowstring! Only with an arrow!
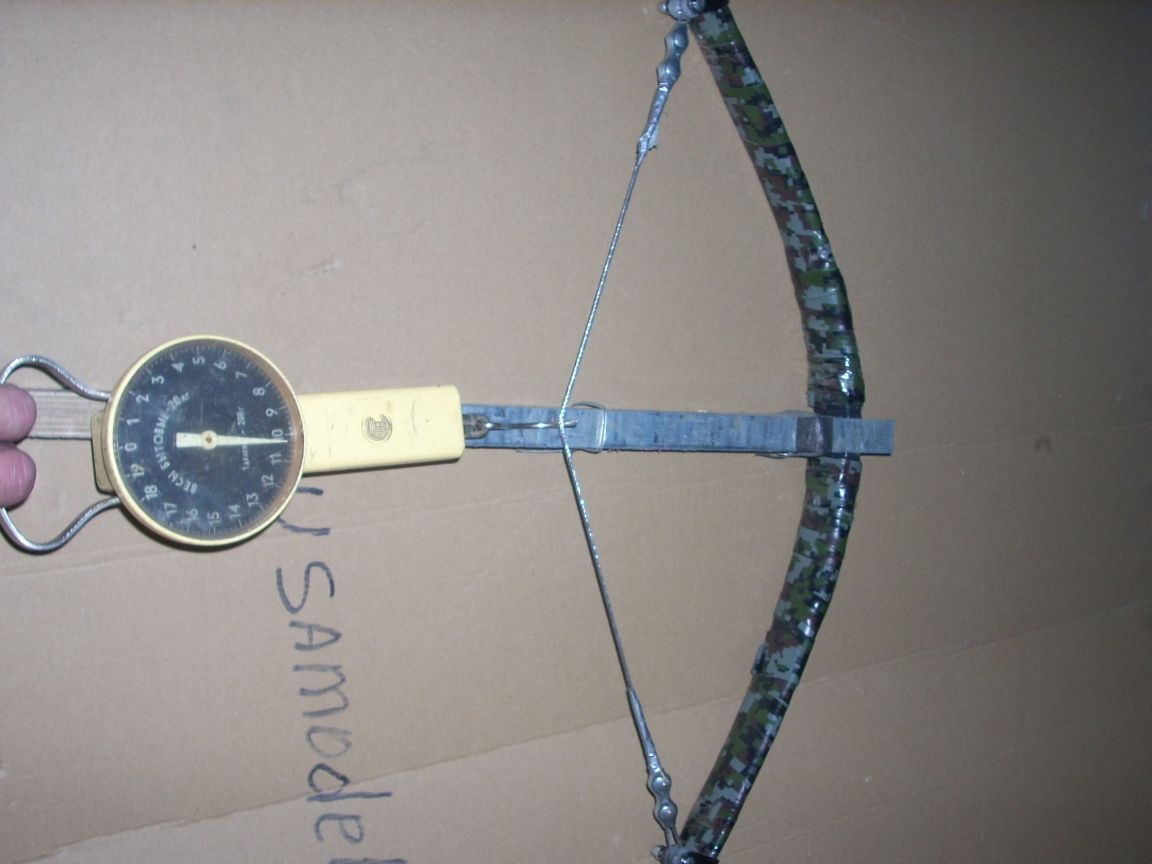
The onion is ready. Before proceeding with the manufacture of the box, we need to find its optimal length! For this, I made a whip here I’ll adapt.
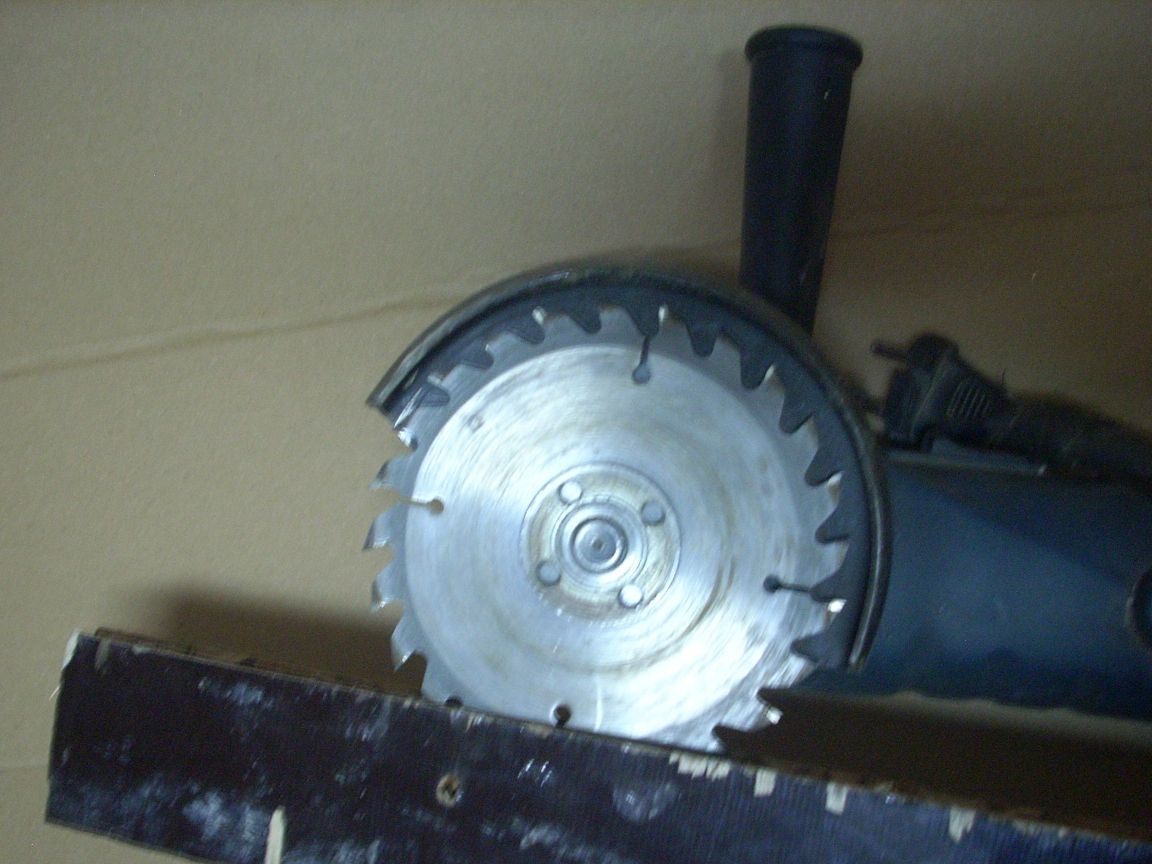
Next, let's start the trigger! There are various types of them. But, let me remind you, our effort is very weak, so the most primitive will suit us. We do not need intermediate levers (whispering), so I chose the classic "nut" scheme, in which there is only a trigger (aka the trigger in this scheme) and the "nut" itself. I had rolled circles of metal 4 mm thick and 50 mm in diameter. (Once I picked up a die-cutting at the factory))). But you can make it yourself with the help of a grinder.
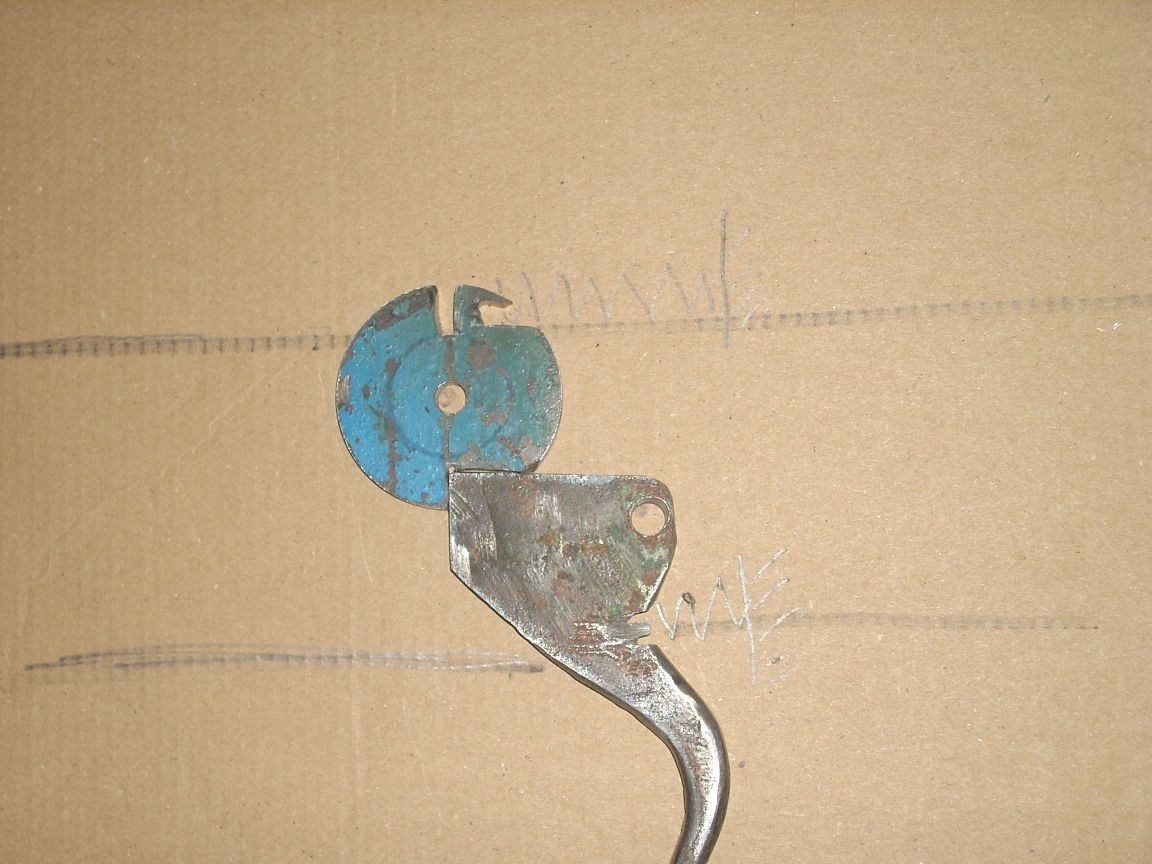
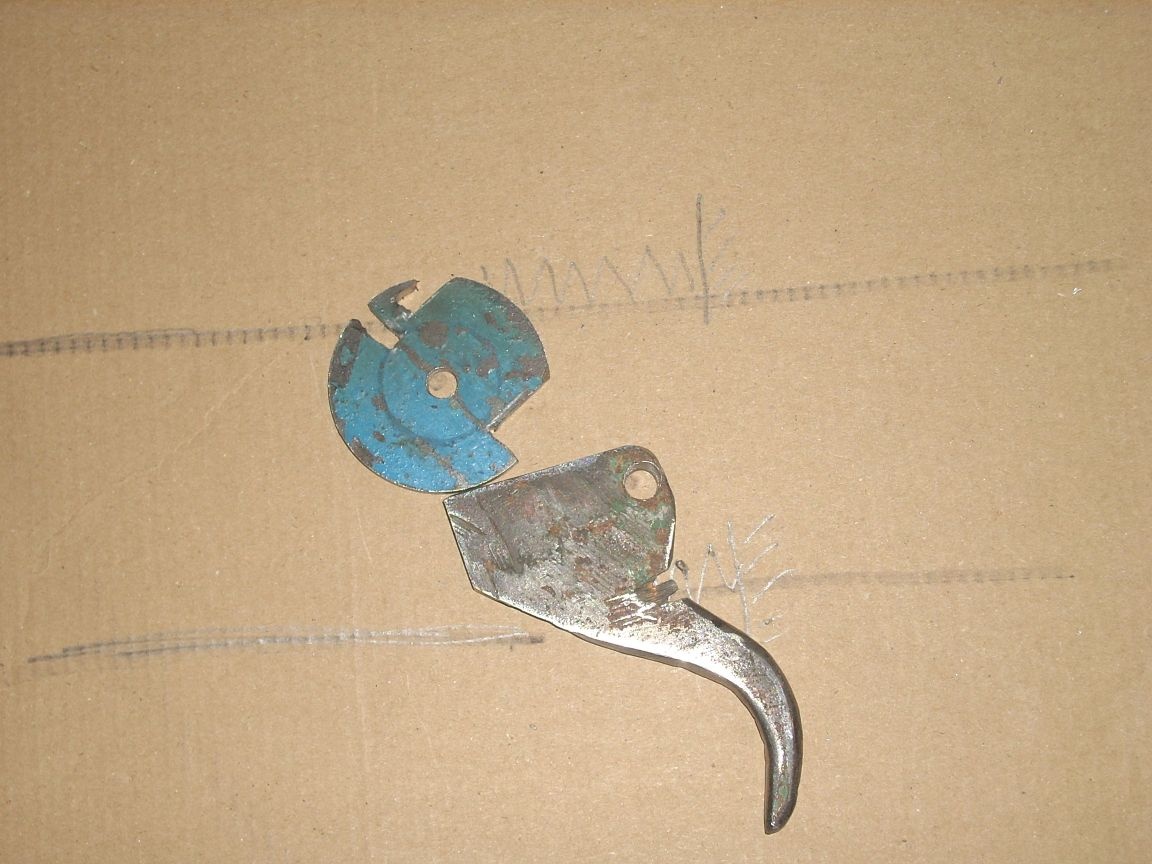
We will not manufacture the case - we will place the mechanism directly in the box. Do not complicate the design, with our weak loads, the axles of ordinary bolts fixed to wooden walls are quite enough for us!
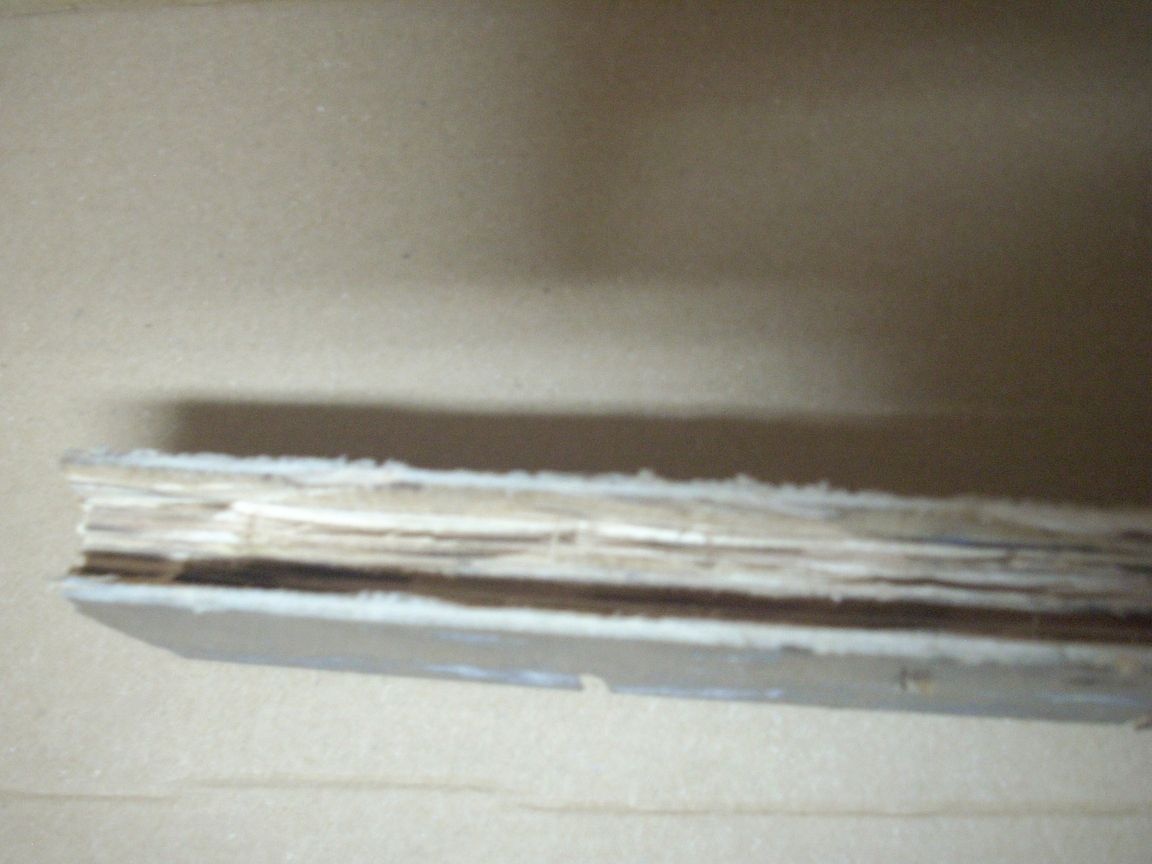
Next, proceed to the manufacture of the box. In order not to look for suitable wood, I suggest making it from plywood. I had a piece of the so-called “Finnish plywood”, 20 mm thick. Builders use it as a formwork in the construction of monolithic structures. Its advantages are strength and moisture resistance. If you don’t have one, you can use plywood 100 mm thick by gluing it twice with PVA glue and clamps. You can, of course, calculate everything theoretically, but, as a master with great experience, I am a supporter of the "applied method" - this is when "attached one to the other, and noted"!))))))
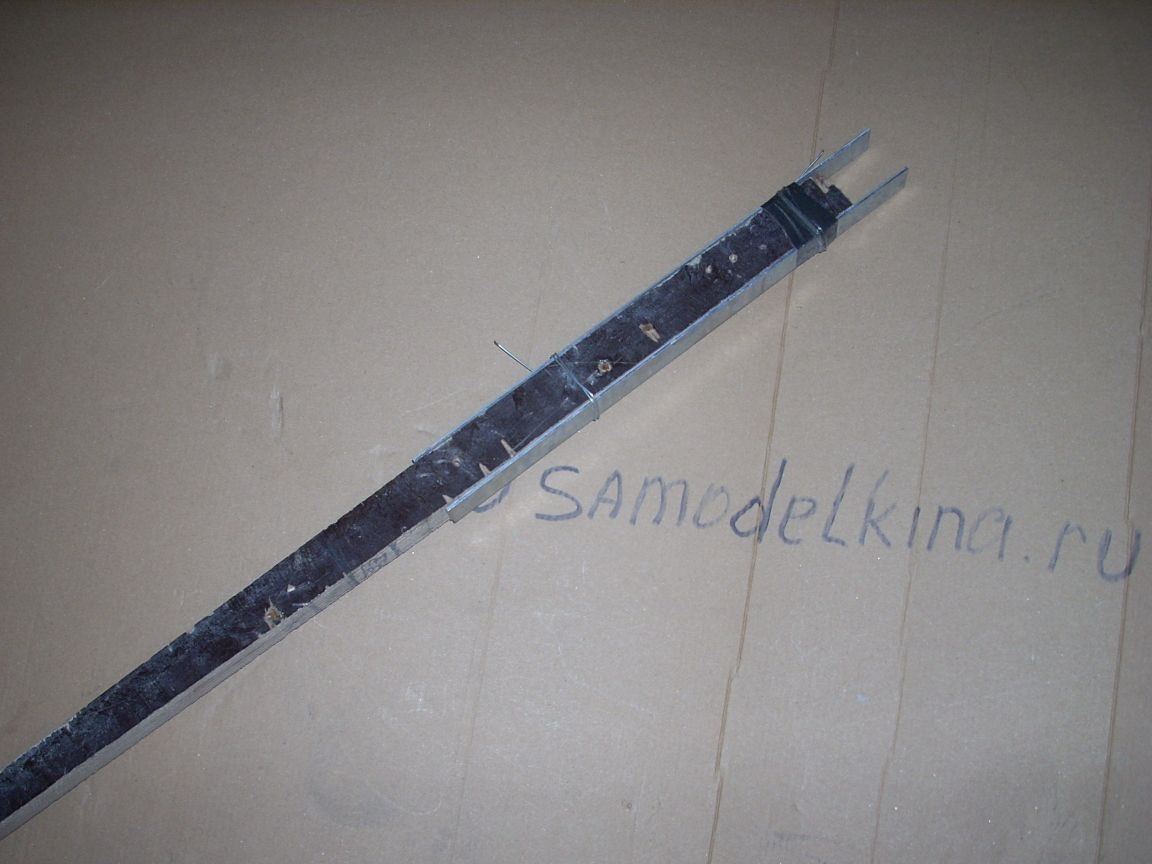
I lost the photo of the process, so instead of plywood in the photos there will be a sheet of ordinary cardboard ...
We measure the distance we need to stretch the onion (in my case - 33 cm).
So, our mechanism works fine, even though it is not inside, but outside.
Now .... just draw the outline of the box around it !!! This is the easiest method.
Since we make an entertaining crossbow, I drew a "sports" box, with characteristic sharp angles and a short "chopped" butt and a hole in it for the thumb, which, as it were, creates a "built-in" pistol grip.
After we have drawn and adjusted the dimensions, we simply cut out our box using a jigsaw.
Separately, I want to warn against the "pitfalls" that I encountered. Over time, the trigger and the nut loosened a bit and began to crash into the tree on the side walls of the cavity in which they were placed. The trigger strove to shift past the combat stop and got stuck. To prevent this, before placing the parts of the SM, insert them between two plates of thin sheet metal with holes for the axes drilled in the right places - they will create smooth side walls for our mechanism.
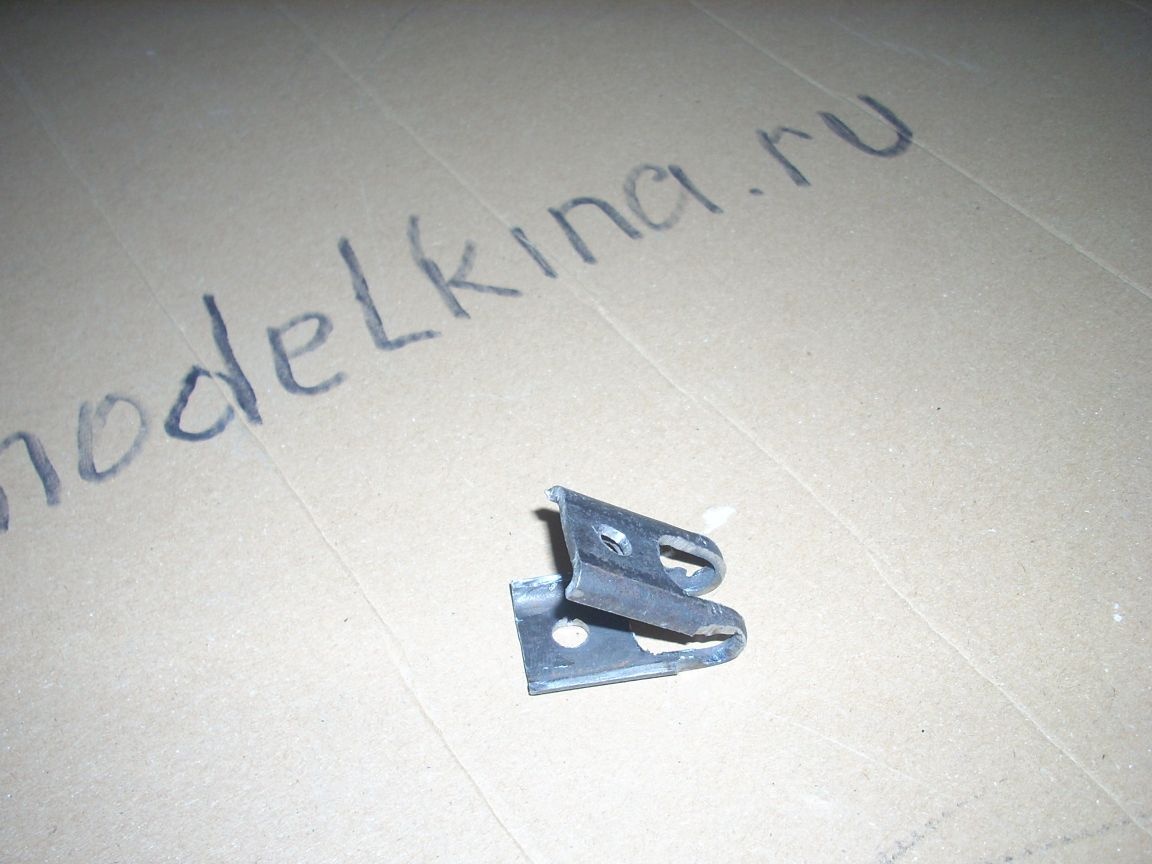
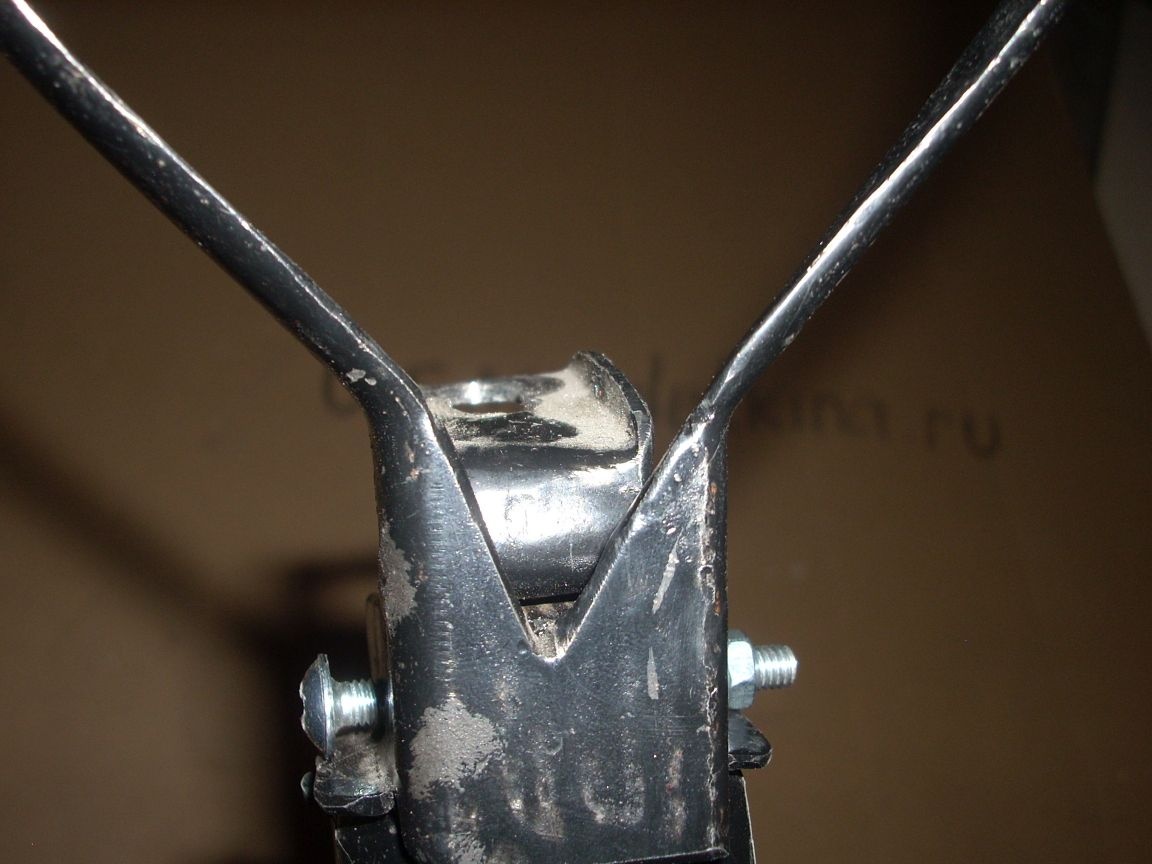
I cut out the onion mount from the trimming of the profile pipe, section 25 by 25 mm. Here is a picture:
Secured to the end of the box with small screws on the side. Since we need to screw-unscrew the screw fixing the bow, from the inside opposite the hole for it, we can grab the M6 nut with a semiautomatic device. But it was lazy for me to go to the cottage (I had a semiautomatic device there), so I put a wing nut under it in a saddle prepared in plywood, which had my ears “cut” a little ... She hung a little, had to be “tightened” with a screw, which visible in the photo ...... the costs of artisanal production)))))
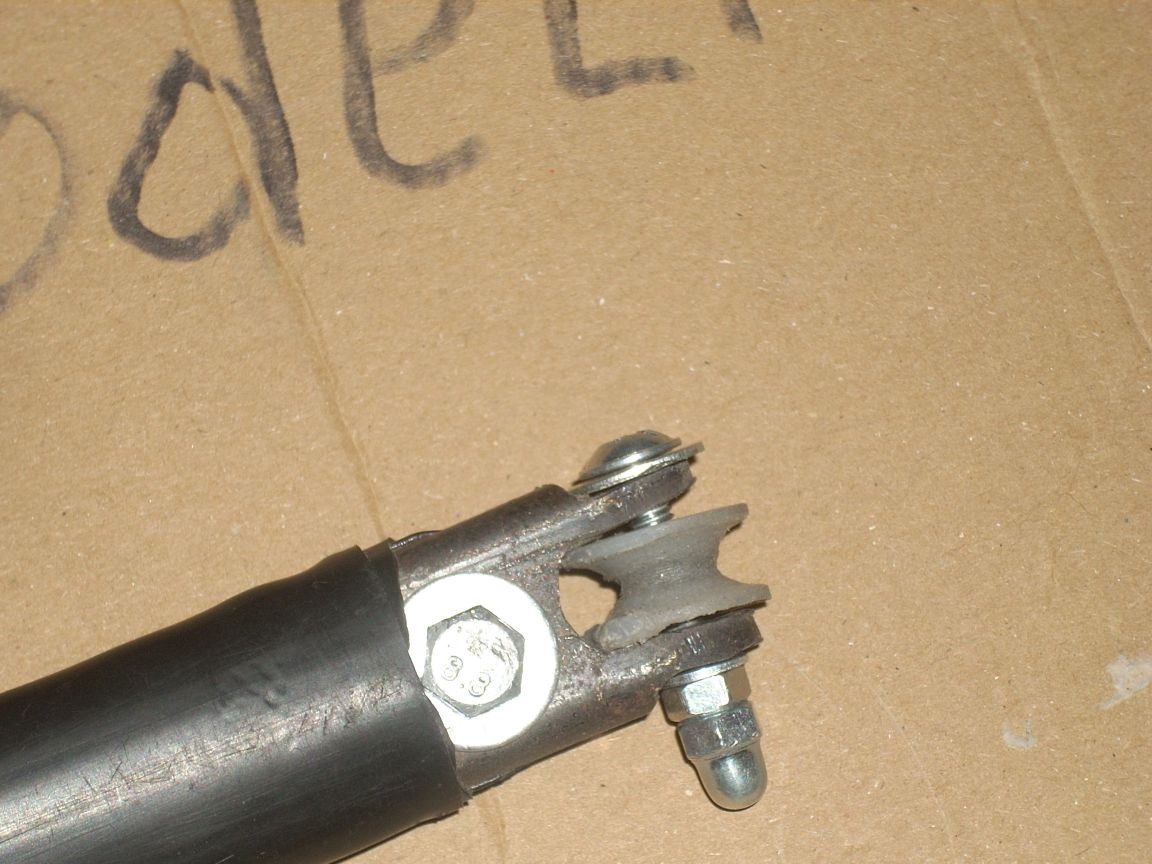
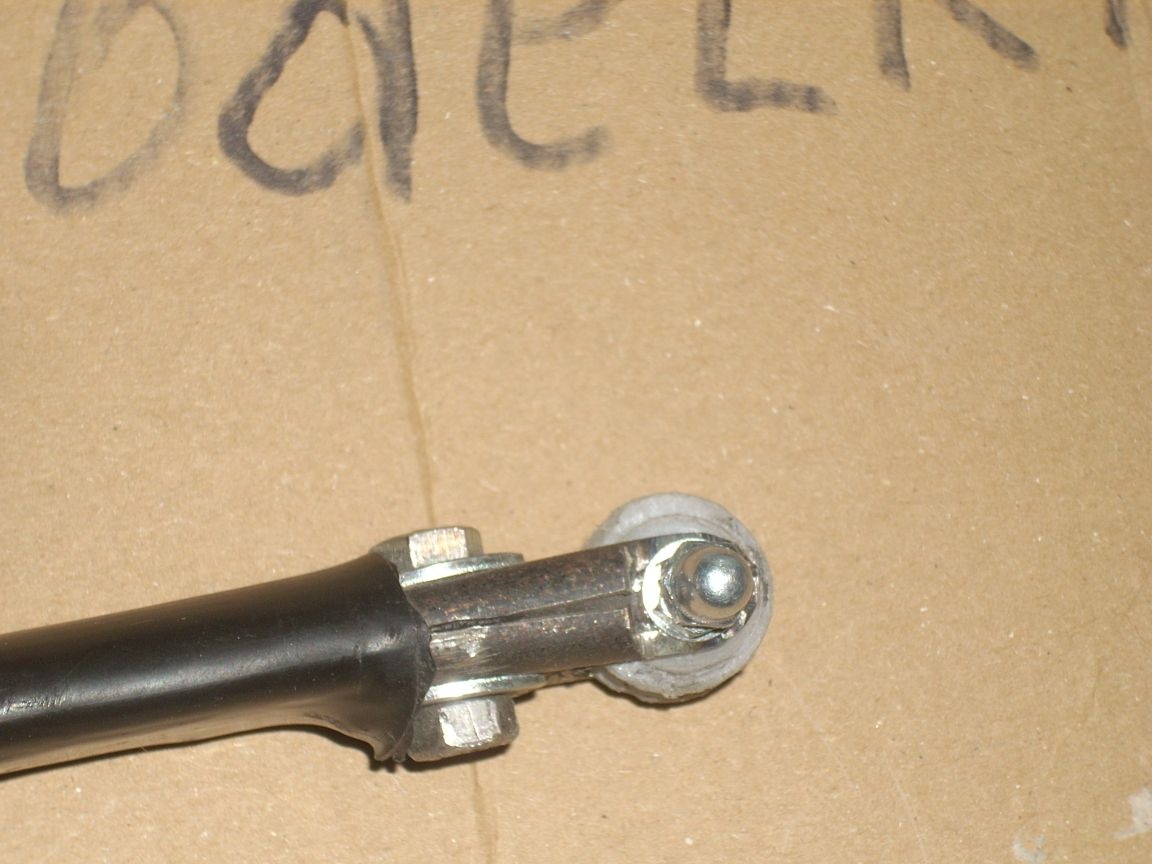
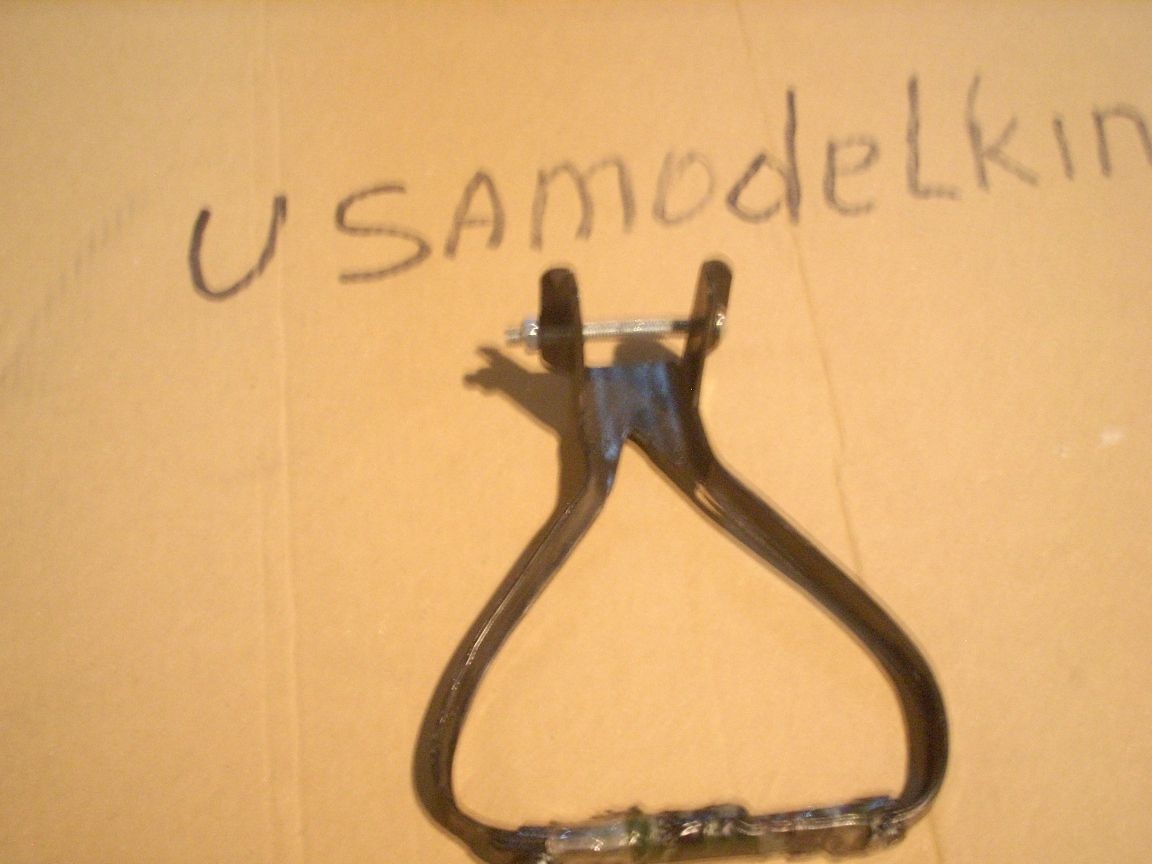
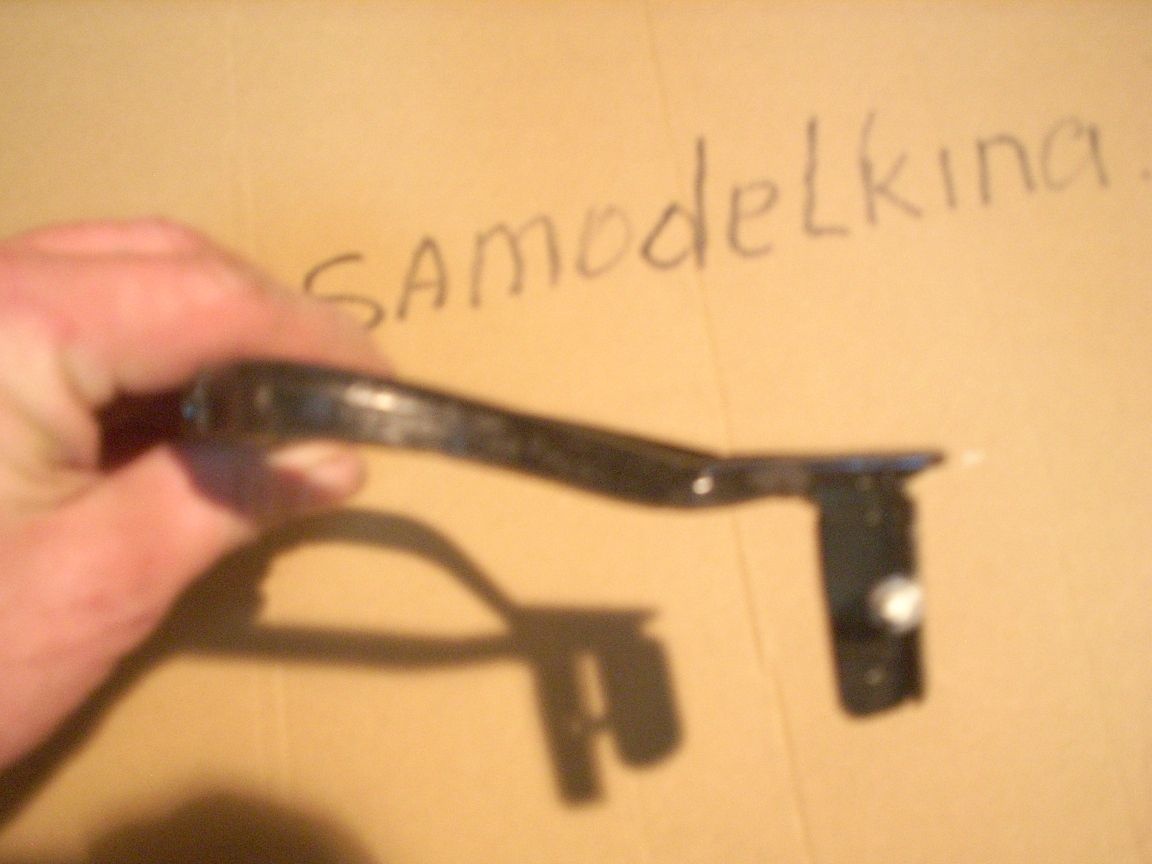
Stirrup. It, like a bow, should also be removable here! I made it from a profile pipe 30 to 50. Here is a scan drawing:
A stirrup is put on our onion mounting bracket and fixed with a bolt with an M5 nut, passing across through the through hole.
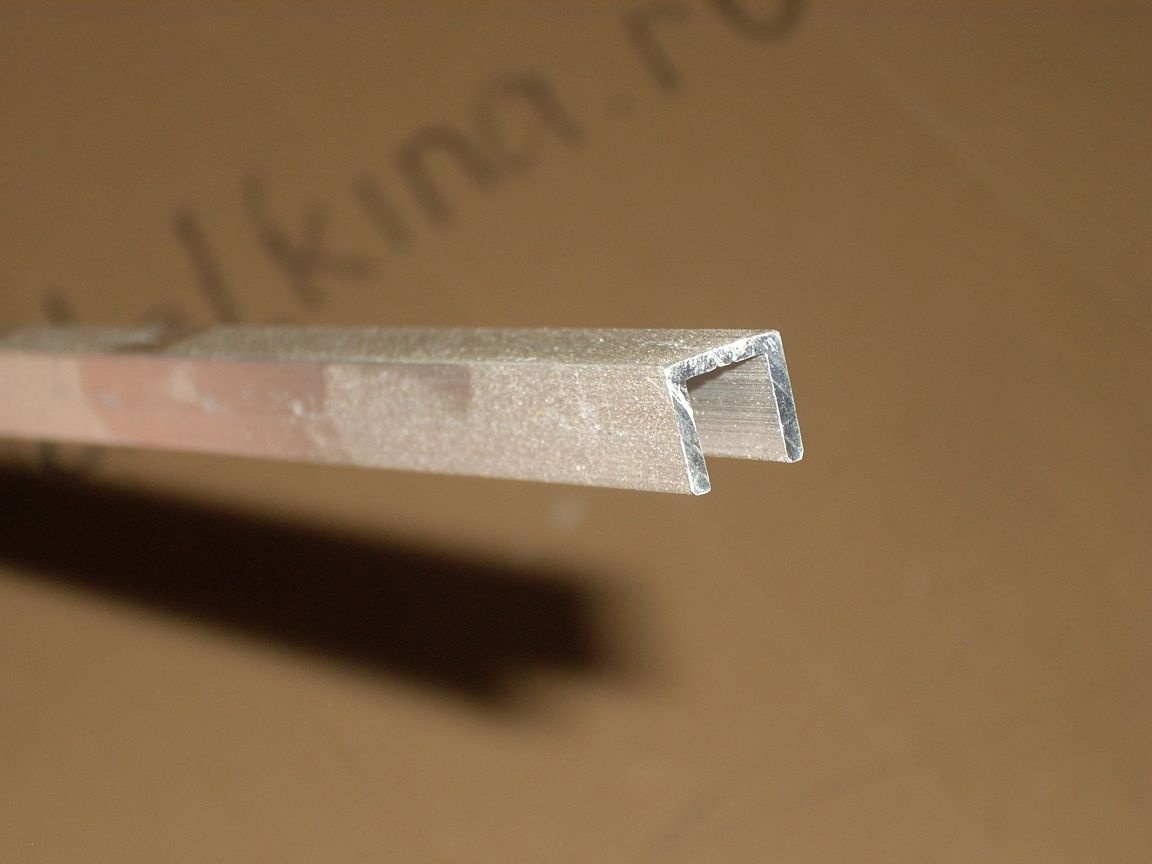
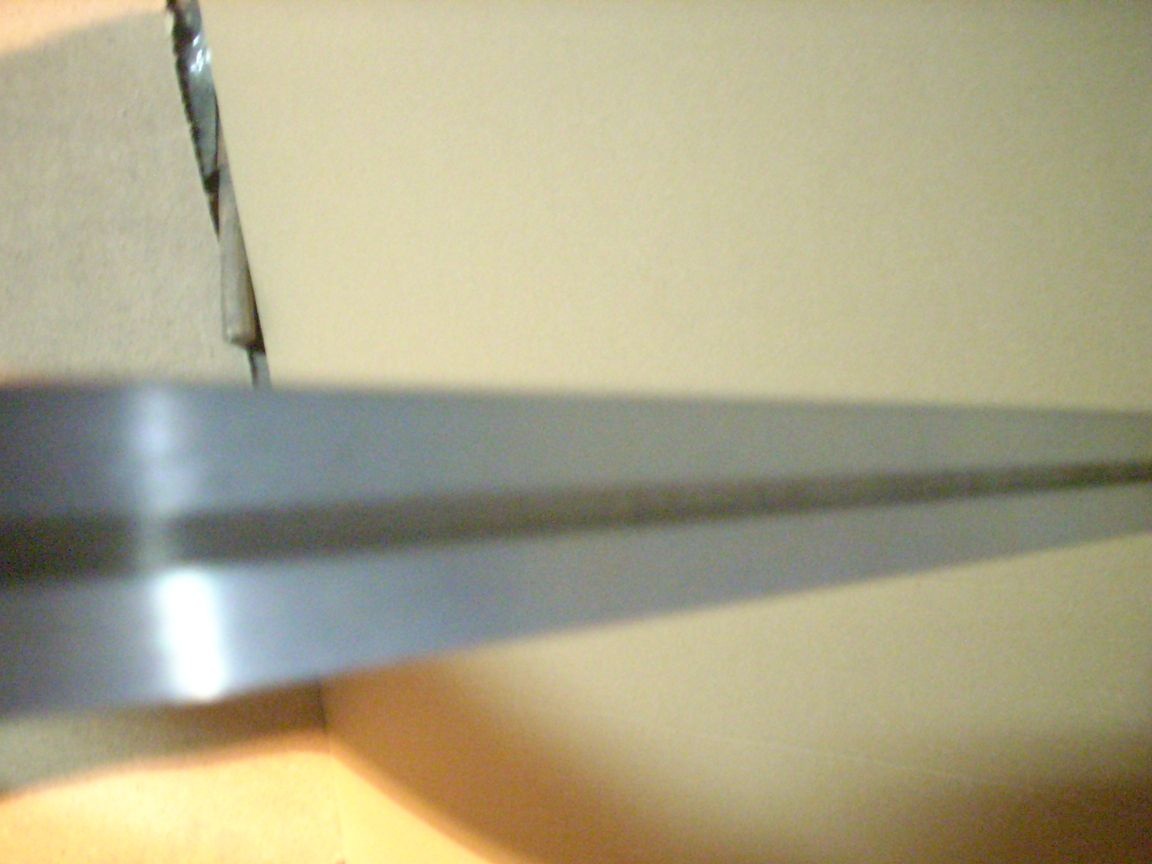
Further, guides for arrows. You can simply make a longitudinal cut and grind it. You can use two corners. You can - a half cut along the tube (In this case, however, you can only use the two-feather plumage on the arrows). I used this aluminum profile.
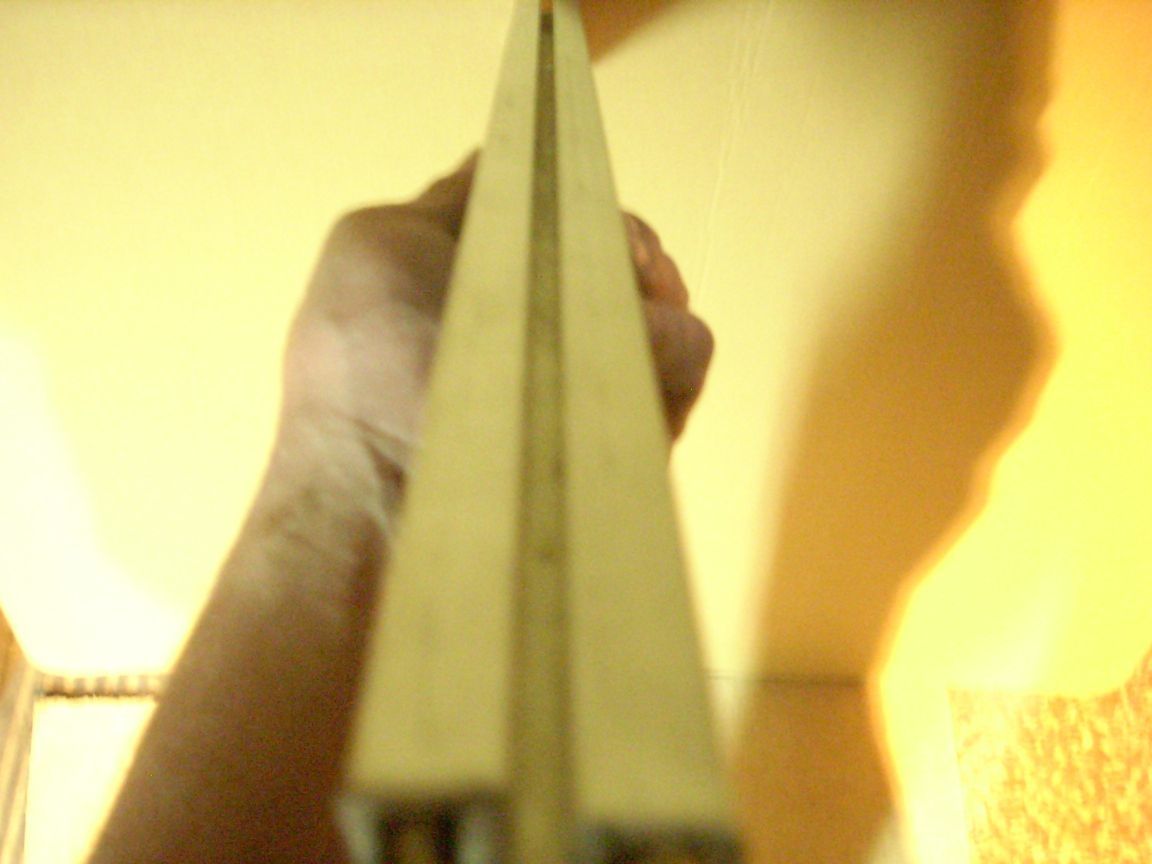
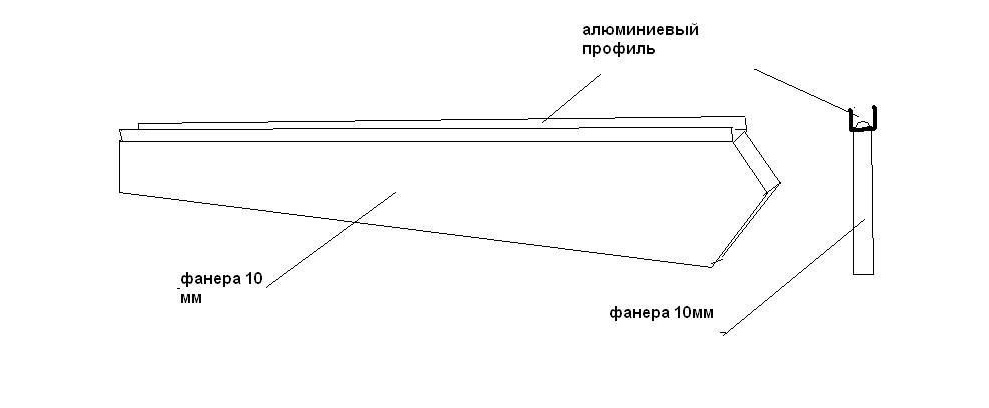
Next, I began to manufacture the cheeks of the stock and butt. I made them from plywood 10 mm thick. I used a box as a template, but the side "cheeks" should be 10 mm narrower. From above, at the end to them, I fastened "back up" sections of the same profile with the help of small screws.
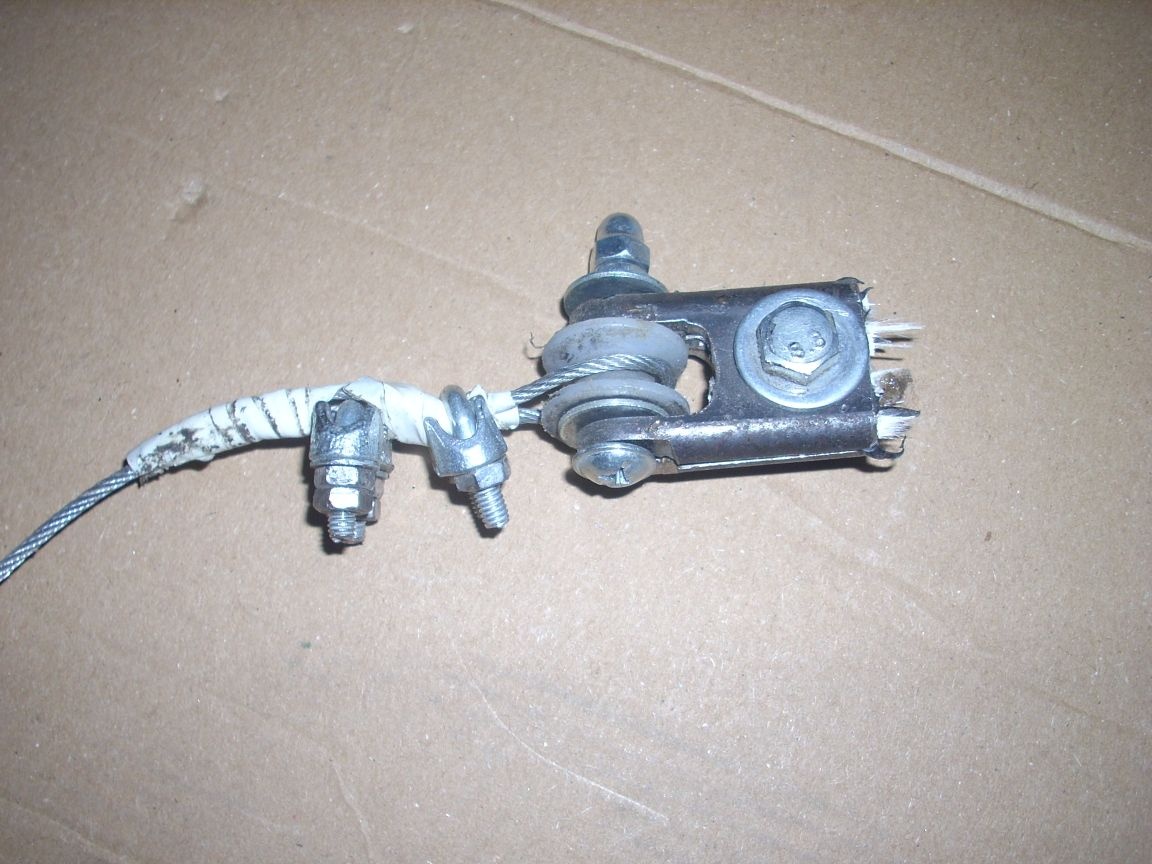
Next, I made a loading mechanism. From the galvanized wire with a diameter of 4 mm, I bent the structure itself, put it on the rounding by hand, put on heat-shrink cambric, made hooks at the ends. He put it into the resulting gutters on both sides of the box and fixed it with metal corners made of a profile pipe.
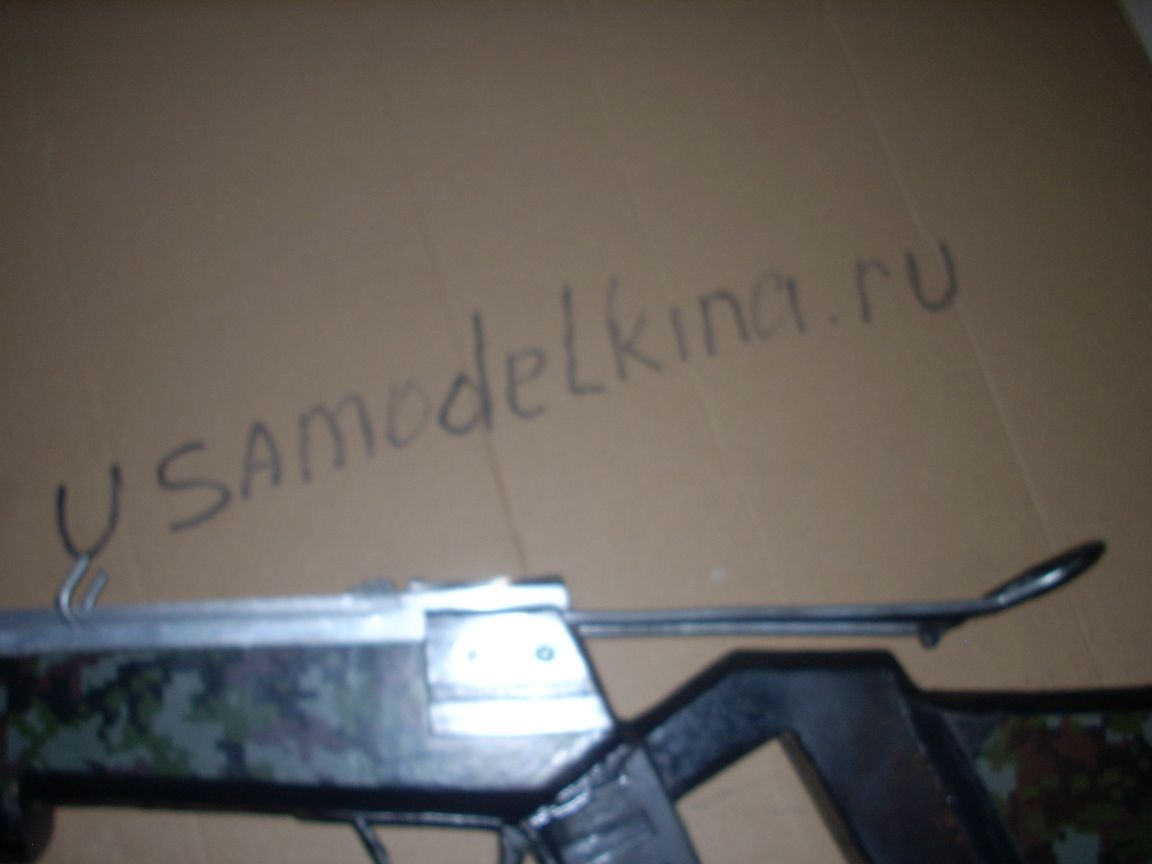
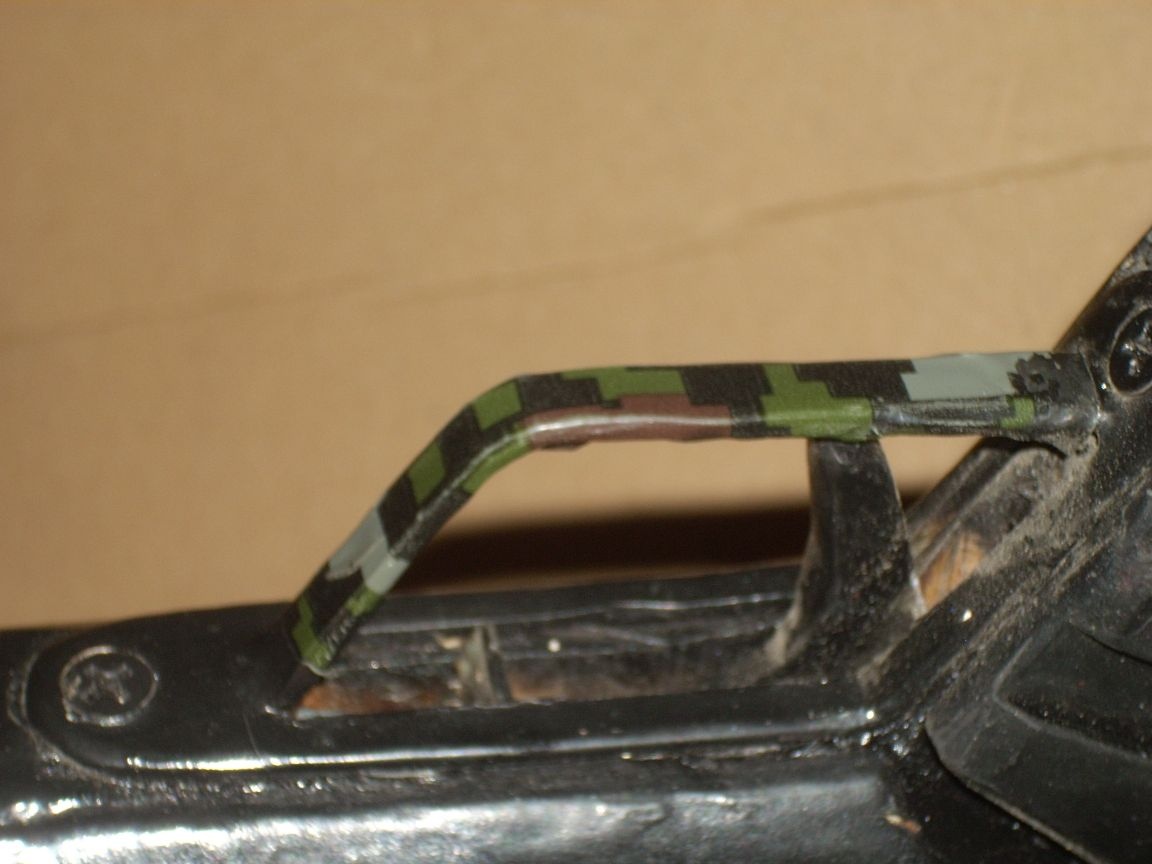
Separately, I want to focus on such an element as a forearm! I neglected it initially .... and almost lost my fingertips when fired ...Of course, I exaggerate - our toy is not able to chop off my fingers with a bowstring, but it’s not enough pleasant from a blow with a steel cable! Therefore, make it a must. It can be seen in the photo that my fingers do not reach the bowstring course so much.
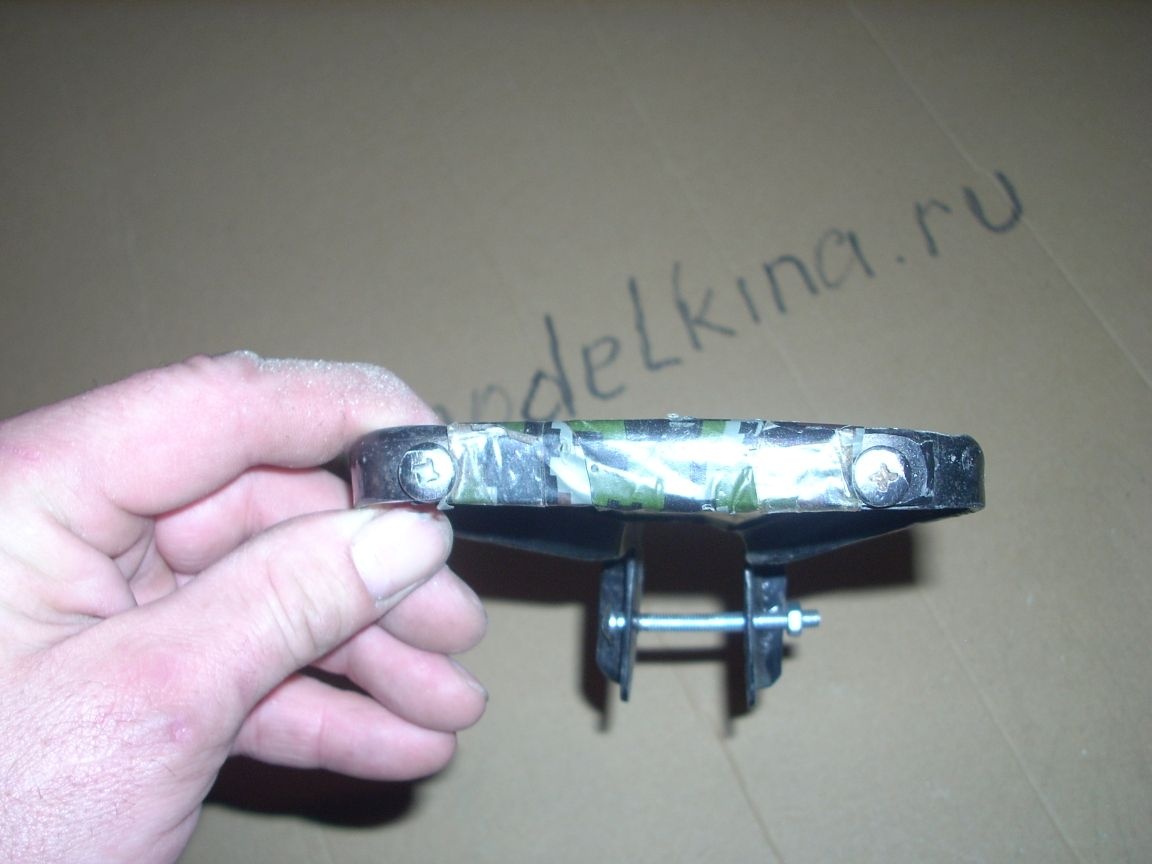
I “finished” the construction with a grinder with an emery-petal circle, and then painted black. When the paint has dried, pasted the outer planes with camouflage vinyl film purchased on Ali Express.

Be sure to make a protective bracket over the trigger to prevent accidental pressing while loading. I made 1 mm thick metal and screwed it with screws.
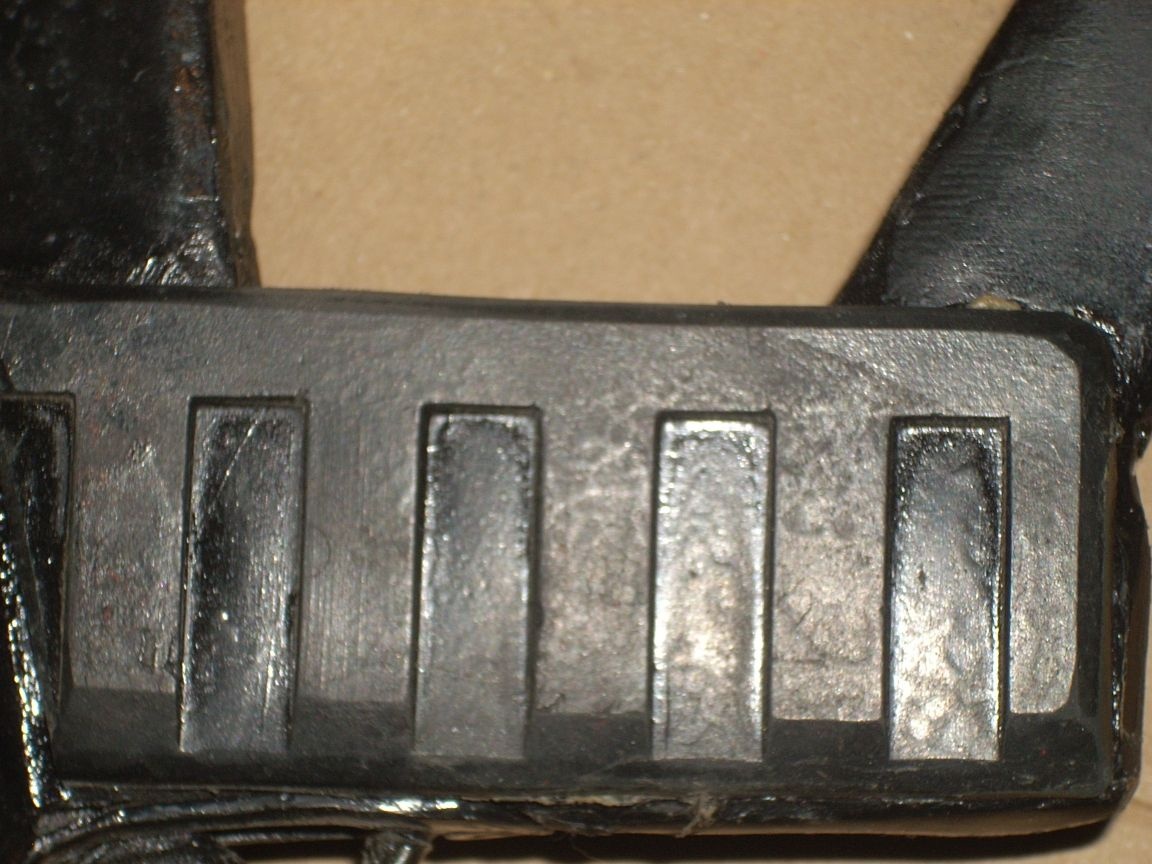
I made overlays for the handle from the old dielectric rug and stuck it on:
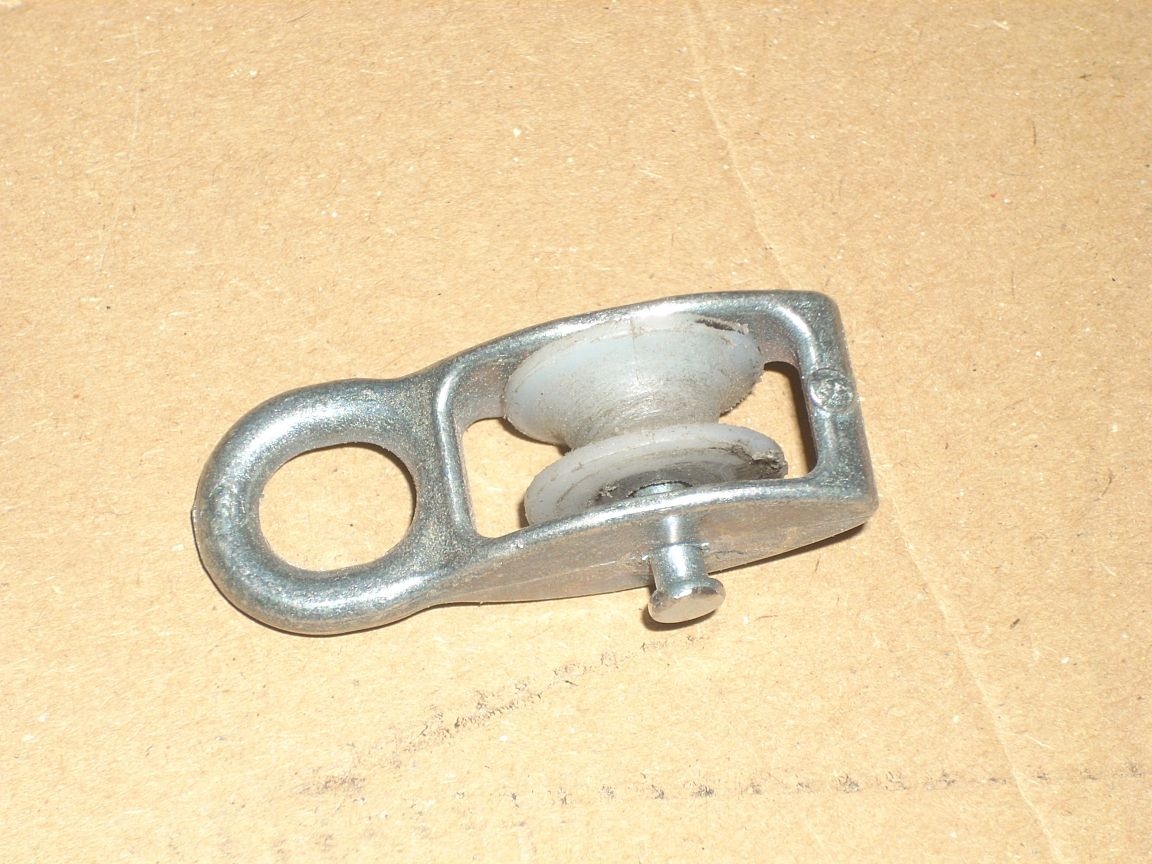
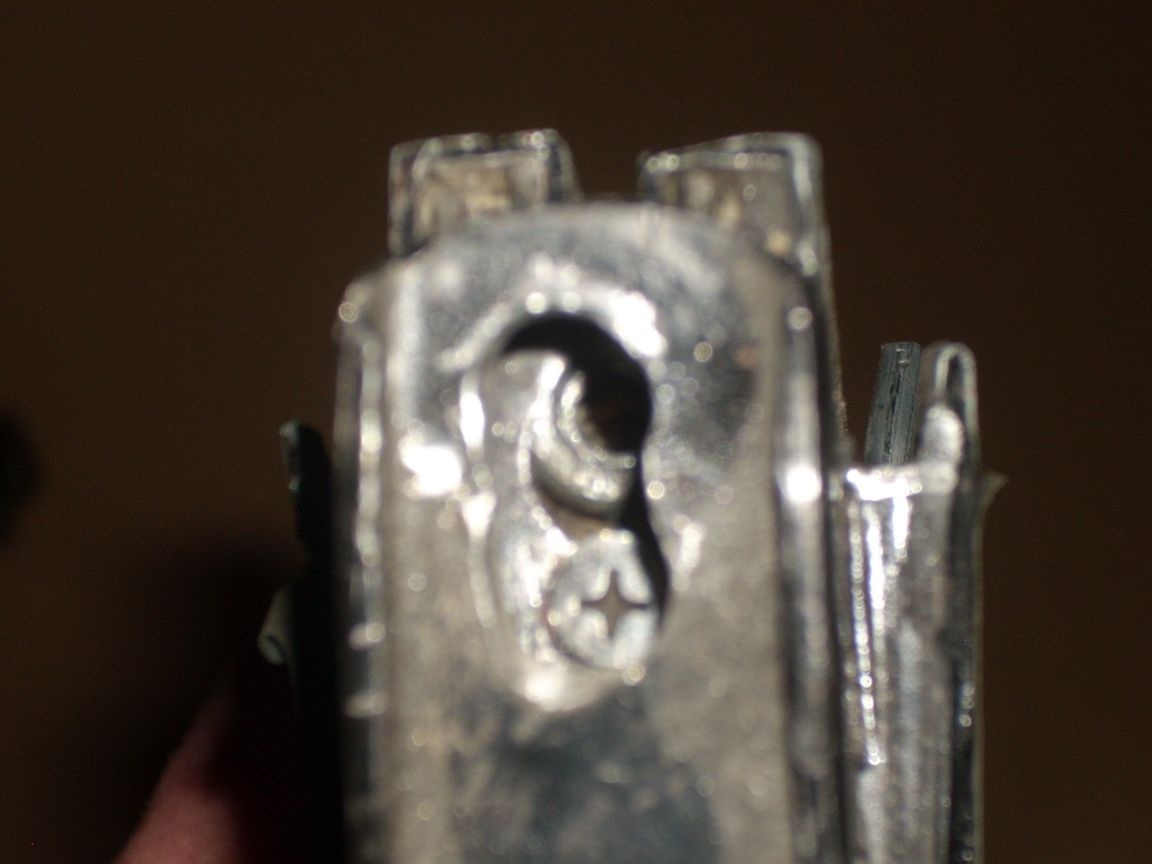
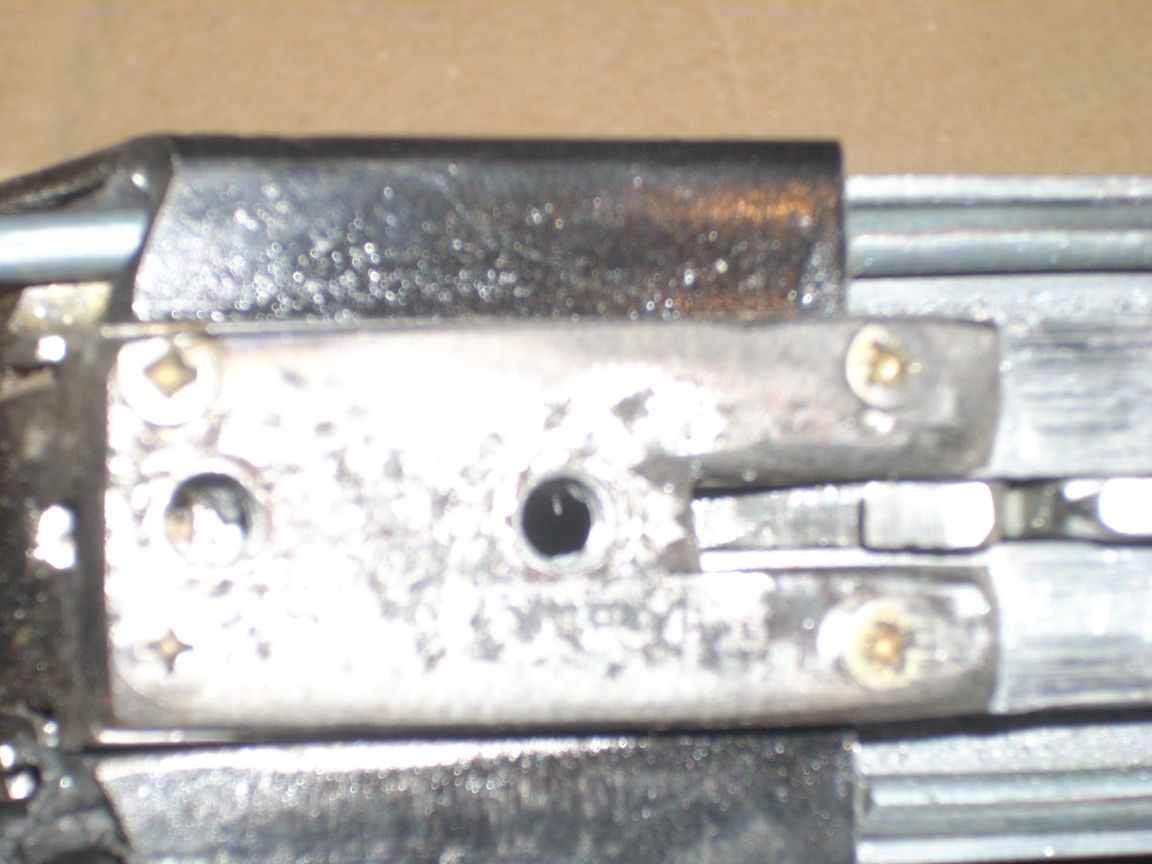
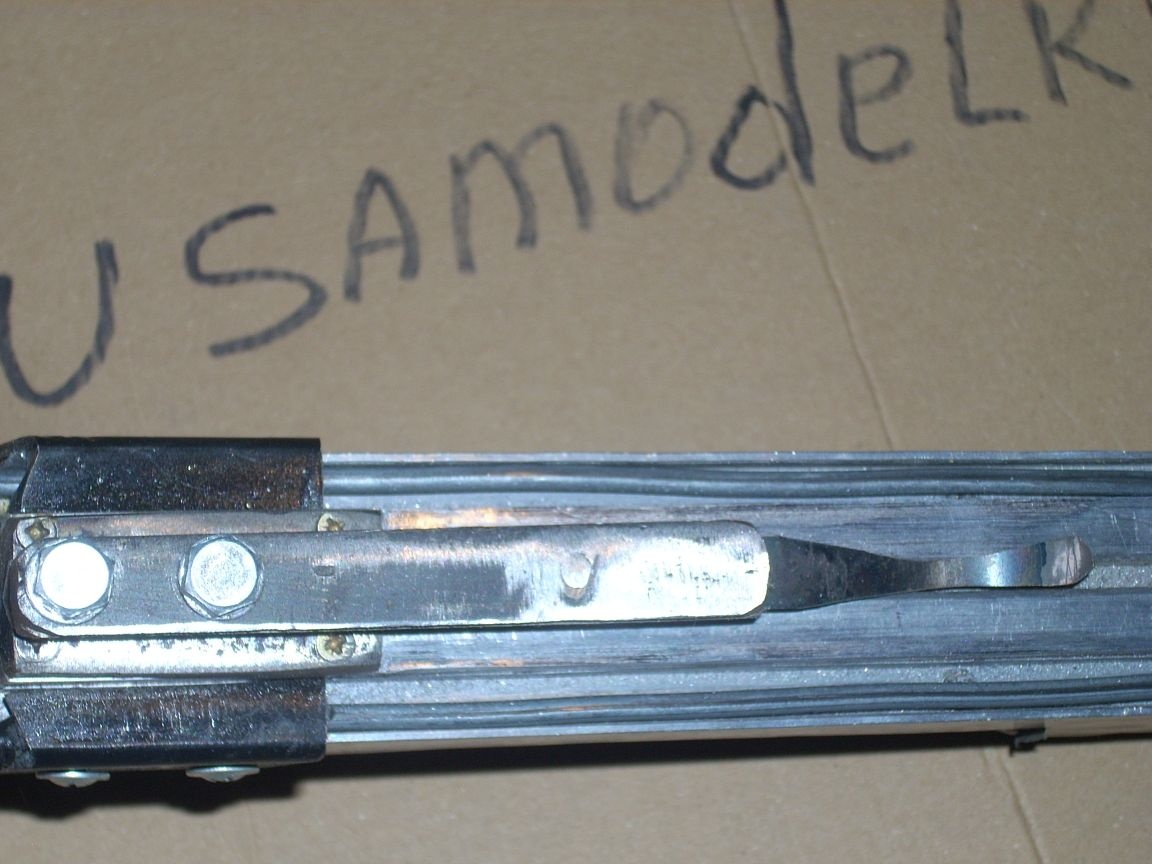
We proceed to the manufacture of a "superstructure" over SM. She has a very important function - since we have a mechanism with a lower fixation of the bowstring, we need to exclude her jump. I made a guide from the same aluminum profile. He, as a cap, covers the protruding part of the "nut". Since you need to leave a gap for the bowstring, I made the following gasket from steel 4 mm thick:

2mm holes were drilled along the edges, through which it is fastened “tightly” with long thin screws to the bed. Opposite the “walnut” slot, I drilled two holes and cut the M6 thread - they will screw in the bolts that secure the add-in itself.
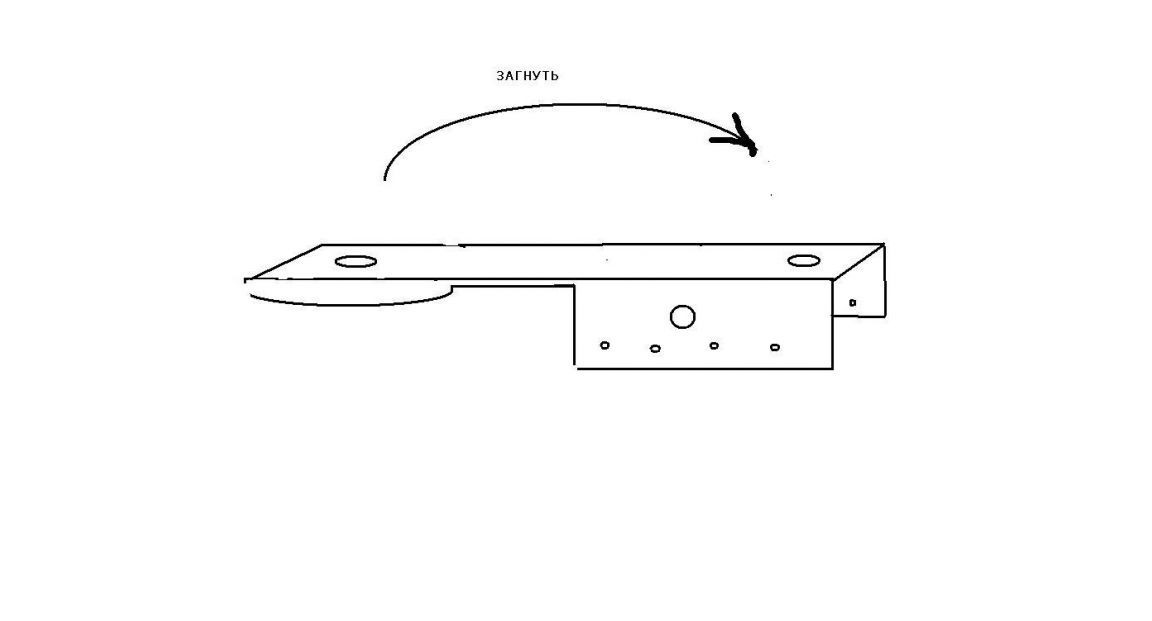
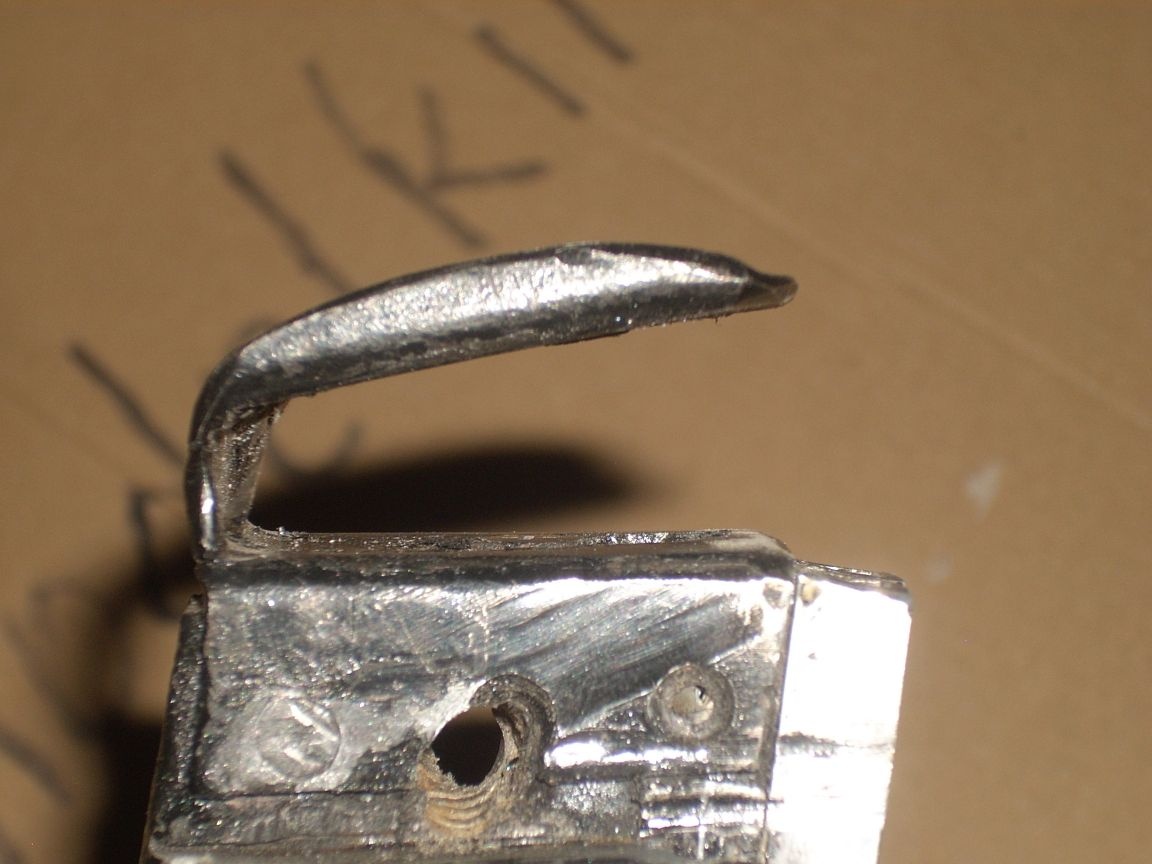
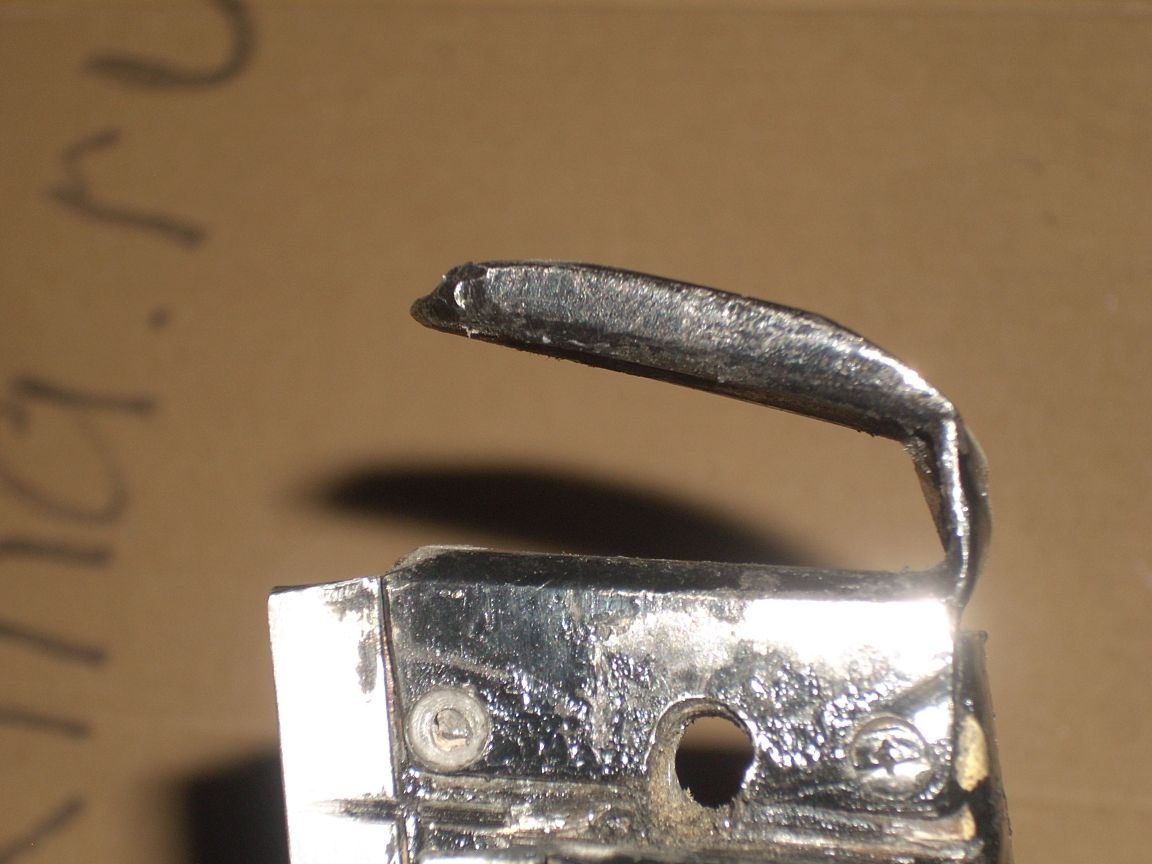
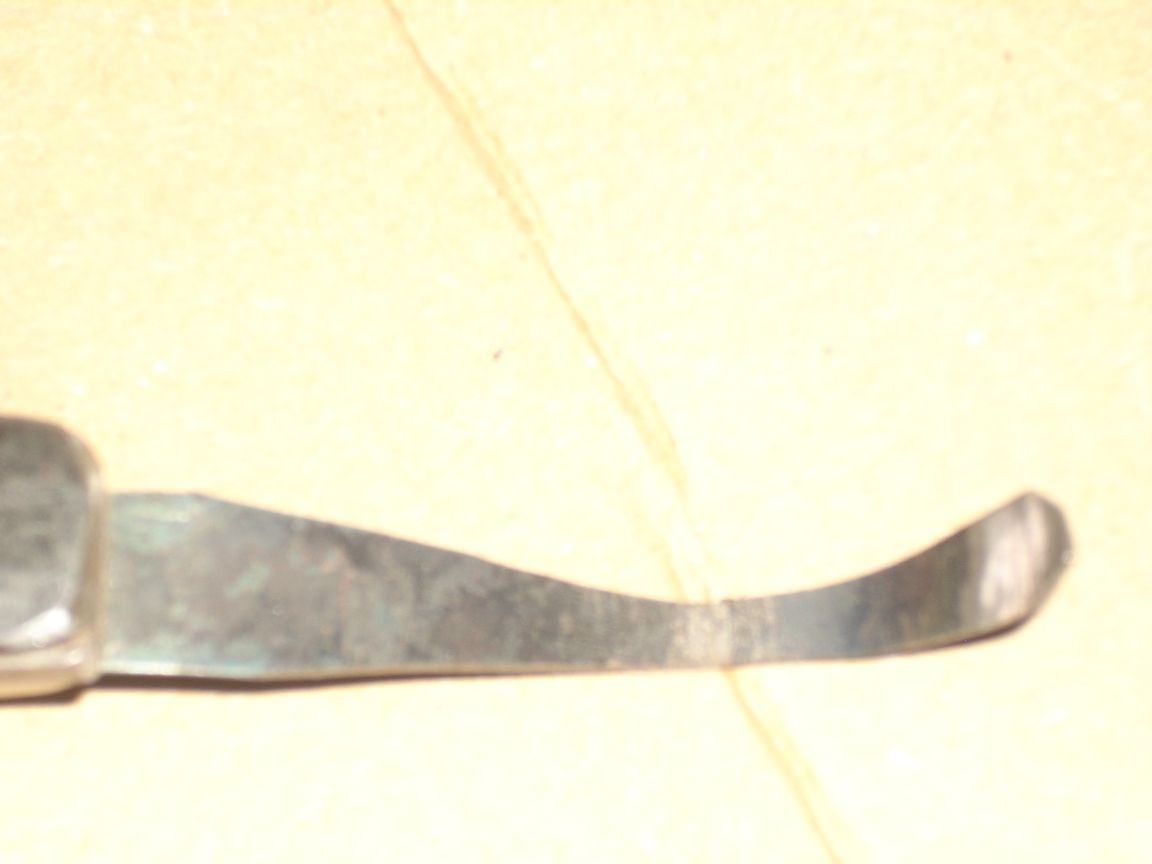
Such an important element of the superstructure as the boom clip is easy to make from a blade of metal. It must be heated to a yellow glow. (I used a gas burner, but this is easy to do on a regular stove as well). At the same time, it is like plasticine, bent with pliers and the necessary holes are easily punched in it. After giving the desired shape, we heat it again and sharply lower it into water - it again becomes elastic. After that, we’ll give the necessary shape to the “grinder” - we narrow it in the place where the plumage of the three-feather arrow will take place.
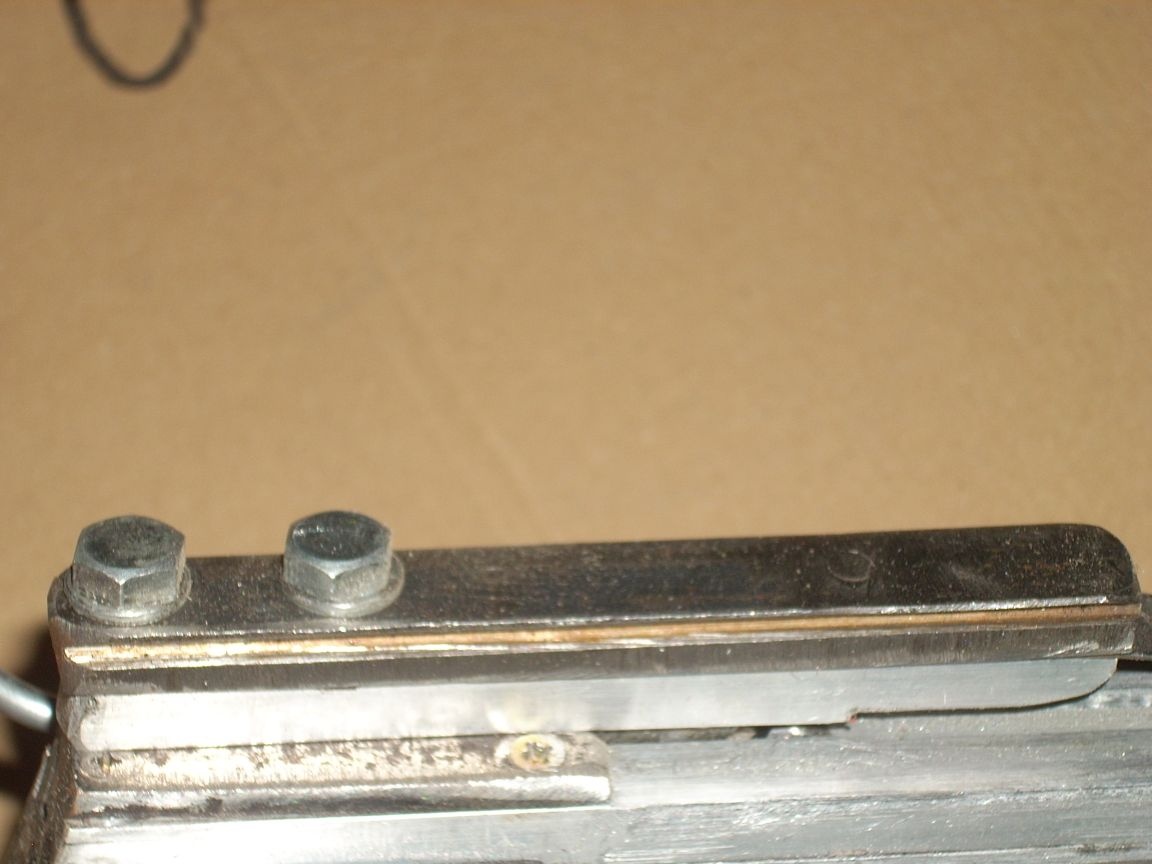
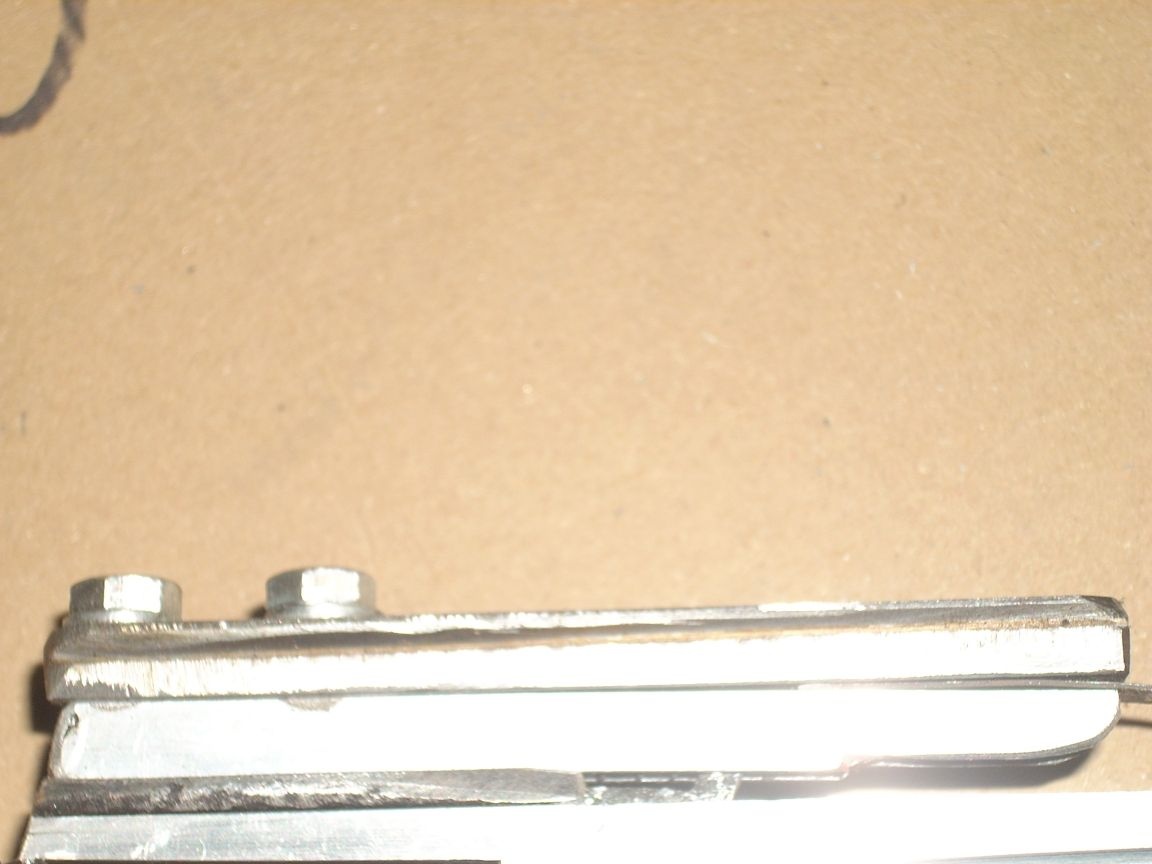
All this can already be fixed with two M6 bolts to our sole ...
Separately, I want to focus on sights. Based on experience (this is not my first crossbow), I’ll say that to make them yourself is a thankless task! It’s necessary to make a very complex construction, because where the fly needs to be fixed ..... an arrow passes! Accordingly, you will have to make some bracket that will be strong enough (so that the sight does not stray), and even should not "bite" with the bow mount and ensure the plumage passes without touching !!! In addition, both the rear sight and the front sight you will need to make adjustable for subsequent shooting .... The game is not worth the candle, believe me !!!! It’s easier to attach a standard “dovetail” to the add-on and use (optionally) an optical, collimator, or laser sight. The bar itself can be bought ready-made. I made it myself and immediately fastened it with a rivet “pie” from a superstructure, a clamping spring and a “dovetail”.
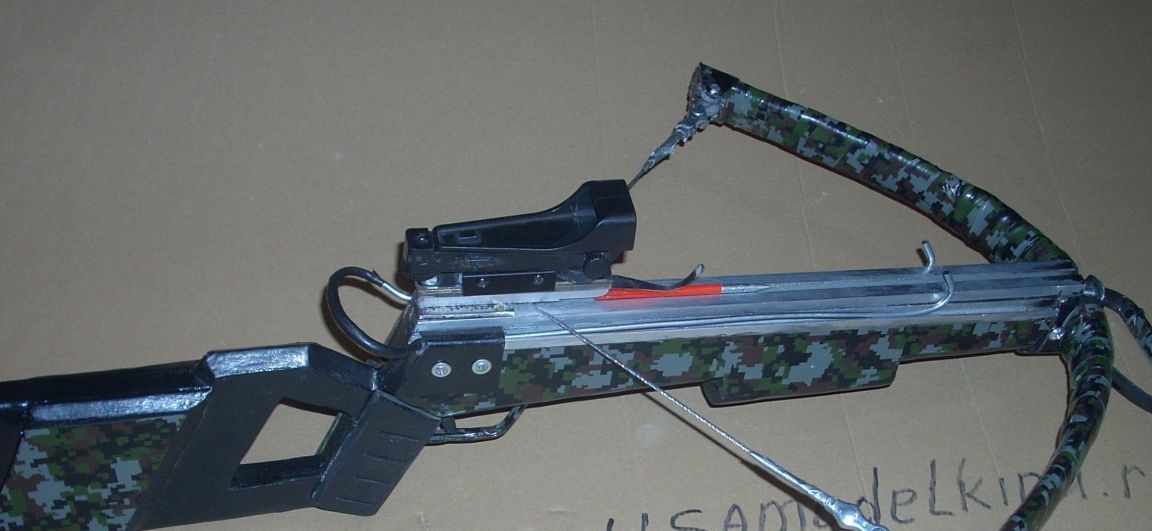
I advise you to install such a plastic collimator sight.

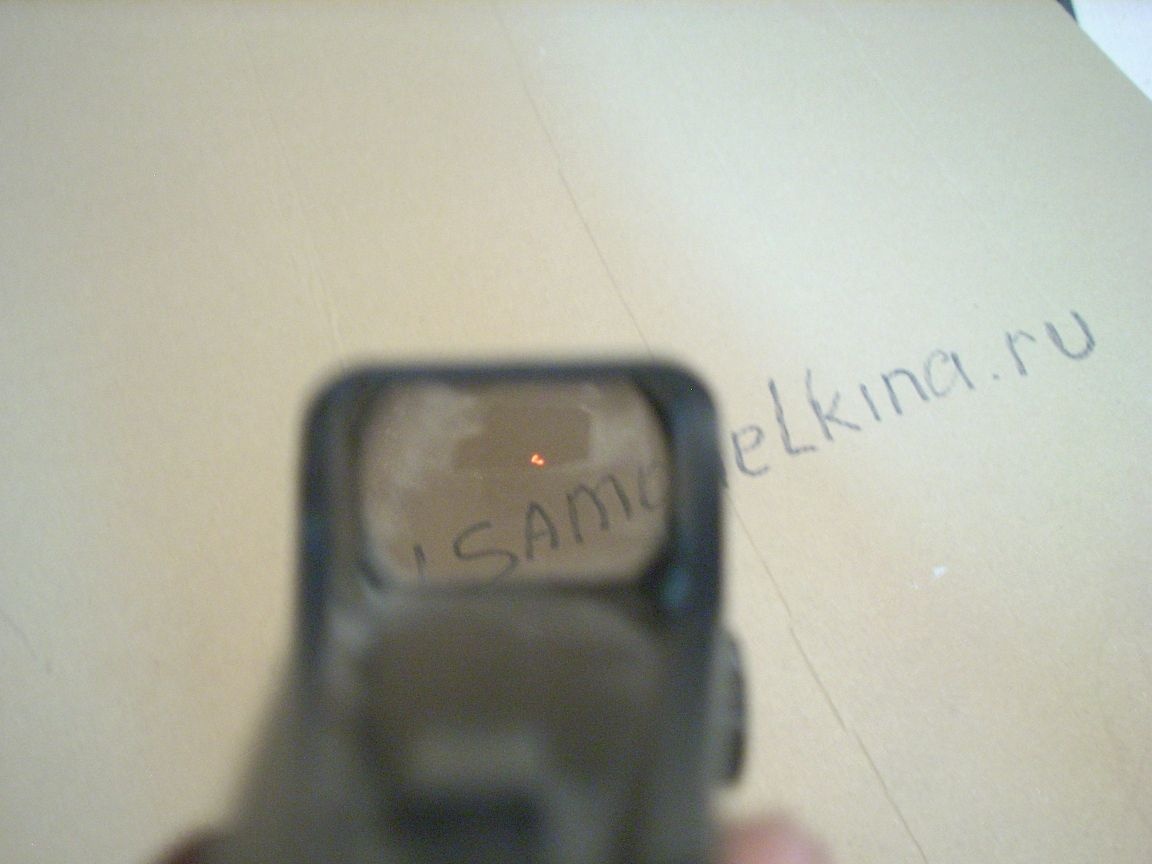
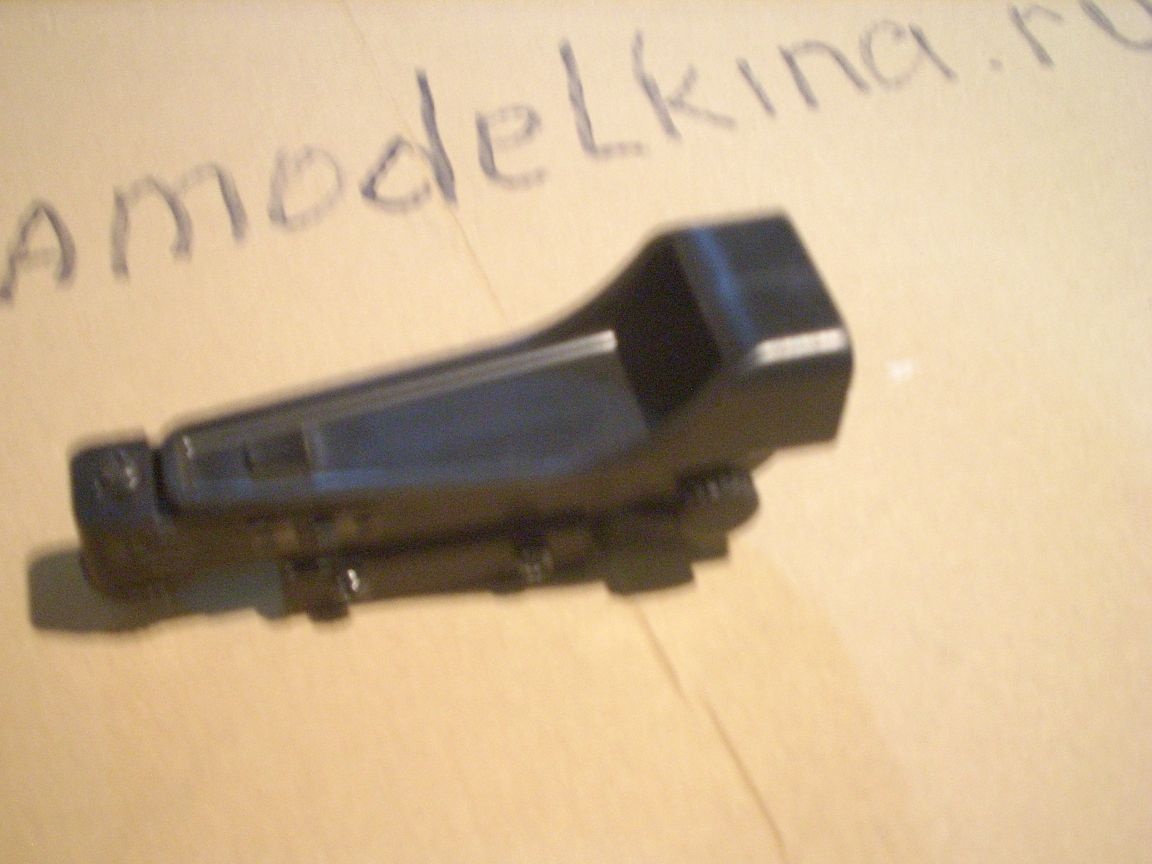
I also bought it on Ali Express for some 6-8 dollars. It is very well regulated, provides good accuracy on our "children's" 30 meters, and the red dot is clearly visible even in bright sunshine.
So, our crossbow is ready! To shoot from it, these arrows are used, bought there, on Ali, at a price of about $ 10 for 30 pieces.
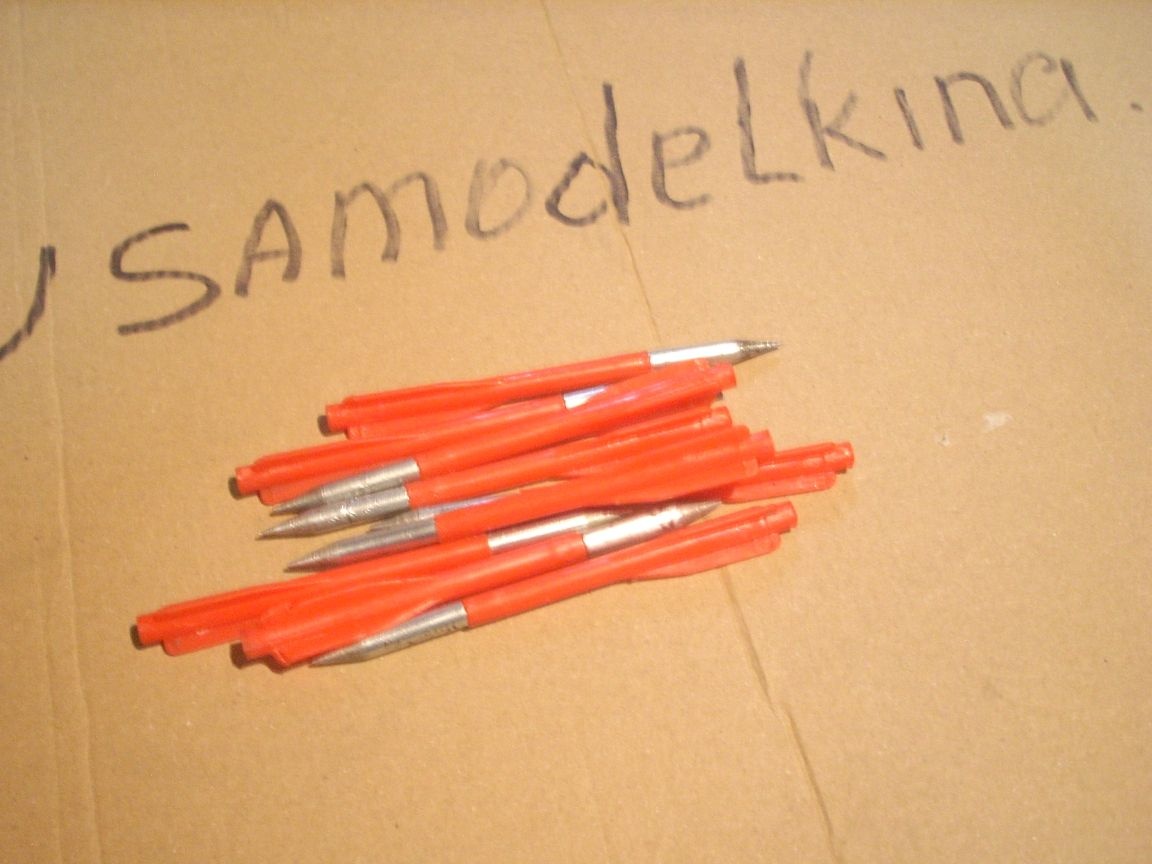
Do not bother with the independent manufacture of arrows - you still will not achieve the ideal identity of weight and geometry, therefore, you will have to shoot a crossbow under ONE arrow!)))))))))
All!!! Enjoy shooting !!! Easy, convenient and relatively safe crossbow will provide you with a very interesting pastime with friends in the country, or a picnic ....
And lastly ... I advise you to buy on Ali-Express for the price .... about a dollar like this rattle: