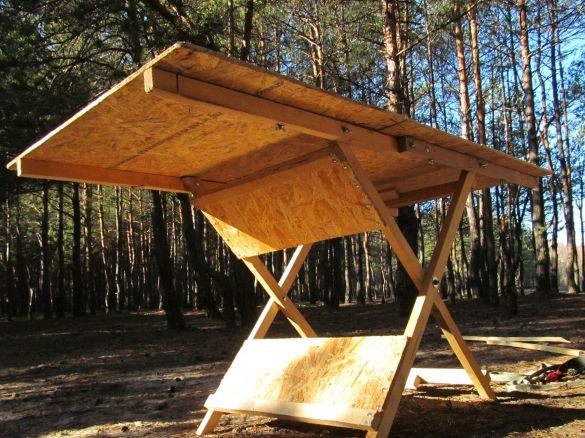
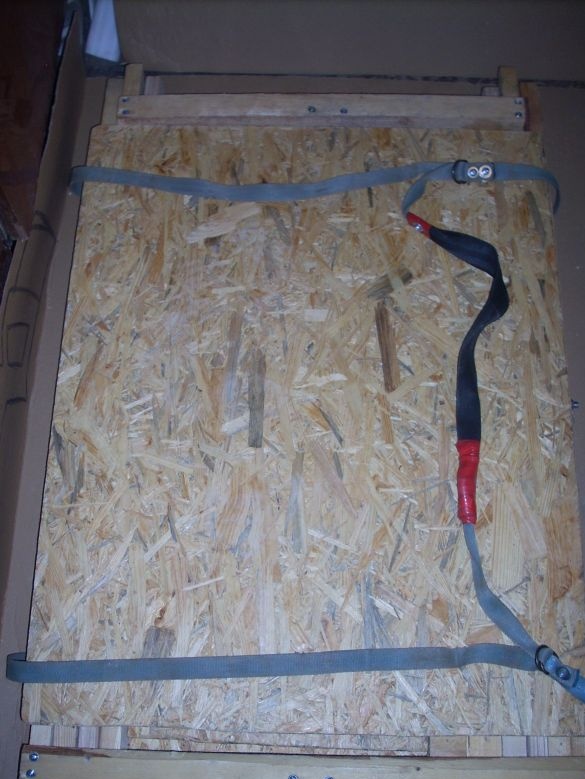
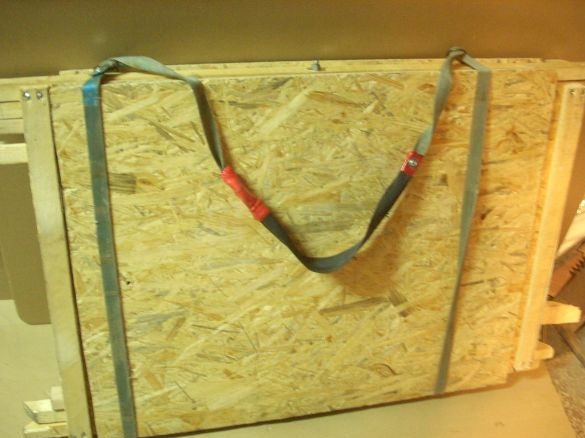
We with the company very often travel "to the countryside." Sometimes with tents for a week. And I thought of a table that I could carry with me. Purchased models are usually designed for a company of 4 people, which did not suit us. And so, after some deliberation, I put together such a table.
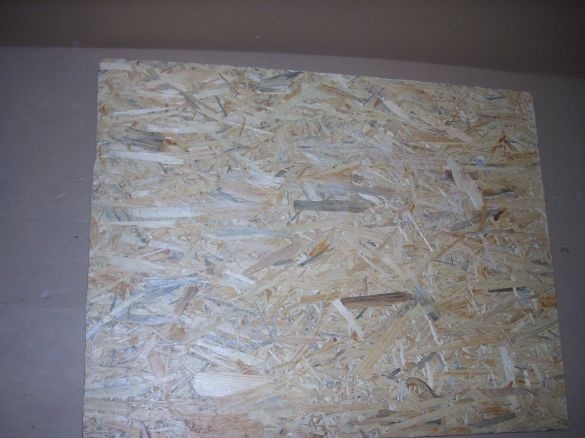
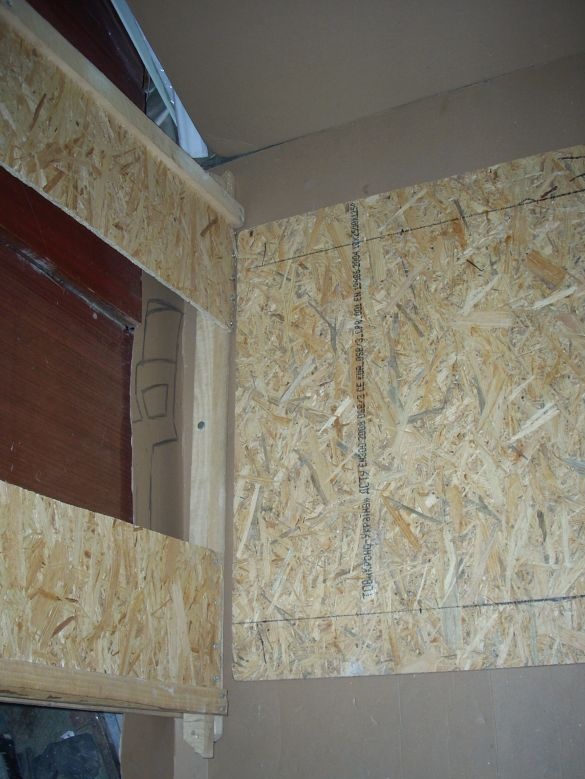
I made it to a certain date and "from what was." For example, I cut out elements of the countertop itself from an OSB 10 mm thick. Therefore, my design turned out to be quite heavy. It is quite possible to make these elements from thin plywood - hardly anyone will dance on this table! ))))) But I had OSB (Half of the sheet remained after repairing the walls in the barn), so I used it. I made load-bearing structures from 50 by 25 bars for the same reason - they were lying in the barn. And they can, without loss of strength, be made from the same plywood, only thicker. At the output, we get a significant reduction in weight ...
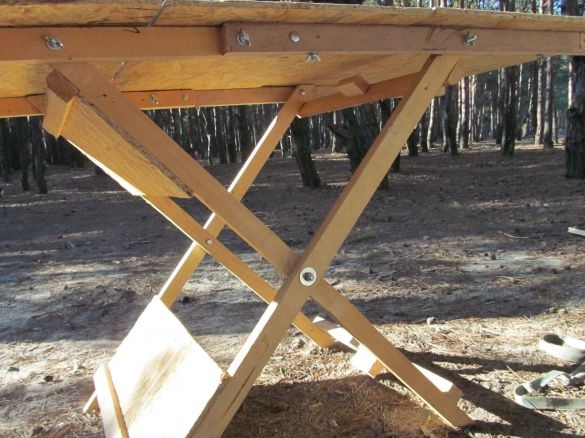
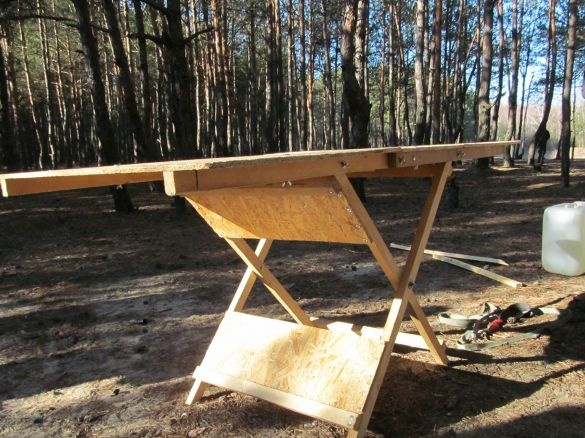
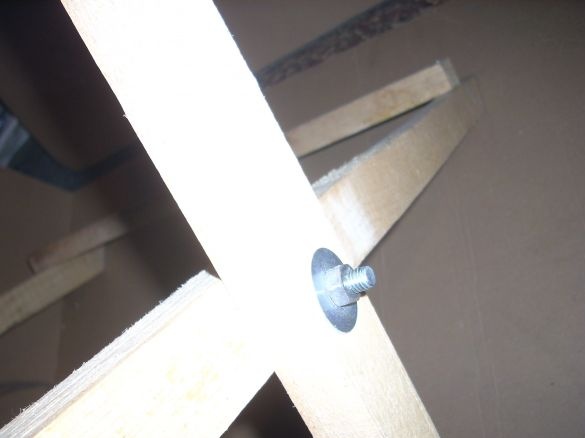
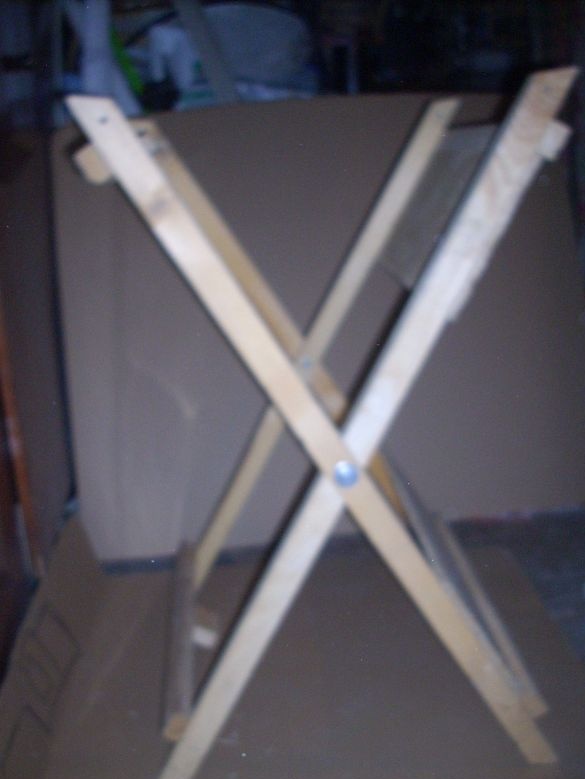
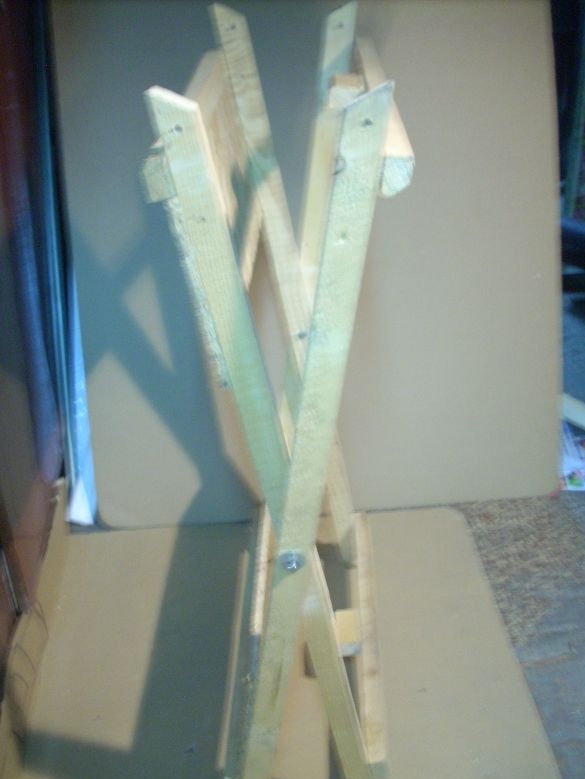
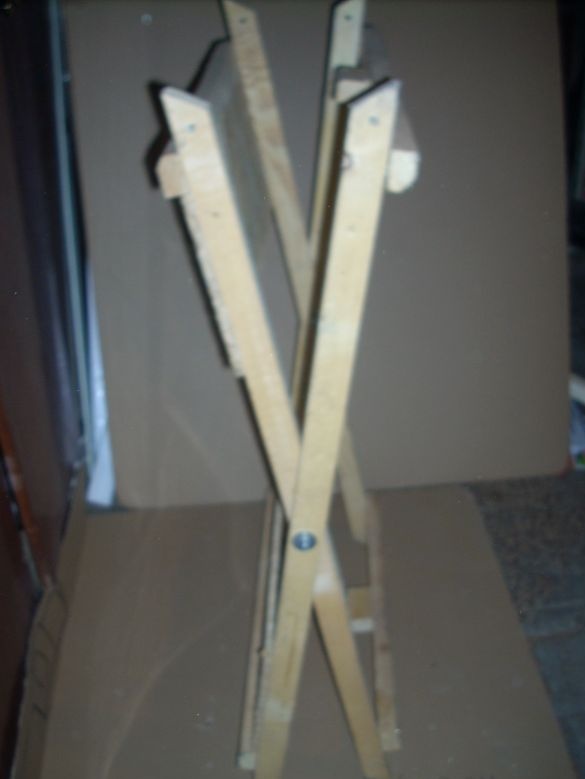
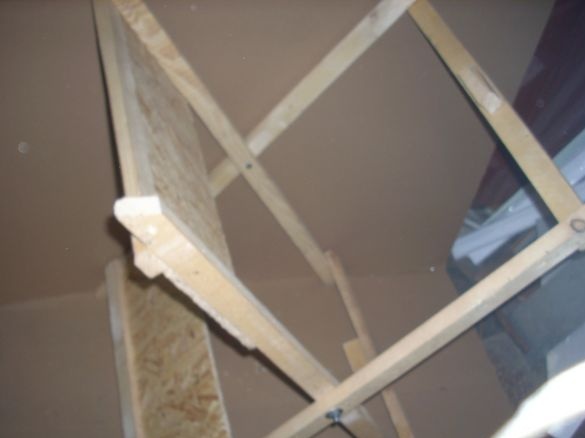
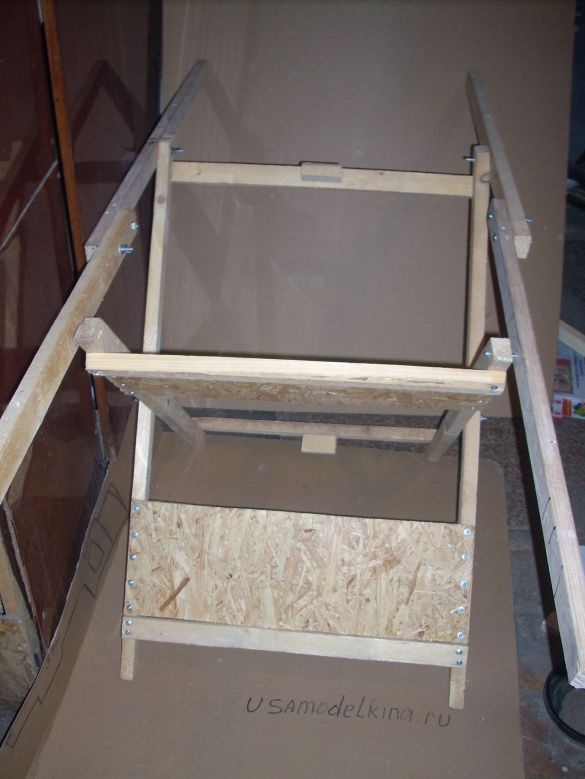
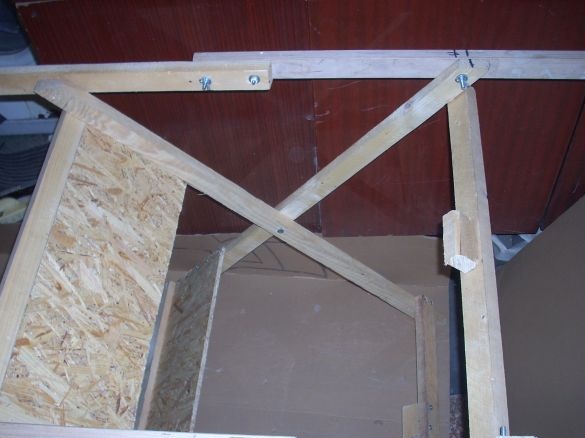
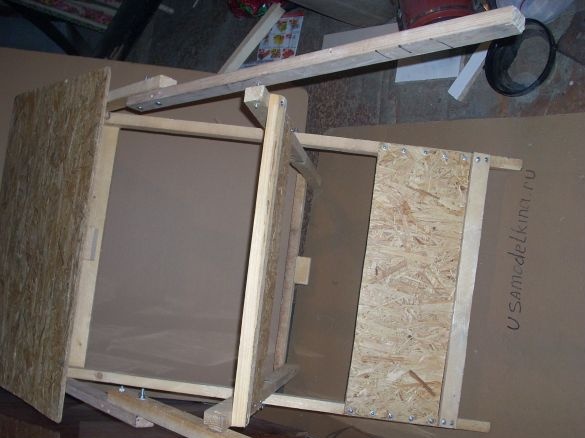
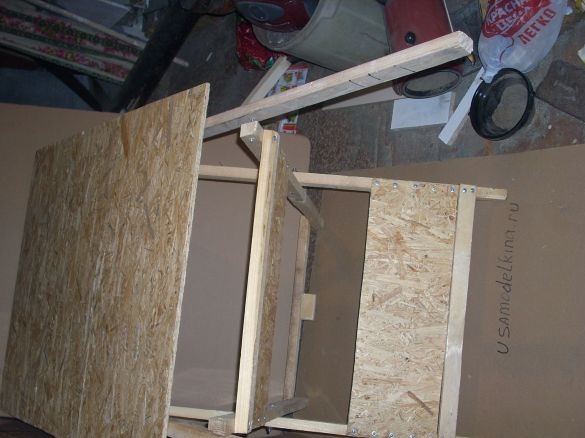
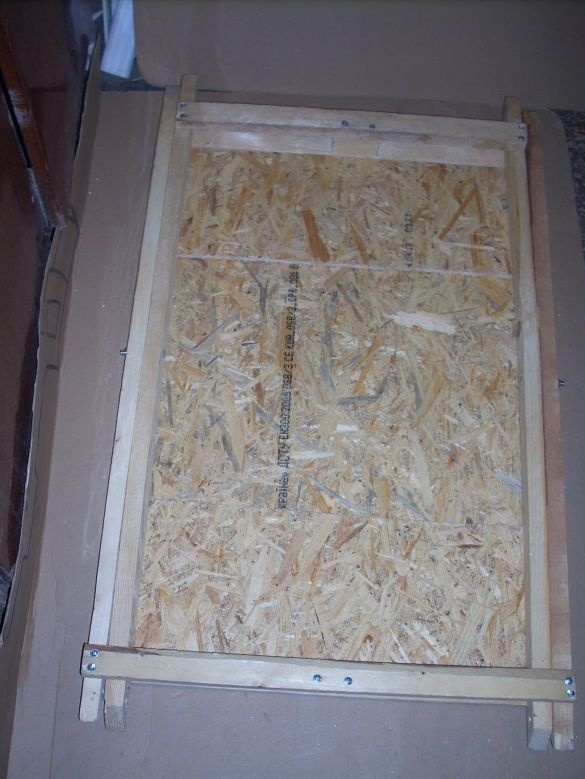
So, where did I start? I started from the countertop. Having planned the width of the future table to 80 cm, I cut out two pieces of a slab of this length. And my width turned out to be 62.5 cm. It was exactly "turned out" - because the width of the OSB sheet is 125 cm, and I just sawed its eight-centimeter length in two.)))) Next, I proceeded to the manufacture of "legs", that is, the design on which the countertop will be mounted. From the bars I assembled two frames. One is 100 by 62.5 cm in size, the other is a bit narrower. That is, after I assembled the first one, I put two meter bars inside it and fastened them transverse so long that the frames fit snugly into one another. At the same time, I attached “overlapping” bars in both frames and not along the edge, so that there was a distance of 80 cm between them. What did this give: firstly, my pieces of the countertop would be exactly put in the folded state of the table. Secondly, the horns remained behind the crossbeams. It was originally intended to use a table on uneven ground. And such a leg can be pressed into the ground by pressing. Having found the center of the long sides of both frames, I drilled holes and fastened them together with M8 bolts. I got such a design:
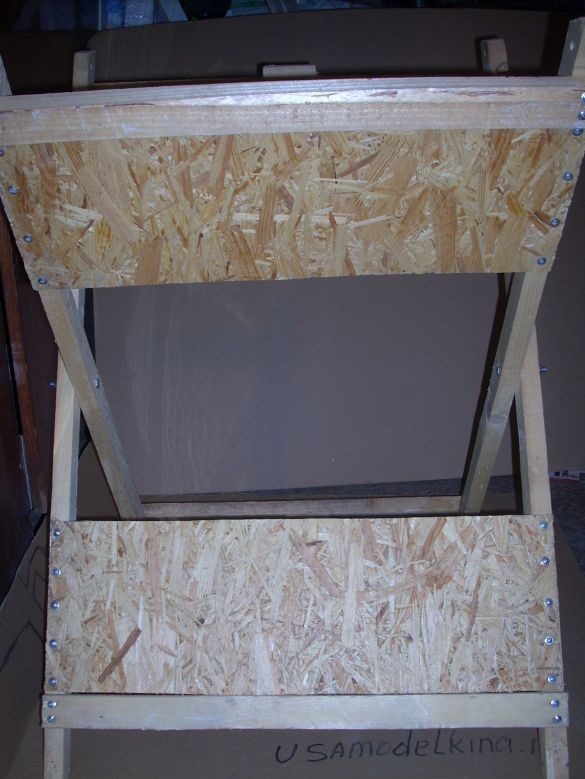
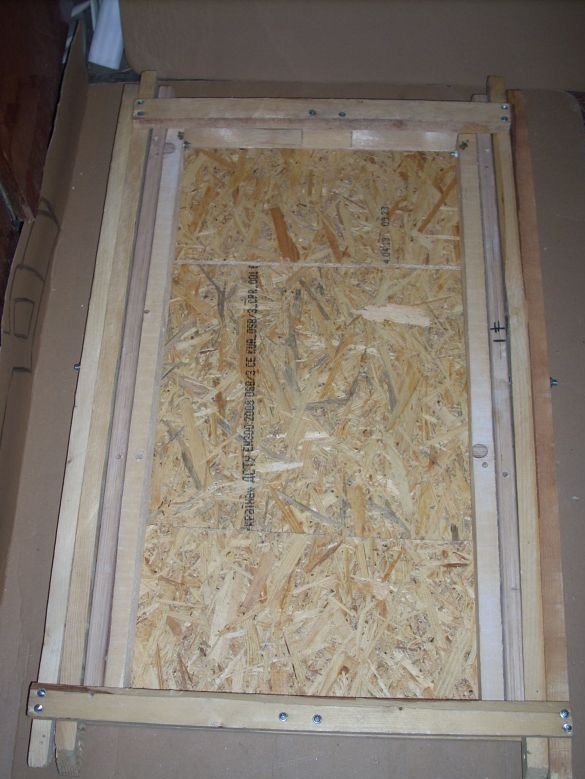
It turned out that the design turned out to be shaky, so I strengthened it from lateral wobble by screwing a rectangular USB trim to each frame with screws
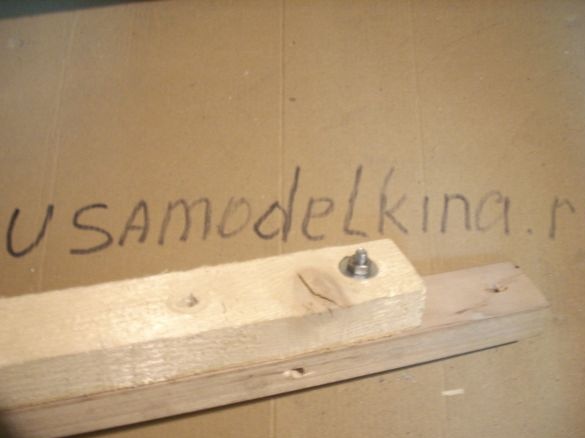
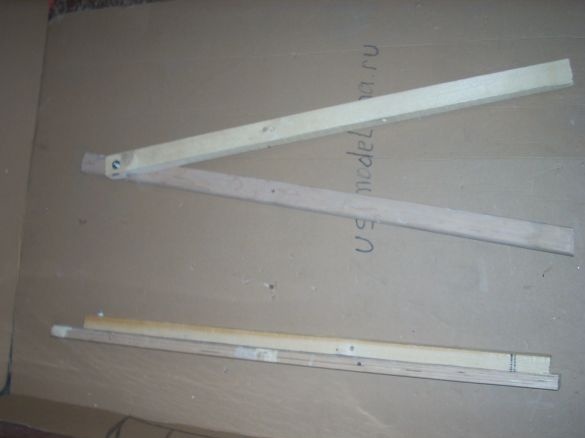
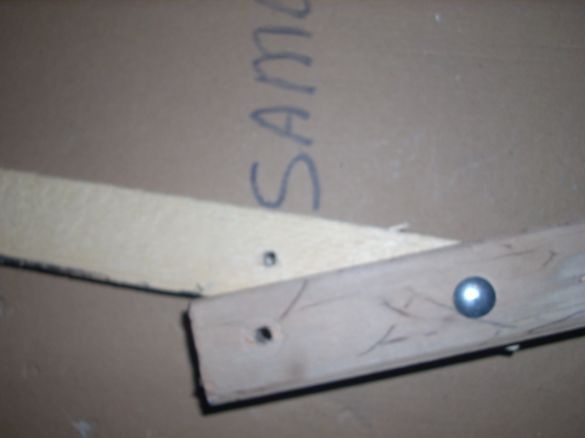
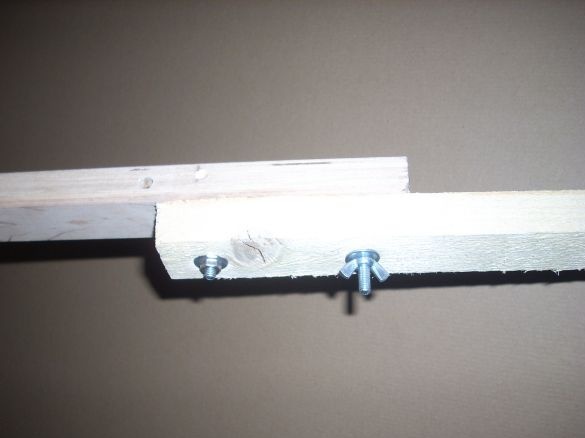
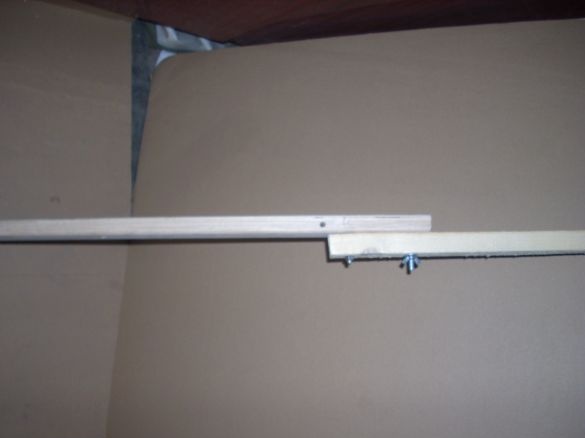
Next, I proceeded to the manufacture of supporting strips, on which the countertop will be superimposed. Since my design has a maximum size of 100 cm, the supporting strips must be folded to such a length. To do this, I cut two strips of 100 cm, and two - 90 each. Fastened them in pairs with M6 bolts in this way:
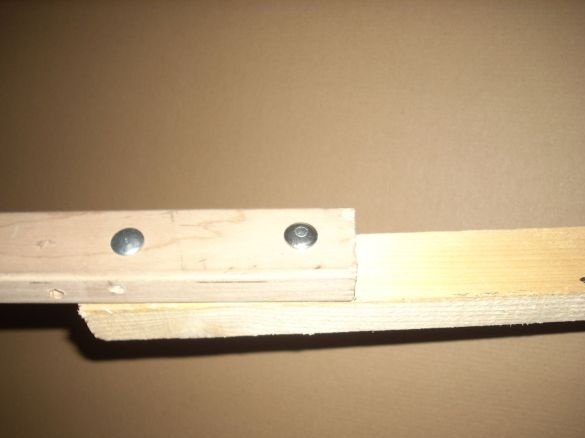
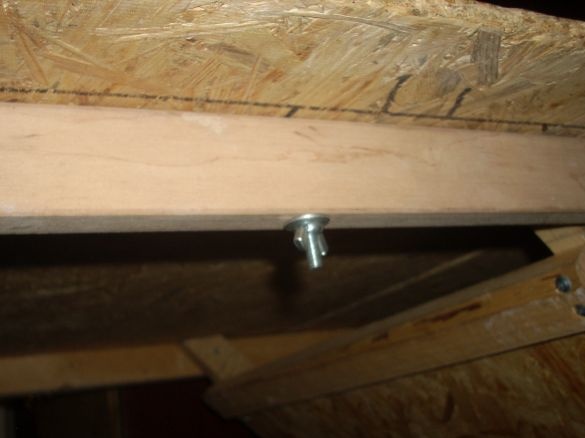
After that, I laid out both structures and drilled through another through hole. Now, if one is laid out in one line and pulled together with ordinary furniture bolts with a wing nut, we get two strong planks, each 1 m 85 cm long:
Next, I laid out my “leg” to such a width that its height was equal to 75 centimeters (this is the standard height of the table). Then, measuring the distance between the upper ends (in them I drilled holes in diameter of 6 mm in advance). I drilled two holes at the same distance in the spread out and fastened load-bearing strips, making sure that they were located at the same distance from the ends. Then he fastened the slats with the stand using the same M6 furniture bolts with wing nuts:
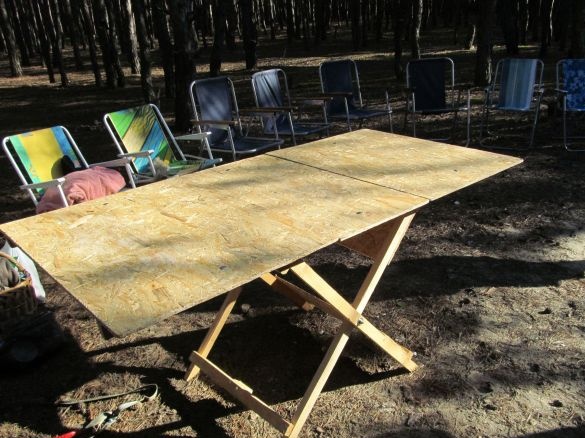
Having placed my fragments of the countertops on the edges of the resulting "table skeleton", I came to the conclusion that you can insert another one between them, 40 cm wide. After which I made it.
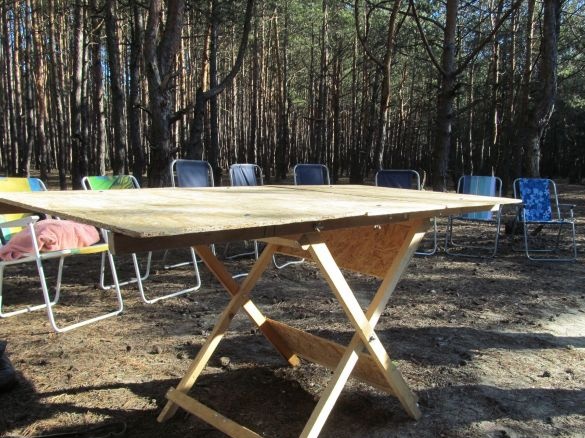
Having arranged all the fragments, I marked the attachment points and drilled through holes in the countertop and guides. Then bolted the first ... Then the second .... And finally, the last ... In this way: All. The table is ready!
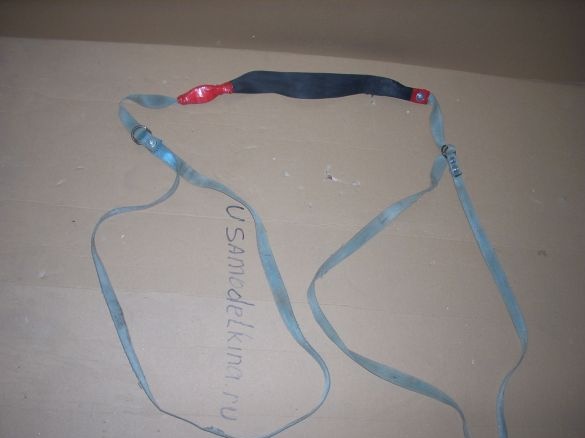
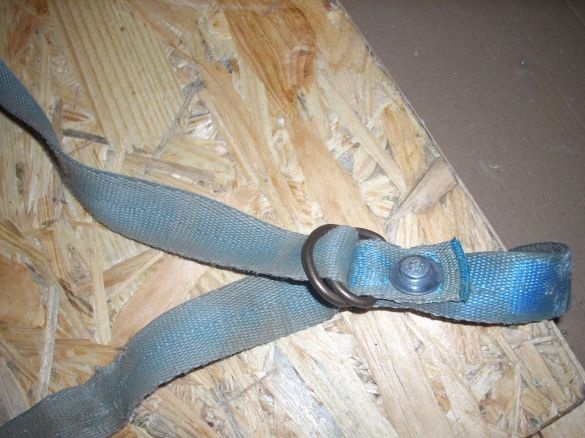
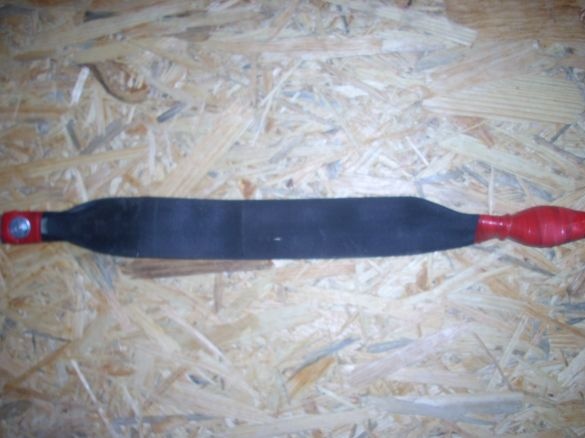
In order to fix it in the assembled position, I prepared just such a sling in advance: At its ends are two loops that can be tightened with rings cut off from old jackets. Since I used a narrow sling (it was, again))), then in the middle, where it will be hung on my shoulder, I inserted a piece of a wide car safety belt:
And the table is going like this:
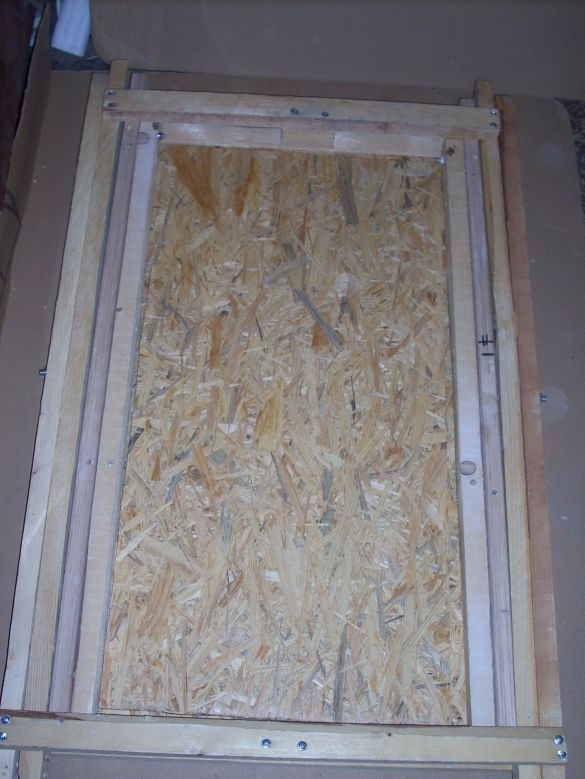
First, all the wing nuts are untwisted and it is disassembled into components. Then one of the wide parts of the countertop is laid on the ground: A folded “leg” is laid on it: Then stacked double complex carriers:
Between them, a narrow (central) fragment of the countertop is laid: And finally, the remaining wide is superimposed and dress loops: After they are tightened, the table can be easily conveyed to the car by hanging on the shoulder:
Another point ... When you first carry a narrow fragment of the countertop freely fell out when loading in the trunk. To prevent this from happening, I screwed the bar trim in the centers of the crossbars. I forgot to take a picture, but they can be seen in the photo above.
I described the idea and methods. You can make from other materials and with other sizes. Perhaps someone regulates the size of the trunk of the car. We quite often go to the forest, but I don't go there on a sedan. I’m going to the forest on a station wagon, or on a minivan (depending on the terms for which we are going, and as a result, on the number of things))). In both of these cars, I have luggage racks - large and rectangular, so the table practically does not take up the volume - it’s just that the luggage compartment floor is 10 cm higher ...
So, do it "for yourself" .... Enjoying barbecue ...


