


Therefore, I thought about how to improve this process.
It is convenient to pour water from the tap. But to insert a tap into all canisters is quite difficult. In addition, with protruding cranes, they will be inconvenient during transportation. There is a solution - insert the tap into the plug! And since all the containers are the same, you can simply twist such an improved cork from empty to full.
So let's get started. We will need:
1. Actually, the canister itself.
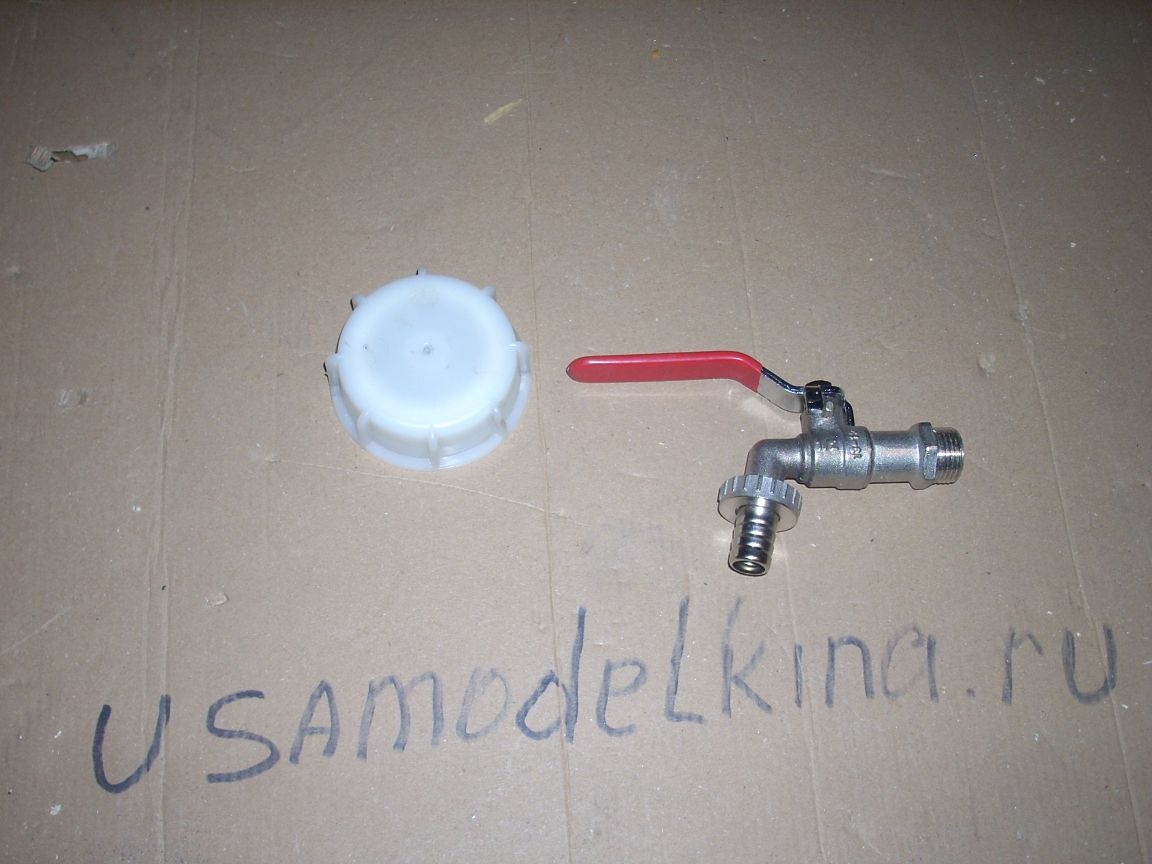
2. Watering ball valve 1/2.
3. Flare nut from a flexible hose to connect the mixer.
4. hose with a diameter of 4 mm (0.5 meters)
5. A piece of high density foam.
6. wooden planks 40 by 25 mm cross-section (2 meters running)
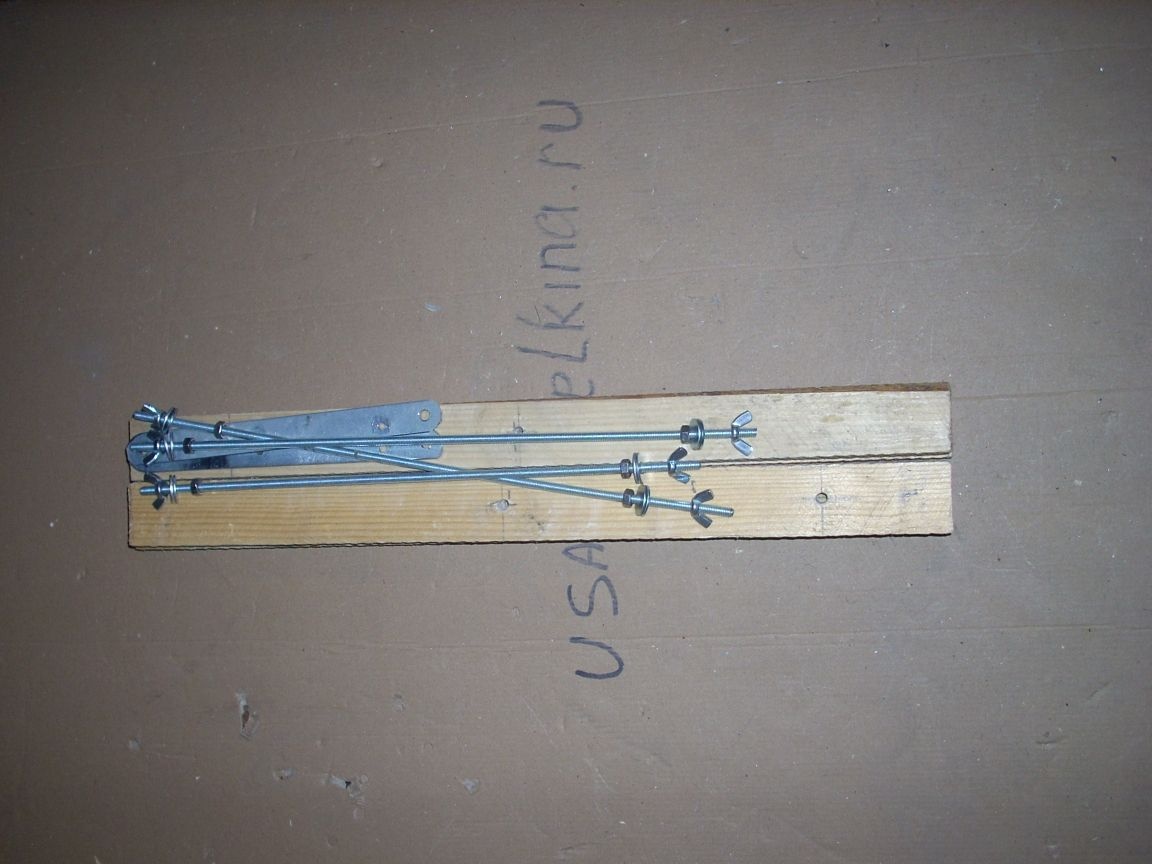
7. threaded rod with M6 thread.
8. M6 nuts (6 pcs)
7. The washers M6 increased (12 pieces)
8. Wing nuts (6 pcs.)
9. Steel 1 mm thick.
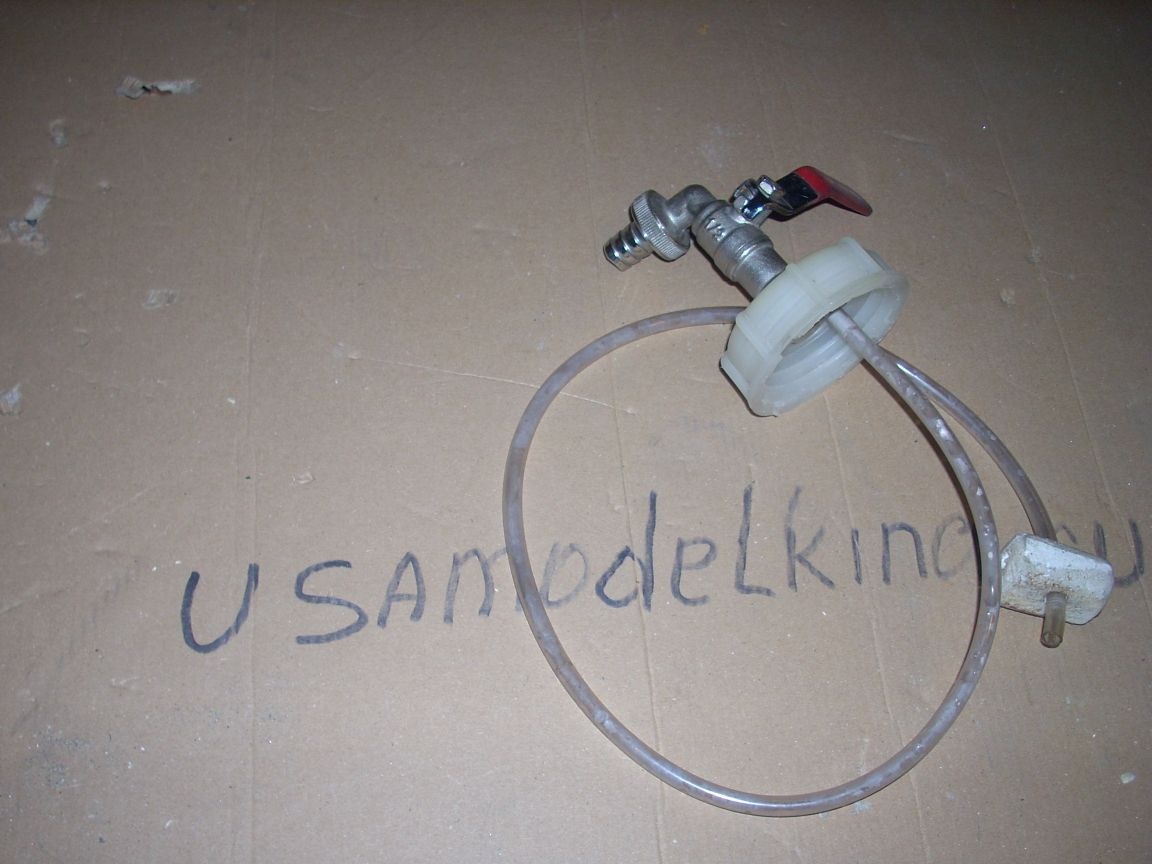
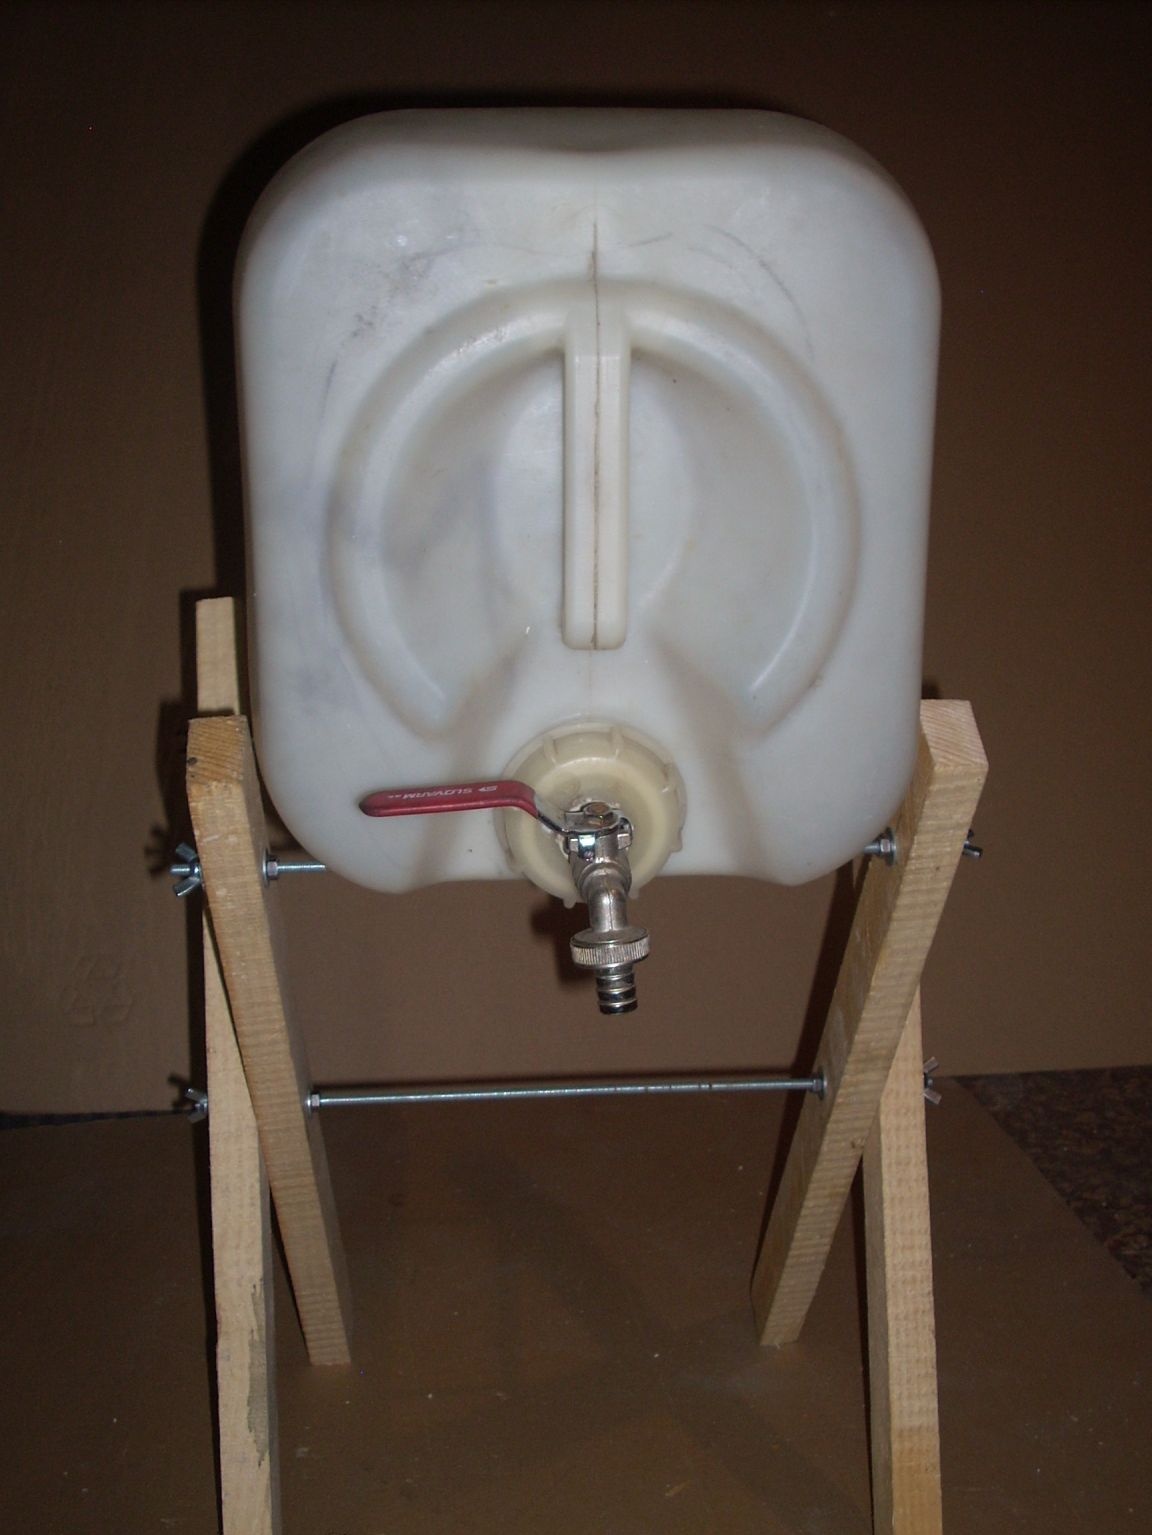
Take our cork and watering tap:
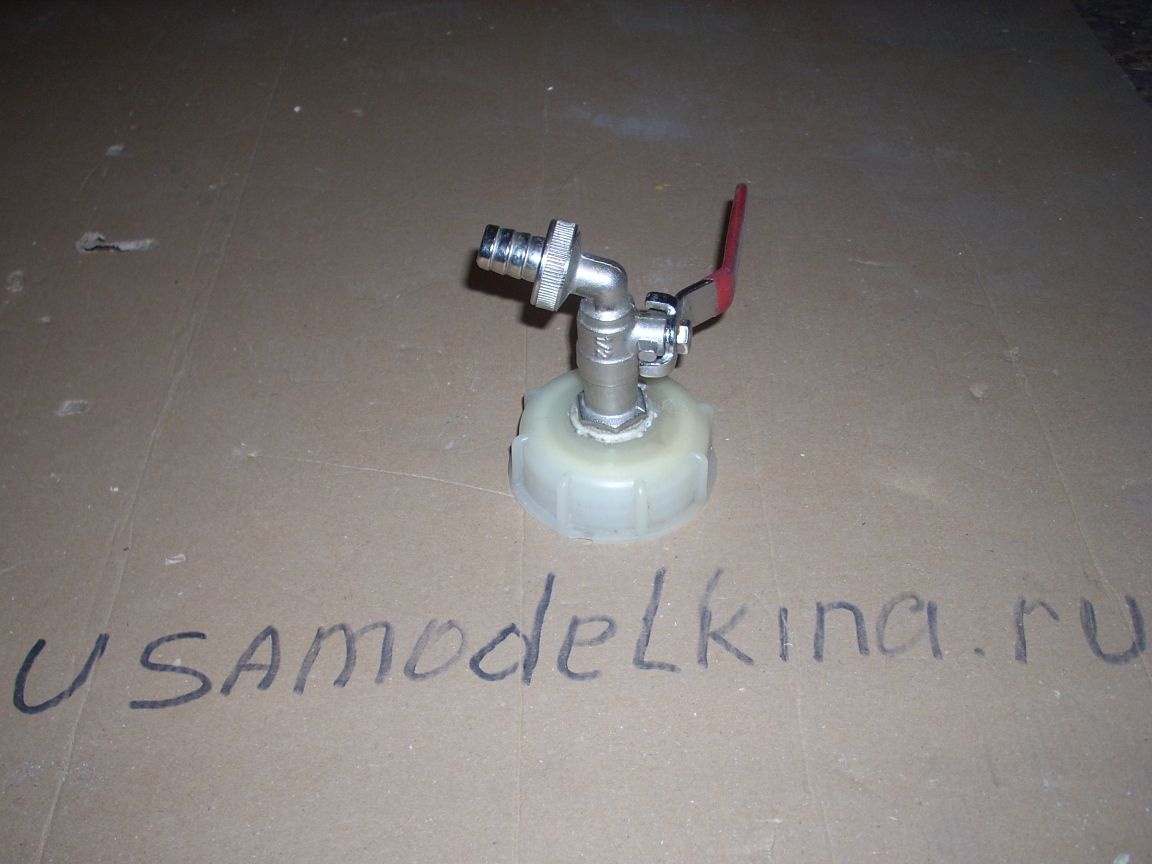
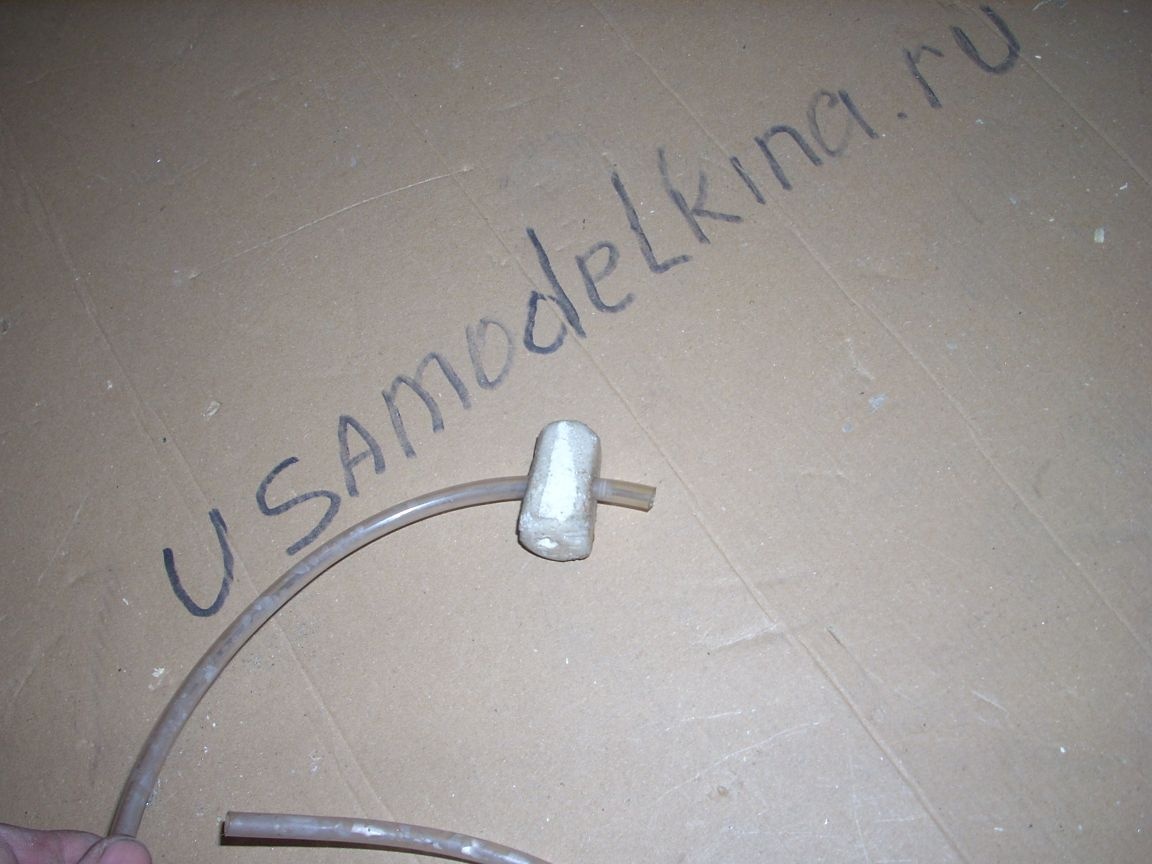
Here, it seems, and it’s ready .... But not everything is so simple! The fact is that only a little water will pour out of the canister, only as long as its walls can be compressed. Then it will stop flowing - a vacuum will be created in the canister! To avoid this, you need to run air from the atmosphere into the canister.
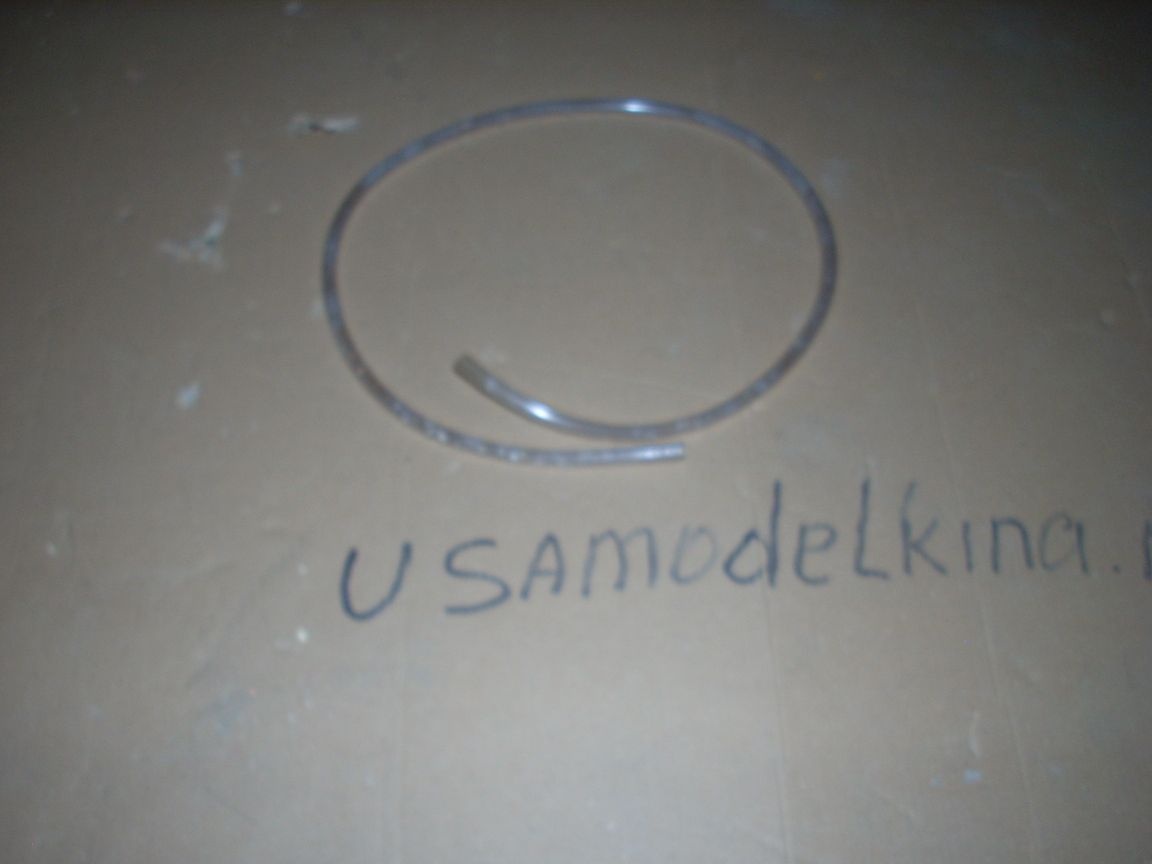
First, I drilled another hole in the lid, with a diameter of 4 mm. I inserted a piece of plastic tube on which balloons are sold there. To fix everything tightly, I slightly dissolved the plastic of both parts with the 646th solvent and forcefully pressed my improvised fitting into the hole in the lid. (You can use a soldering iron)

Now we need to connect this fitting to the surface of the water in our canister. For this I used a transparent hose of suitable diameter.
Now we connect our hose to the fitting - and our "filling plug" is ready:
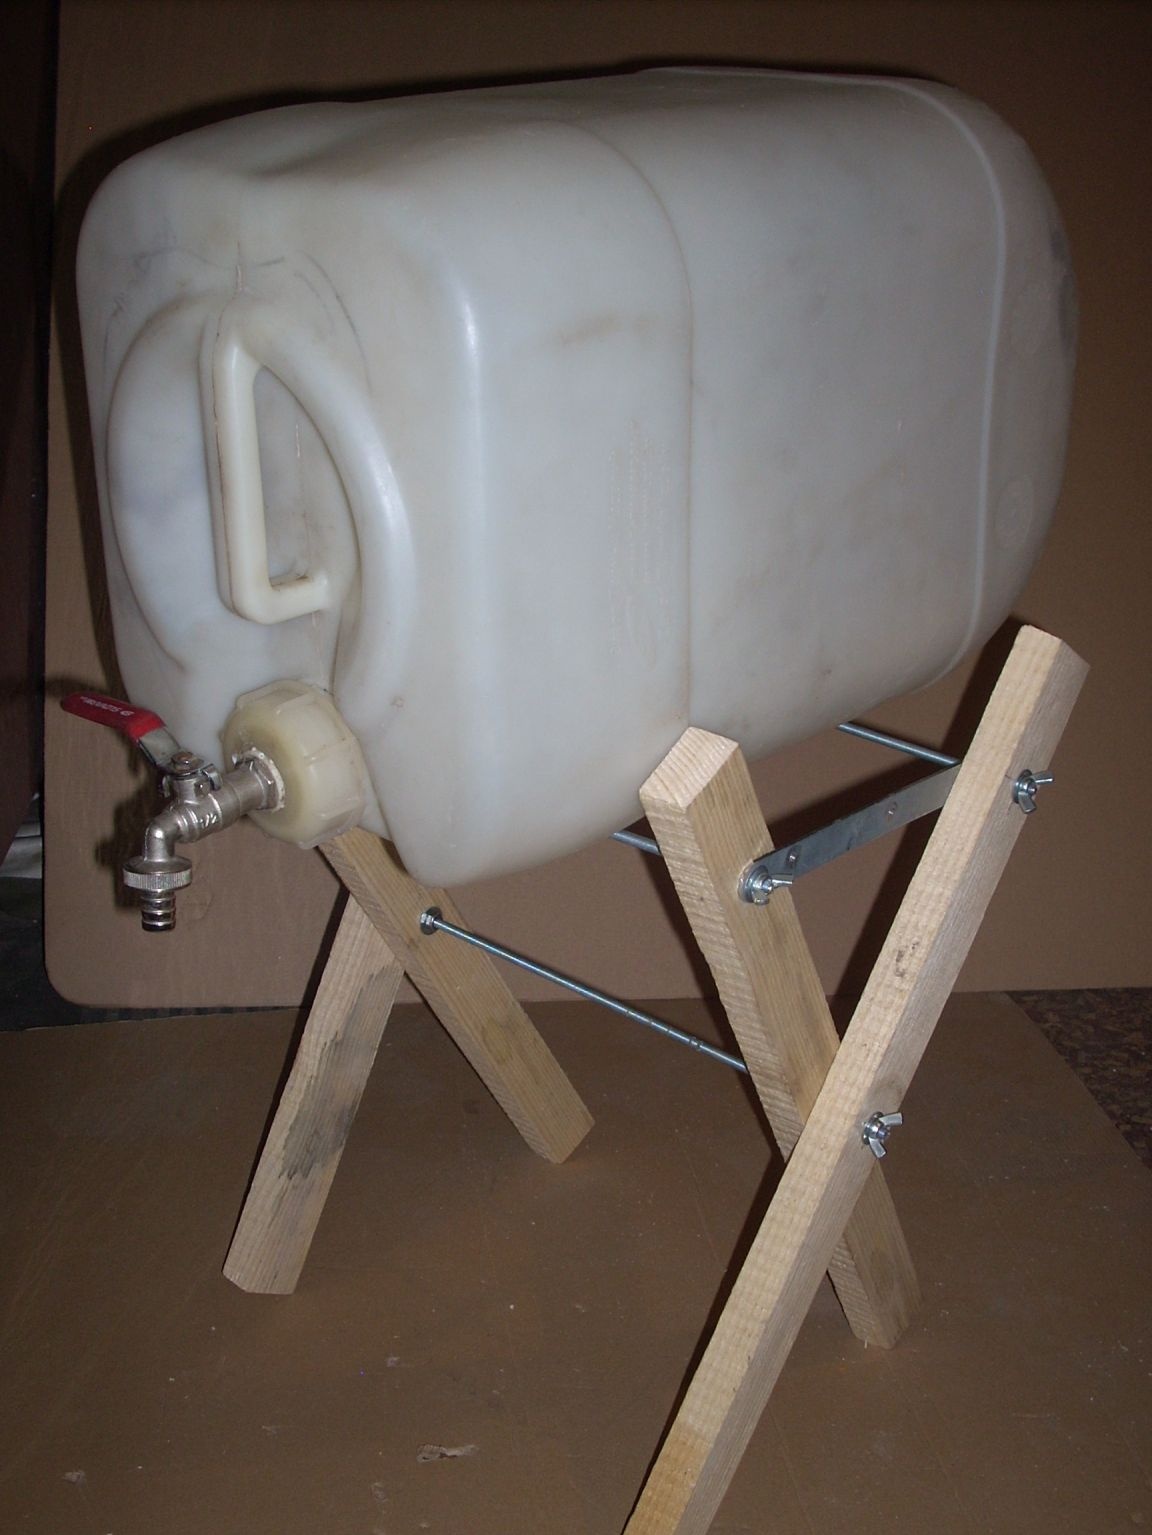
Now let's start the construction of the stand for the canister - because in order to be able to pour water from it, the canister should lie, not stand.
In the manufacture of the stand, I was guided by the fact that it not only should ensure a stable position of the canister, but also could easily and quickly fold into a compact position - a lot of things are taken with you, and the car is not dimensionless)))).
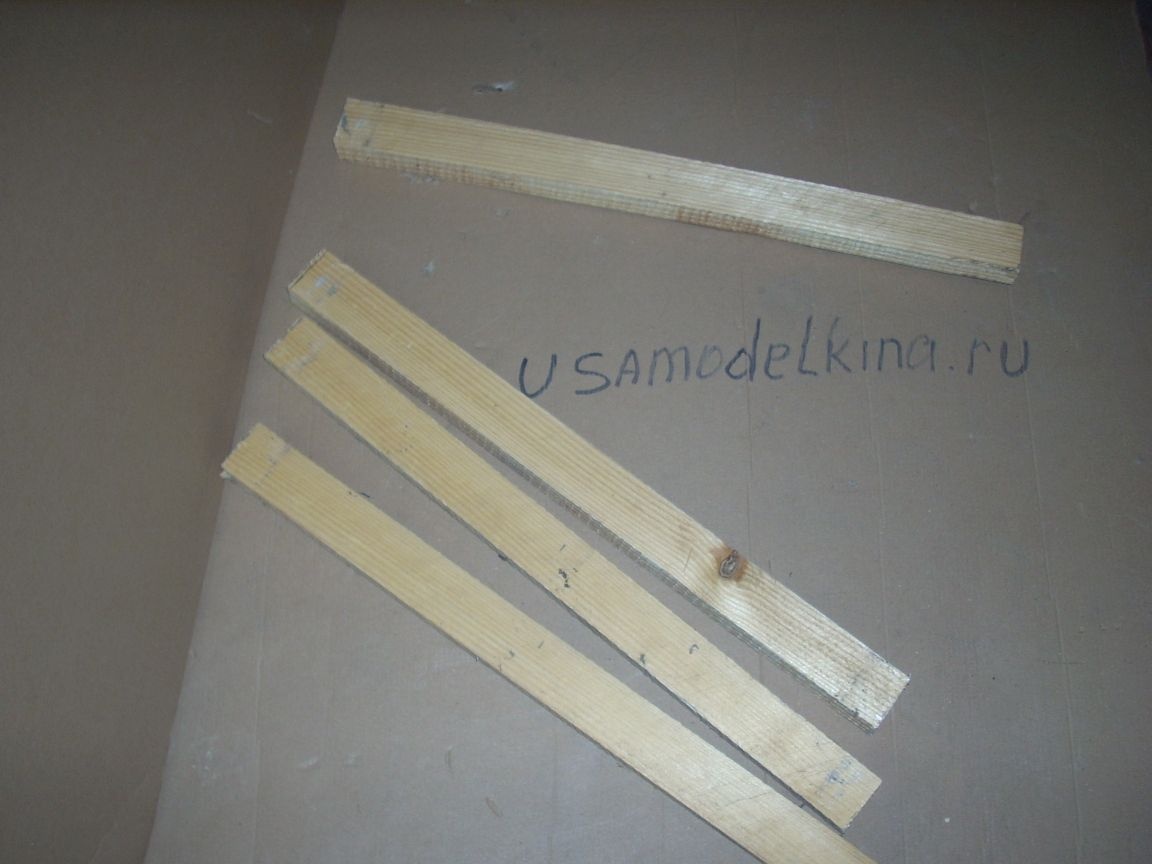
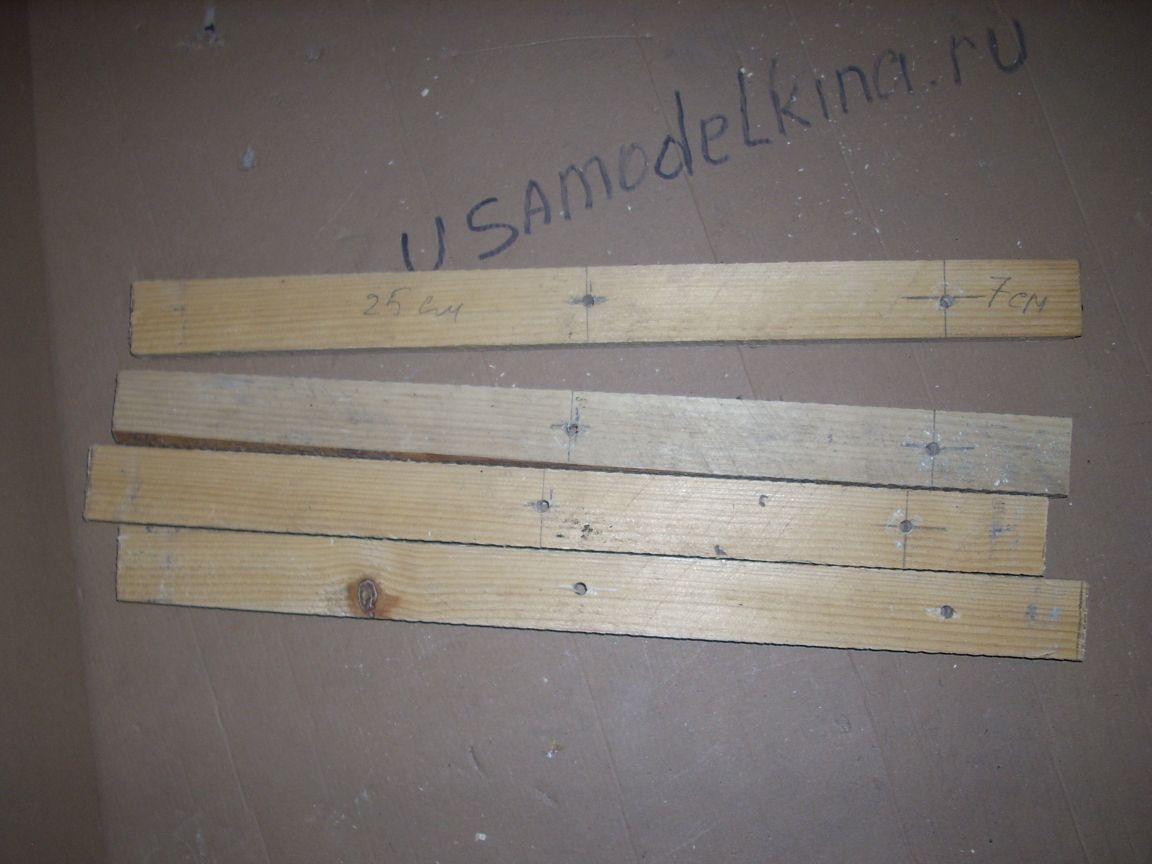
To make the stand, I used wooden planks with a section of 40 by 25 mm. Just because I had them!)))) I started by sawing four pieces of 50 cm:
In the center of each plank, I drilled a hole with a diameter of 6 mm.
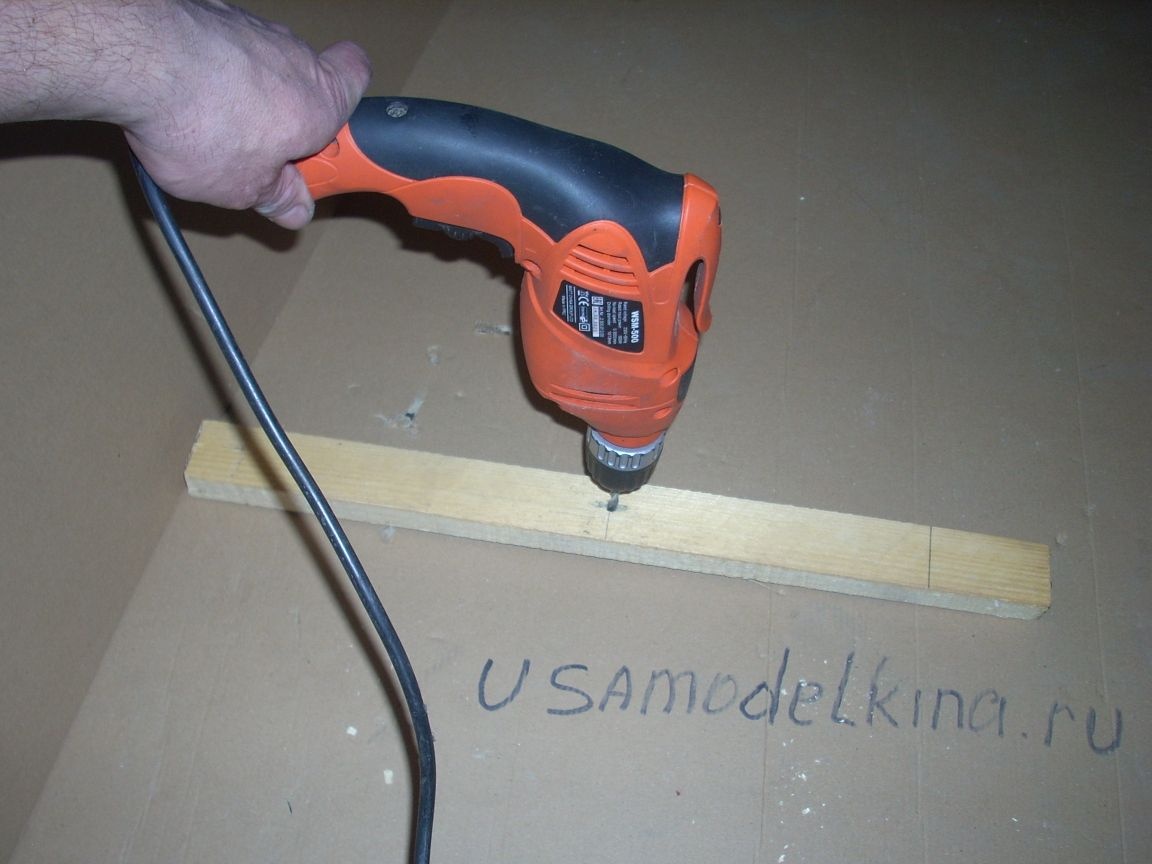
And then he drilled another hole of the same diameter, backing off from the edge by 7 centimeters.
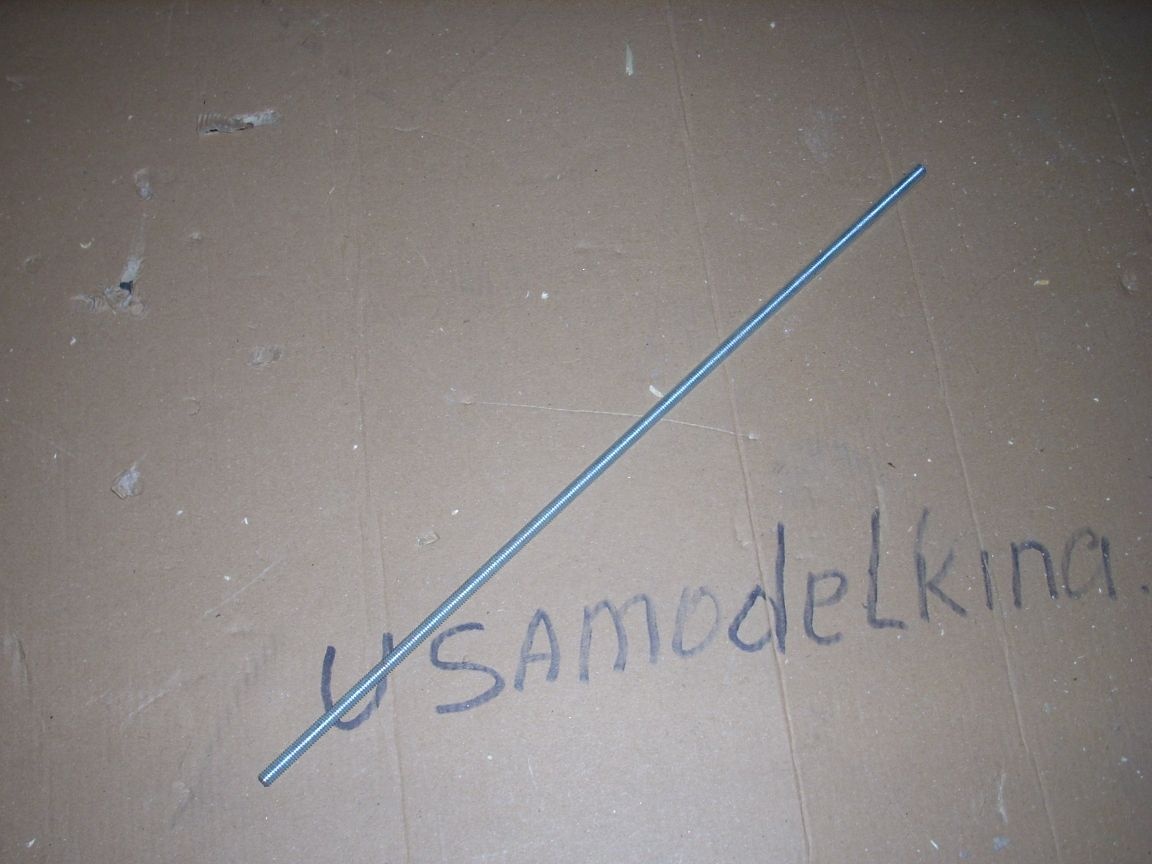
Next, I needed a threaded rod with an M6 thread. You can take the M8, and even the M10 .... just, I had this one.))))
I cut three segments from it with a grinder, length ..... With a length equal to the width of my canister + four thicknesses of rails + 1 cm on the nuts.
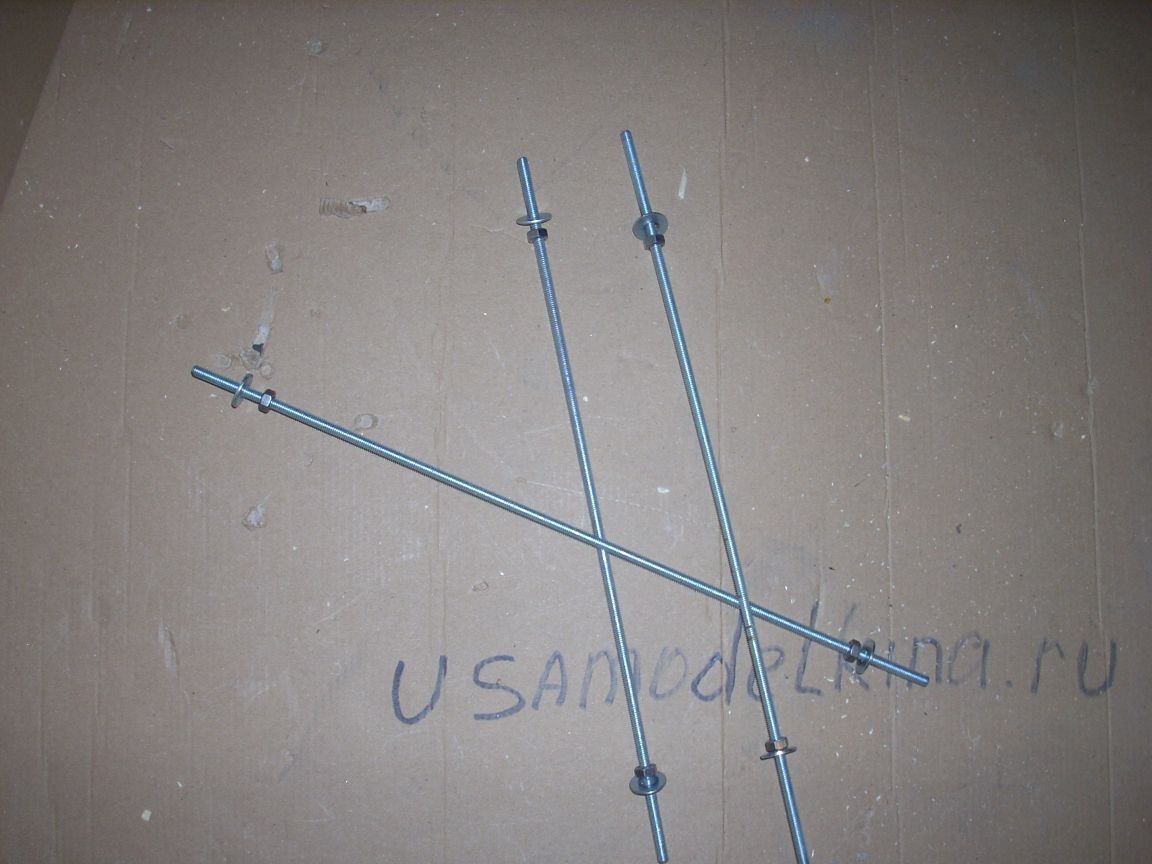
Then he took two slats and connected them with one stud, squeezing the outside with a wing nut.
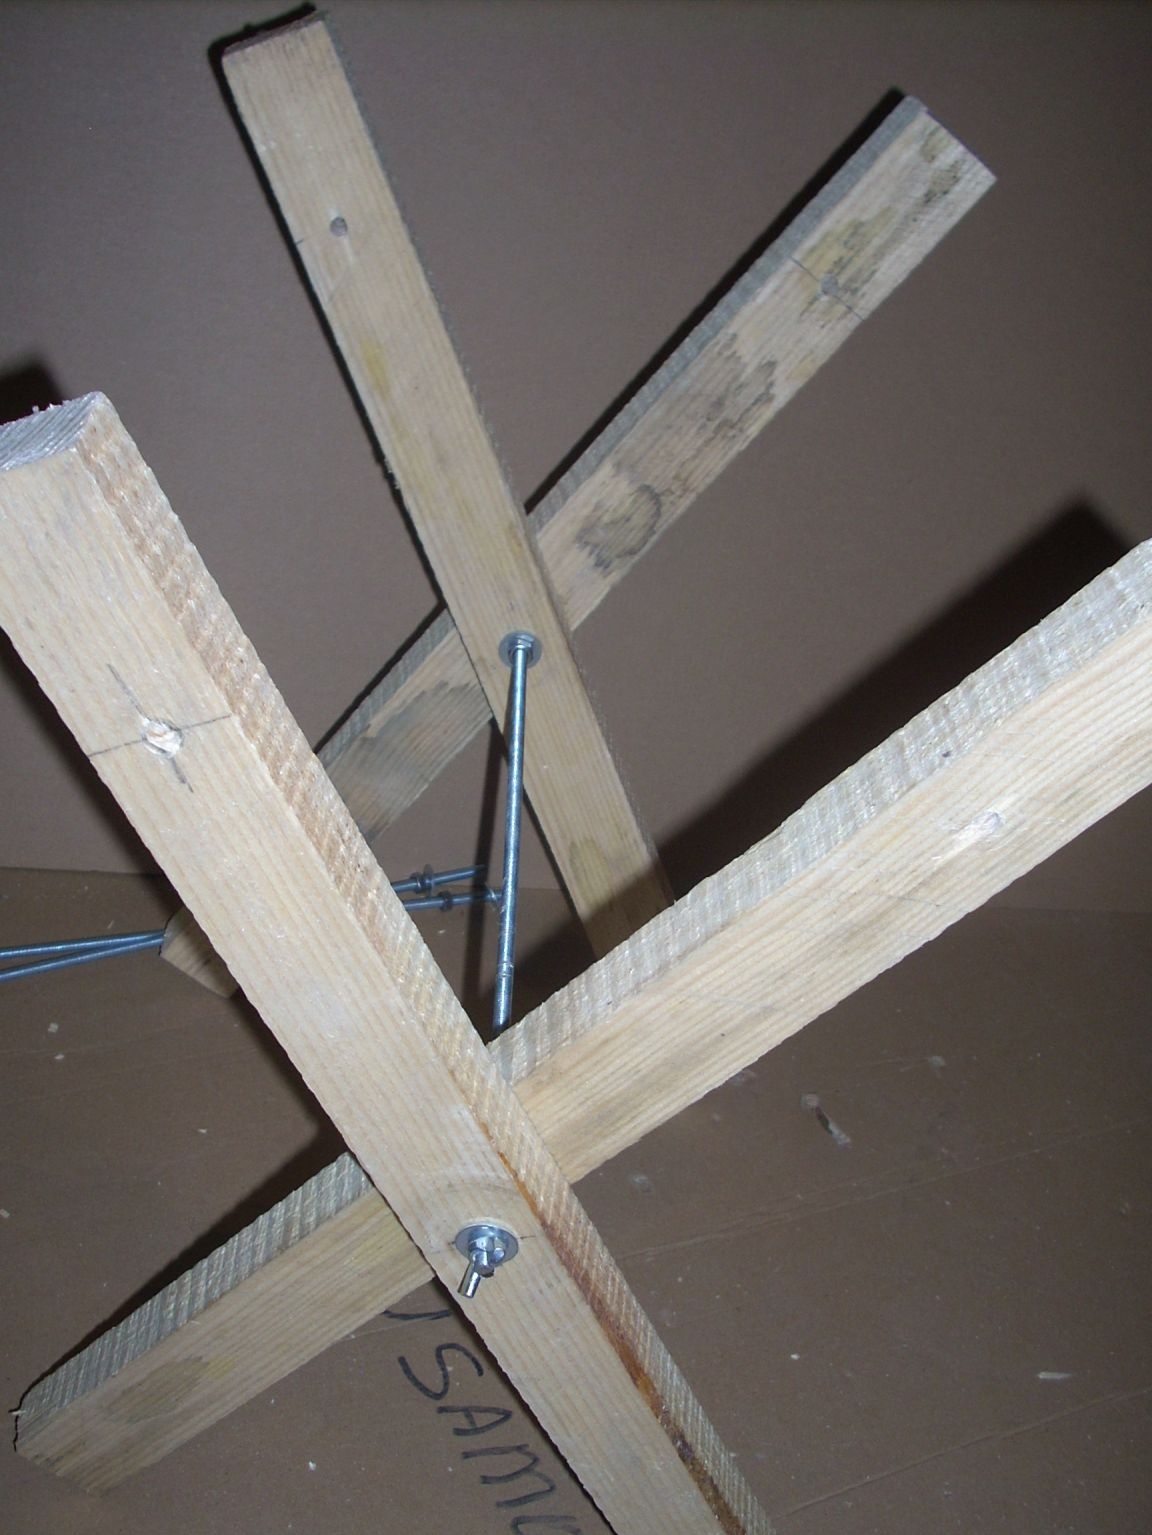
Next, I took two strips of sheet iron, 1 mm thick (lying around))) drilled two holes in them, 6 mm in diameter and cut off the excess:

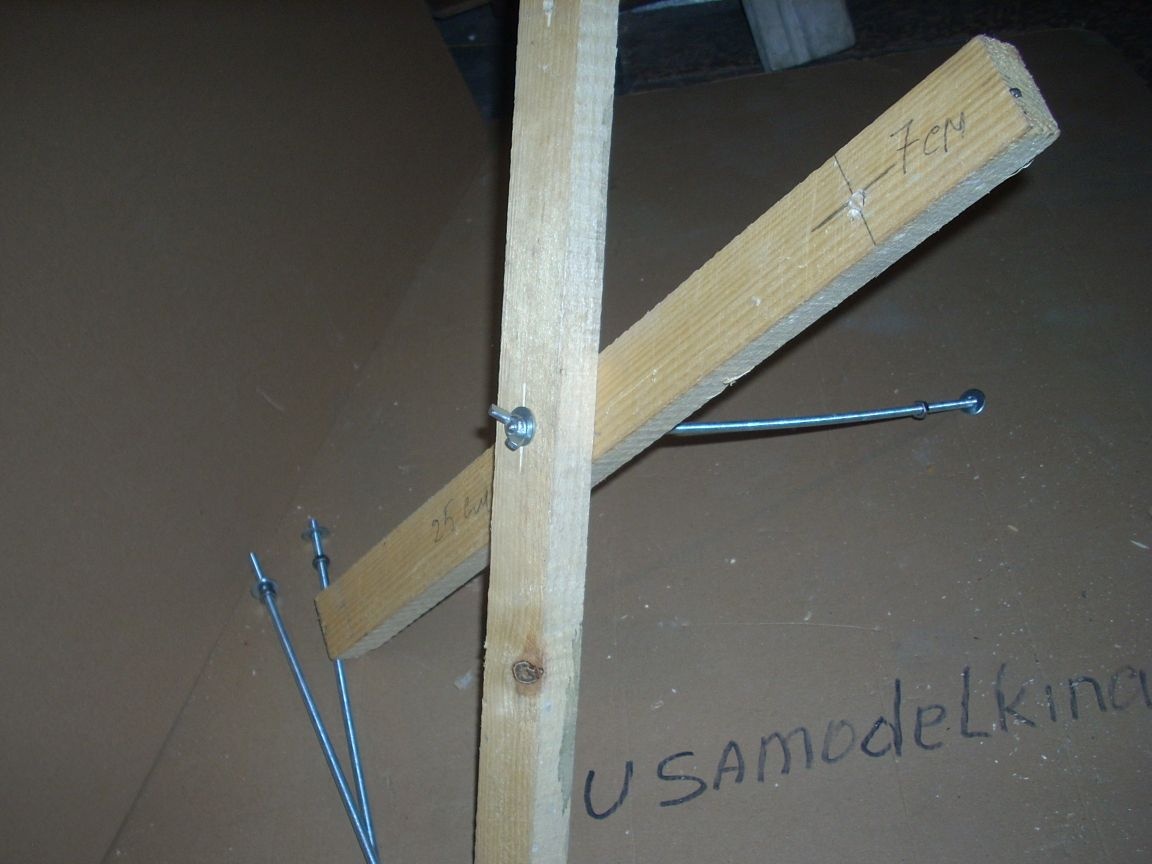
Now we fully assemble our construction as follows:
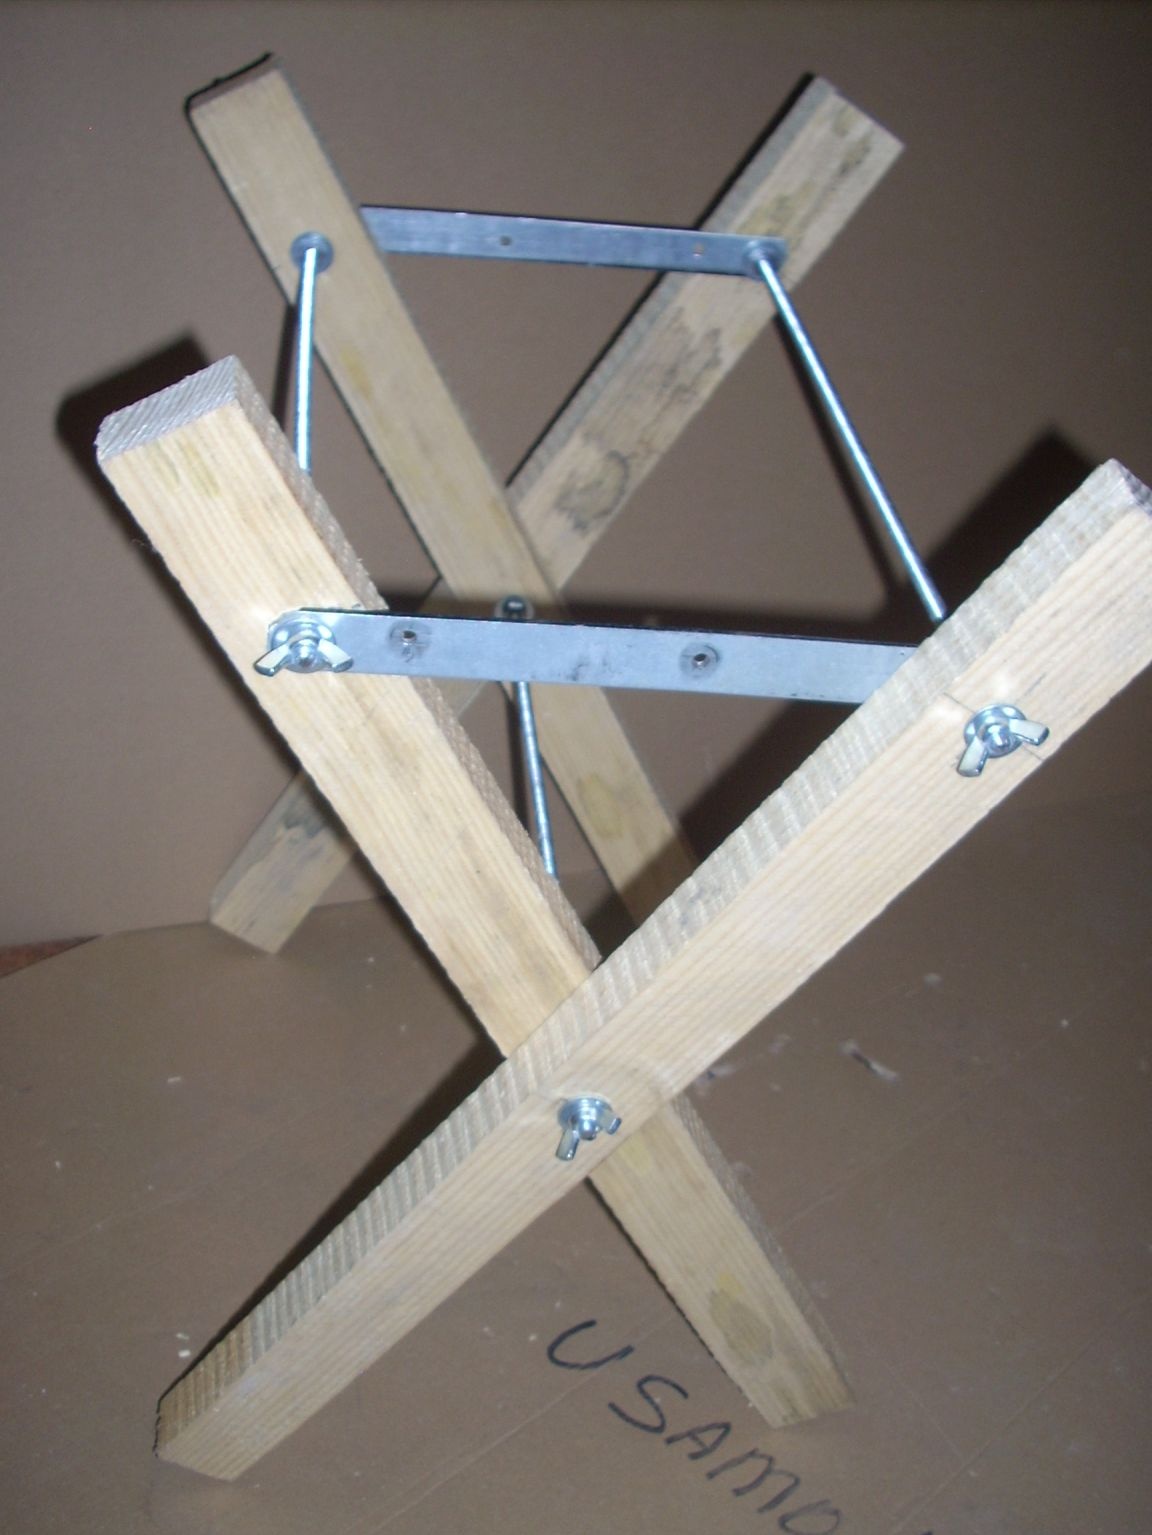
All. Everything is ready for us. Now it’s enough to change the cork in our canister to our “tricky one” and put it on the stand, after shaking it slightly, so that the hose straightens inside and floats up under the action of the float.
Now even a small child can draw water. And the assembled design takes up very little space:
It remains to process with sandpaper, paint and stitch the cover ....