

As I mentioned in my previous publications, we often go to the forest with tents as a large company. Sometimes such trips last a week, or even longer. At the same time, a problem arises - since we travel mainly in the summer, we have to eat meat products, barbecue, etc. on the first day or two. Otherwise they will go bad. Car refrigerators, of course, solve the problem, but they have a number of significant drawbacks. Namely: low capacity and high power consumption. If you leave it turned on, and at the same time turn off the engine, after a few hours you will not start car due to a low battery. High-capacity factory insulated containers are quite expensive, so it’s easier to make a large thermos do it yourselfusing junk materials.
So, we need:
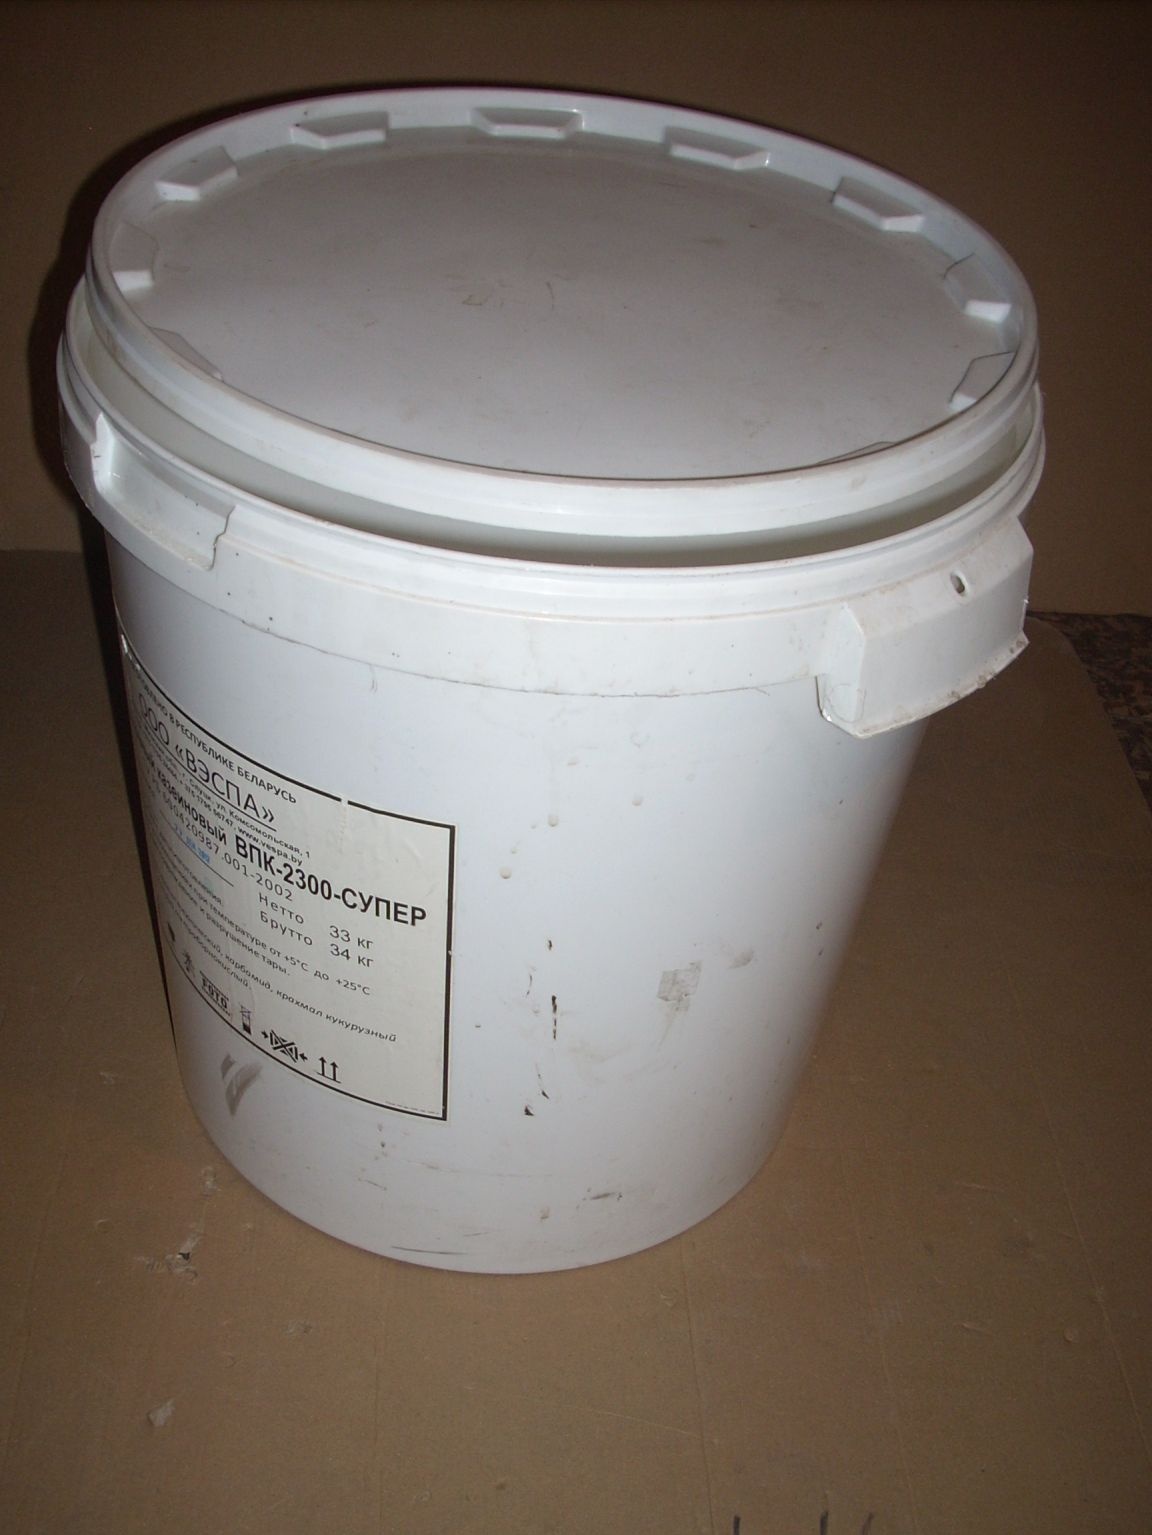
1. Technical packaging (bucket) with a capacity of 30 liters.
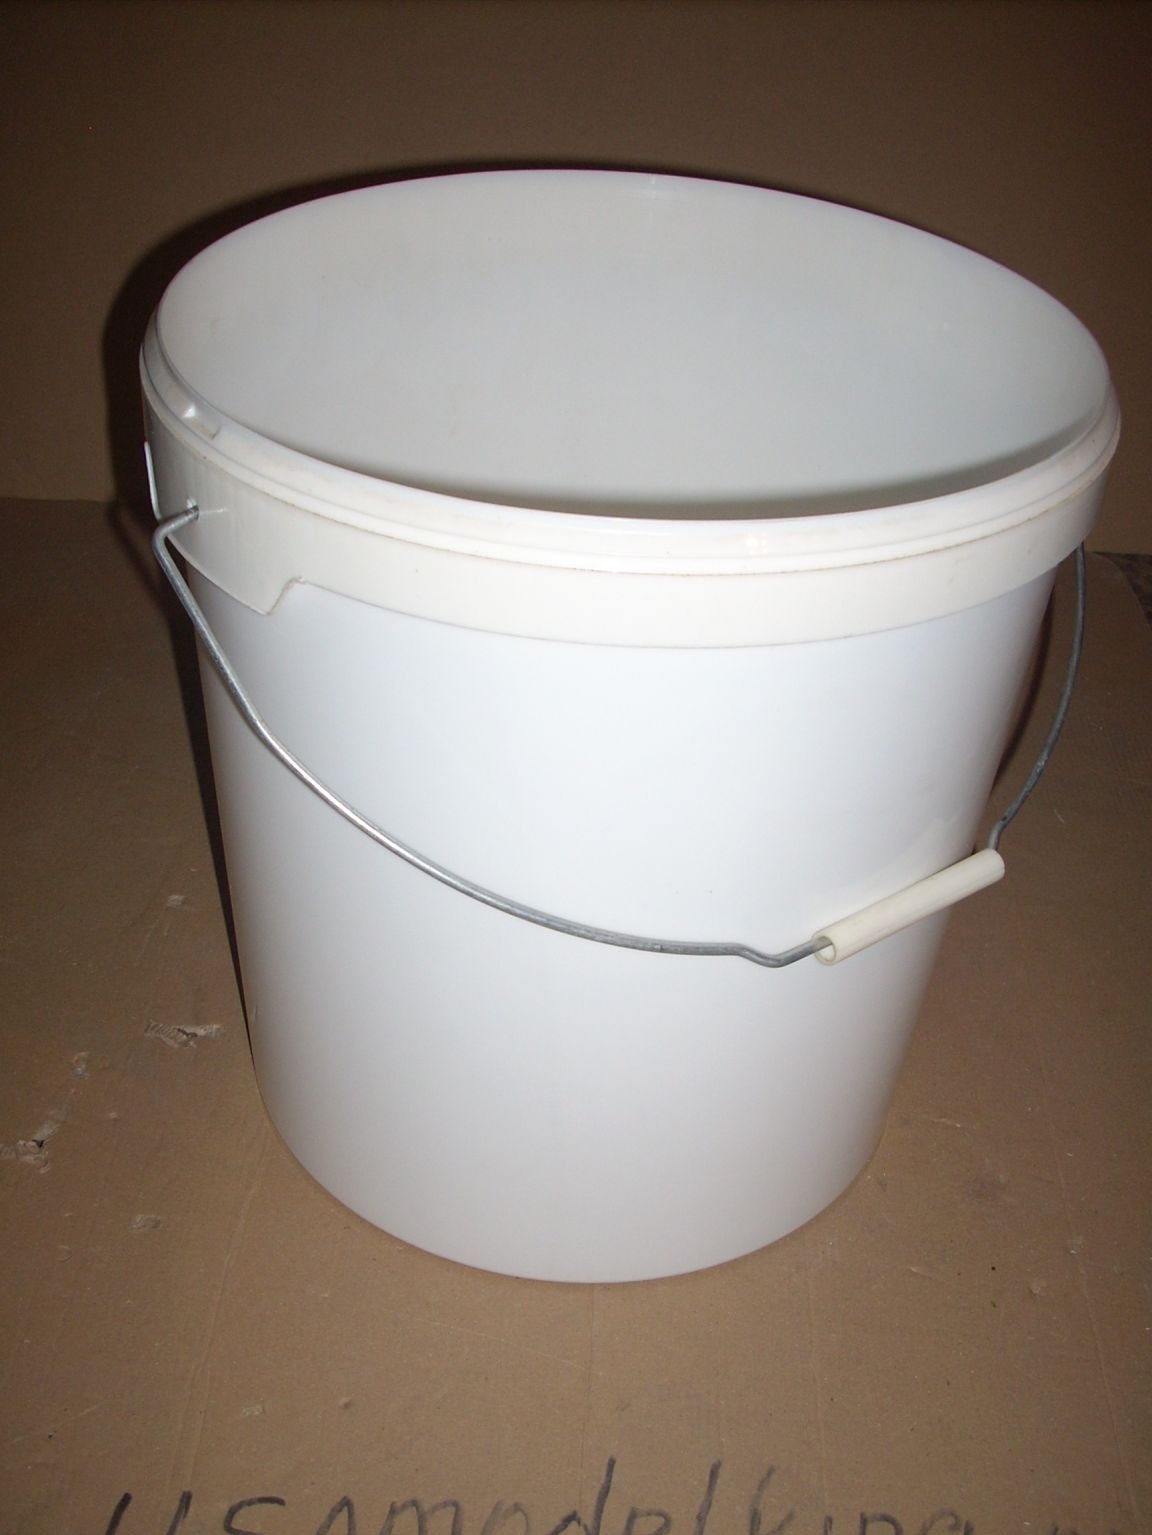
2. A smaller bucket with a capacity of 20 liters.
3. Foam.
4 Polyfoam 50 mm.
5. Polyfoam 30 mm.
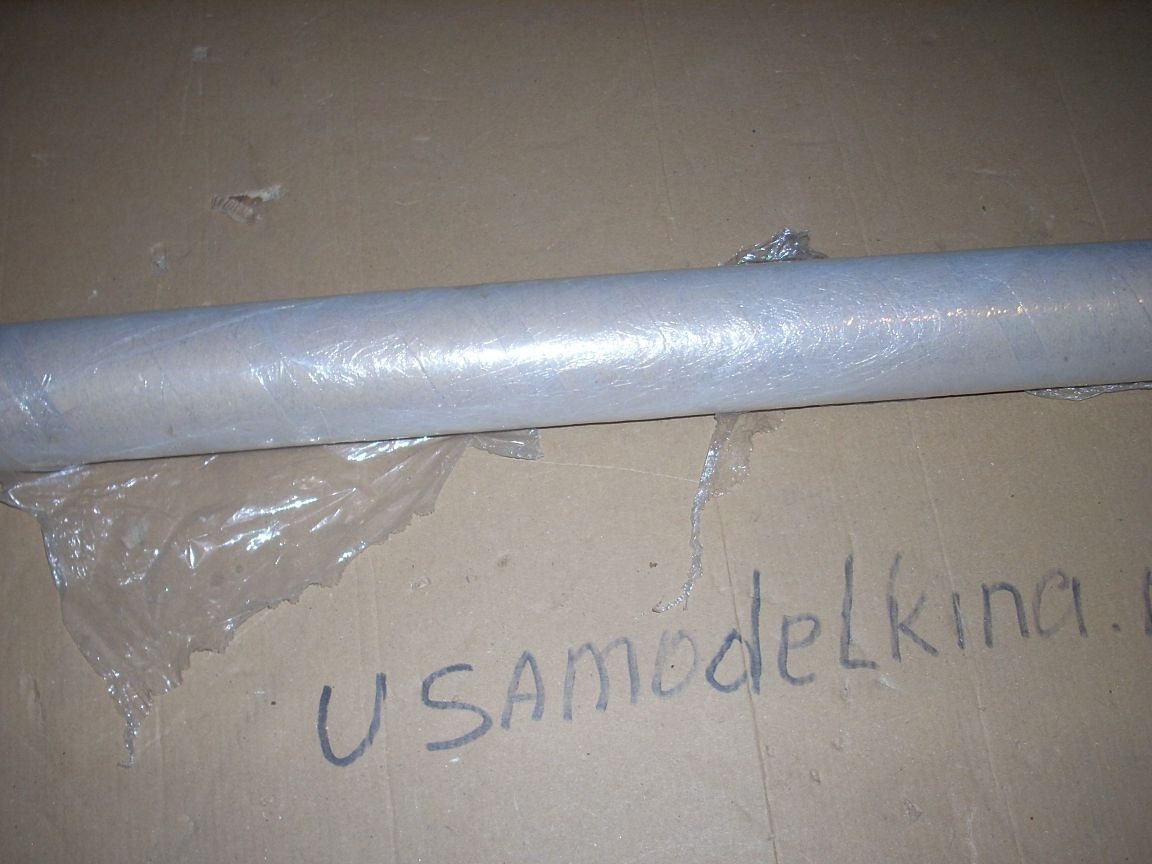
6. Stretch film.
7. Silicone sealant.
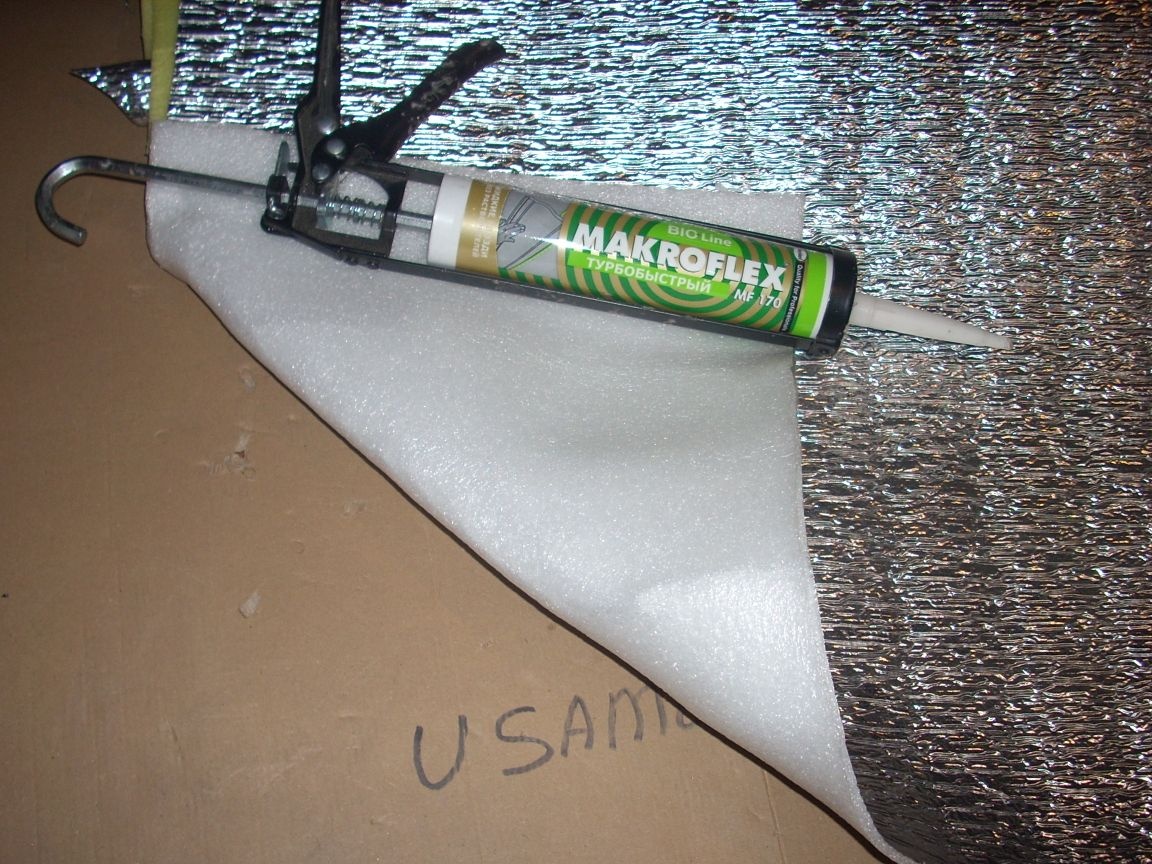
8. Mounting adhesive ("Liquid Nails")
9. Foil foamed polyurethane. (Or other similar foil material).
10. Adhesive tape.
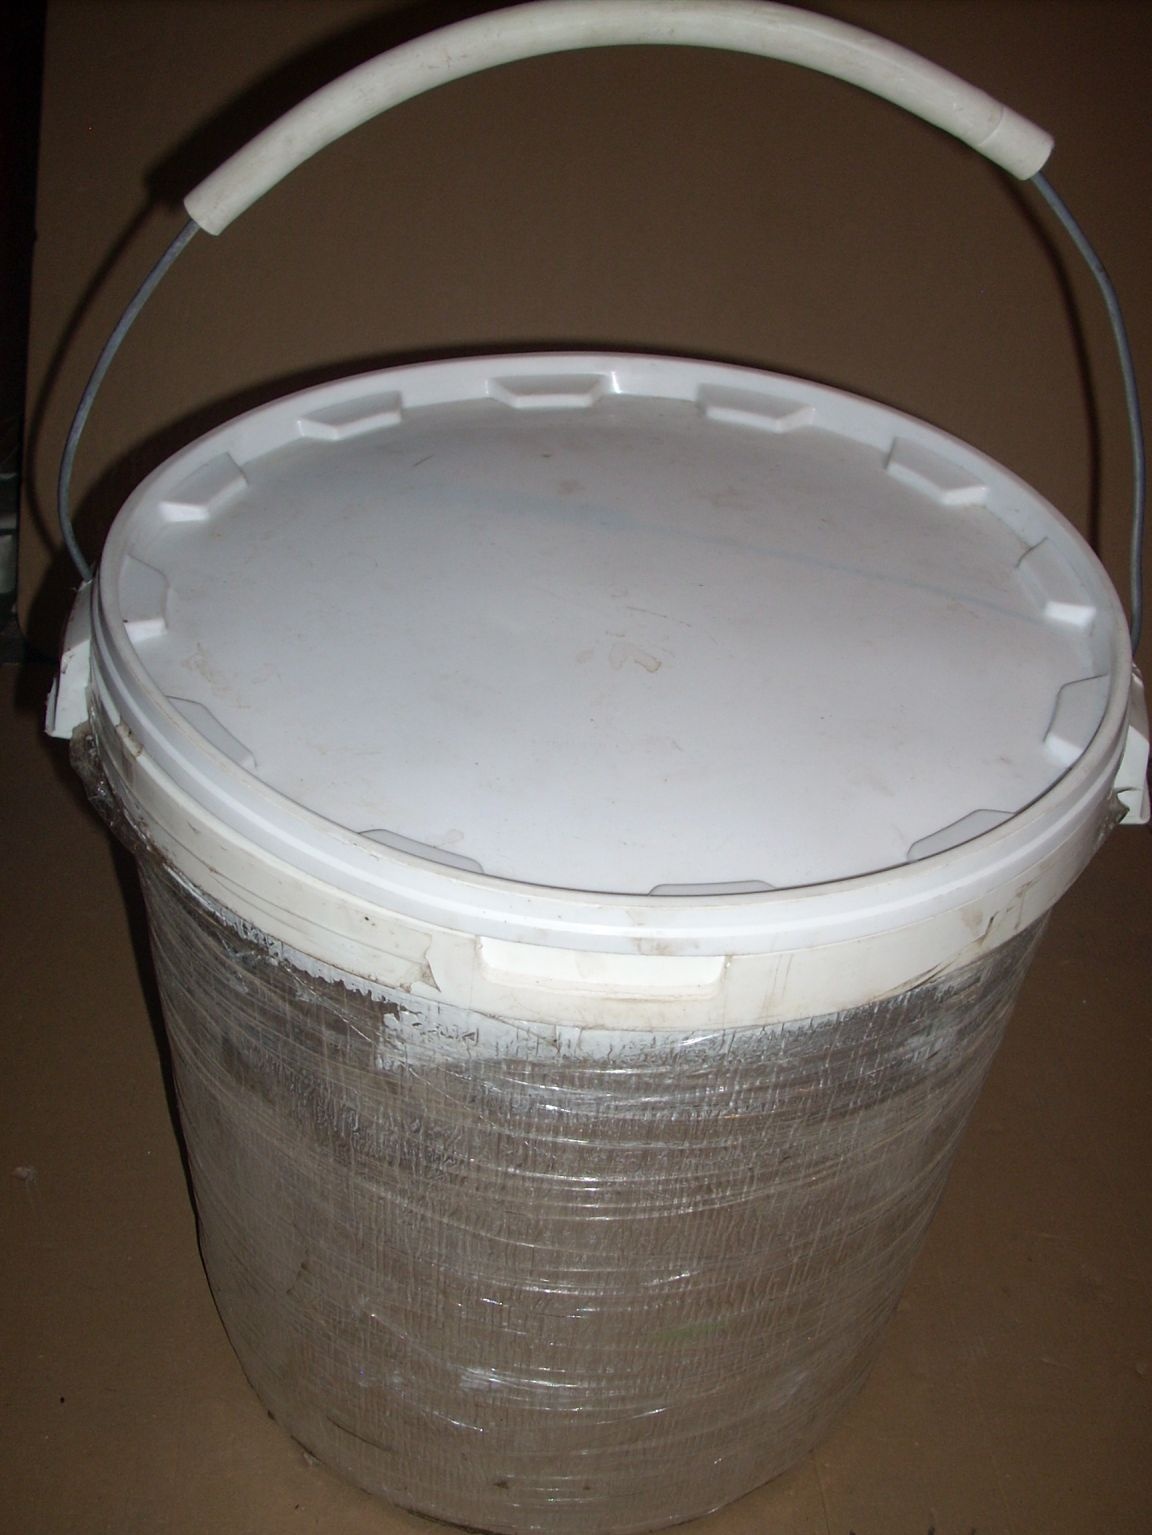
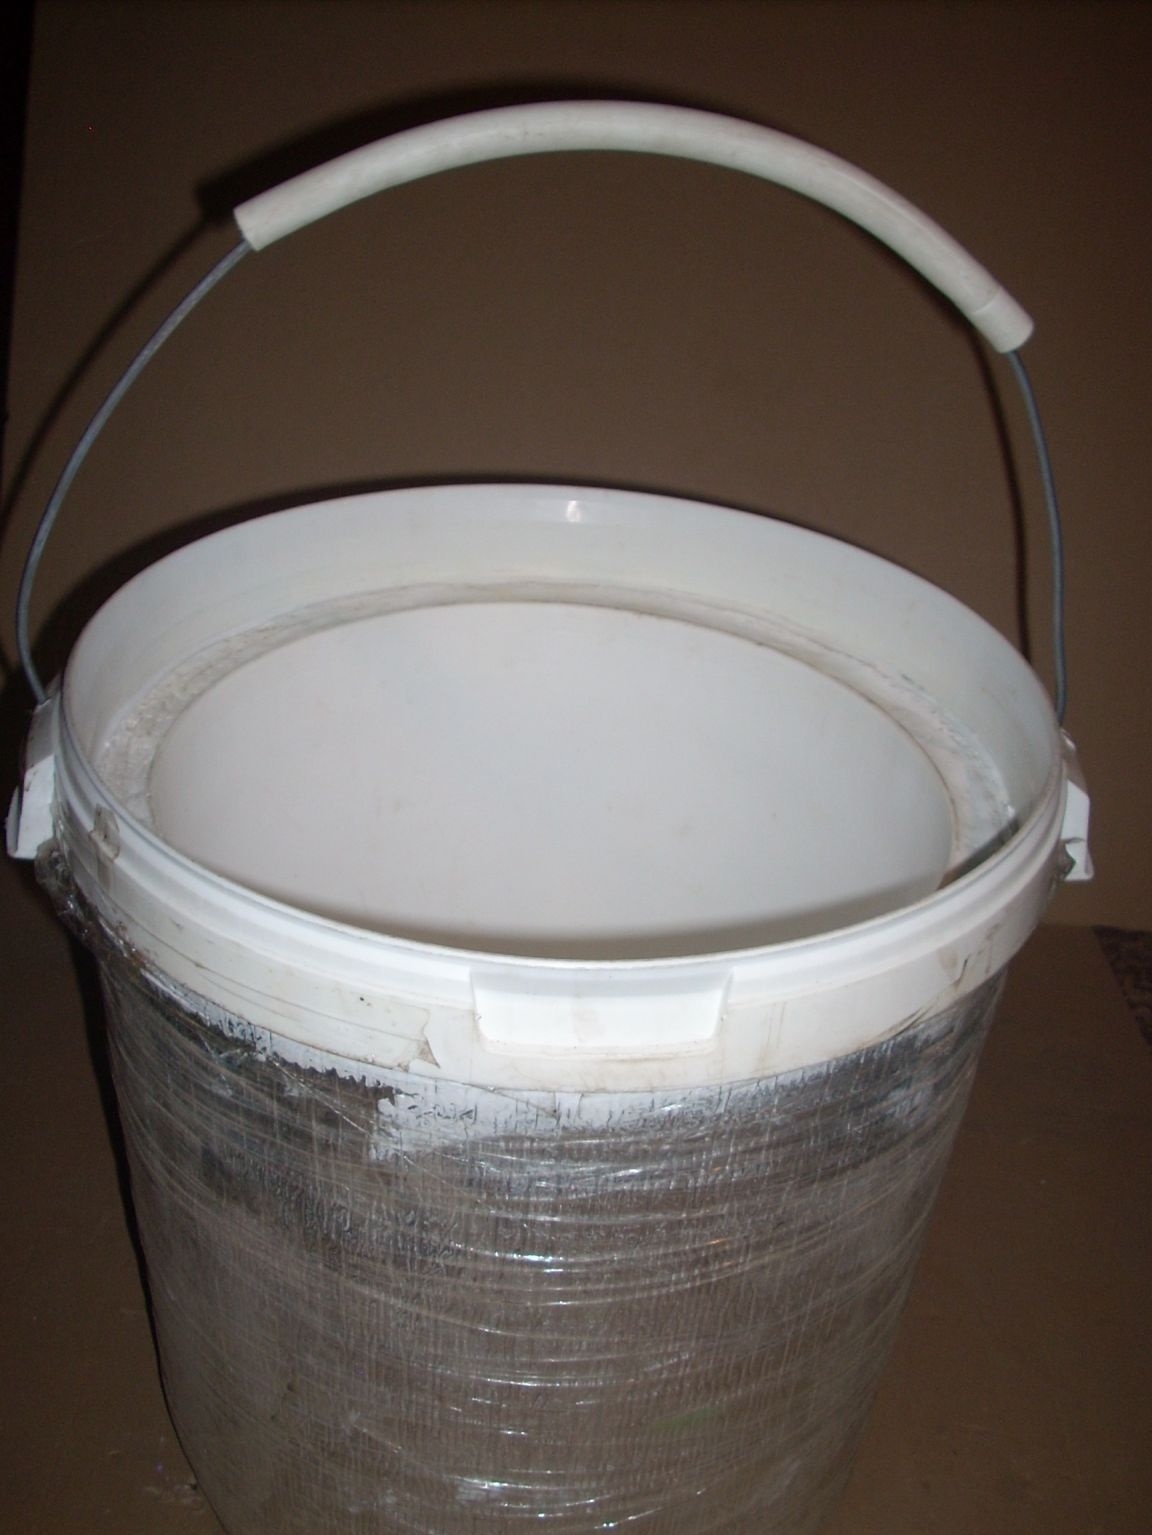
For manufacturing, I used this technical bucket with a capacity of 30 liters from under food label glue.
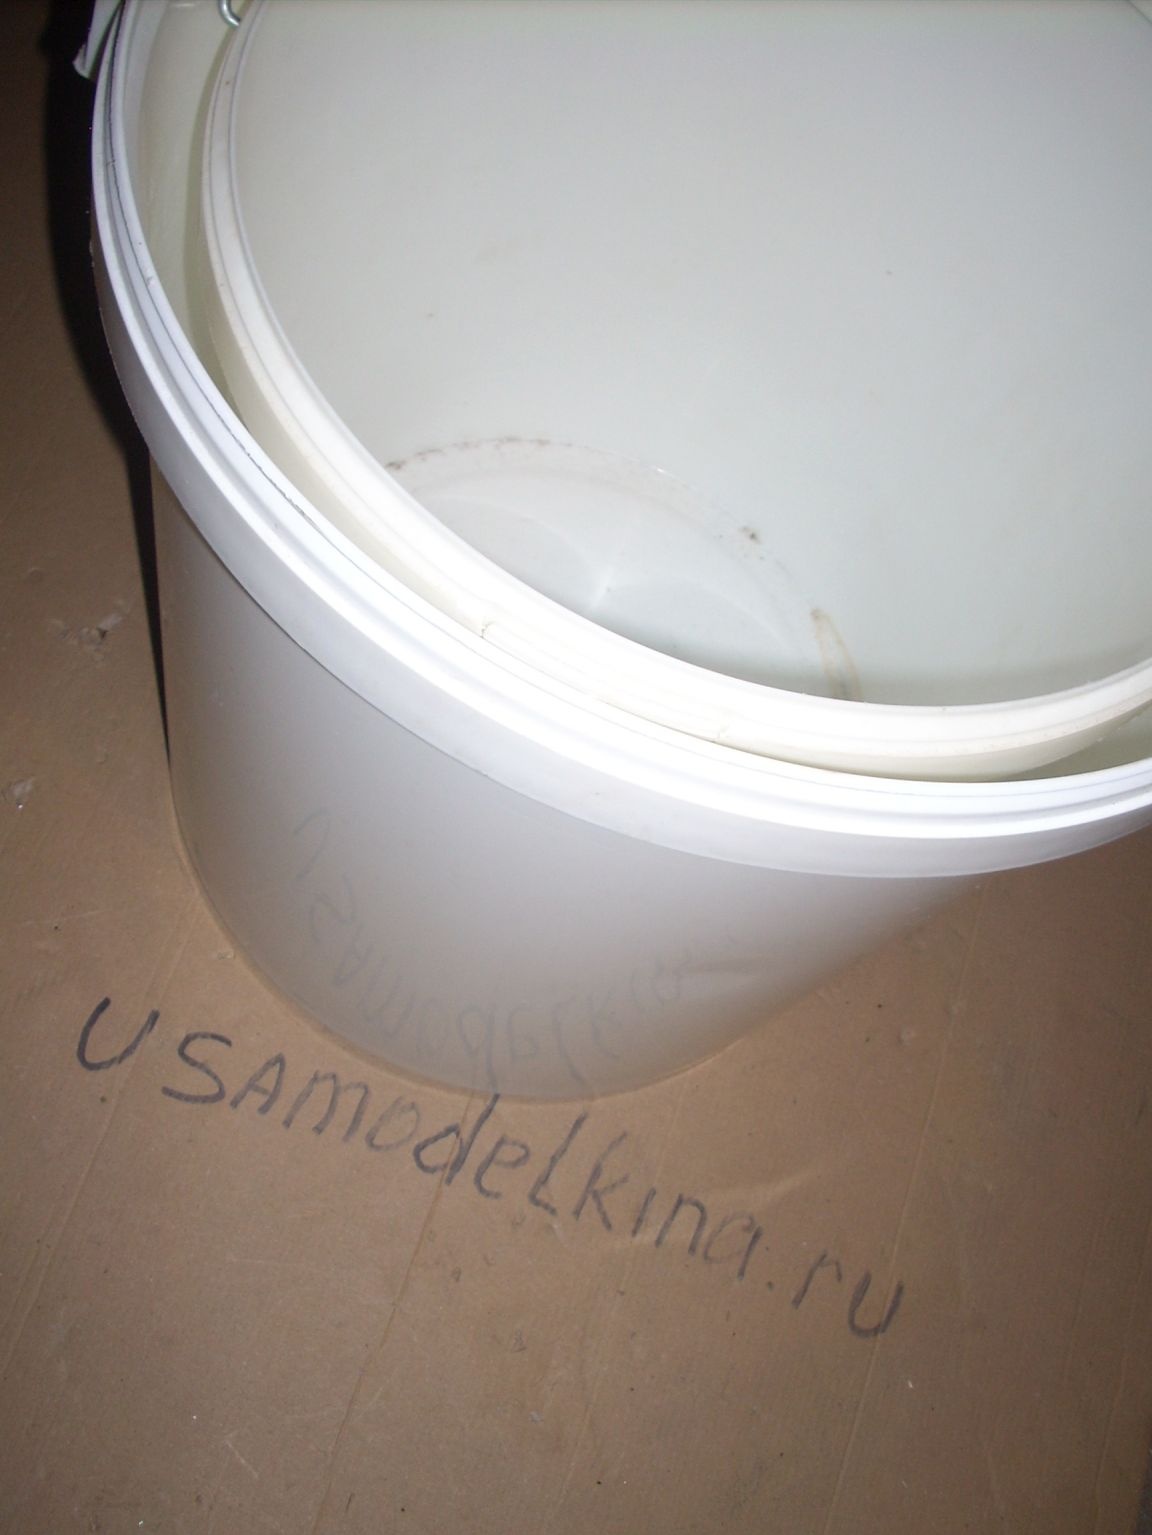
And a smaller bucket with a capacity of 20 liters:
From a foam sheet 50 millimeters thick, I cut a circle equal in diameter to the bottom of a large bucket. (This is easy to do - put the bucket on the foam and circle the bottom with a marker. Then cut the circle with a regular clerical or technical knife.). After that, I pressed the resulting circle into the bottom of the bucket. And he inserted a smaller bucket inside the large one.
Having fixed around the perimeter with pieces of foam to prevent displacement from the center, I replaced the space between the buckets with foam:
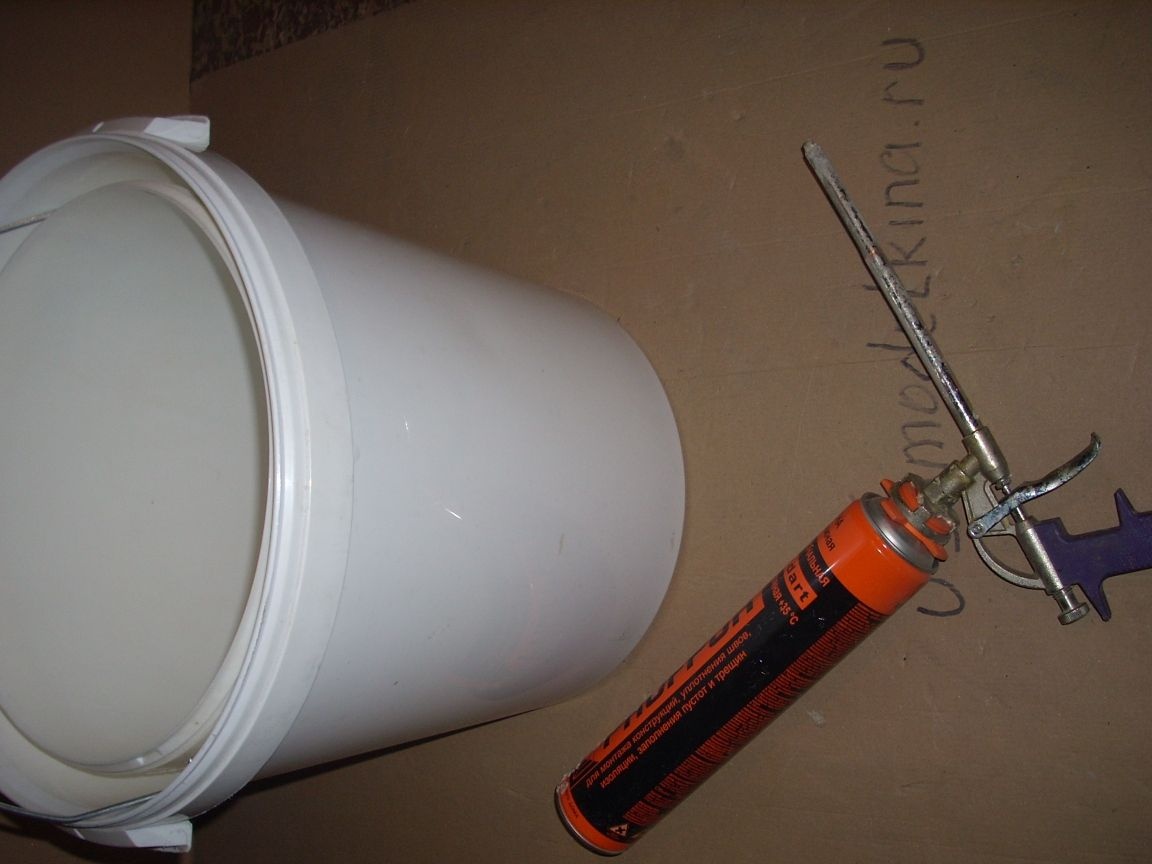
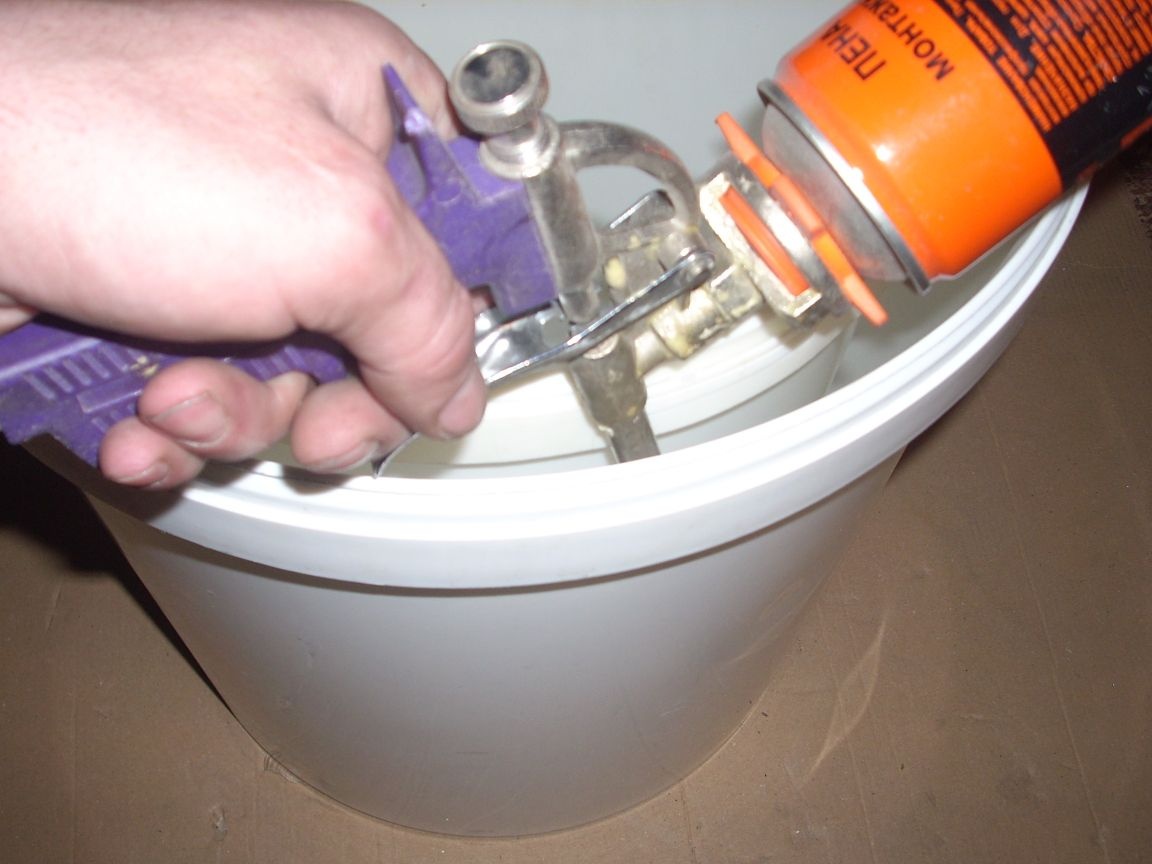
ATTENTION: This operation cannot be done at one time !! Under the top layer, the foam does not freeze without air, but simply flows down! Therefore, you will have to do this for several days, applying foam in thin layers.And one more important point: during the first passes, use an extension nozzle on the gun (or a long hose if you are using not professional but domestic mounting foam.) The foam-feeding nozzle must be at the very bottom, otherwise the foam, rapidly expanding, will hang between the walls and you’ll get air cavities. This should not be allowed, because the effectiveness of your isothermal container will decrease significantly.
After all the layers have been applied and the foam has hardened, we cut off the excess with a clerical knife and apply a layer of silicone sealant, completely hiding the mounting foam and leveling its surface:

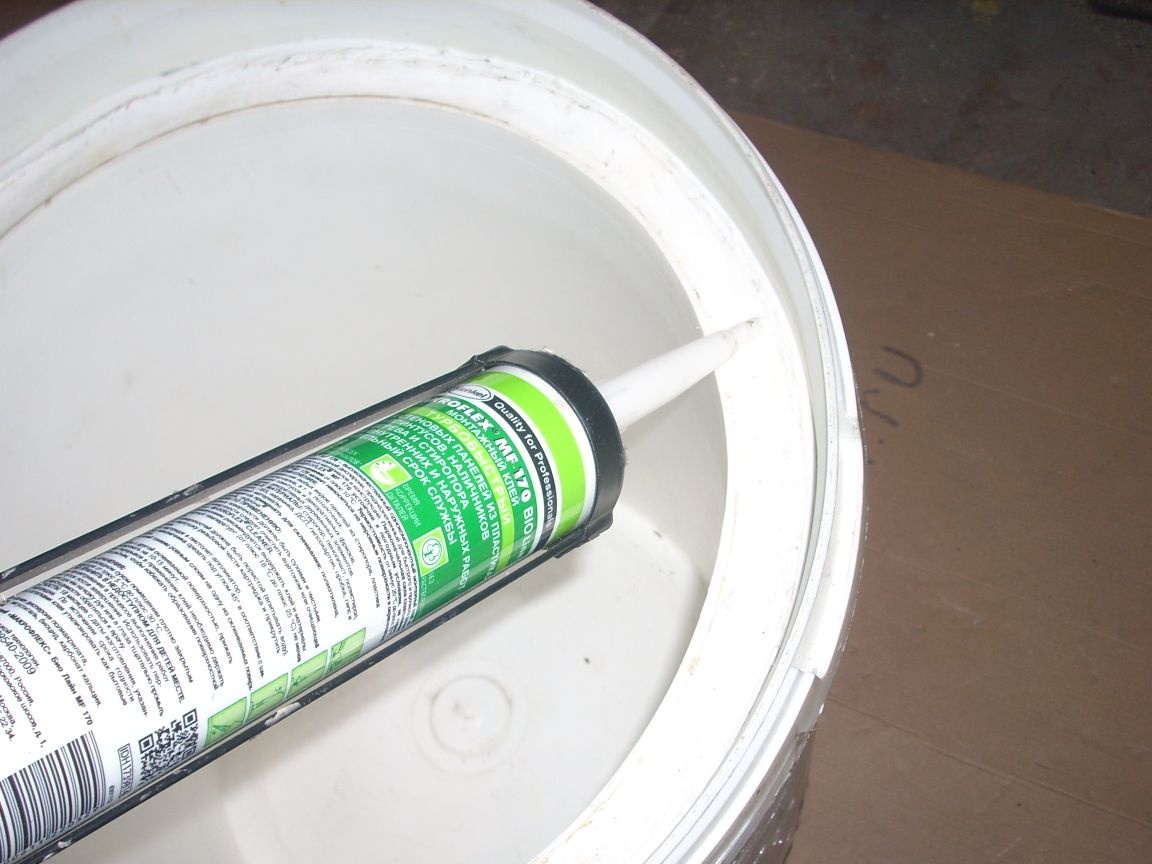
This must be done for two reasons: the hardened mounting foam must be protected from moisture and create a smooth "rubbery" elastic surface for a snug fit.
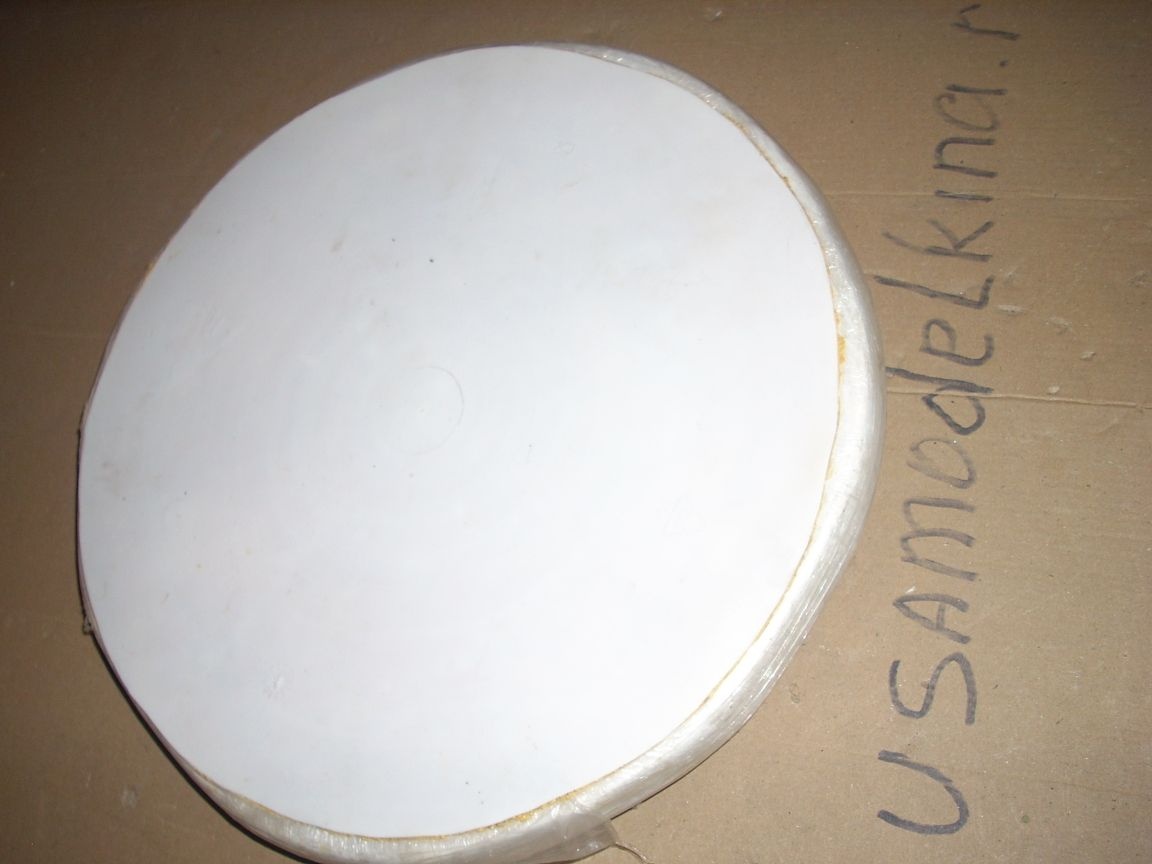
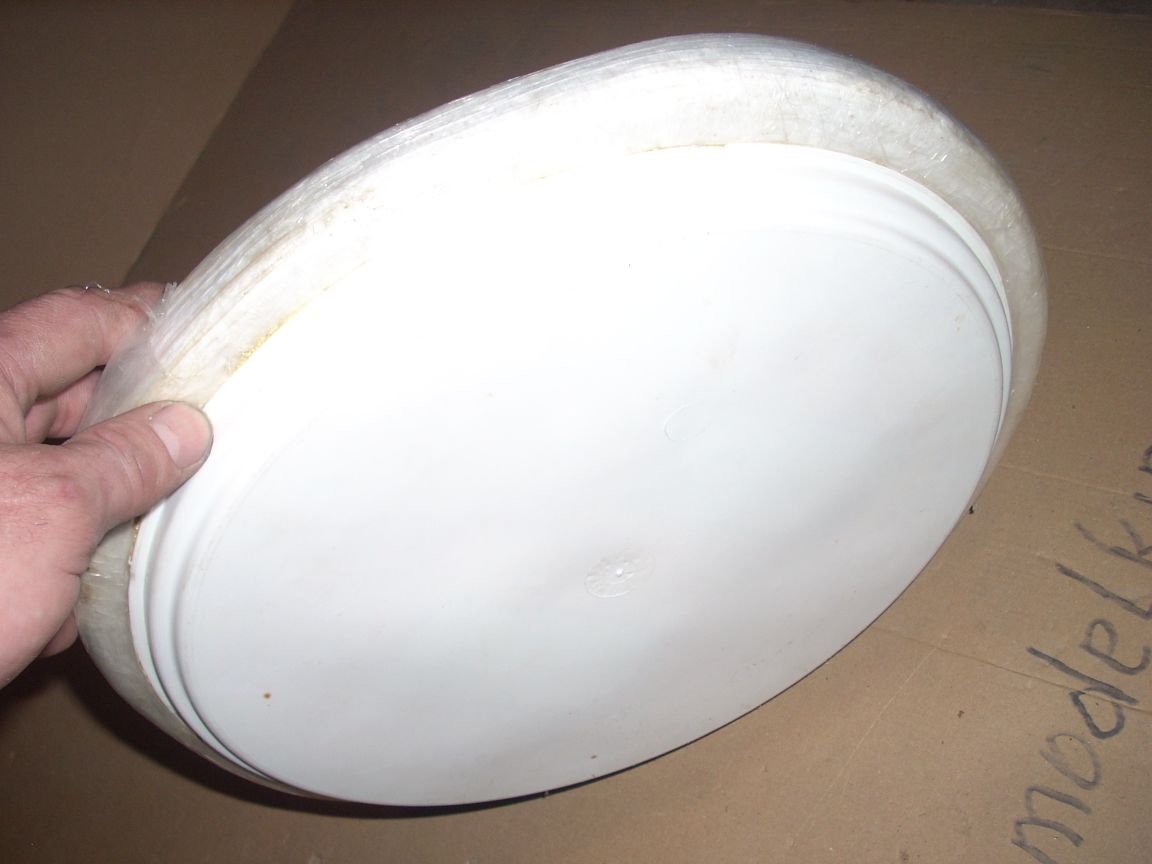
We also need to insulate the lid. To do this, I cut a circle of polystyrene 30 mm thick, with a diameter equal to the diameter of a large bucket in its upper part. Since polystyrene is an easily destructible material in order to increase the strength of the lid, as well as protect the polystyrene from moisture, I tightly, pulling heavily, wrapped the resulting circle with a stretch film in several layers. And yet, I stuck a plastic circle on top with a “quenched” mounting foam (cut from the lid of an extra large bucket) and a lid of a small bucket with a trimmed bottom edge. Here is such an insert I got:

To protect from direct sunlight, I pasted a bucket with foil foamed polyurethane, 5 mm thick. I used mounting glue ("Liquid Nails").
The outer top cover was glued with the same material. But, as it turned out when closing-opening, due to the curvature of the thin plastic of the lid, polyurethane peels off very quickly. After which I decided to just make a “cap” that will be worn on a closed bucket from above .... but I haven’t done it yet!))))))
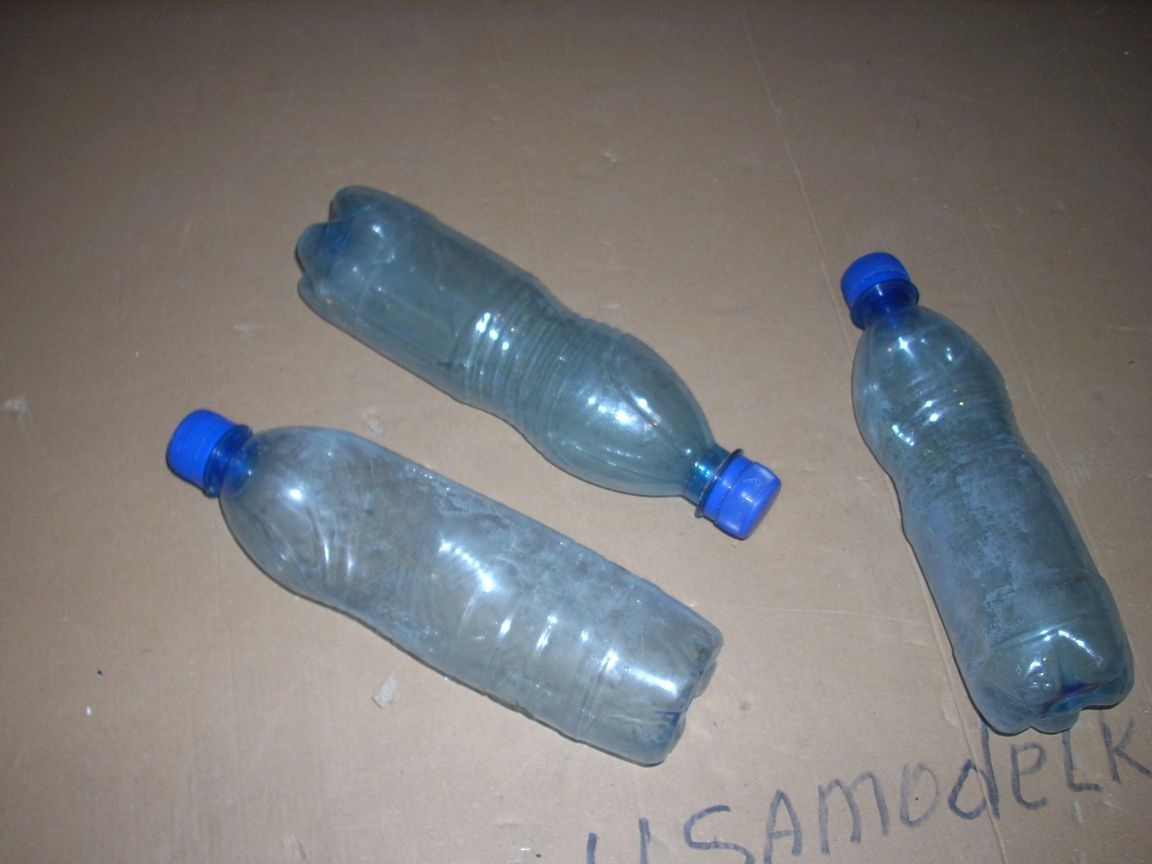
I would also like to tell you about the “cold accumulators" - the elements that freeze in a home freezer and, after placing them in an isothermal container, draw heat onto themselves, cooling its inside. On sale there are a great many of them. Mostly rectangular in shape, so it’s inconvenient to place them in our round container. Therefore, I decided to buy flexible ones - there are those on sale that represent a bag of dense elastic plastic filled with non-freezing liquid inside. But at the time when I first needed my “refrigerator”, I did not buy them, and therefore I managed with such small bottles of mineral water .... Yes, I use them like that))):
We have tried this “refrigerator” more than once in action: Chilled (and preferably frozen) products are laid down, put over with bottles of frozen water, then our insert is placed:
And the lid snaps shut:
Frozen meat, having been in the container for 3 days, has not yet melted !! This is despite the fact that it was +30 on the street, and the container just stood under the bush !!! The effect will increase at times if, upon arrival at the habitat, dig a hole to the size, place a container in it, and cover with a piece of polystyrene on top ...