We will need:
1. Actually, the screen itself. To do this, a piece of white tent fabric, or material for the production of stretch ceilings, is suitable.
2. A piece of sewer pipe with a diameter of 50 mm and a length equal to or greater than the width of our screen.
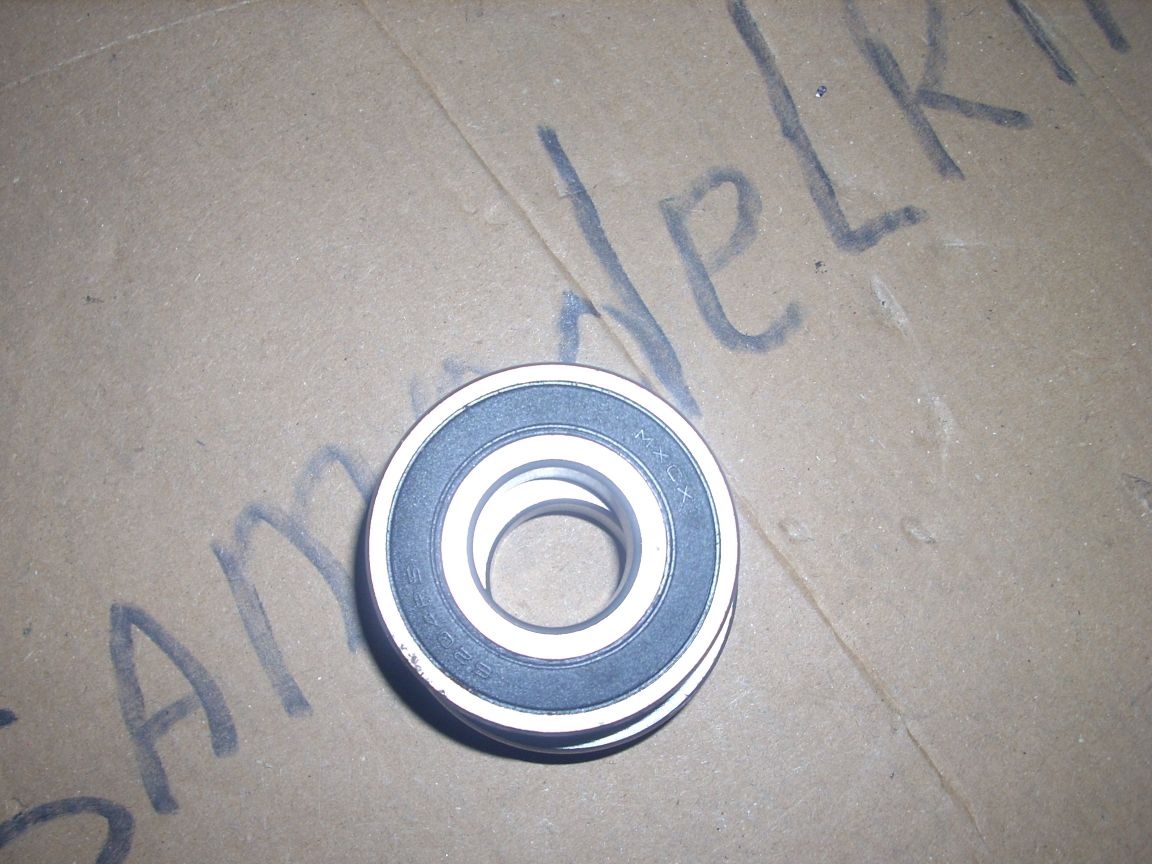
3. Two bearings 6204
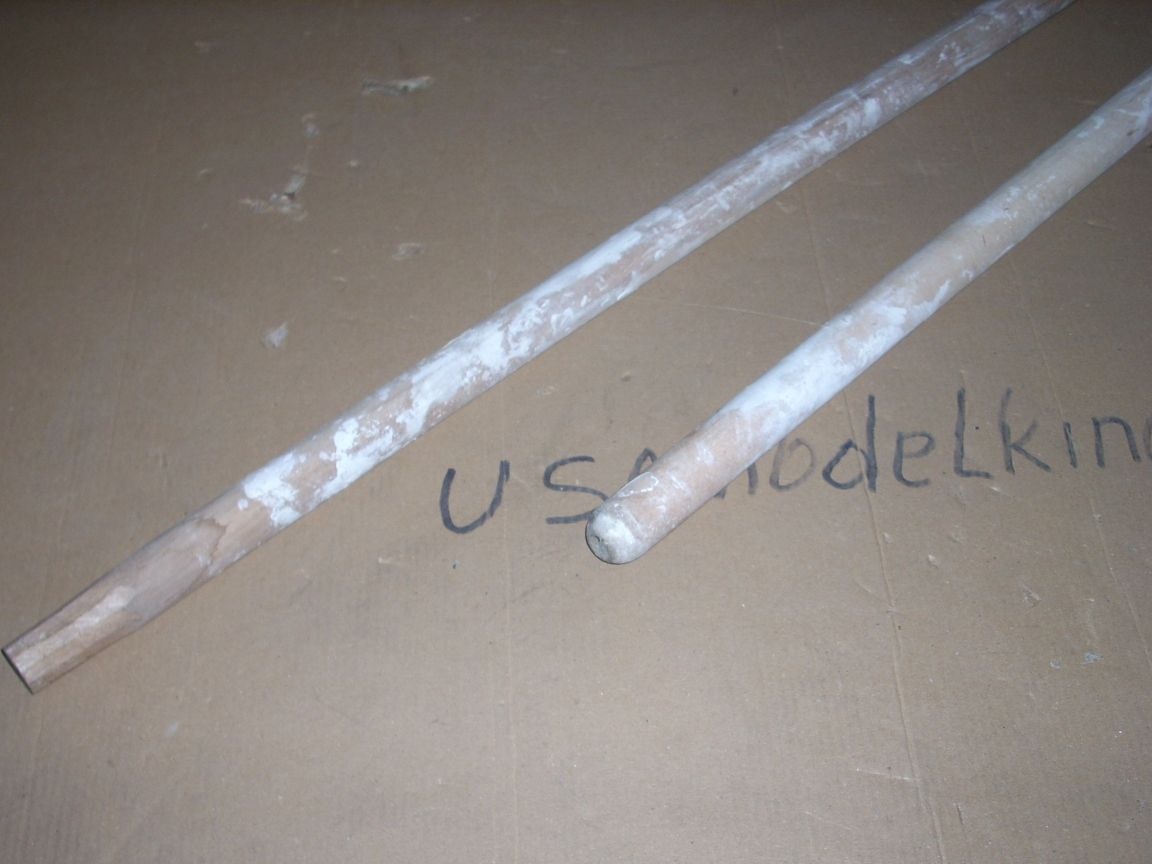
4. Two cuttings for agricultural tools.
5. Two twist-off caps from small jars.
6. Insulation tape.
7. A piece of twine.
So, let's begin. First you need to find the screen itself. As I said, for this you can use a white tent fabric, or material for the production of suspended ceilings. (In that case, take a matte one. Glossy material is very glare.) And you can also find the material we need by properties from advertisers - on this they print ads for billboards. I was lucky - after asking friends, I found a real screen from the "movie shift". True, he wallowed in the garage more than a dozen years, moreover, a piece has already been cut from it. But I nevertheless managed to cut a piece of the dimensions I needed - 140 by 115 cm. (Just in case, I kept the ratio of 4: 3, while laying the technical stock for fastening.)
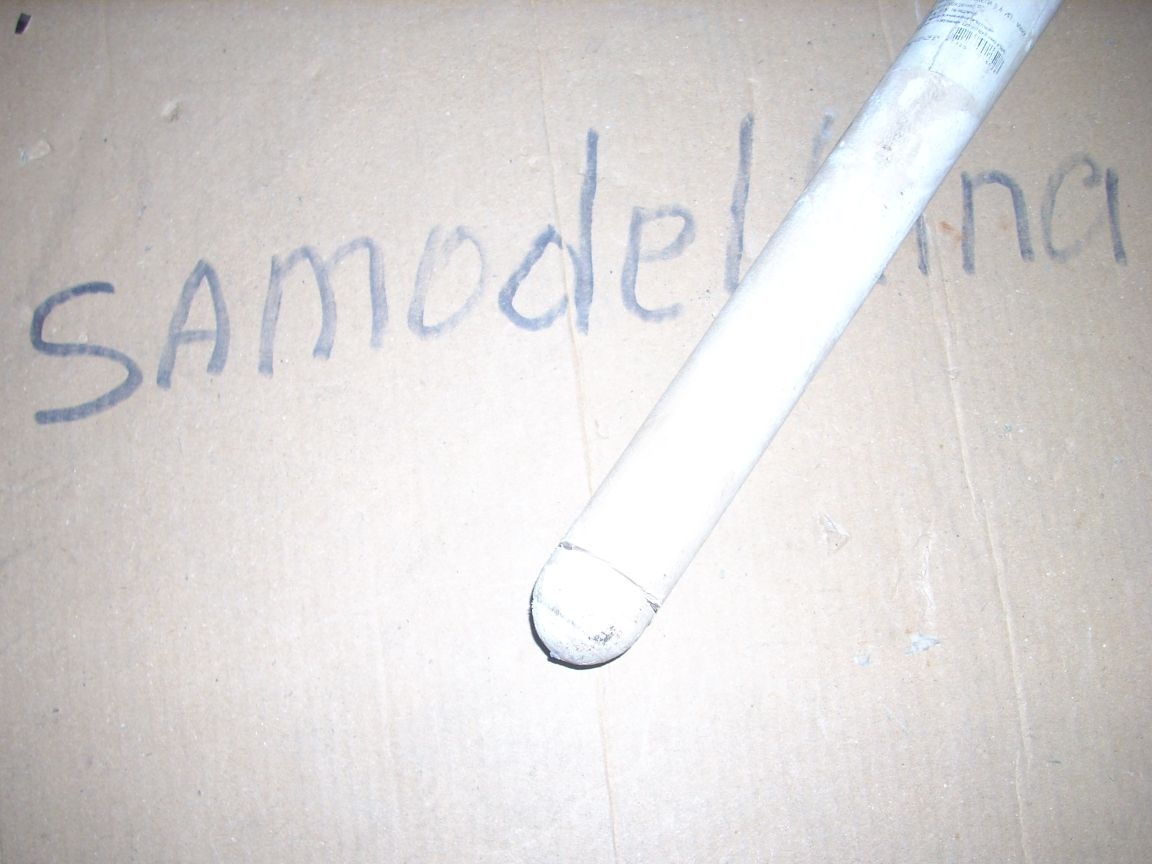
After the screen was found, I thought about what can be used as the axis on which it will be wound. The choice fell on such cuttings for agricultural tools with a diameter of 25 mm and a length of 1 m 50 cm. They were intended for hoes (according to the inscription on the price tag in the store), but I used them for paint rollers when painting walls. Therefore, they are in this form. But this does not bother us:
First, I cut a piece of the handle, the length equal to the width of my screen, plus two bearing widths. Then he made bearing seats. To do this, I first made a circular cut with a hacksaw:
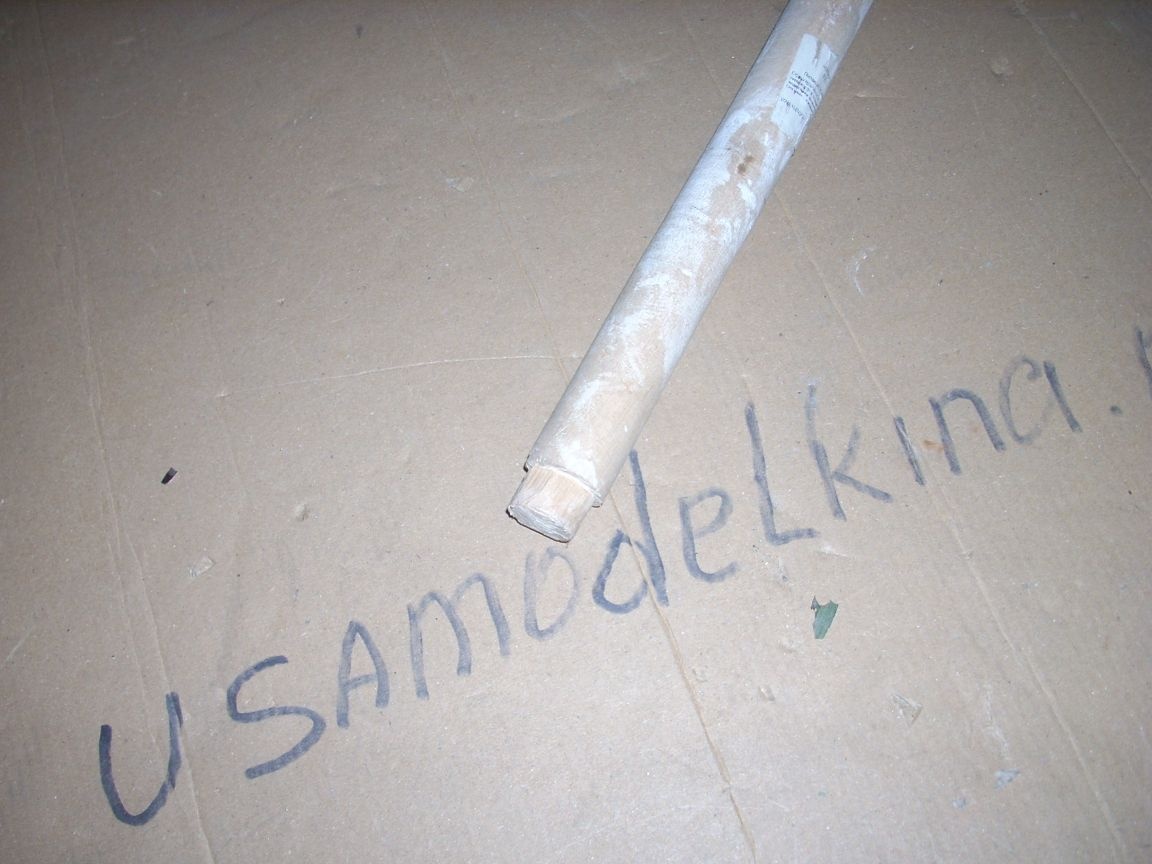
Then he cut off the excess thickness with a knife, making sure that the residual diameter was equal to the diameter of the inner race of the bearing, and he fit tightly onto his seat:
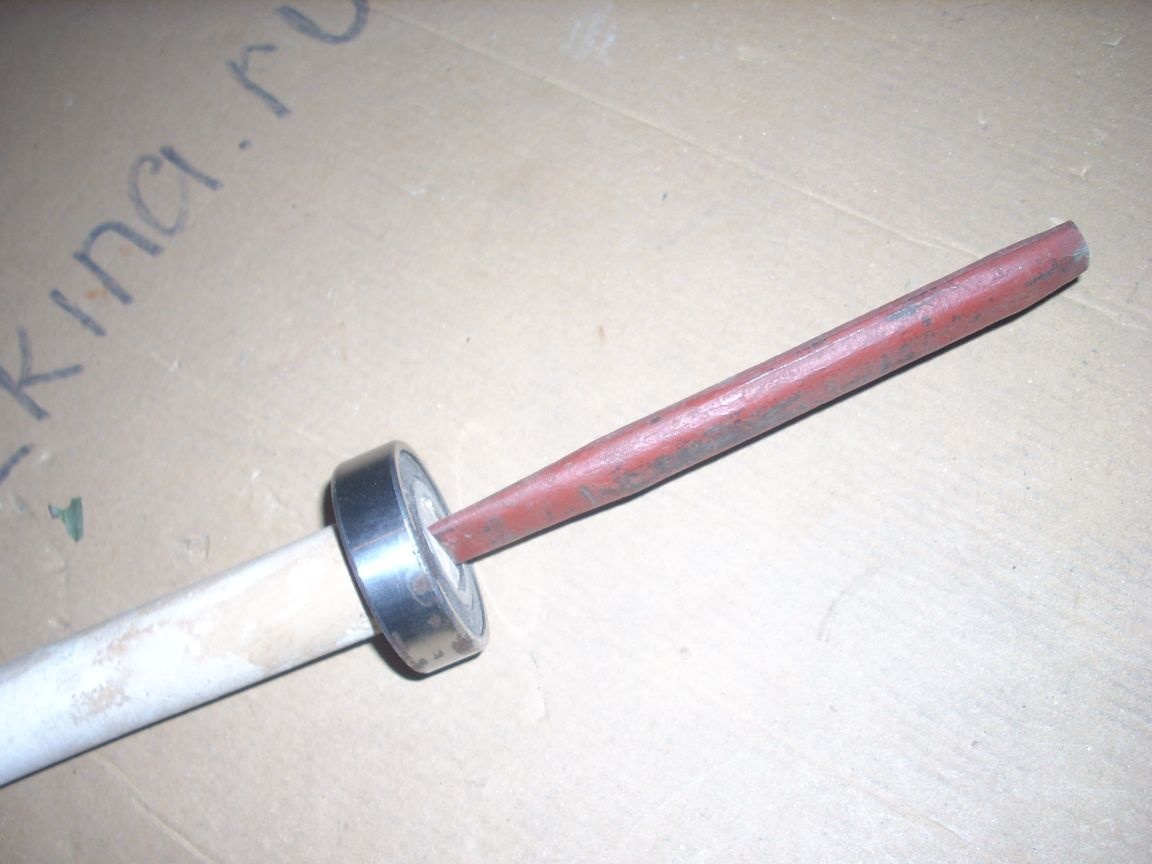
After that, I put on the bearing and tightened it tightly. To do this, I chopped a stalk with a chisel:
Then he threw a prefabricated wooden wedge into the slot:
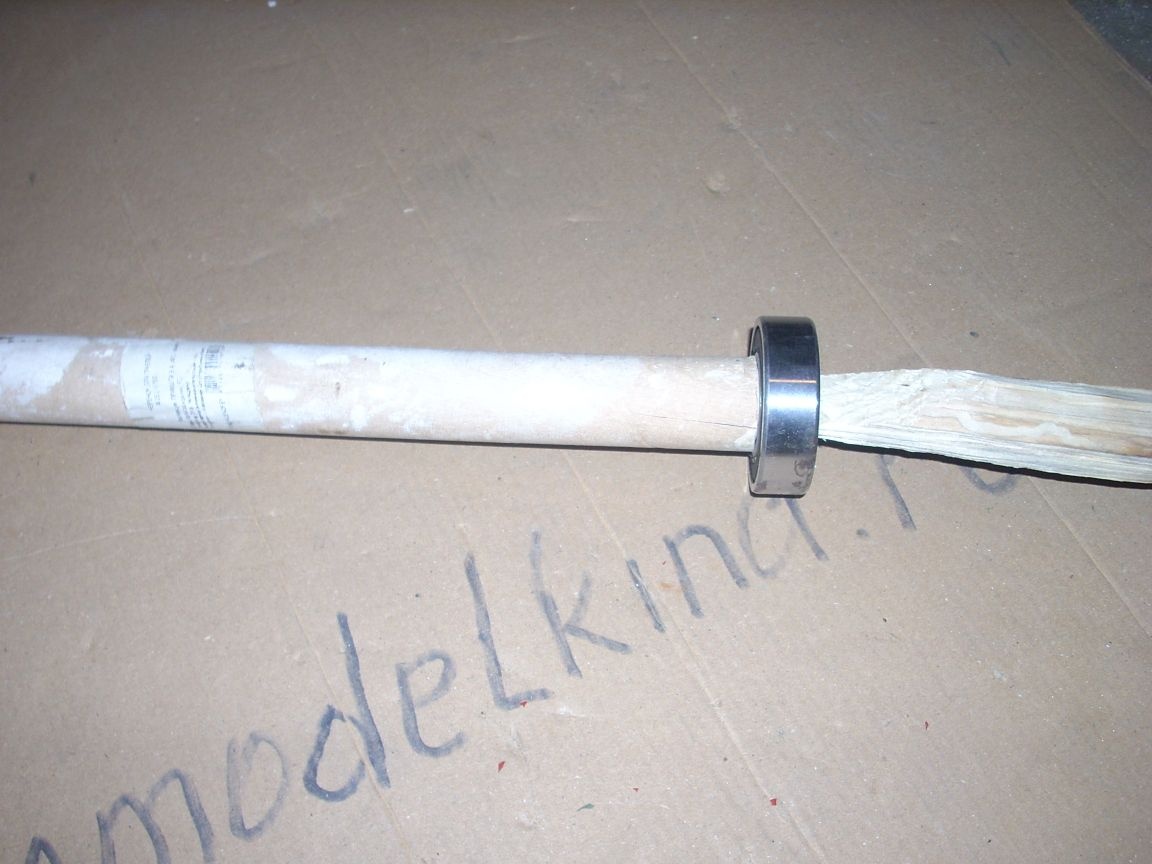
And cut off the excess:
I wedged only one bearing. The second has not yet been dressed.
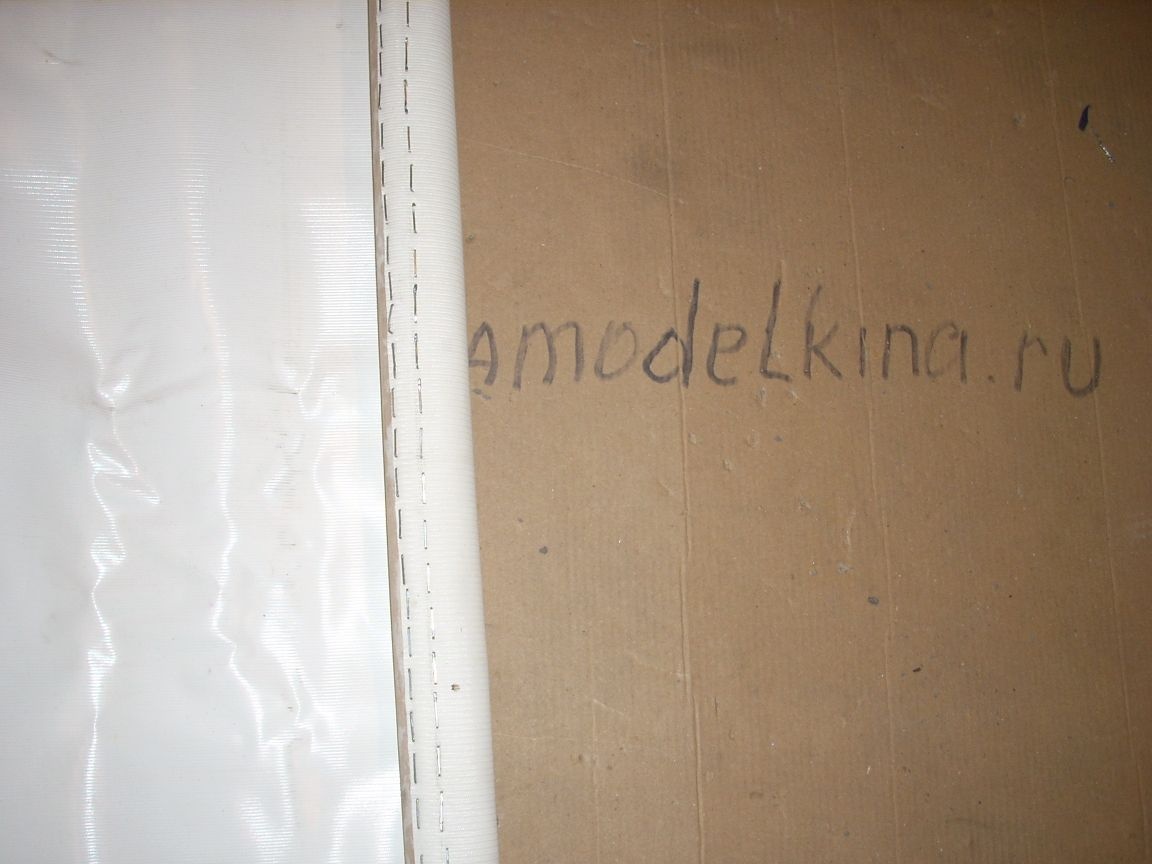
Next, using a stapler, I attached a screen to our axis:
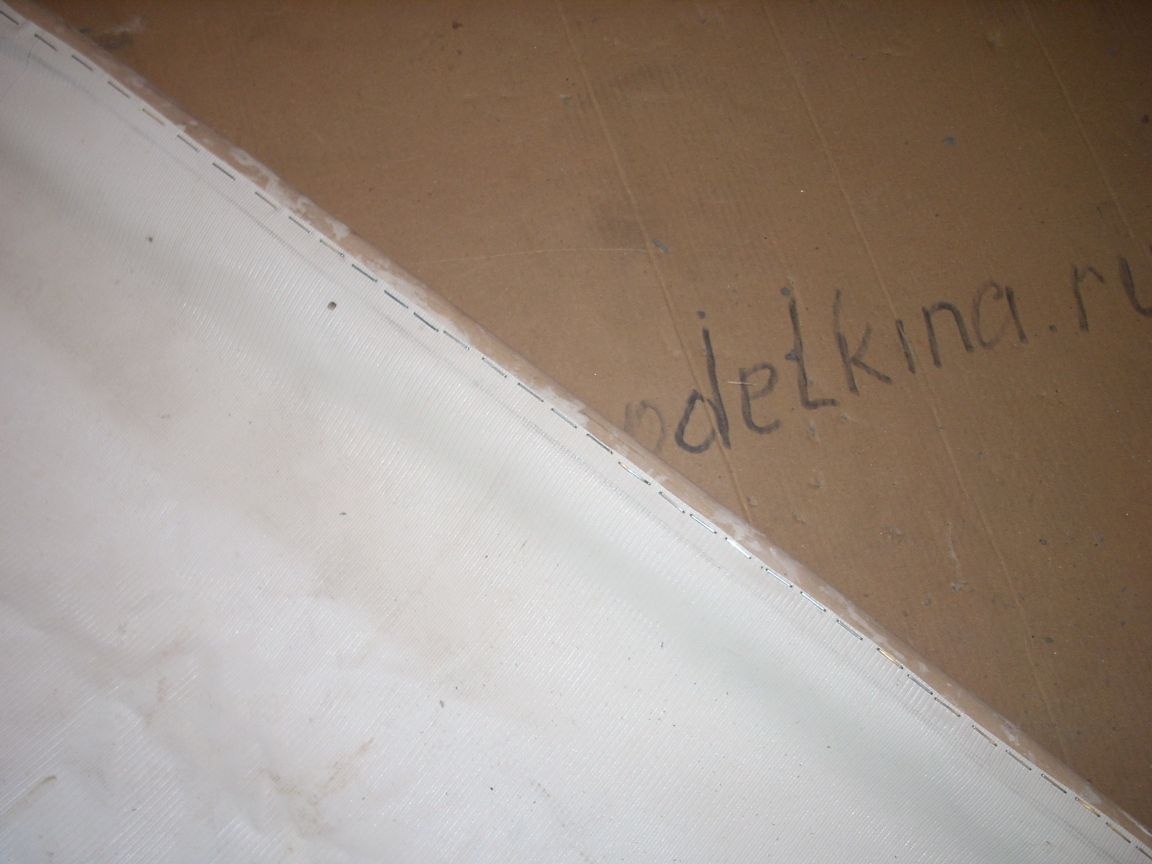
For reliability, I fixed the second row of staples:
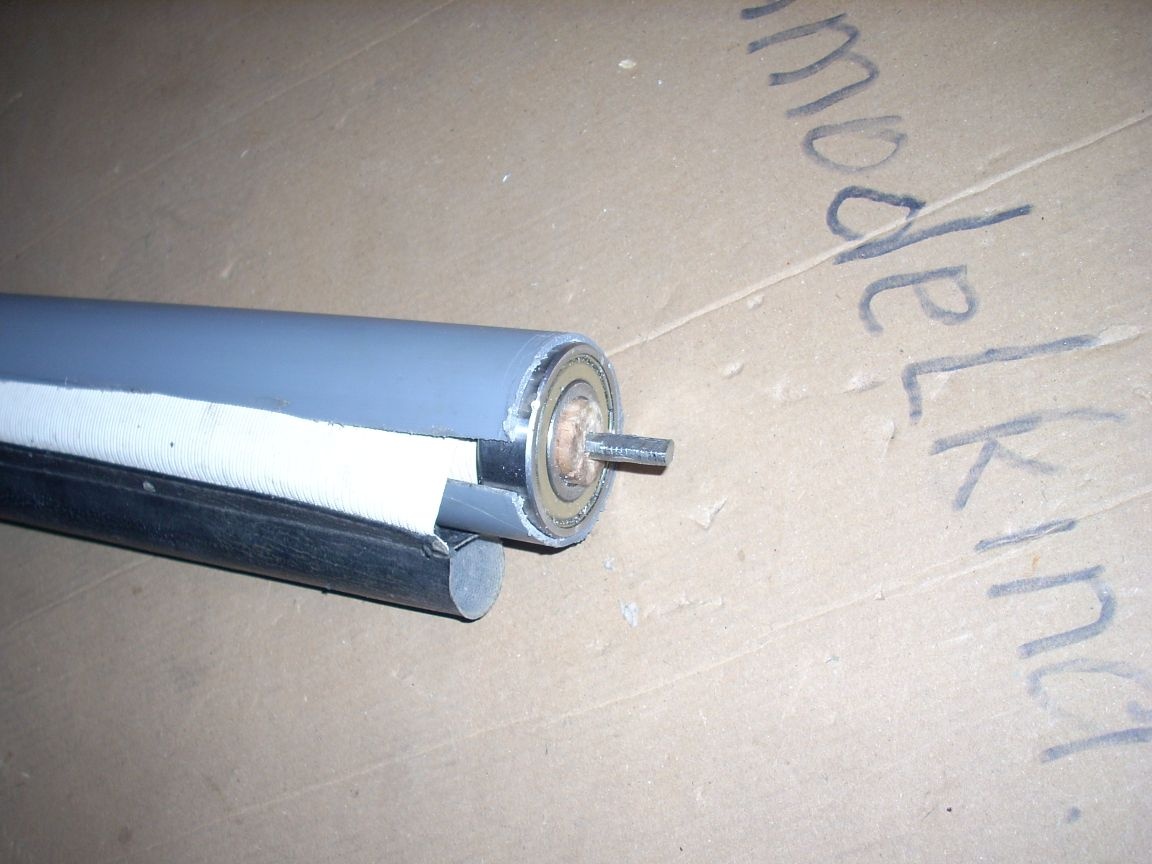
After that, I wrapped the screen on the resulting axis, put it aside for now, and started making the casing into which the screen will hide. I decided to make it out of a plastic sewer pipe with a diameter of 50 mm:
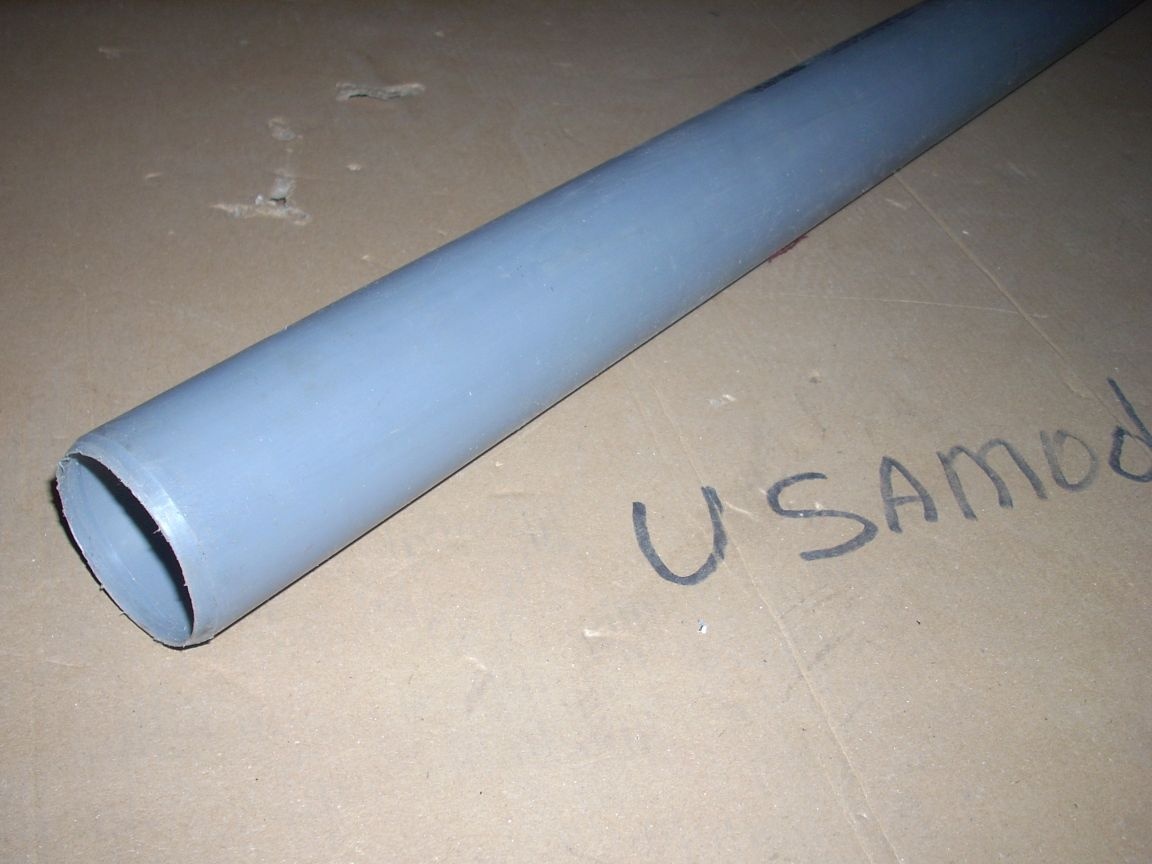
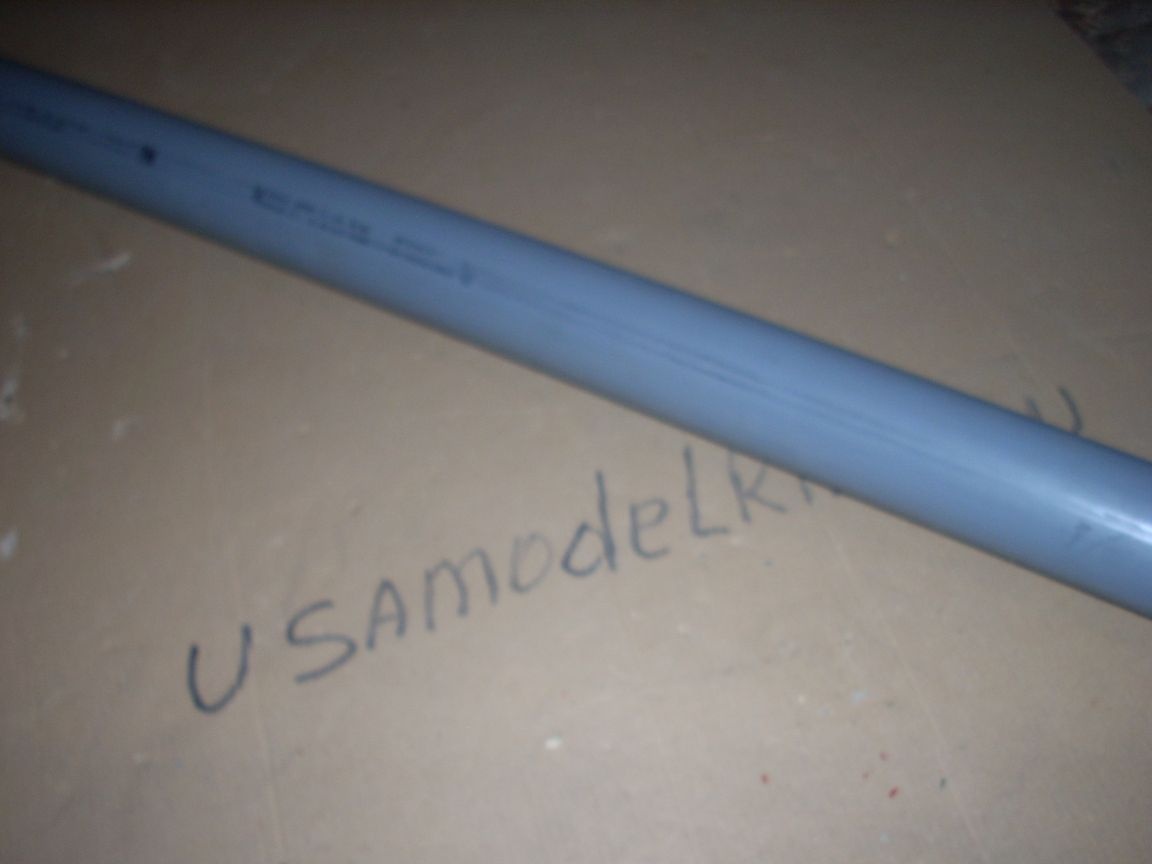
To begin, I cut a piece of pipe, the length I needed, then marked on it two longitudinal lines, about a centimeter apart. As a guideline, so as not to lead the lines "into a spiral," I used technological inscriptions on them.
With the help of a grinder, I made a cut along these lines and cleaned it with a technical knife and an emery cloth.
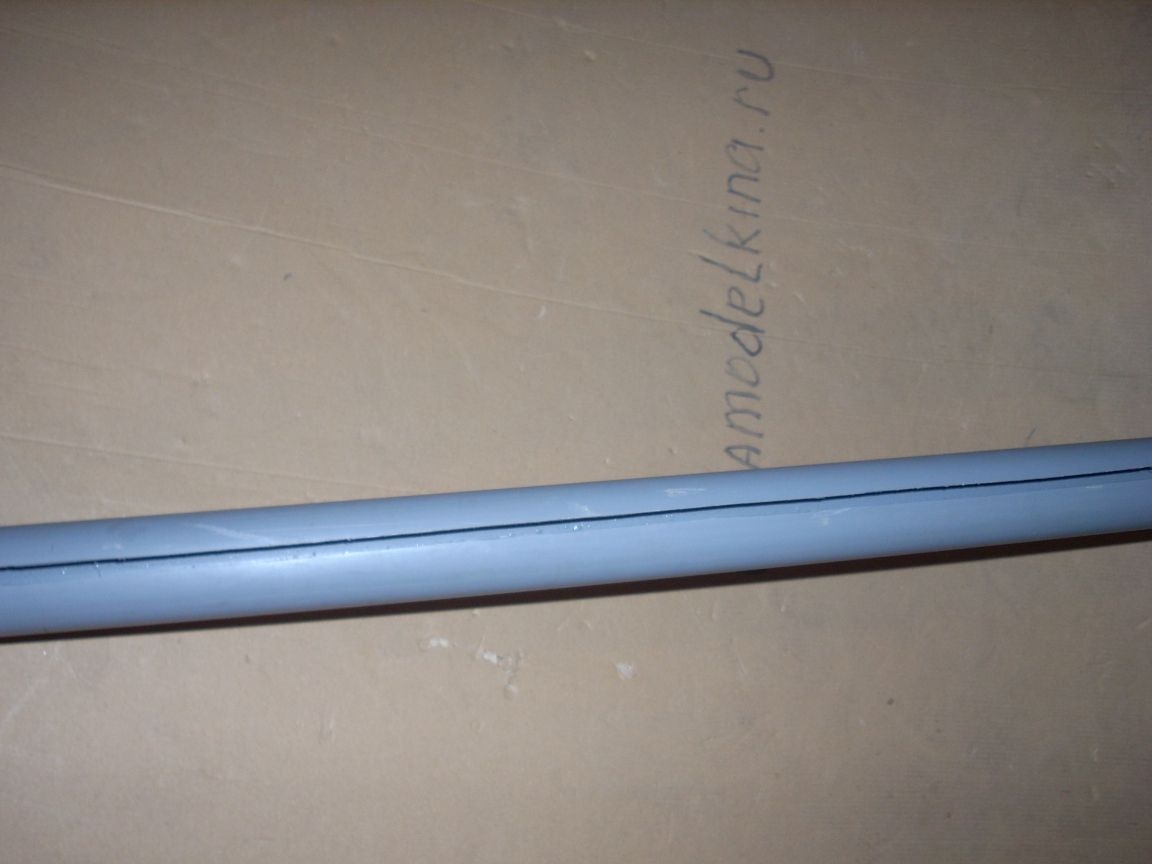
Attention: after cutting, a lot of garbage remains inside the pipe. It must be removed by pushing a wet rag through the pipe several times.
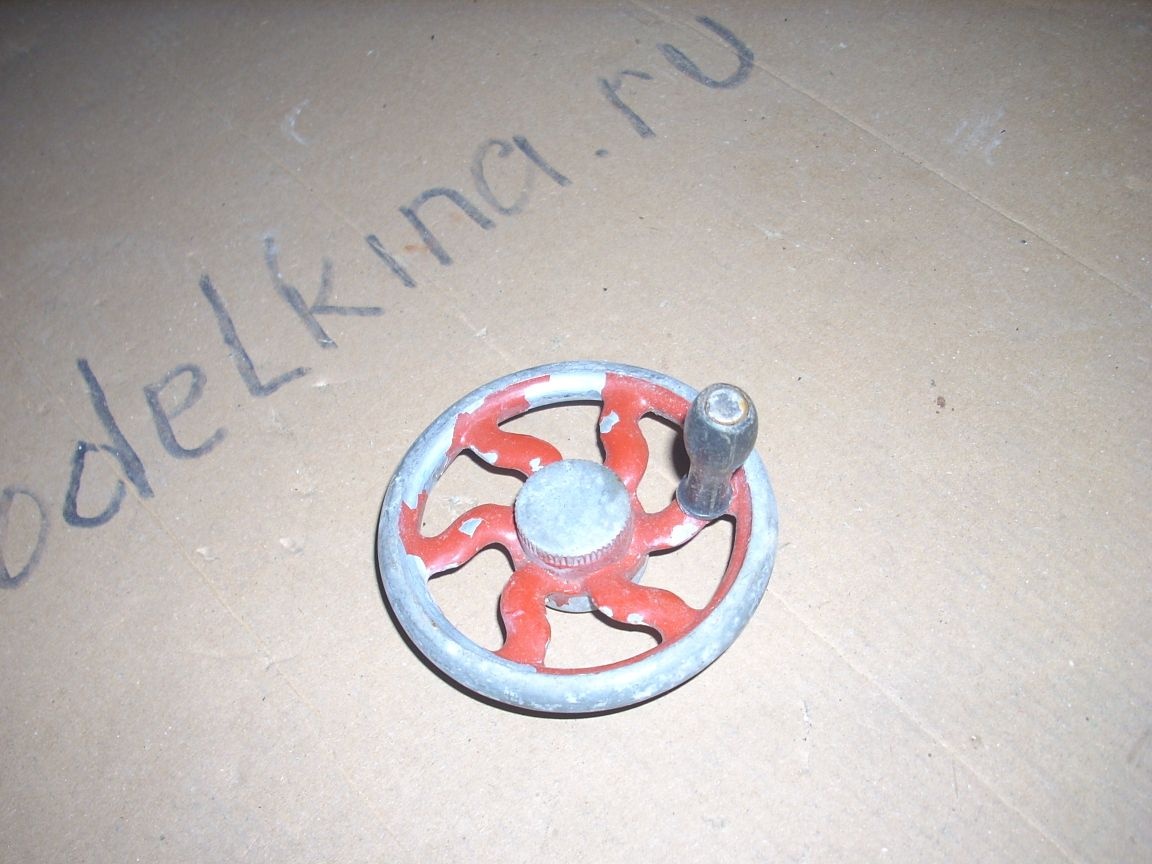
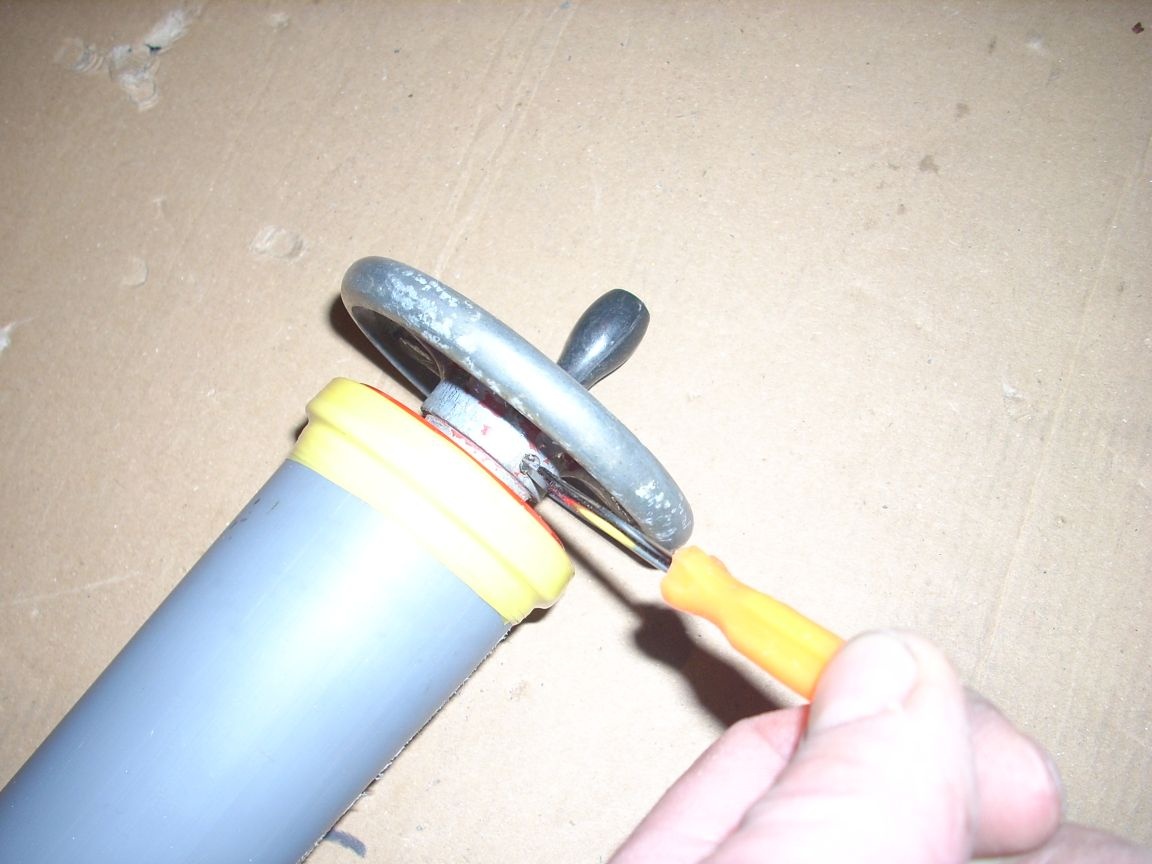
Next, we insert our screen into the resulting casing, passing the edge through the slot and put on the other side the second bearing. On this side, we need to make a flywheel to wind the screen into the casing. I had this handwheel lying around from a children's toy sewing machine:
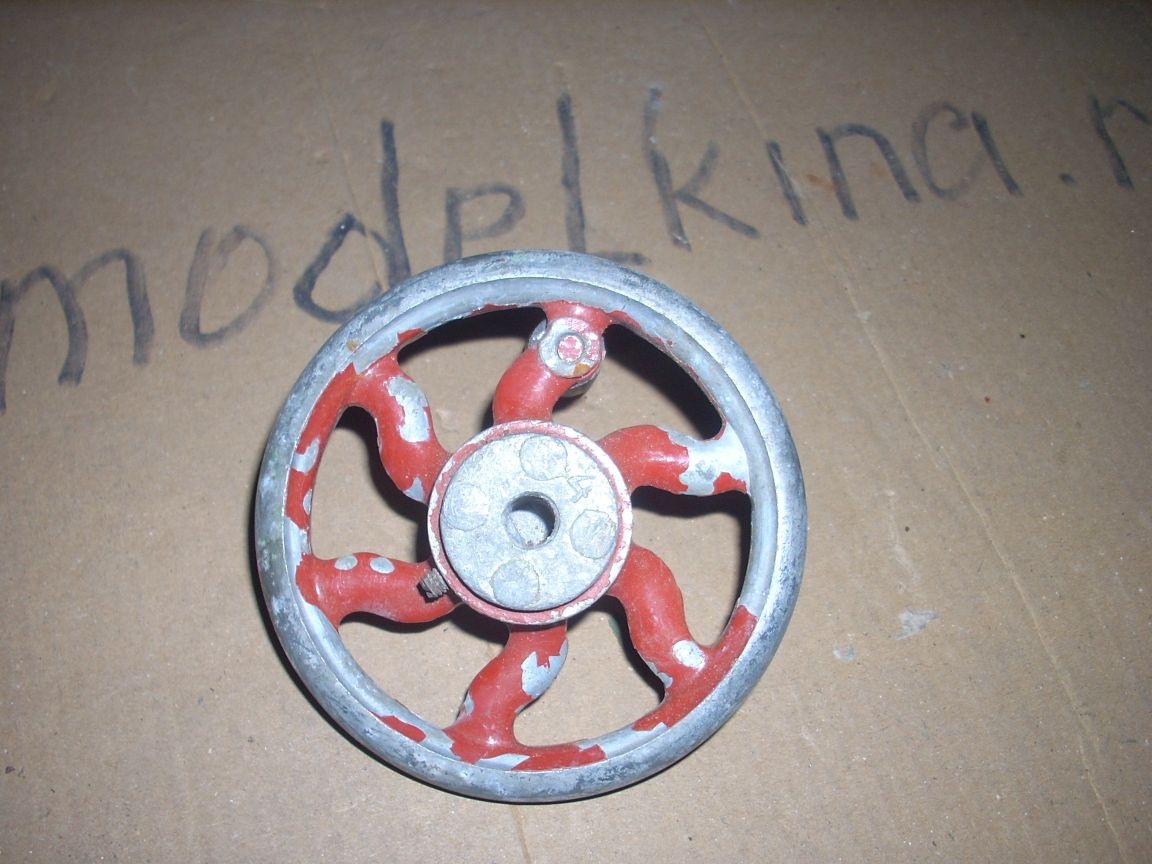
To mount it, I used this pipe mount:
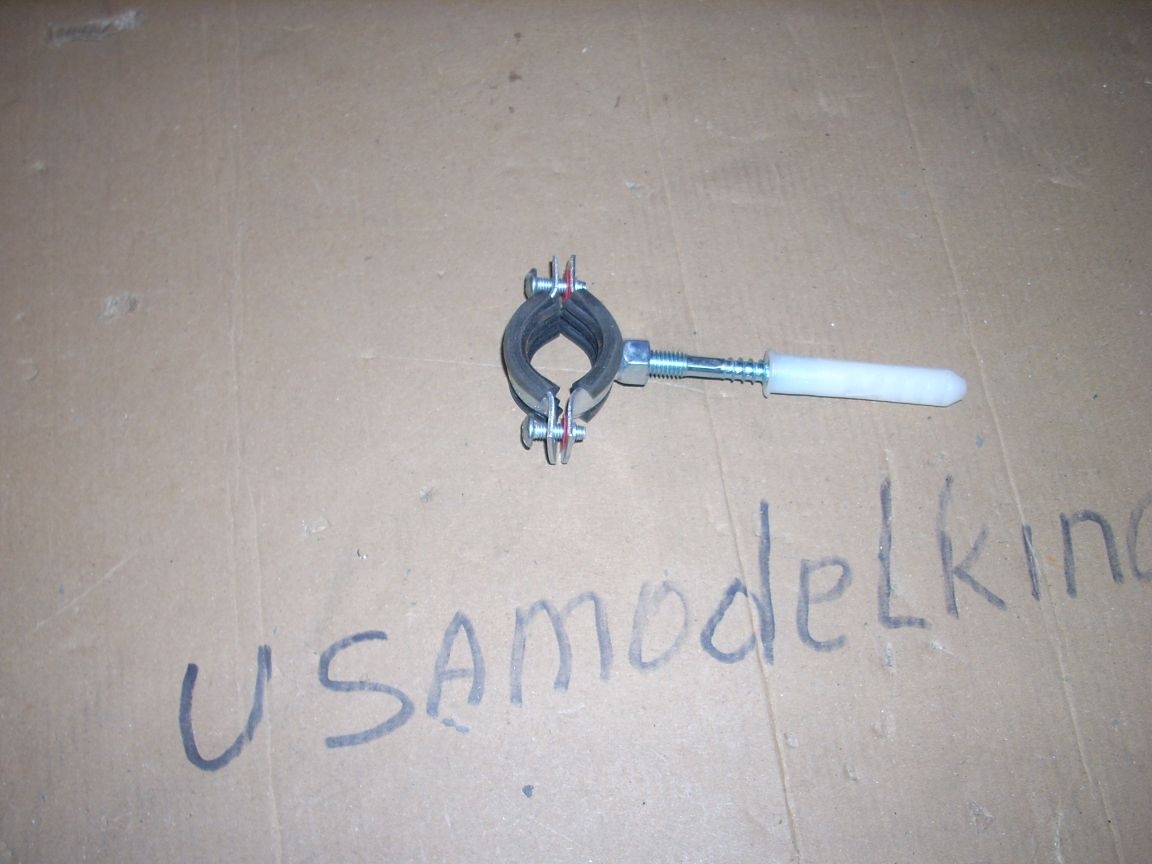
From it we need only this part:

Since the handwheel has a hole for the axis with a diameter of 6 mm, and on our mount a threaded part with M8 thread, I eased the diameter on emery and made a side stitch. After that, I drilled a hole in the end of the axis on which the bearing was dressed using a 4 mm drill and screwed the resulting part with force:
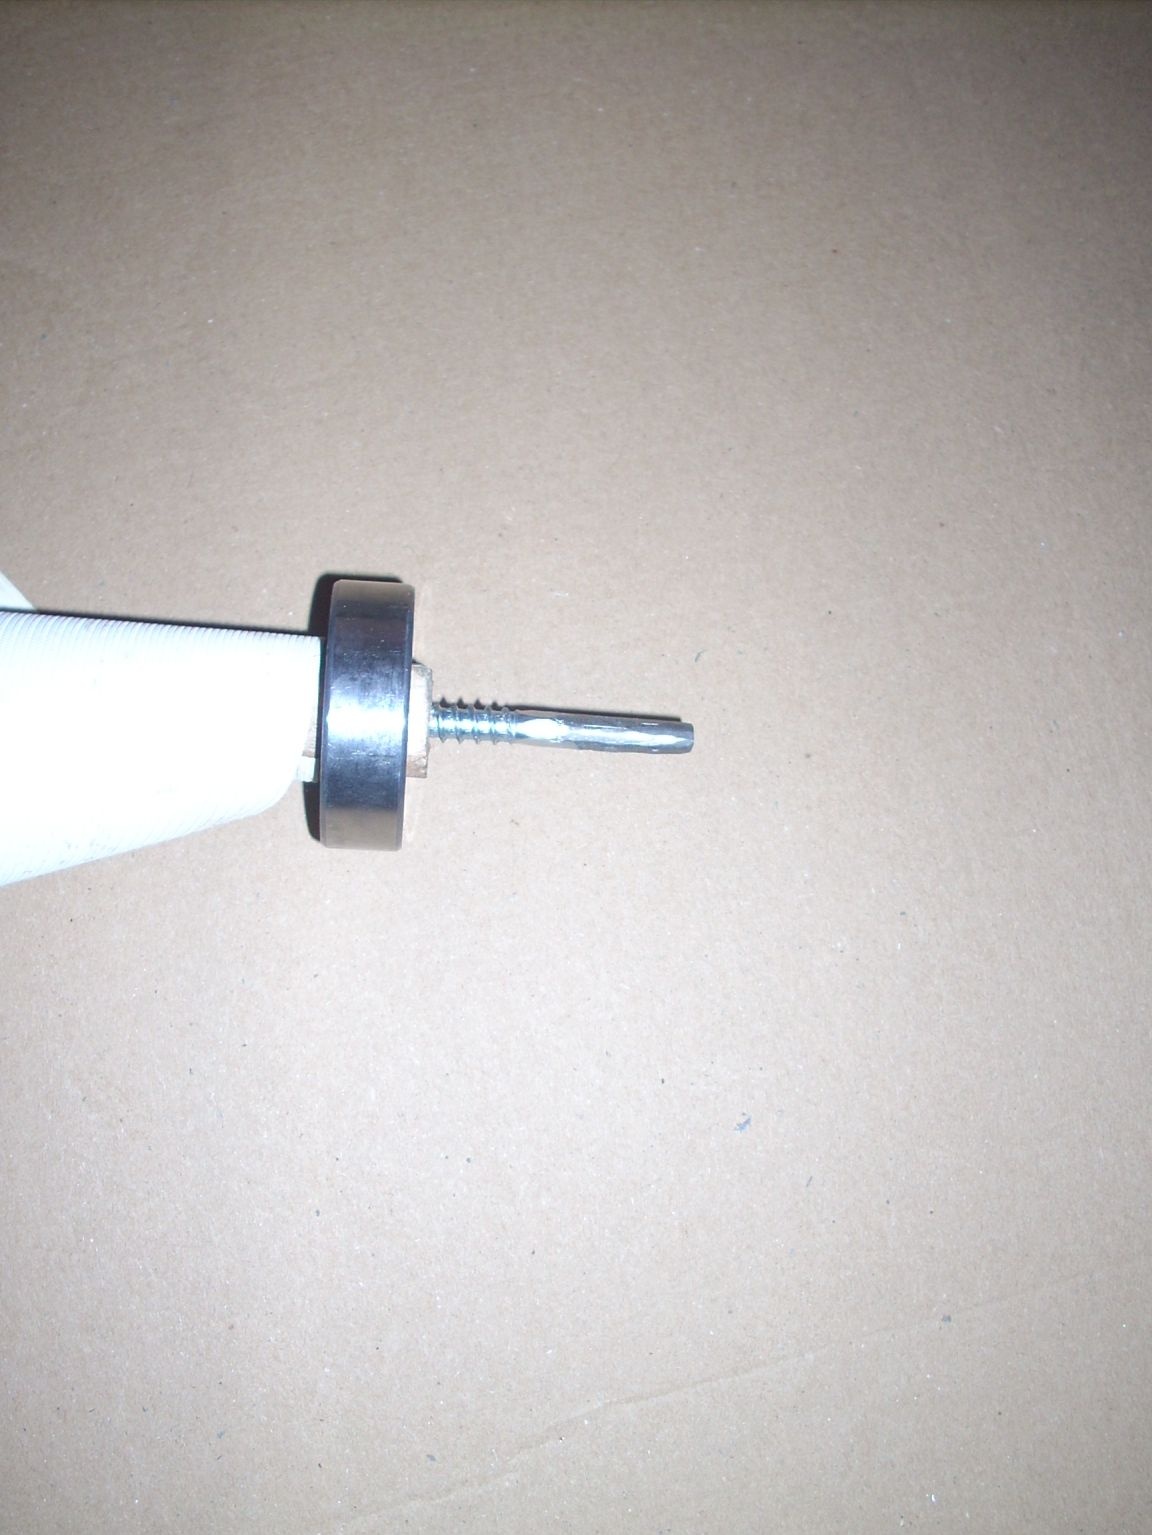
I specifically used a drill of a much smaller diameter - turning, the part tightly wedged the bearing.
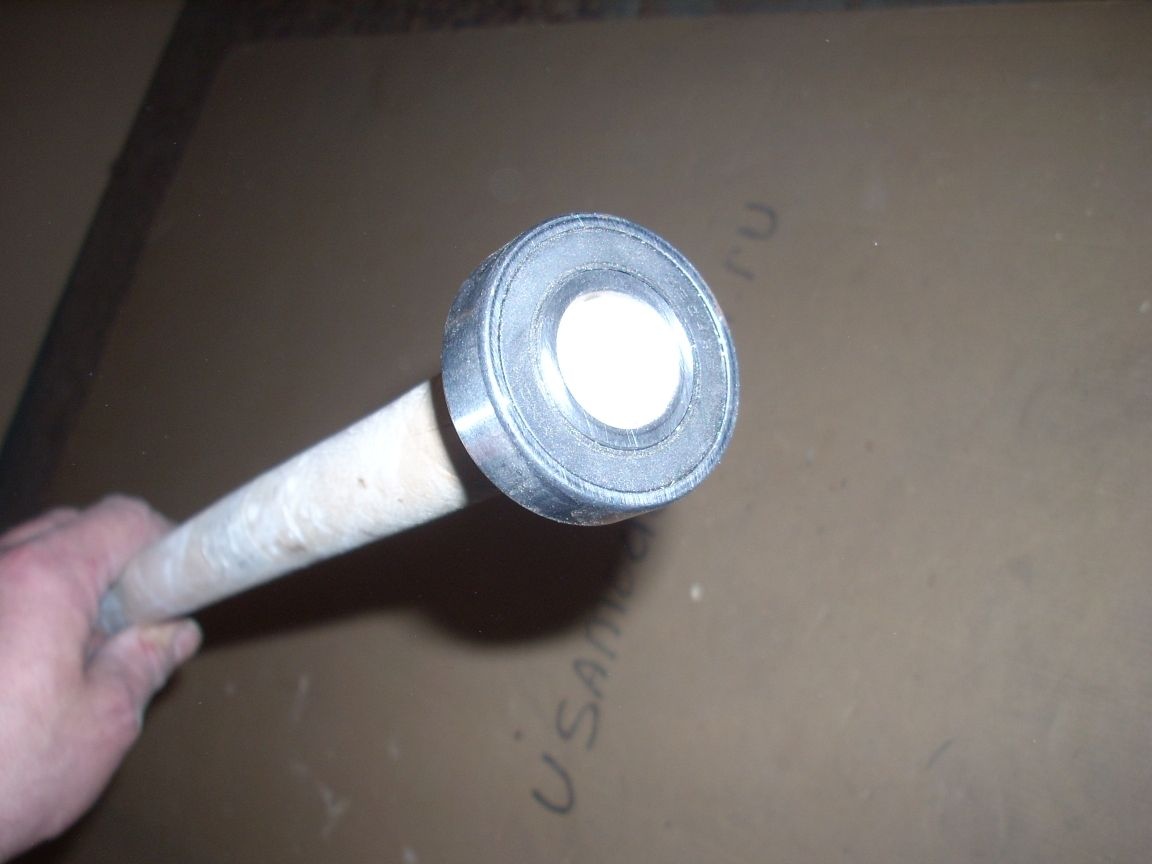
After that I made stubs. I made them from such covers from jars of mustard:
In one of them I made a hole for the shaft:
Reeling up the electrical tape, I tightly screwed the covers on both sides:
And for reliability, I also wrapped insulating tape on top:
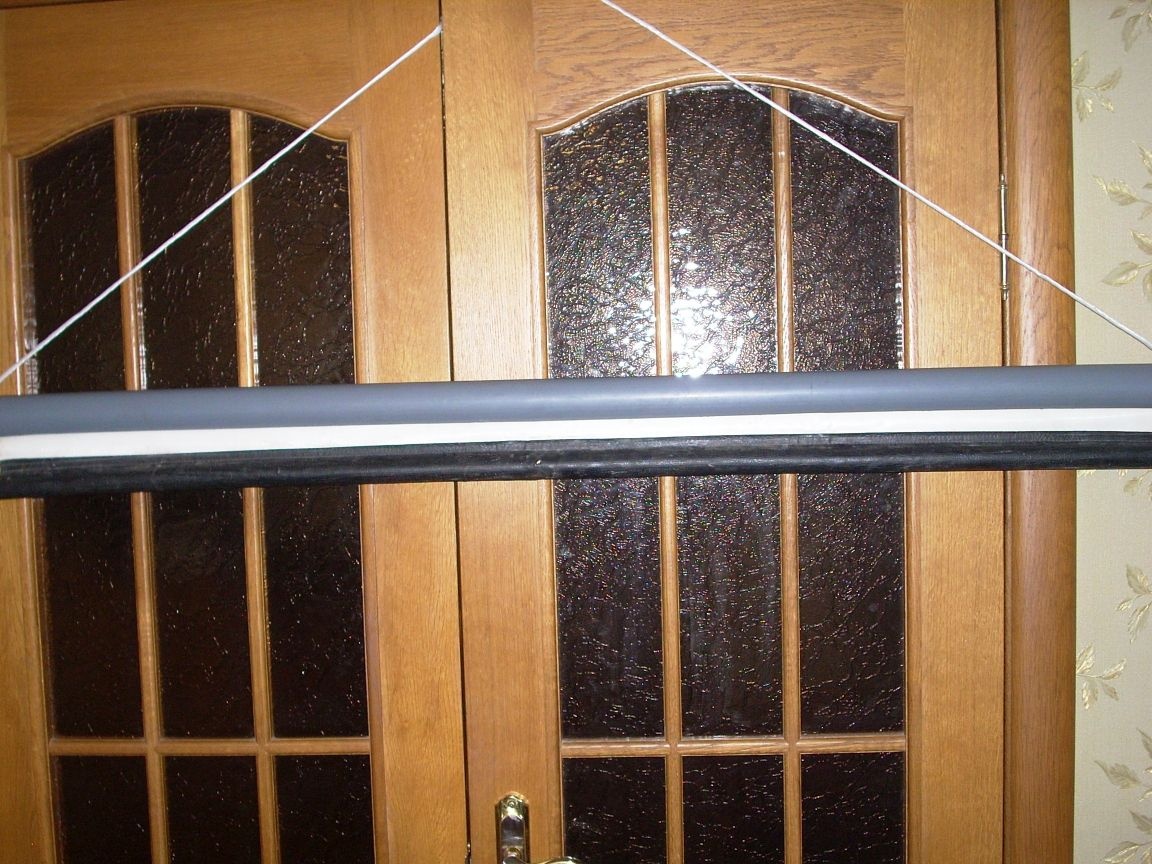
Next, I fixed a piece of twine on which our screen will hang. I just tied it to both ends of the casing and taped these places with tape so that the twine did not move to the center. Then fixed the flywheel:
You, of course, are unlikely to find such a flywheel. Therefore, I advise you to make it as follows: cut a circle from plywood, 10 mm thick, attach it with two screws to our wooden shaft, and screw a screw at its edge (or use a bolt with a nut) with a pipe on it - it will perform the role of the handle. That's exactly how I wanted to make a handwheel, until I remembered about the finished one ..
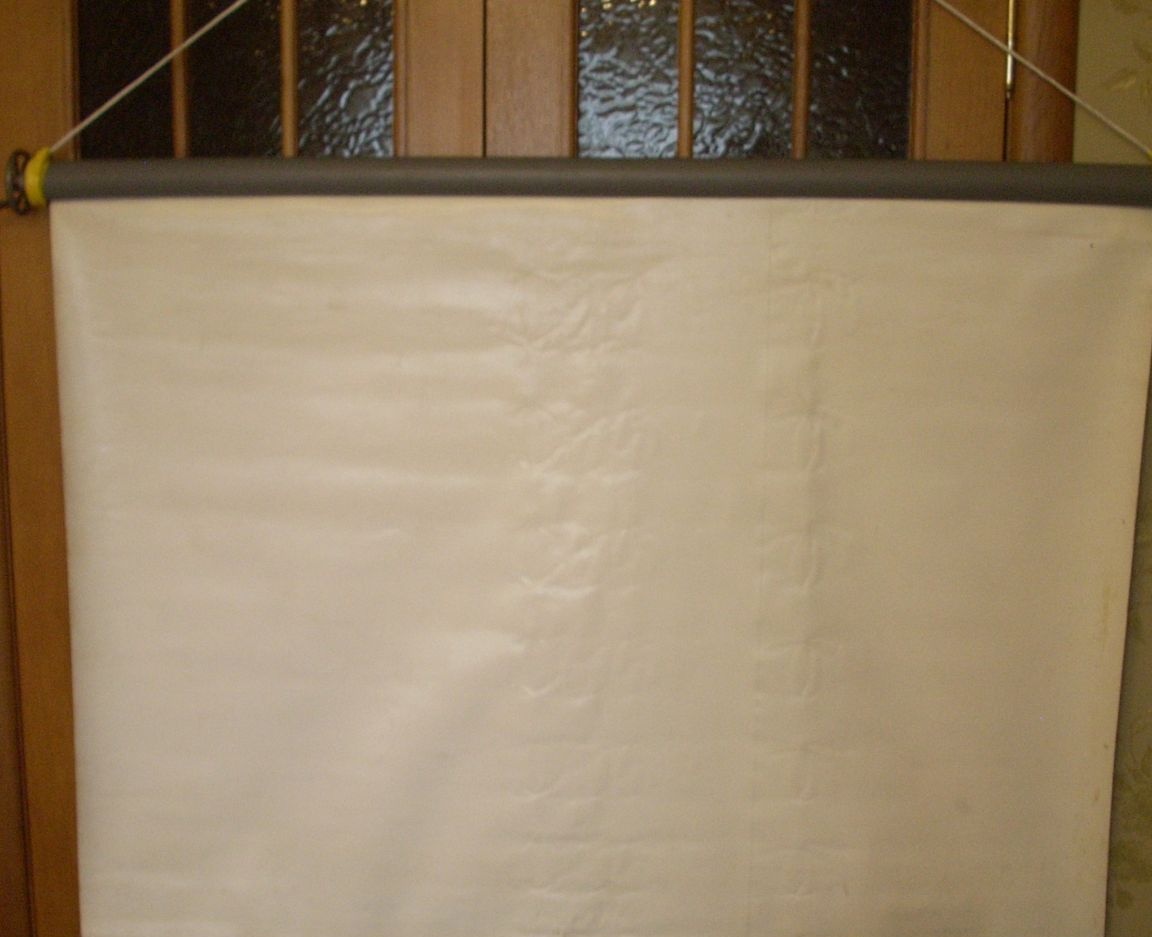
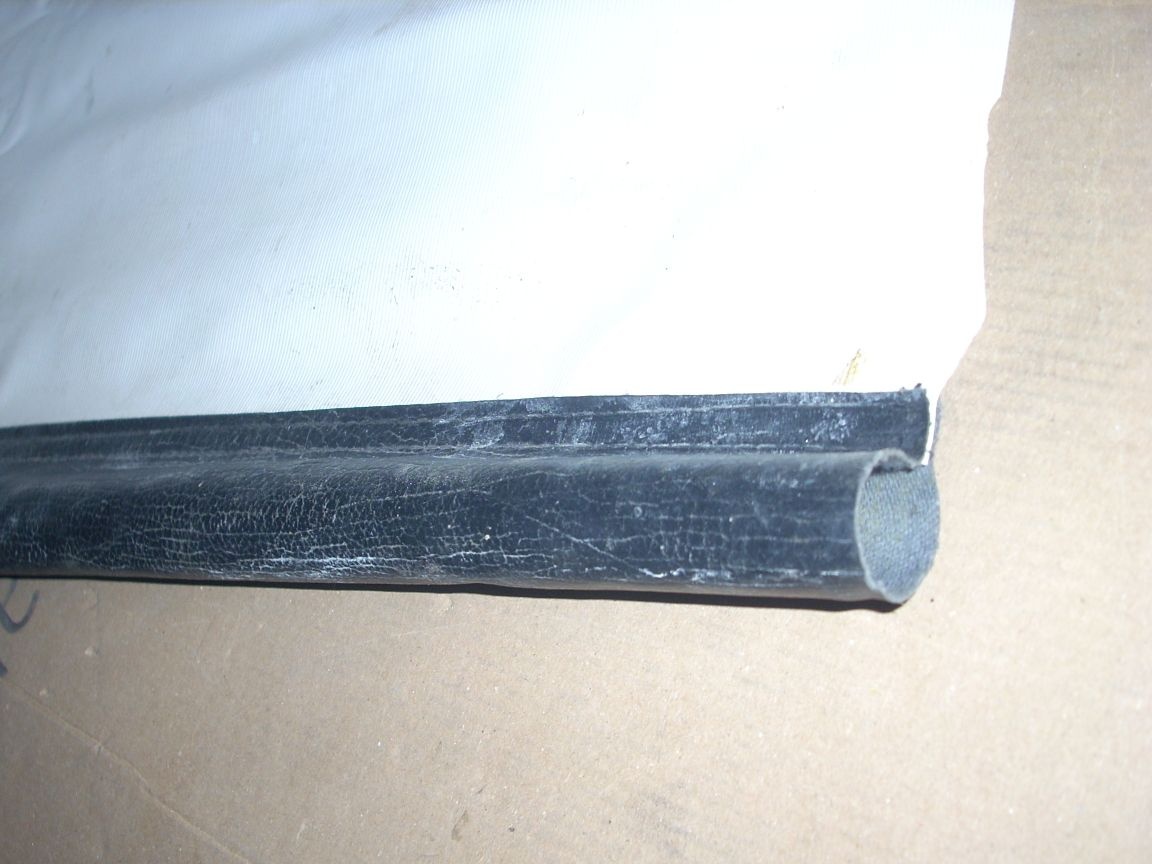
It remains to fix the second handle to the bottom edge of our screen. As I mentioned, I got a piece of the real screen, so this part was already sewn along the edge:
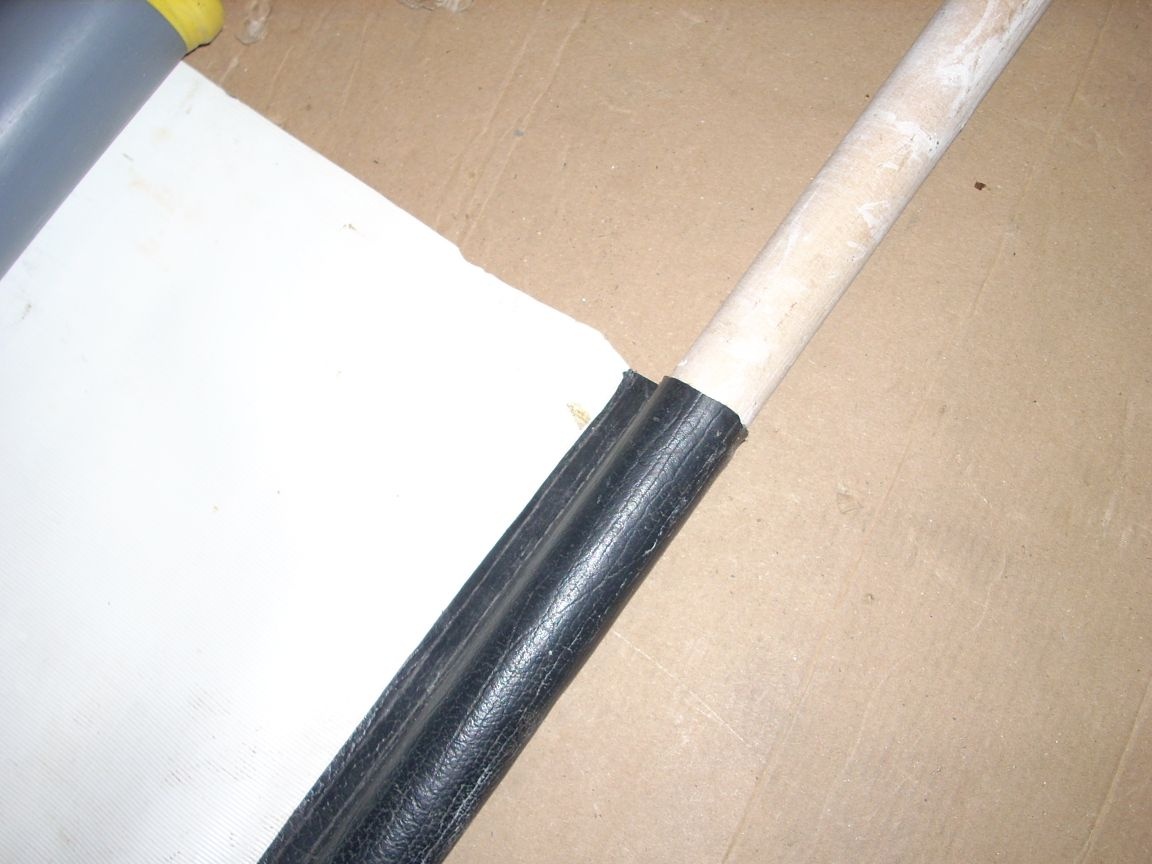
So I just put the handle in it:
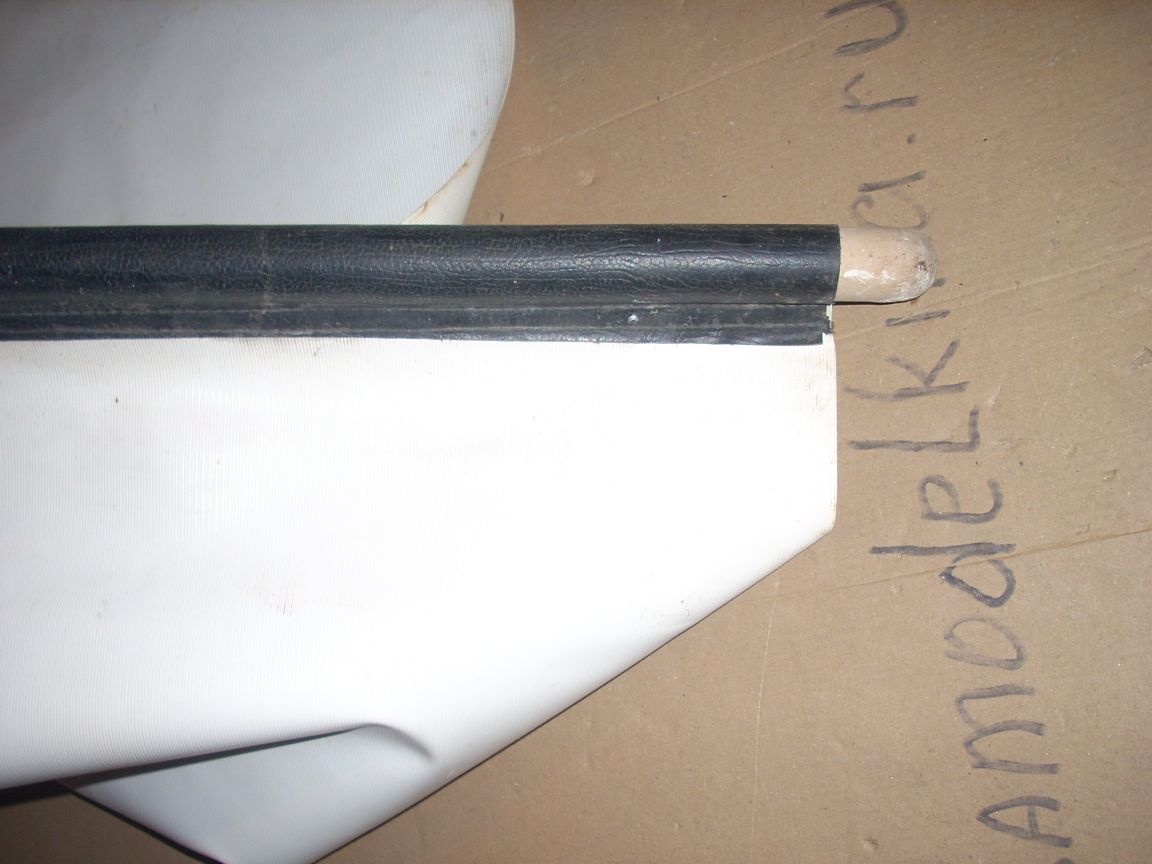
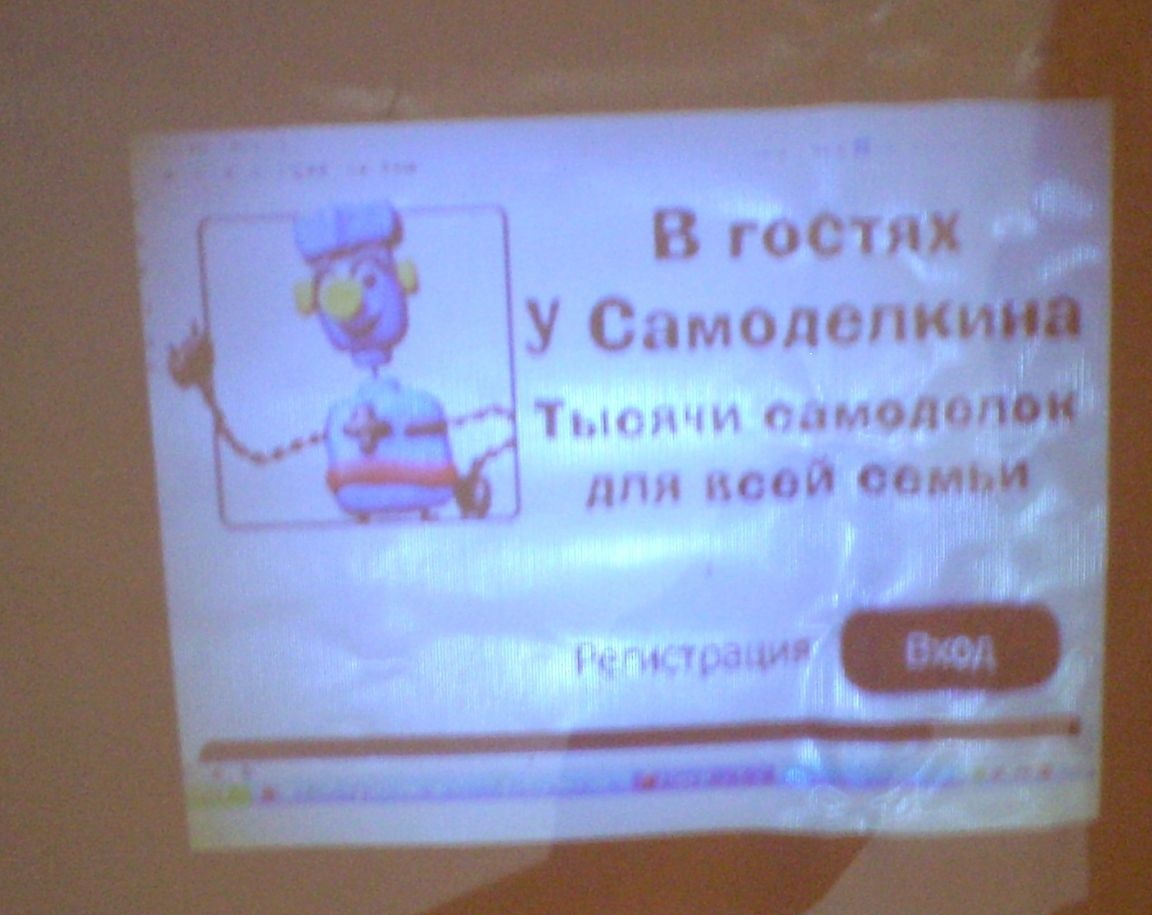
All! Our screen is ready!
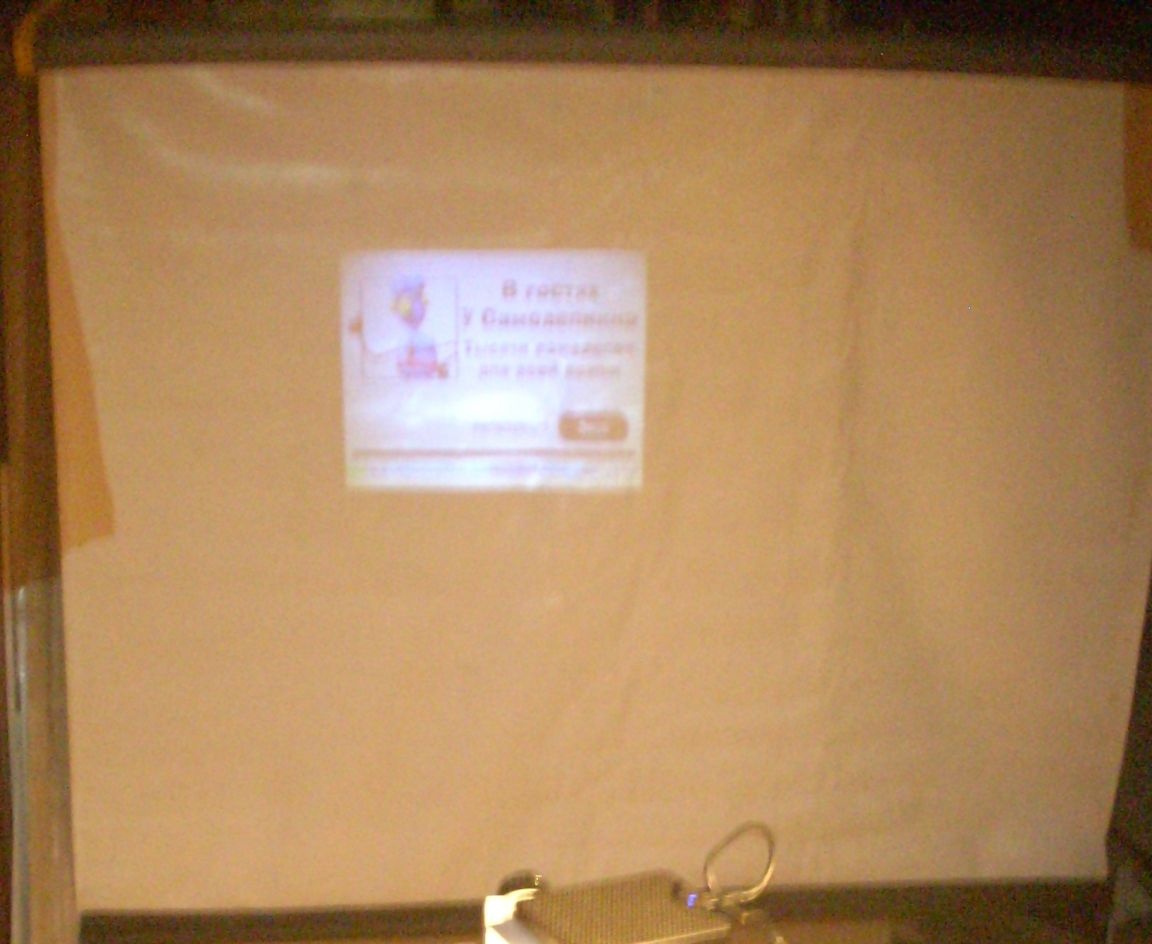
It is very easily wound into the casing by means of a flywheel, and when folded it does not take up much space.
Happy viewing.