The basis of the robot is a microcontroller Arduinowhich is used to control it. Autonomous robot has two different management programs. The first program allows the robot to ride avoiding obstacles in its path; to determine them, the robocar uses two ultrasonic sensors. The second program draws up a plan of the surrounding objects using a two-dimensional array. Having received data from a two-dimensional data array, the robot will know where and what is around it.
Materials:
- Ultrasonic sensors 2 pcs (4 pcs for future upgrades)
- Servos 4 pcs
- Arduino (author uses model Uno)
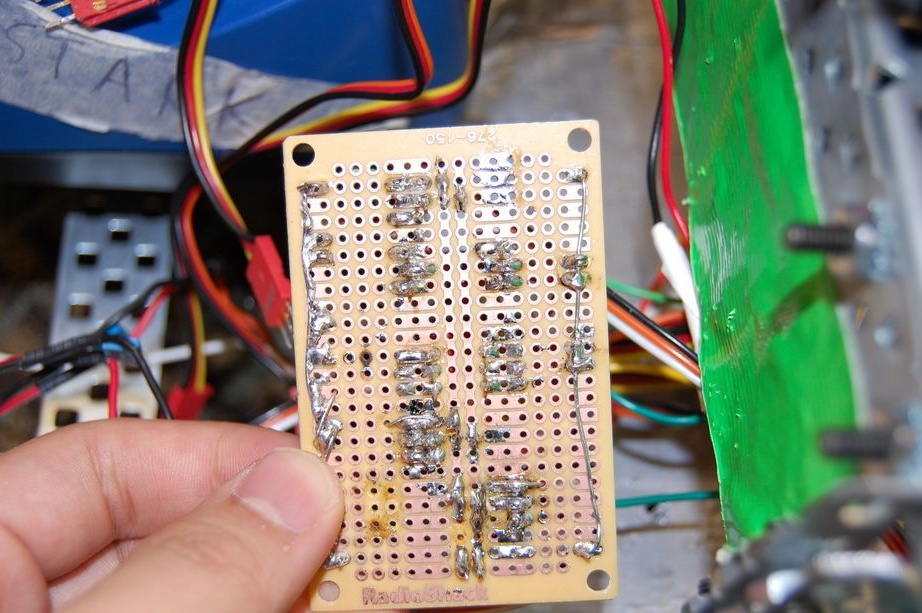
- Bread board
- wires
- Batteries 9.6V 2 pcs
- Battery 9V
- Wheels 4 pcs
- electrical tape
- Nuts, bolts, etc.
Step one. The mechanical part.
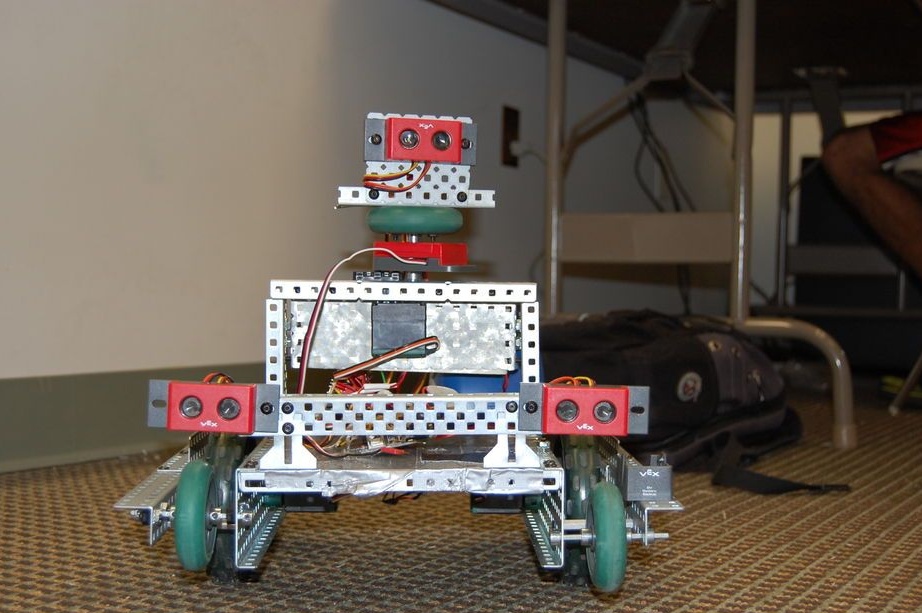
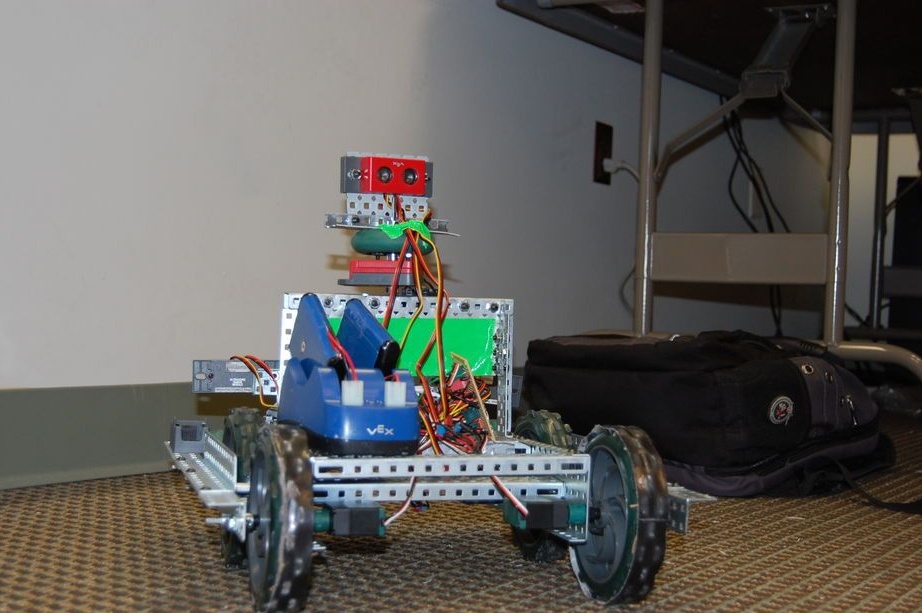
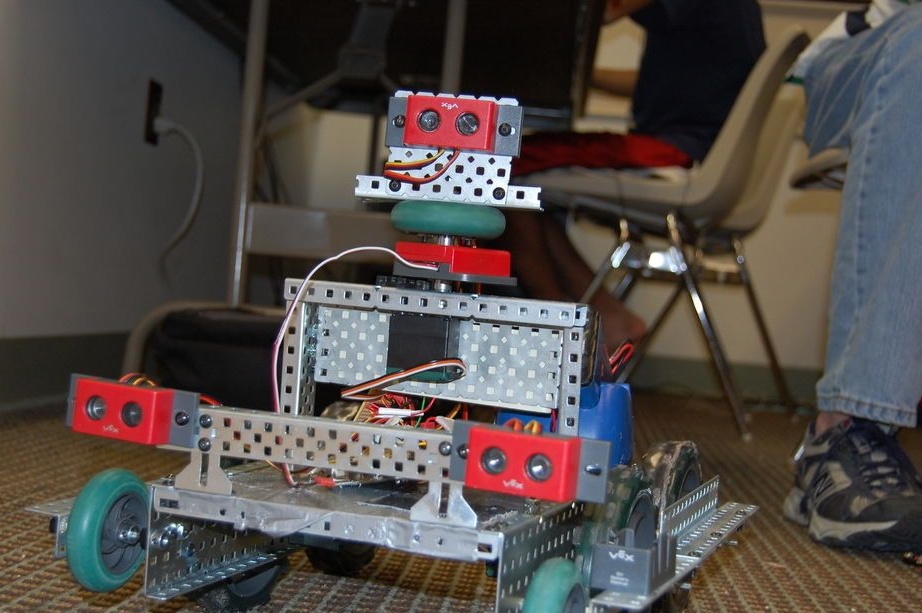
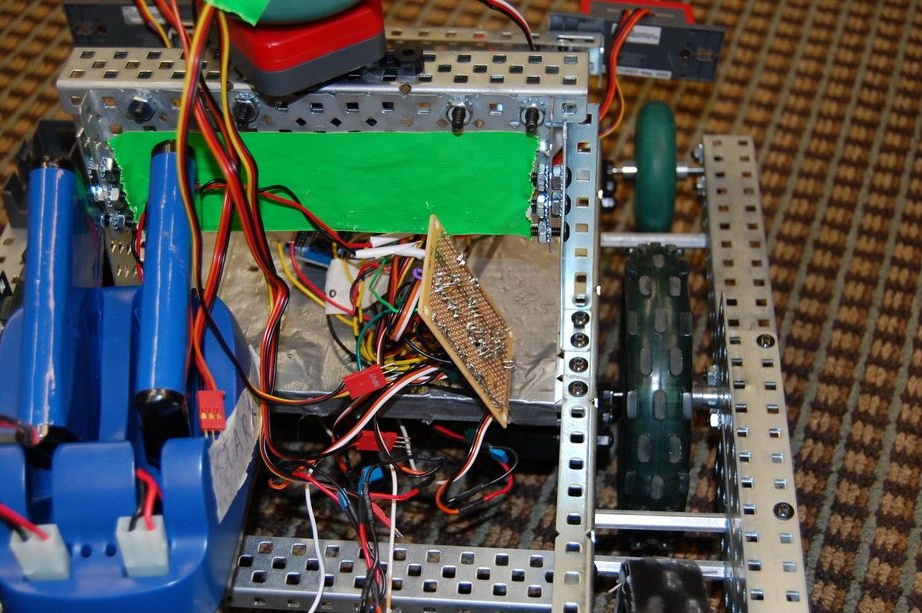
First of all, the robot needs a solid chassis. The article has a photo of the robot, but which chassis to use and how to make it does not matter. The author made three different versions of the robot. Only two options are considered in the article, since the third was not particularly successful. The first version of the robot had a shape resembling a truck. It had a large size, but had a fairly low speed and poorly deployed. In addition, a large robot is not very convenient to use. The second option is made more thoughtful, it turned out much smaller and more compact.
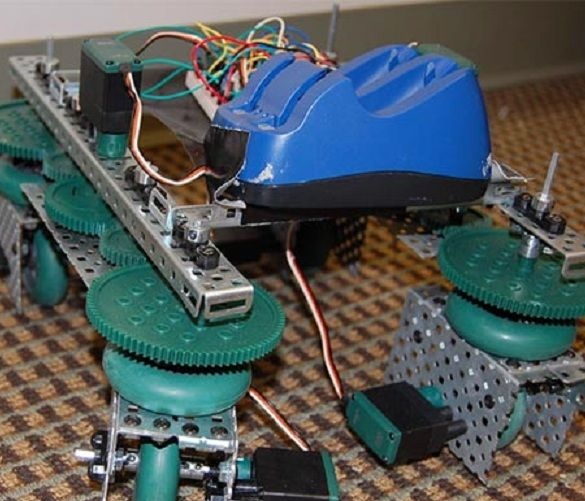
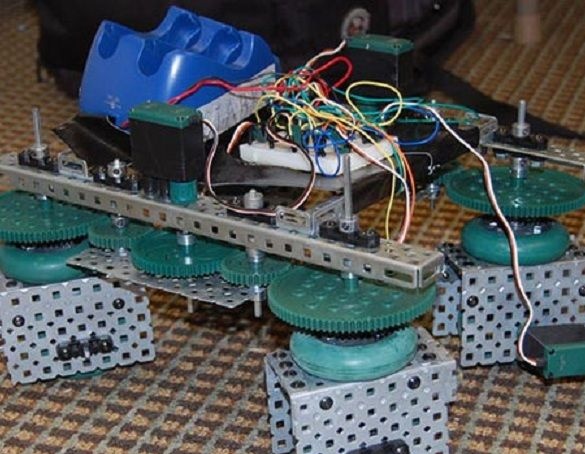
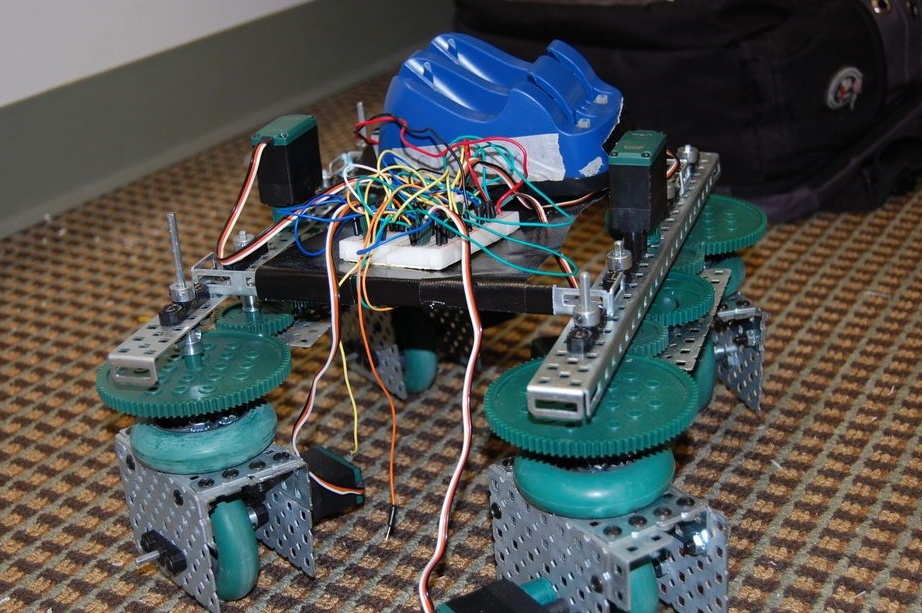
First, servo drives are placed on the chassis, so that it is possible to put wheels on their shafts. The author uses four wheels. If you take powerful servos, then in general you can use two wheels. But the chassis at the same time needs to be arranged so that there is enough space for batteries, a printed circuit board and Arduino.

After installing the servos they put the wheels. The author installed on the shaft after the wheel additional protection against wheel derailment. On the front of the robot, two wheels are additionally installed, which can help the robot drive into curbs or other small obstacles if it bumps into them. To reduce friction on the rear wheels, an electrical tape was added.
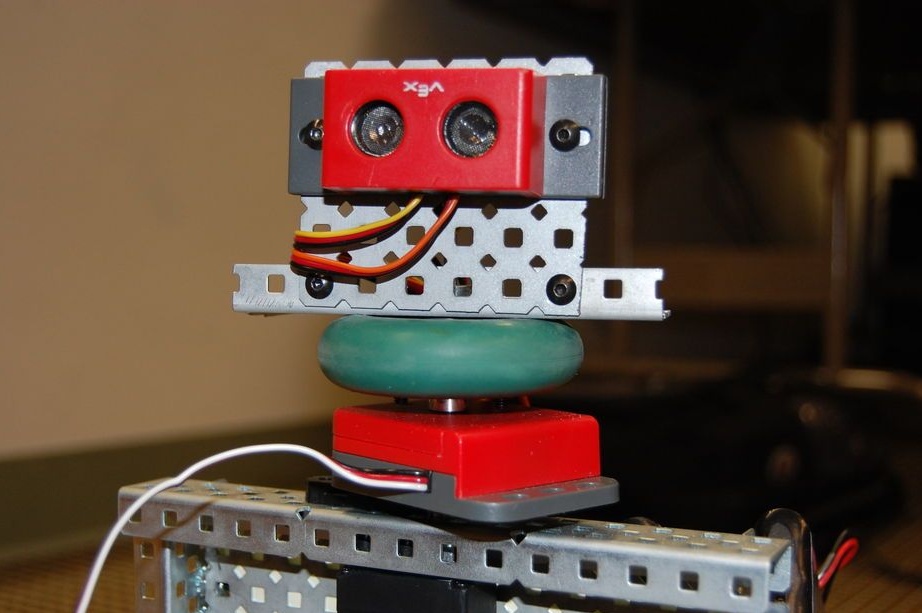
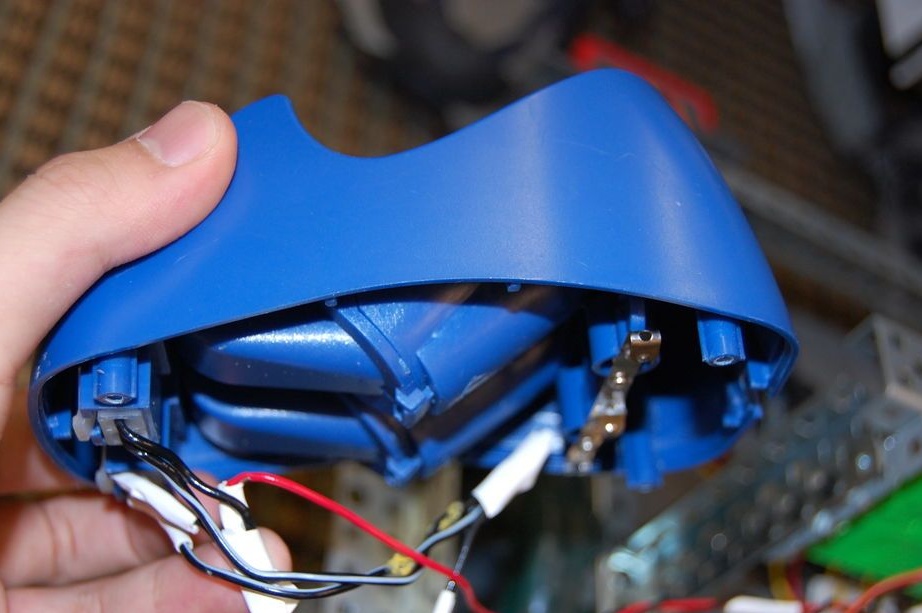
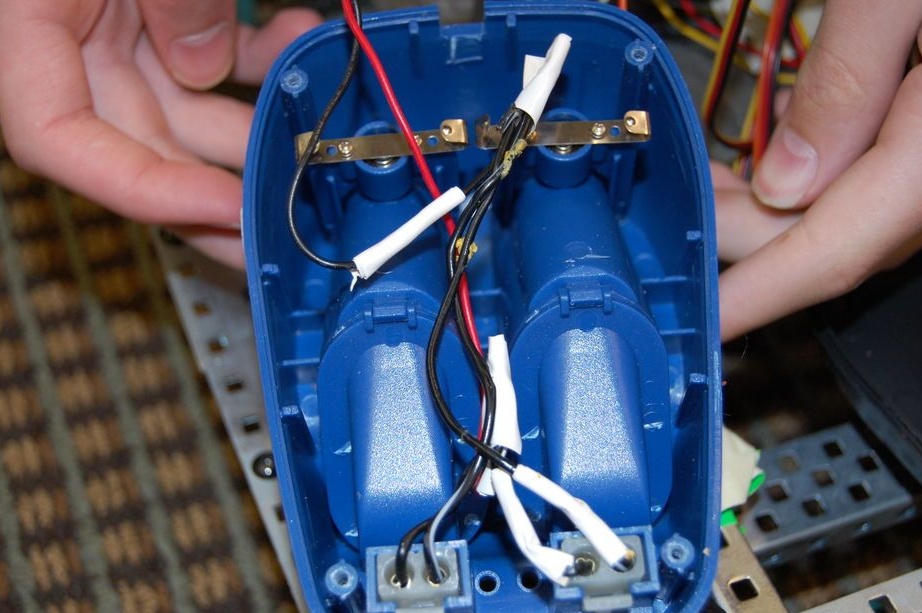
Next, the battery compartment is installed. The author took the Vex charger, and modified it to power the engines, not charge the batteries.Now the board is taken, the plus and GND wires are soldered from it, which will go to the battery charging connector. Then the black wires from the two batteries are soldered to the GND charging wire, and the red wires from the batteries to the positive wire of the charger. Then these wires are connected to the board. After that, the author makes mounts for installing ultrasound sensors on the front of the robot. If you need to add additional sensors, you need to lengthen the mount.
Step Two Electronic part.
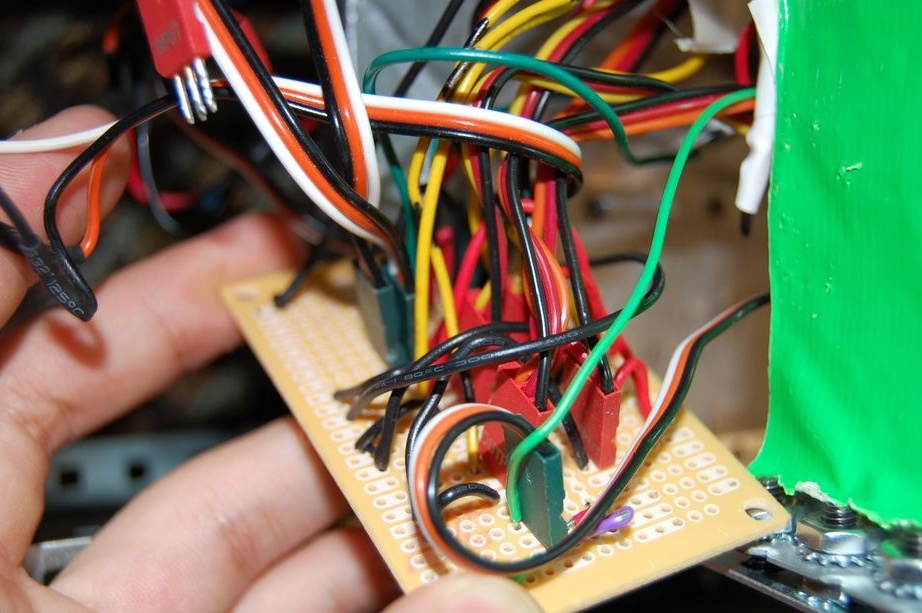
For this step, more knowledge in electronics is not required. 9.6V batteries are connected in parallel, but if you use the battery compartment from the charger, then you do not need to do anything, since this has already been done. Further, according to the diagram below, all components are connected. It should be noted that depending on the length of the chassis, it is required to select wires, or lengthen them, as they may be missing from the board. One signal wire is used for the first and second servos, and for the third and fourth others. This is done for the synchronous operation of the first and second servos, because they are located on one side, the same applies to the third and fourth servos.
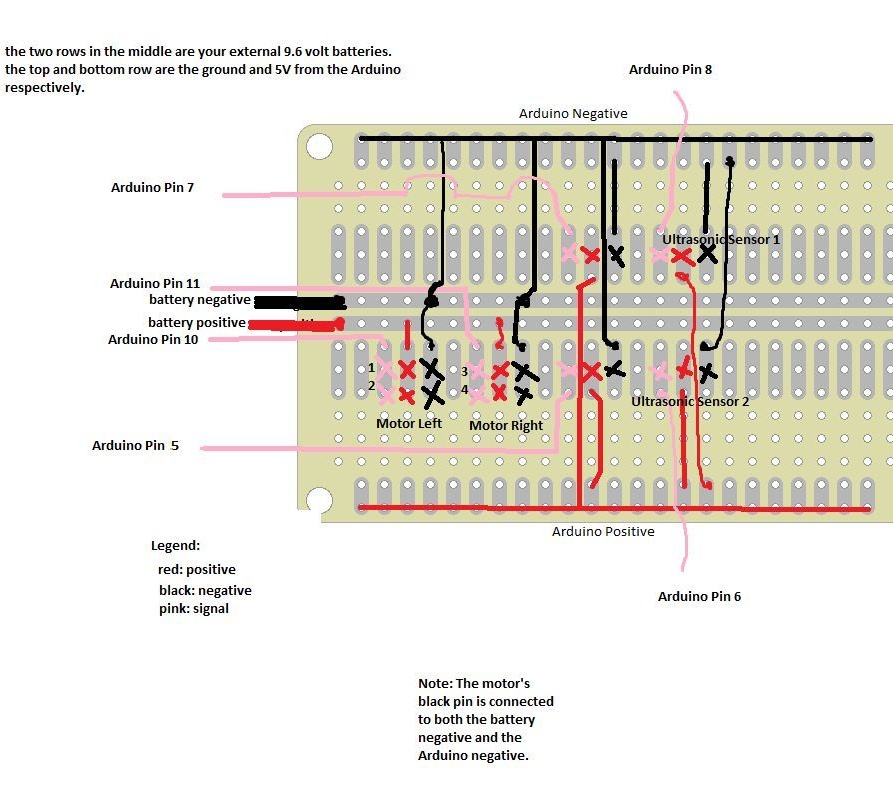
To add additional sensors or servos, everything is done according to the same principle - the signal wire is connected to the Arduino, GND to black, and 5V power to the red wire. It should be remembered that GND from engines must be connected to the GND battery and Arduino.

Step Three The software part.
To write code, the author used Processing. For navigation, a two-dimensional array is used (arraything), the values 0 or 1 are entered into it. If you enter 1 this will indicate an object, which means that the robot will travel only at 0. The code can be downloaded below.