Hello dear friends! The spring-summer-barbecue season is approaching, and I decided to talk about such a necessary device as a barbecue. In the country, or near the house, everyone has such a structure - who does not like barbecue !!! ))). But I decided to make such a brazier that I could "settle" in the trunk of a car for the whole season, while not taking up much space. After all, it’s so convenient - you can always spontaneously break out of town, wrapping yourself in a supermarket on the way and buying a barbecue pail and a bag of coal ...
For this we need:
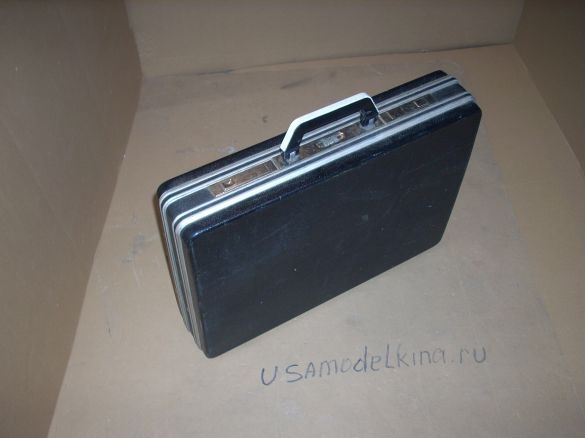
1. Case "diplomat".
2. Black sheet metal, 1 - 1.5 mm thick.
3. A metal rod with a diameter of 8 mm.
4. Sheet stainless steel (for skewers).
5. Baking tray.
6. Corrugated cardboard.
So let's get started. To begin with, I want to warn you against mistakes that I made. Namely: I originally welded a brazier from "stainless steel", 1 mm thick. In theory, it seemed that it would be very good! But, in fact, under the common name "stainless steel" dozens of different alloys of iron are hidden! All of them are united by one property: they are practically not subject to corrosion. But...
Most of the so-called stainless steels are corrosion resistant only under normal conditions. There are also heat-resistant stainless steels - it was from this that I made my first brazier, I specially bought a sheet for a lot of money. Imagine my disappointment when, when I first used it, it turned very much! So much so that I could not assemble it! Having presented claims to the seller, I found out ... that they are groundless !!! The term "heat-resistant stainless steel" just means that this alloy is resistant to corrosion, not only in ordinary conditions, but also at high temperatures !!! This term does not speak of resistance to physical deformation! For this we need not HEAT-RESISTANT, but HEAT-RESISTANT steel - these are two big differences !!!
You are unlikely to find such steel, and it’s not worth it. Therefore, I propose to make a barbecue made of black iron, which has a much lower hardness, respectively, is not so susceptible to linear deformation due to different thermal expansion during uneven heating.
I collected my product from the production waste that I collected while being at work at one enterprise that deals with metal structures.
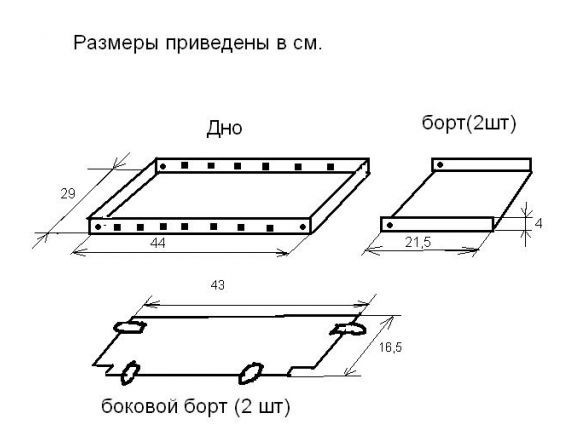
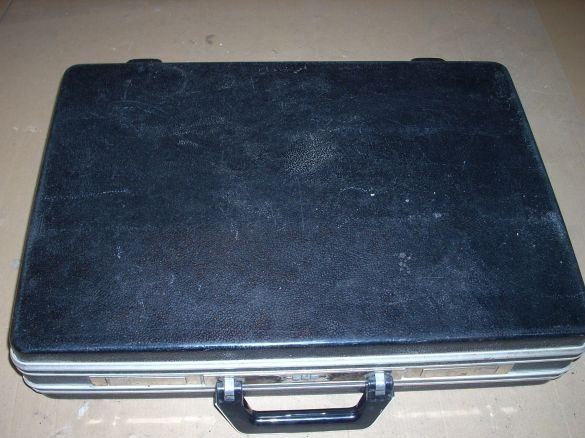
To begin with, I spotted my "demobilization" diplomat: It was in it that I decided to build a brazier. The diplomat’s internal dimensions are 45 by 32 centimeters. But inside there are protruding parts of the castle, so I determined the maximum dimensions of the bottom of the grill: 44 by 29 cm.Having decided on the device and dimensions, I made the following parts: [/ center]
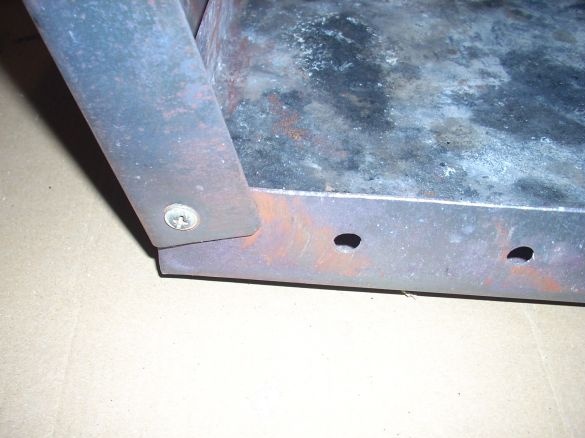
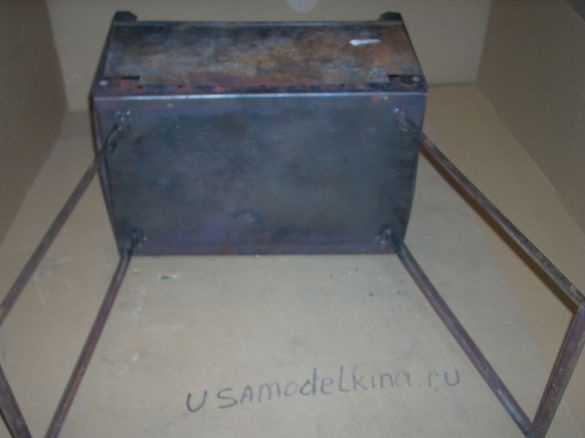
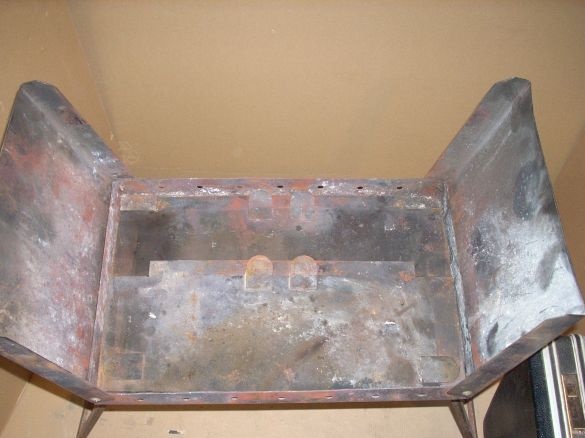
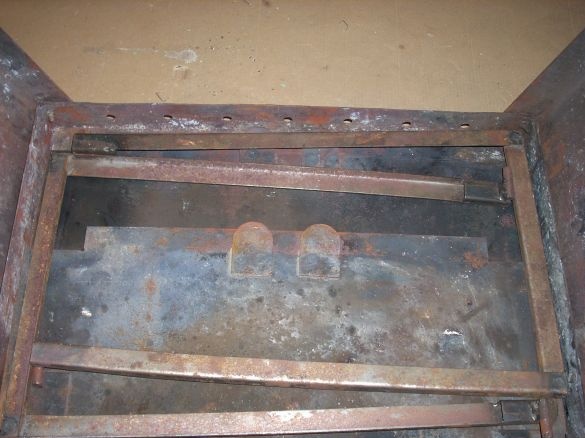
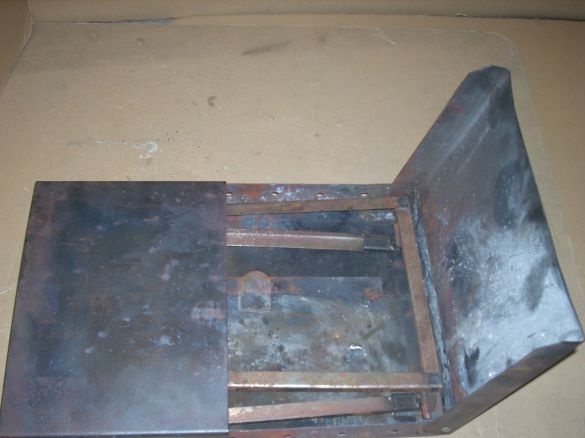
I made the bottom “baking sheet” in the following ways: at the ends I bent the metal so that the sides formed 40 mm high, and along the long sides I welded corners of the same metal, 40 by 25 mm in size. They at the same time performed the role of bearing, increasing the resistance of the bottom to punching. (I had the corners ready - I found it in the same waste. It remains only to cut pieces of the required length and weld. I fastened the end walls with M5 screws and nuts. I attached it without tightening (the walls should be folded) and to prevent the nuts from loosening, the protruding parts of the screws riveted:
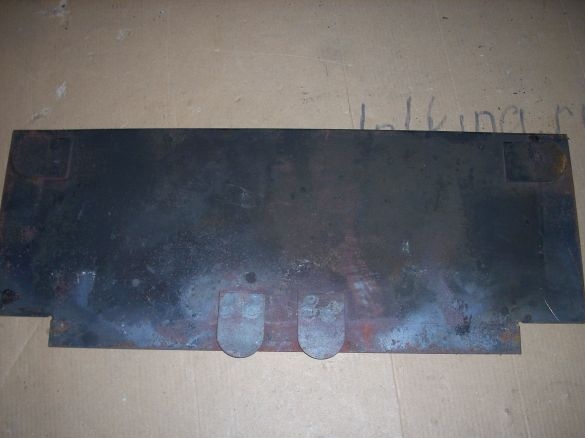
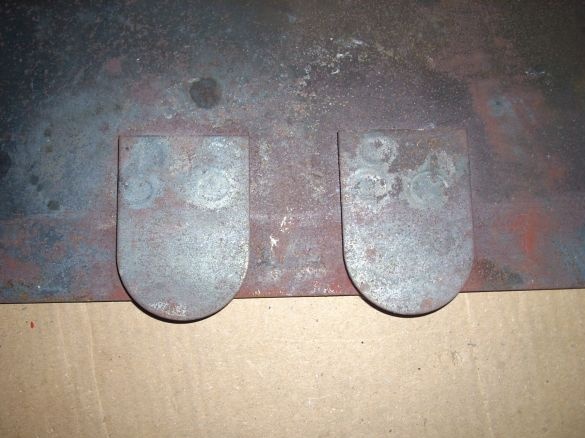
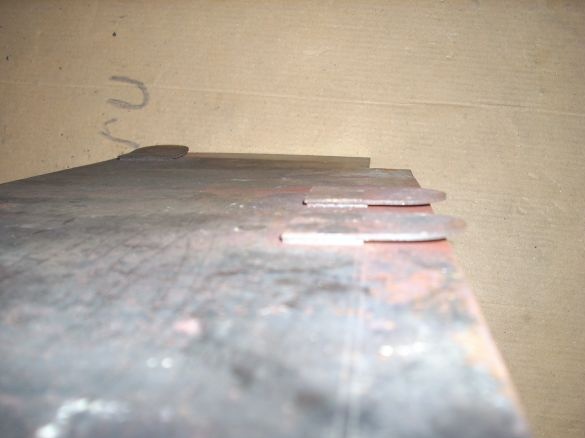
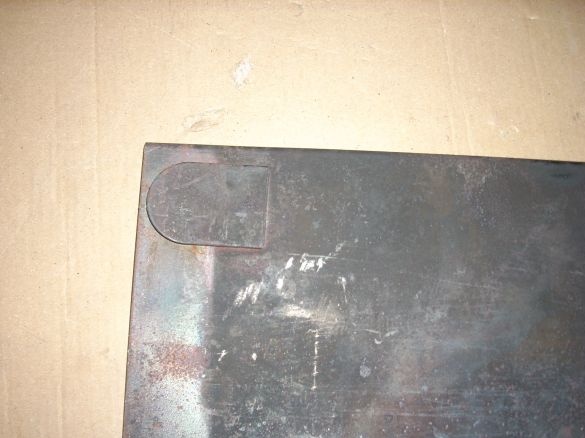
The side walls at first were rectangular, but had to make cutouts, because when folding they rested on the bolts of the end walls. The hooks with which they connect to the bottom and end parts are welded by lining strips of metal:
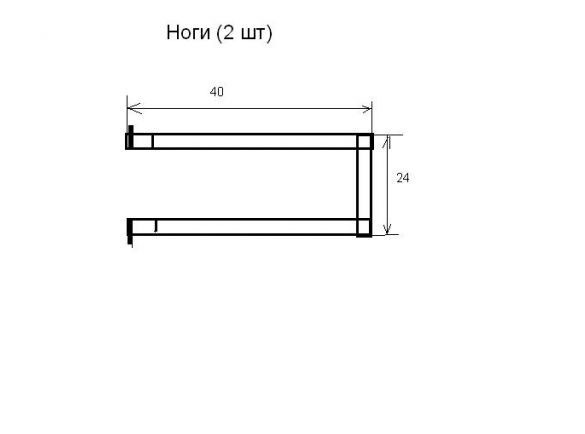
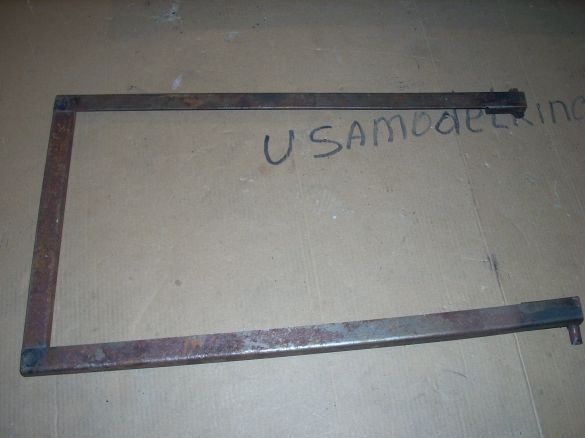
“Legs” made from the same corner:
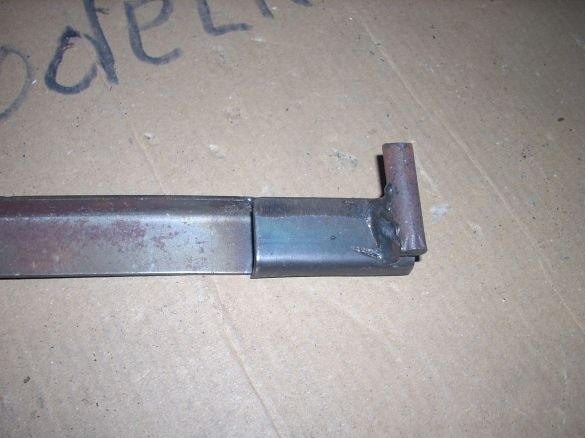
The ends of the resulting U-shaped structure are welded as follows:
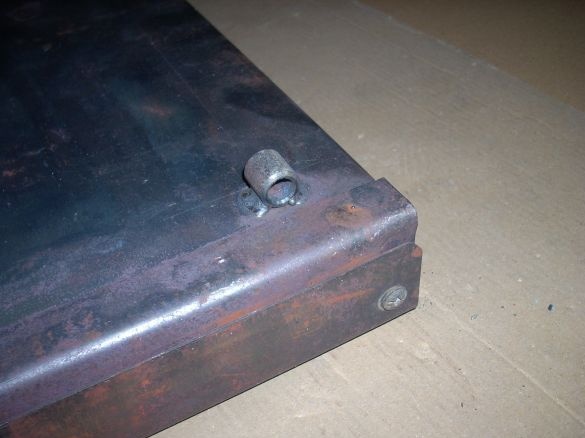
And on the bottom I welded four pieces of pipe: Now the legs, having squeezed a little, can be inserted into these tubes, and the pieces of the corner welded from above, resting against the bottom, will not allow them to completely decompose outward:
ATTENTION. Do not repeat my mistake: do not make the lower bar at the very bottom. Better to raise it a little higher. Because, more often, the brazier is installed on soft and uneven ground, and in this case, you can stick your feet into the ground, leveling it. I will redo ... as soon as the hands reach))))
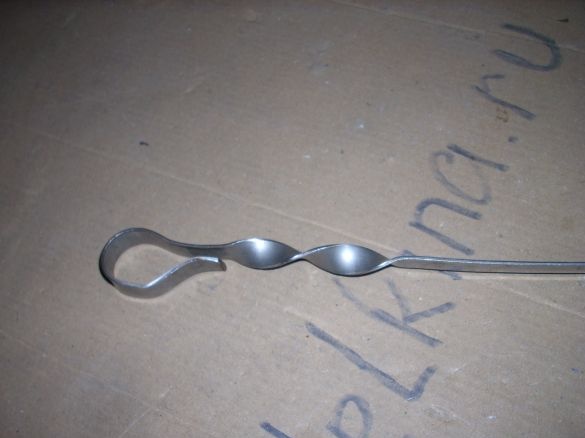
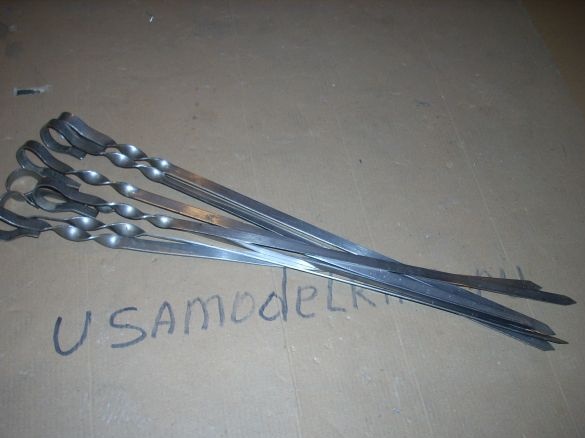
Further, skewers. You can buy ready-made ones. But I still have a piece of stainless steel from the previous barbecue. So I dismissed it into strips, made rings and turned the strips in a vice, twisting the ring with a gas wrench.
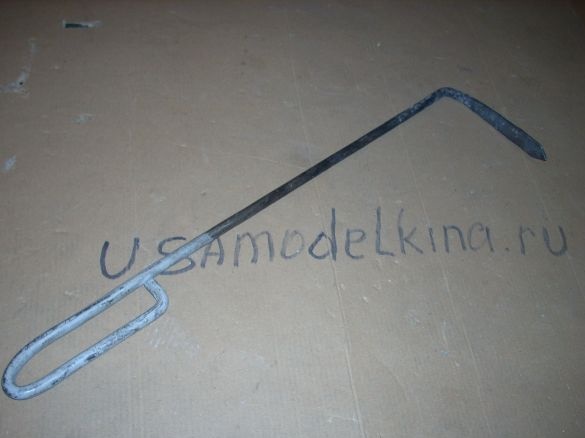
Further, from a piece of the rod I made this poker like this:
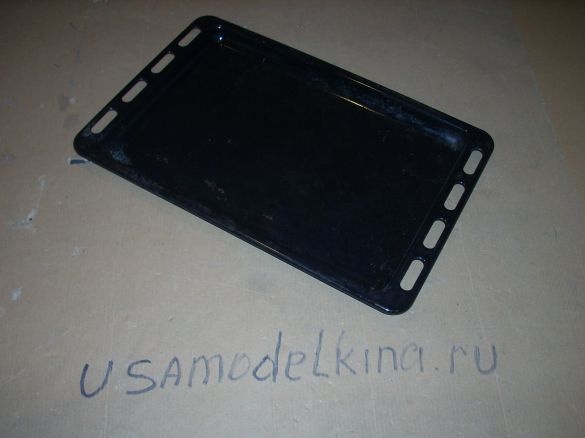
And, finally, he equipped the barbecue with such a baking dish. I found it the right size, having traveled to the shops of gas stoves:
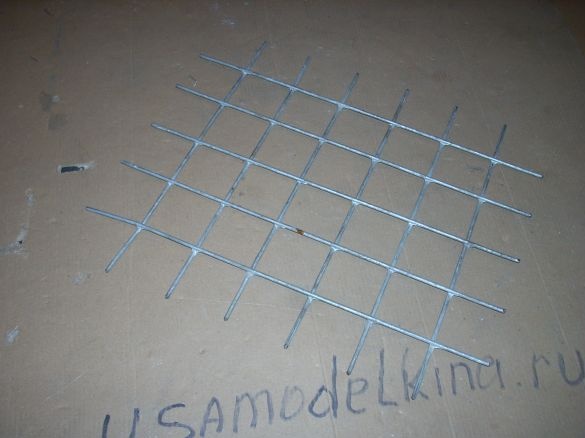
I also caught the eye of the reinforcing mesh, and I made just such a grid. On it mono put, for example, a frying pan:
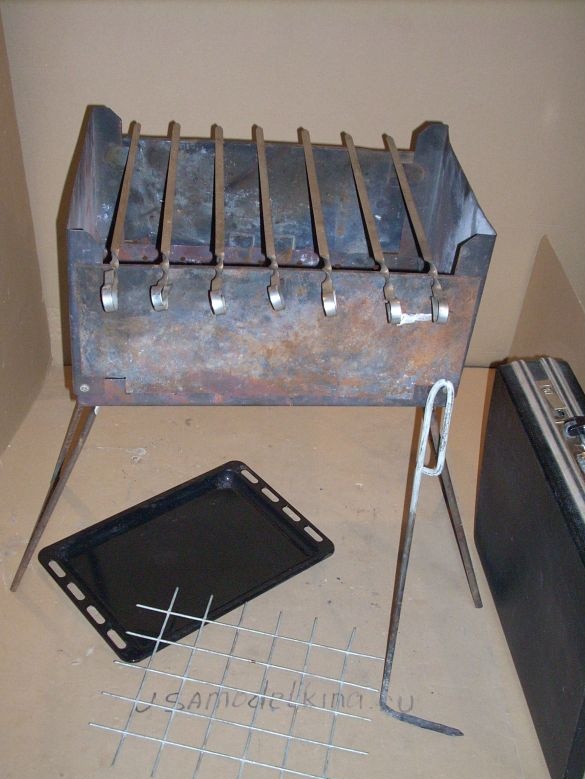
And so, here is what we have:
Putting our brazier:
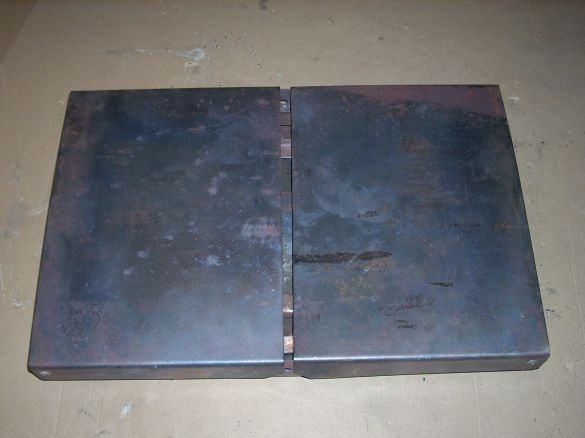
Remove the side walls and lay them on the bottom:
We put the lifted legs there:
And close the end walls:
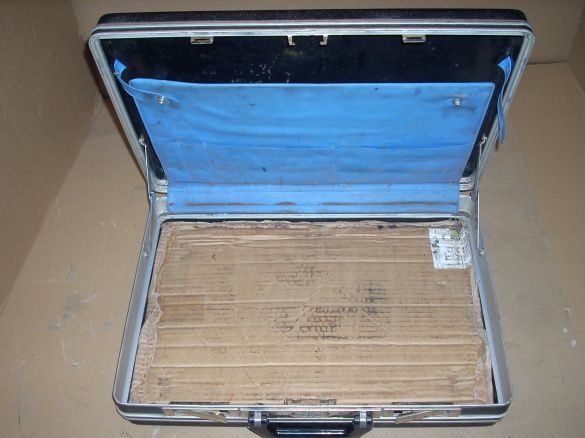
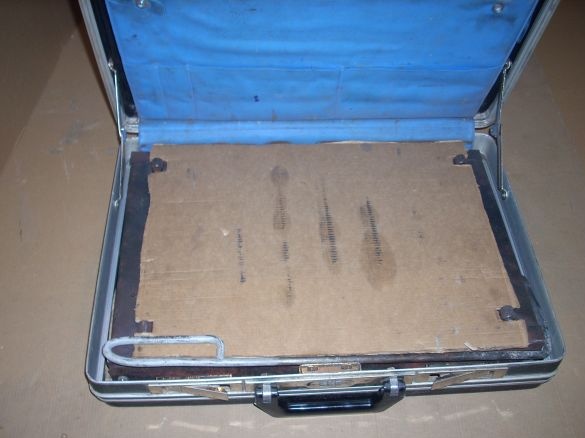
At the bottom of the "diplomat" I put a piece of corrugated cardboard to reduce the rumble:
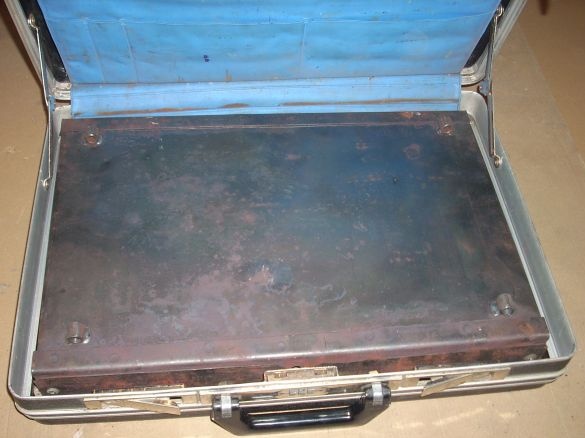
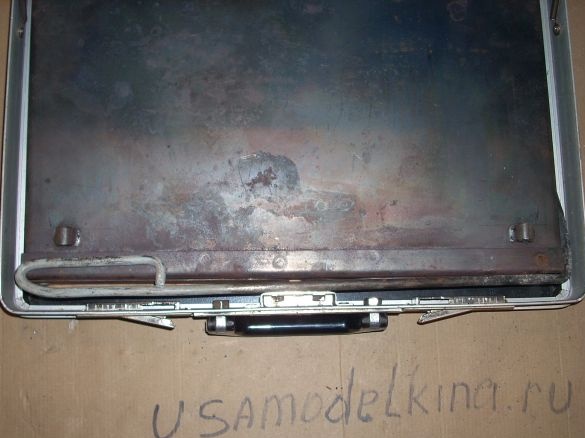
We put our brazier, turning it "back up":
We place a poker near the front wall:
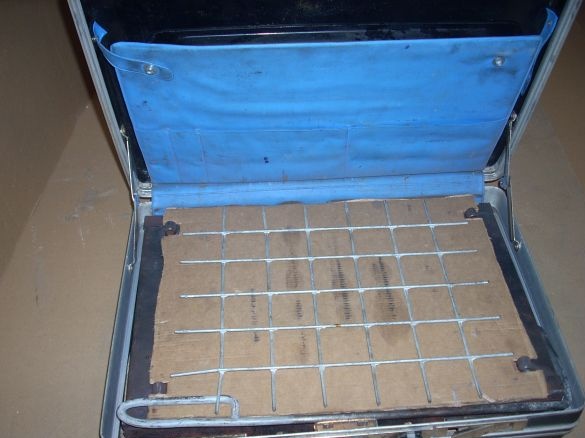
We cover everything with a second sheet of corrugated cardboard with cutouts for fastening the legs:
Put the grill on top:
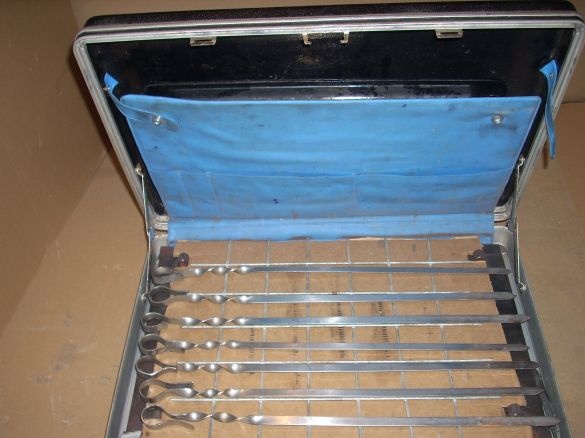
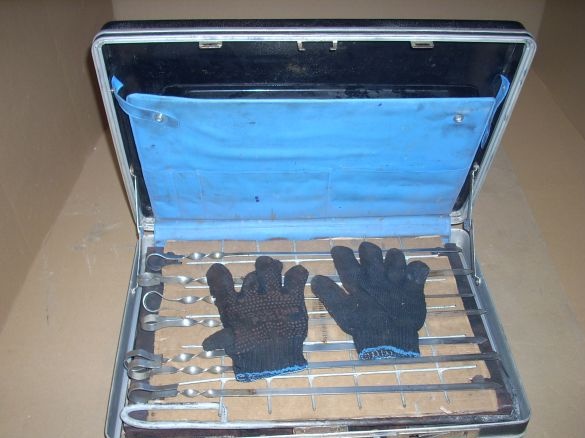
And put the skewer:
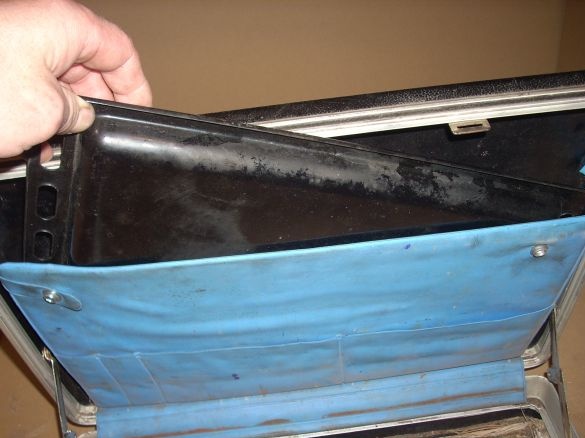
The baking sheet fits in a pocket for documents:
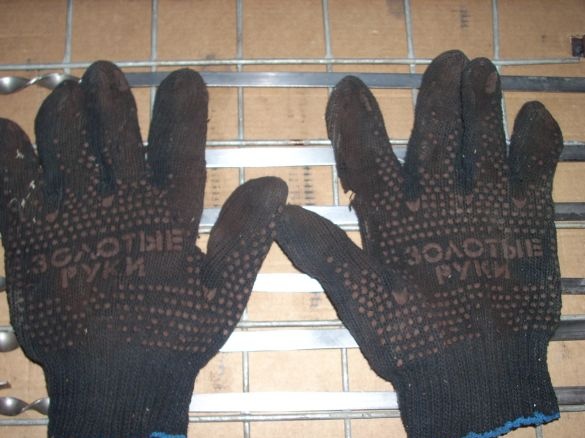
It remains only to equip our brazier with a pair of gloves, so as not to smear our hands during disassembly / assembly:
Just now I noticed what is written on gloves .... Hmm ... Not modestly somehow! ))))
That's it ... They picked it up, carried it away, threw it into the trunk and forgot ....
Kebabs ALWAYS READY !!!!


