In the homemade system, a regenerative braking system is provided, it can also move backwards, and it can also be programmed for any acceleration values.
Materials and tools for assembly:
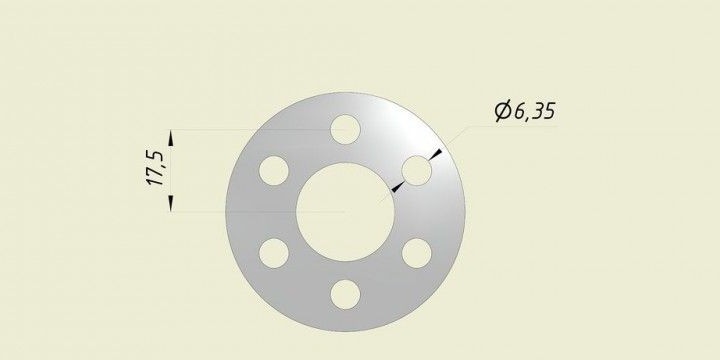
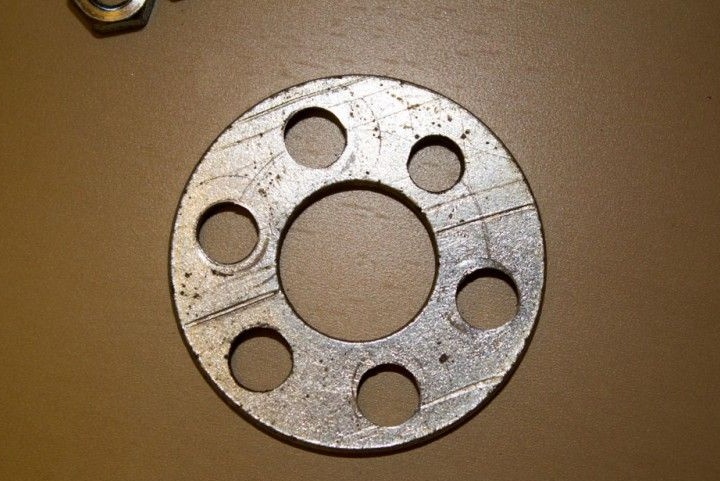
- washer (diameter 5 cm);
- M4 washer (4 pieces);
- 180mm Paris suspension with 83mm rollers;
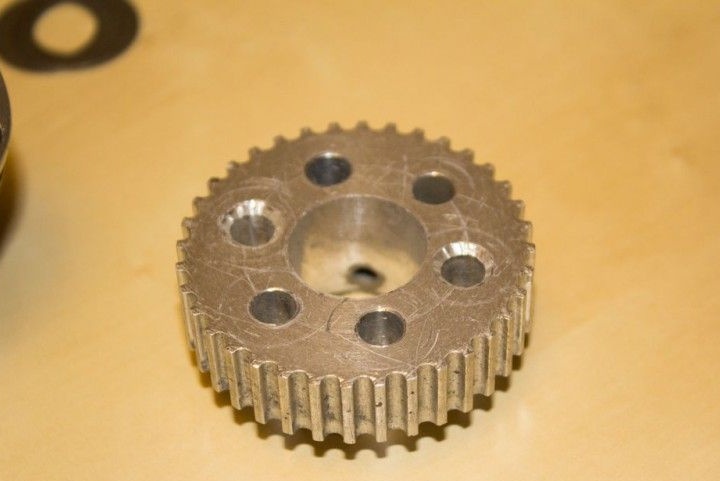
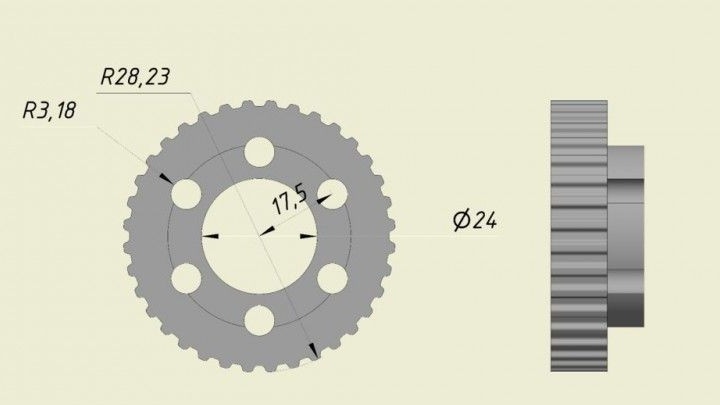
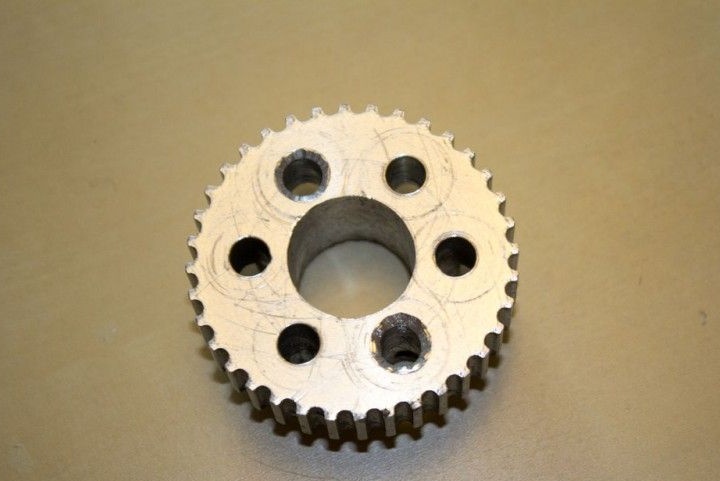
- gear 36 teeth (5mm pitch);
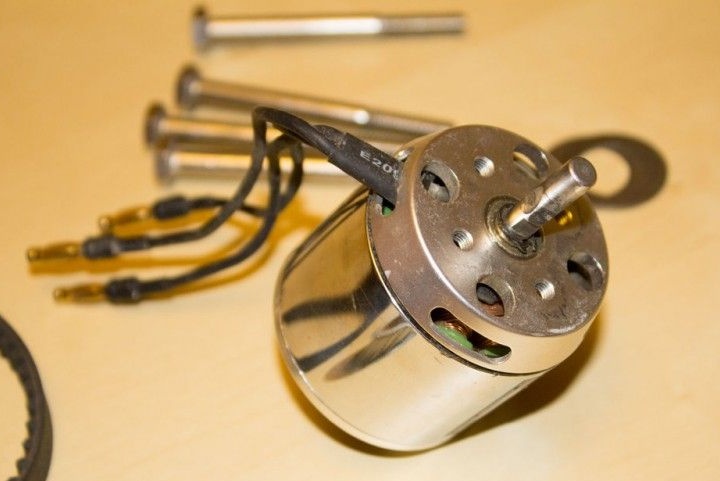
- brushless Turnigy Aerodrive 280kv engine;
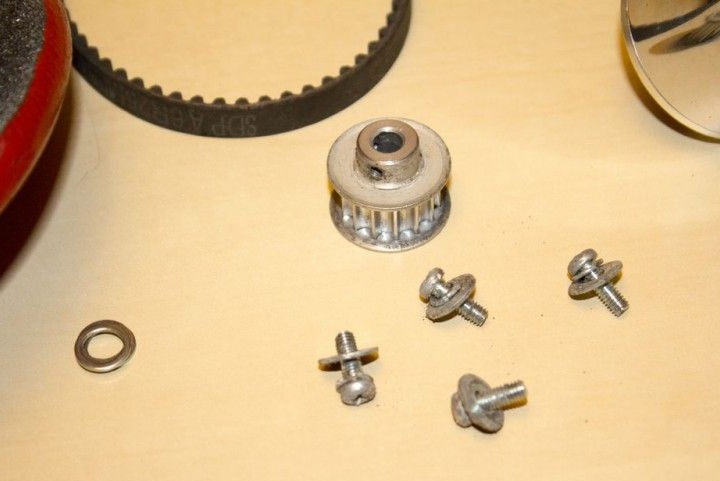
- gear 14 teeth (5mm pitch);
- 6mm thick aluminum billet (minimum size 121x51mm);
- transmission belt in 5mm increments;
- nut 6 mm 20 - 6 (pcs.);
- bolt 6x62 mm - 6 (pcs.);
- M4 bolt 12 mm - (4 pcs.);
- M4 washer - 4 (pcs.);
- skateboard deck;
- wheel hub (optional).
From electronics you will need:
- flexible wire 10 caliber (60 cm);
- three-cell lithium battery 20C 5000mAh 11.1V (2 pcs.);
- Charger for lithium batteries (the author used IMAX B6);
- 4mm banana plug (6 pairs);
- splitter 2x3 to 1x6;
- ESC-controller EZRUN / HobbyWing 150A-PRO;
- extension cable 1x6;
- HK-GT2B transceiver or Bluetooth controller.
Manufacturing process:
Step 1. Prepare gears and washers
Work begins on a drilling machine. It is necessary to take the gear for 36 teeth and drill holes in it with a diameter of 6 mm. Similar actions are carried out with a 5 cm washer. To make drilling easier, you first need to make a template, which is then glued to the gear. To make drilling easier, the WD-40 is used. After manufacturing these parts, you can proceed to the next step.
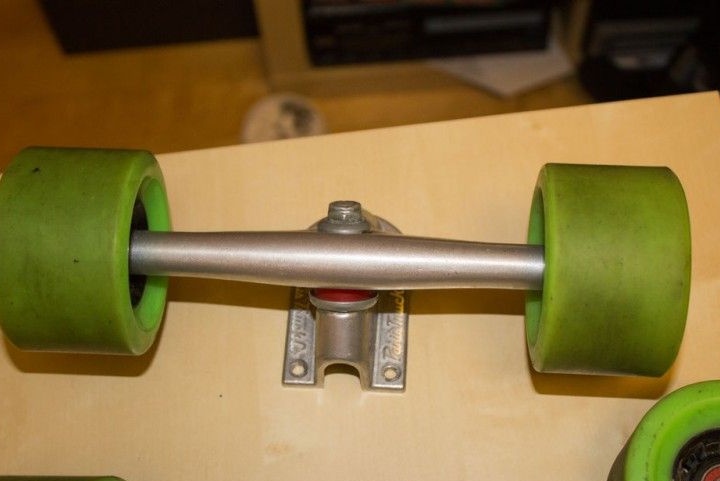
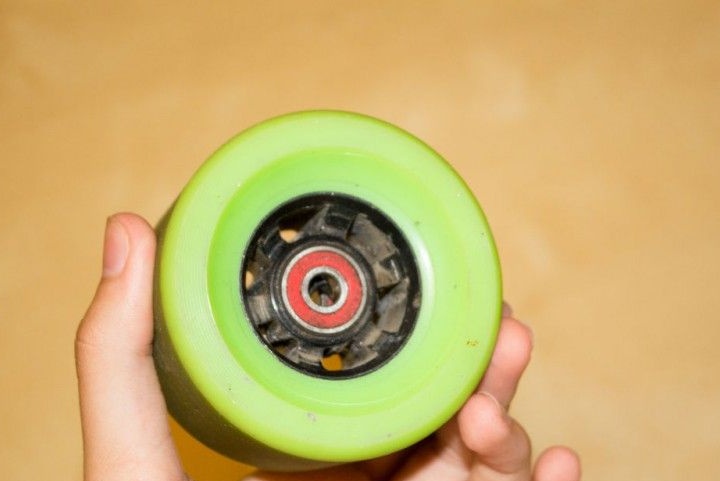
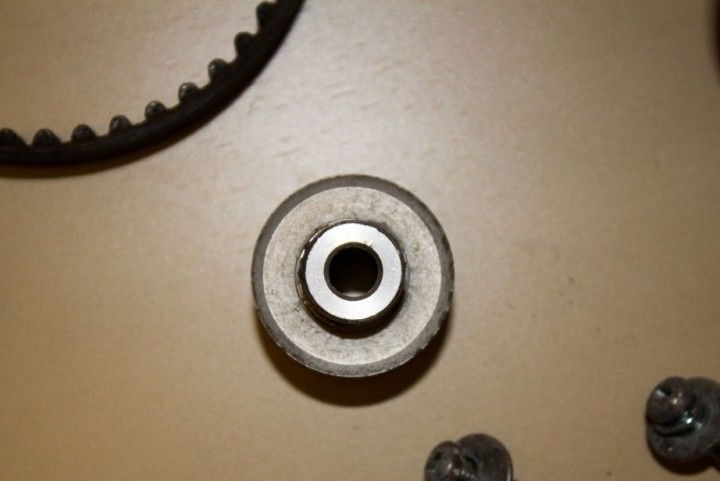
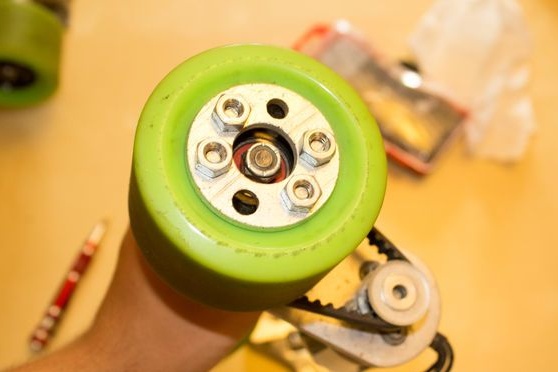
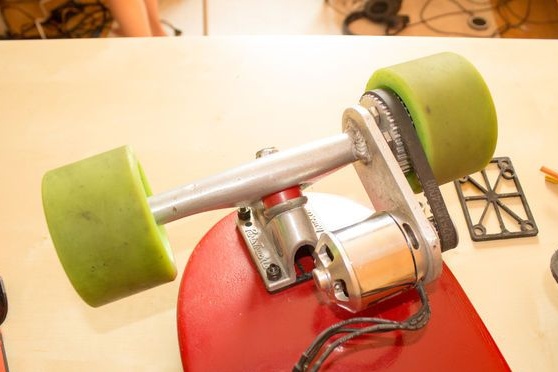
Step 2. Assembling the wheel
On one of the rollers you need to install the gear with the washer, which were made in the previous step. The gear part of the gear should be facing outward, it is quite possible that in this case it will be necessary to use an additional washer or bushing between the gear and the roller.
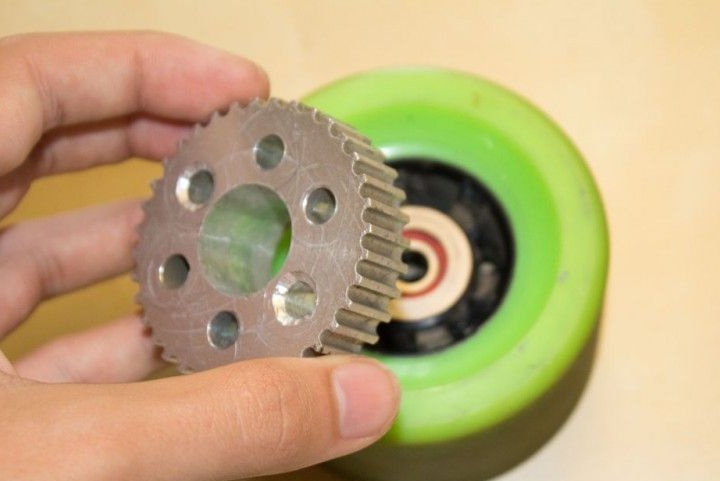
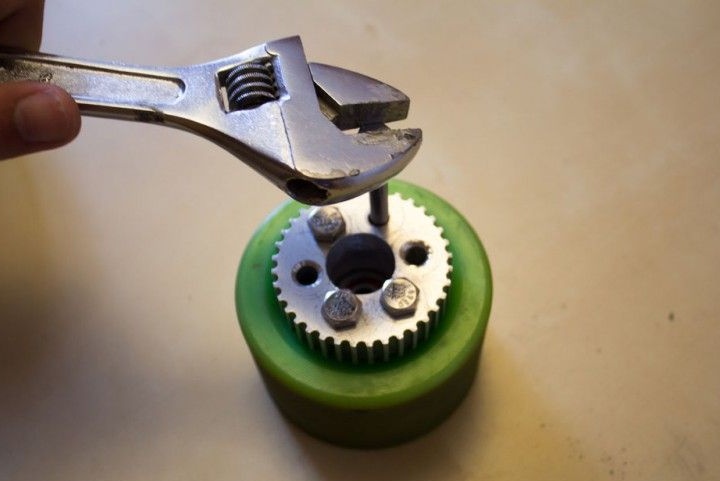

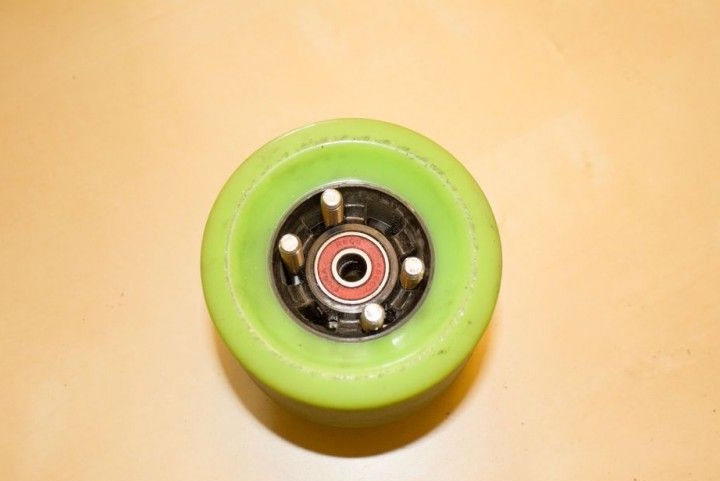

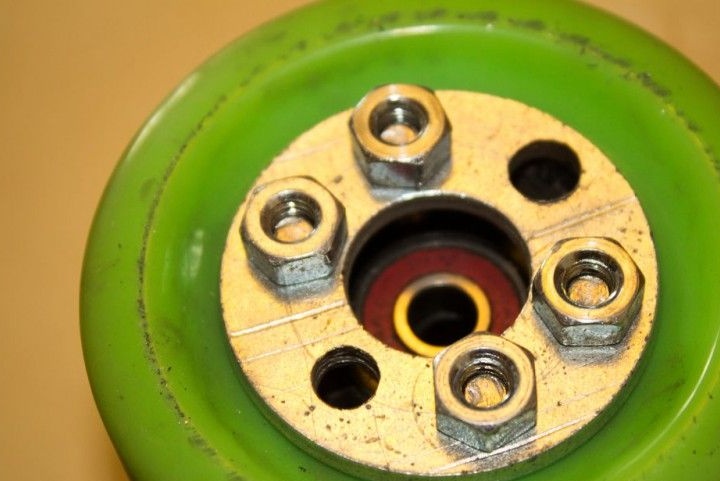
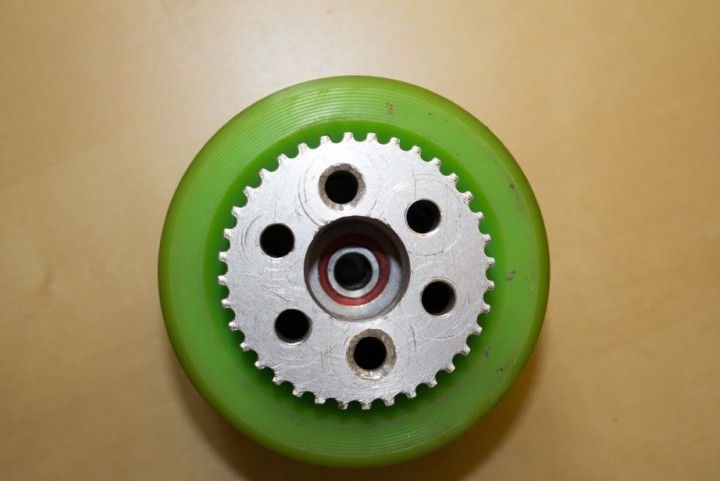
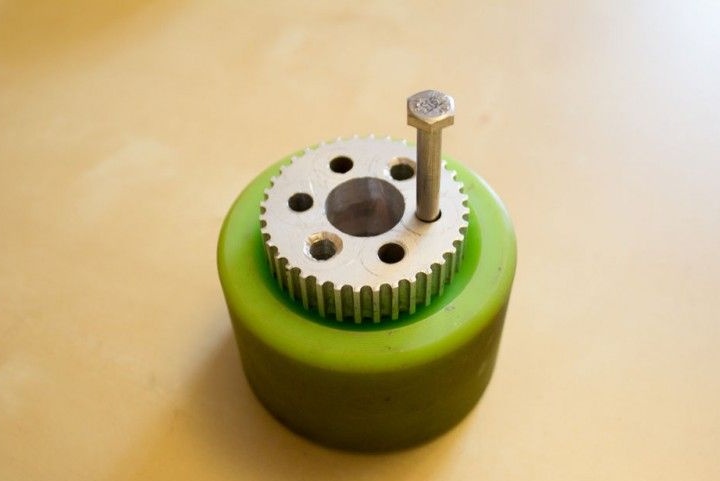
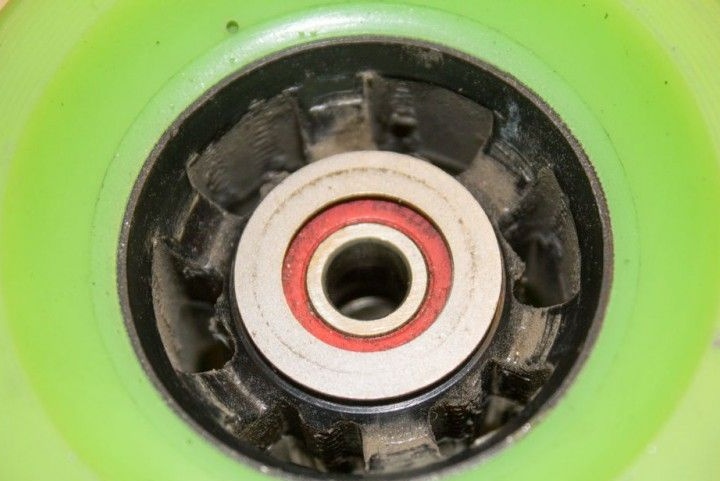
The holes of the gear and the roller must be combined, then 6x62 mm bolts are screwed into them. The first time you screw in the bolt, you will need to apply some force. For reliable fastening you need to use all six bolts.On the reverse side of the roller on the protruding screws you need to put the washer 5 cm and then tighten the structure with 6 mm nuts. As a result, the roller will be sandwiched between the gear and the nut, which ensures a reliable design.
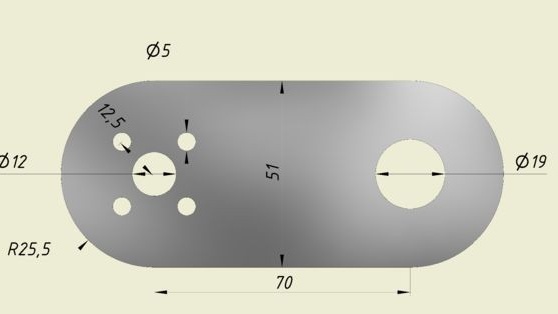
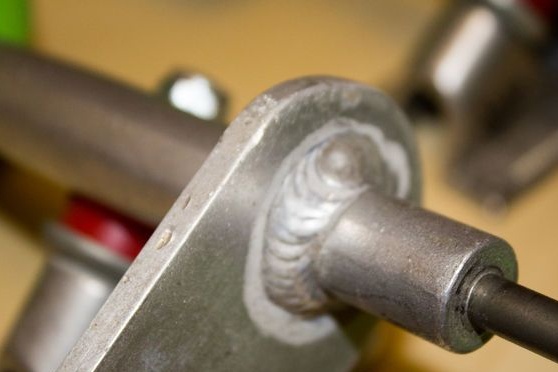
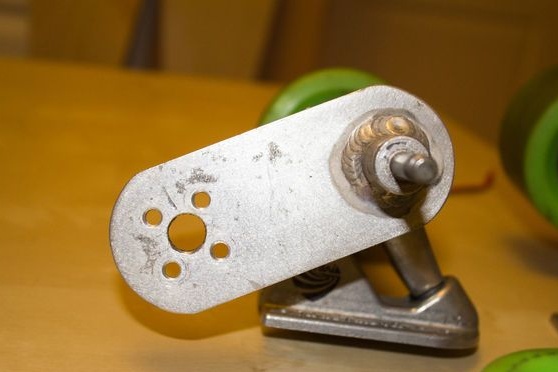
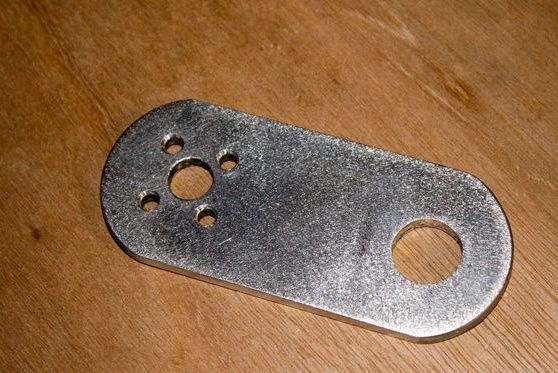
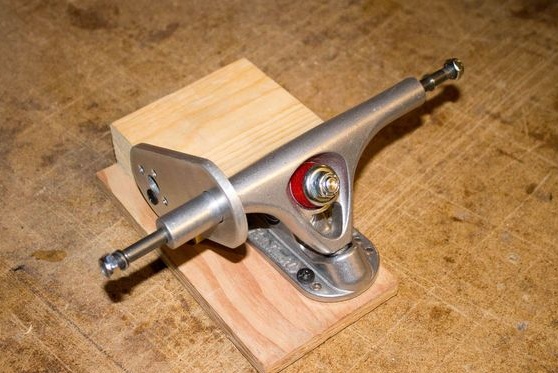
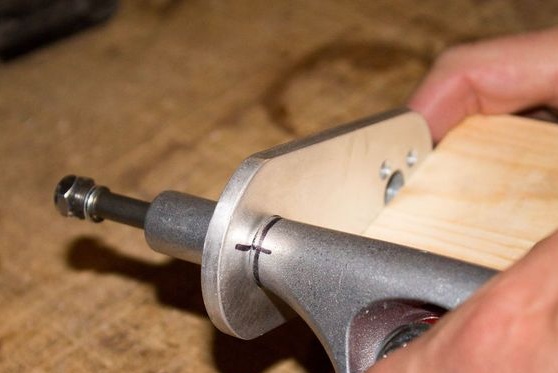
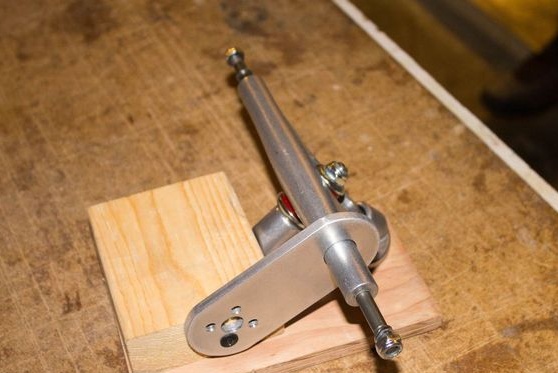
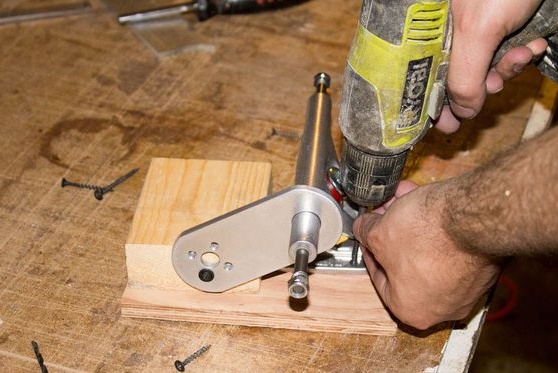
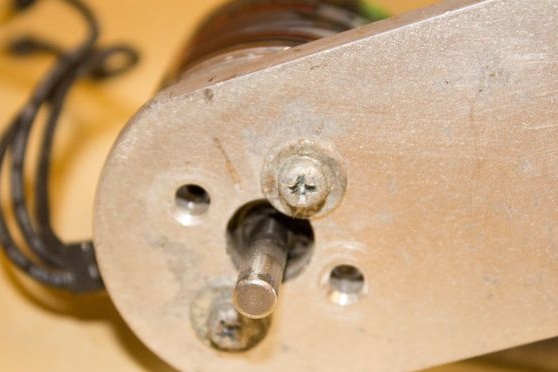
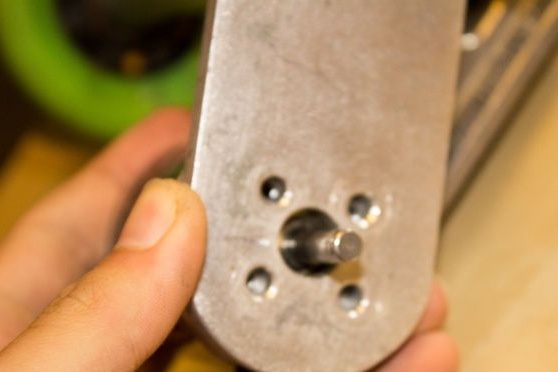
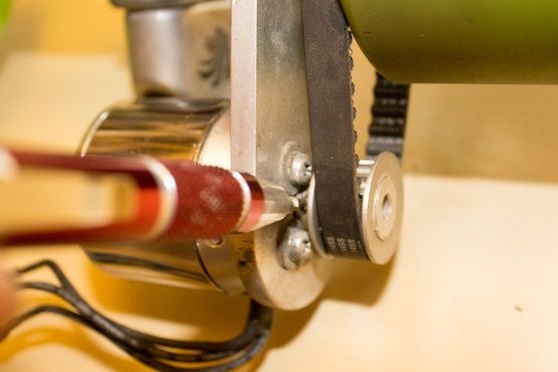
Step 3. Install the motor bracket
In order to attach the motor to the suspension bracket is needed. It is made of 6 mm thick aluminum billet. The element is cut out with a jigsaw, then on the drilling machine you need to drill the necessary holes. Such a bracket must be fixed to the suspension at a distance of 30 mm from the beginning of the wheel axis. This is done by welding. Before welding, you need to accurately calculate where the motor will be, at what angle and at what height.
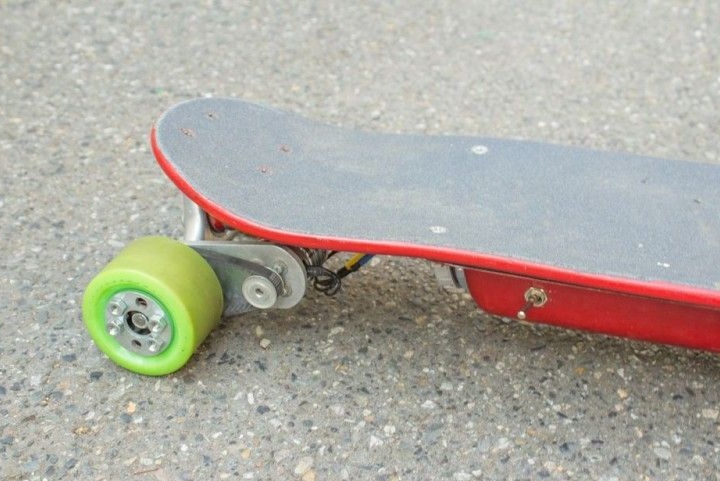
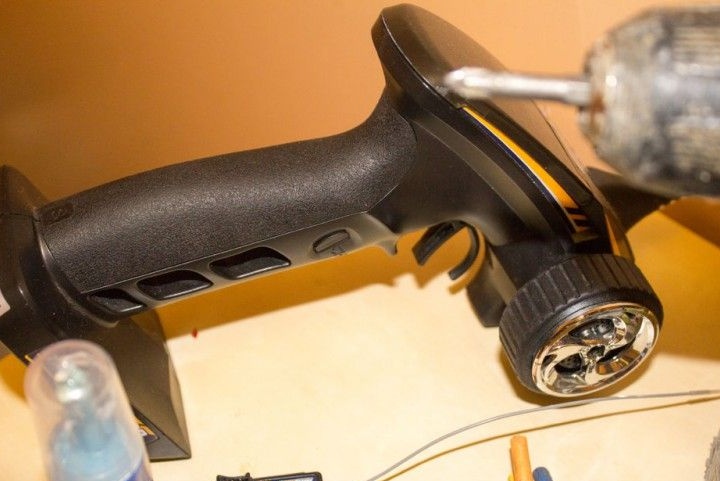
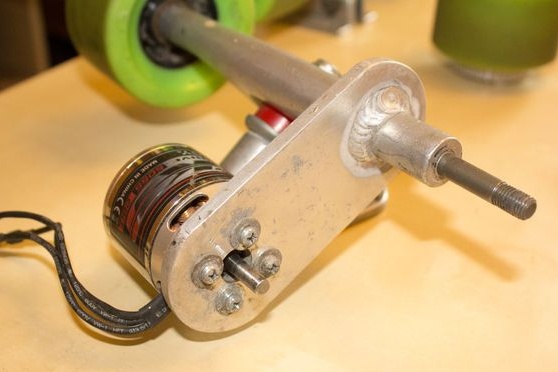
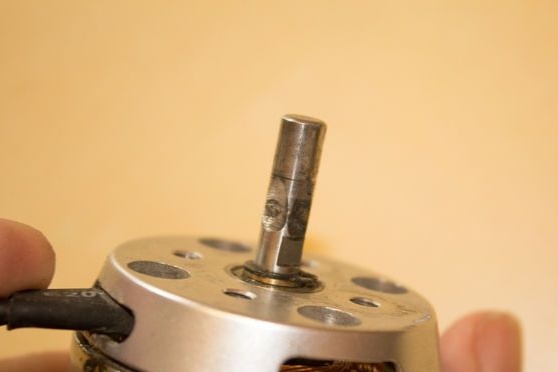
Step 4. Install the engine.
The motor is attached to the bracket using 12 mm bolts and M4 washers. Due to the fact that the holes in the bracket are slightly larger than the diameter of the bolts, this will allow to tighten the belt if necessary, if it loosens. If it turns out that the belt will sag too much, the holes can be drilled harder.
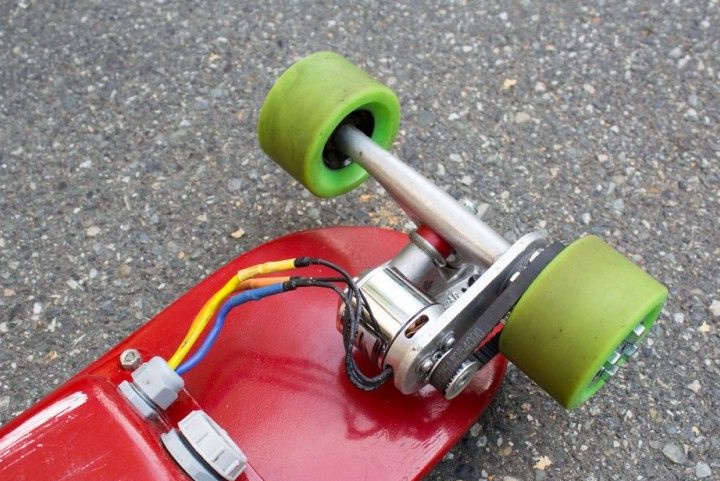
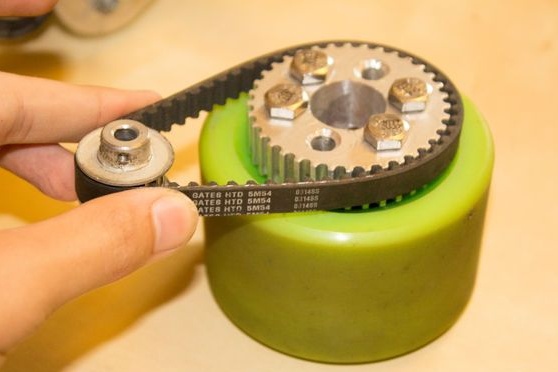
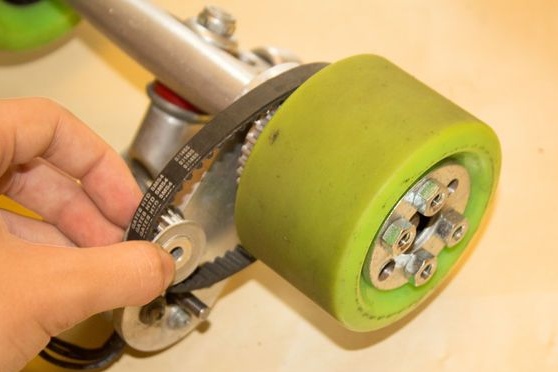
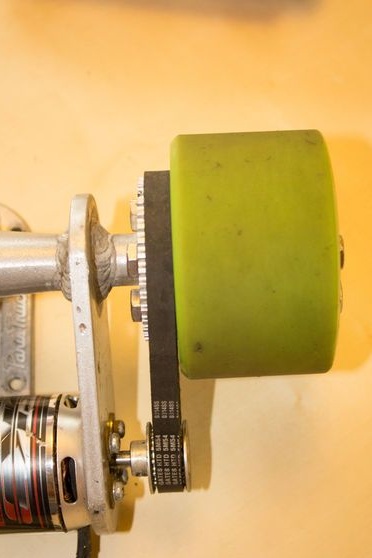
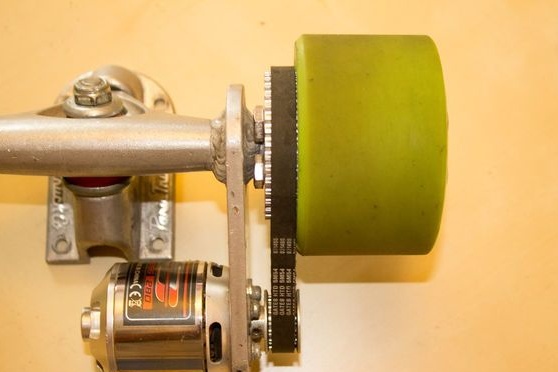
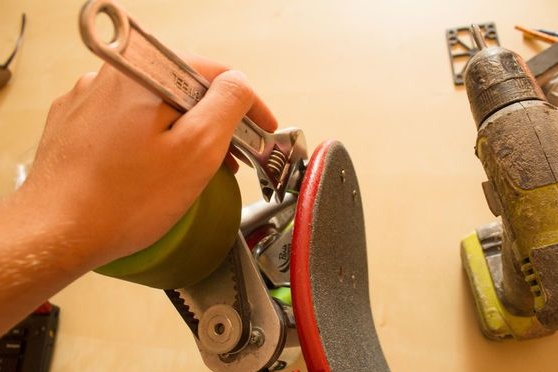
Step 5. Tighten the transmission belt
At this stage, the belt drive is assembled. First, two washers must be put on the axle, which are supplied complete with rollers and suspension. Then a belt is taken and put on a gear of a wheel and a 14 gear gear. Next, the gear for 14 teeth is put on the motor shaft, and the wheel on the wheel axle.
To fix the wheel on the axle, two washers and nuts from the same set are used.
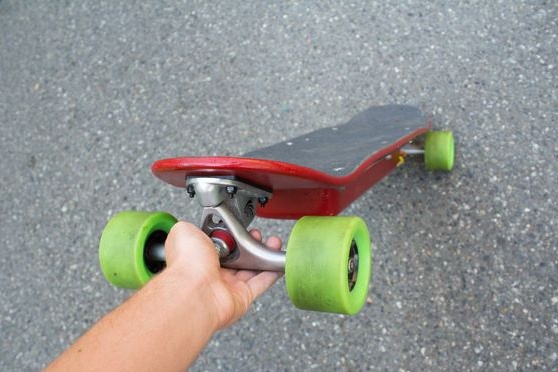
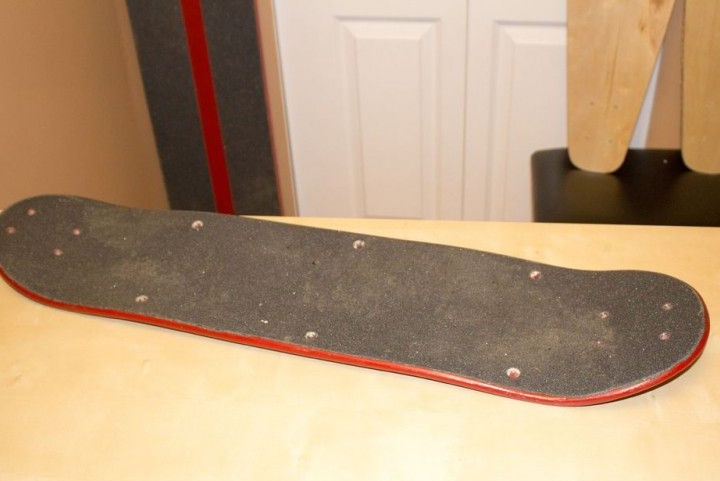
Step 6. Fasten the suspension to the deck
In the kit for the suspension should go eight nuts 5 mm with bolts. Using them, the suspension is mounted on a skateboard deck. To make the clearance greater, you can put a few gaskets. The deck can be strengthened with fiberglass, this will make it heavier, but more durable. To implement a similar project auto recommends using a flatter deck and a wider deck.

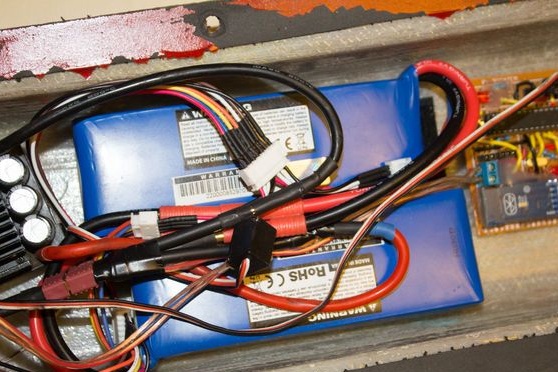
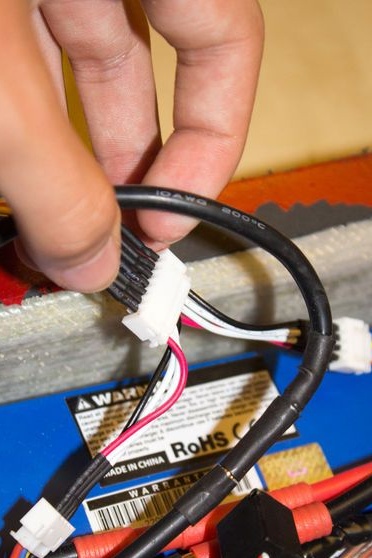
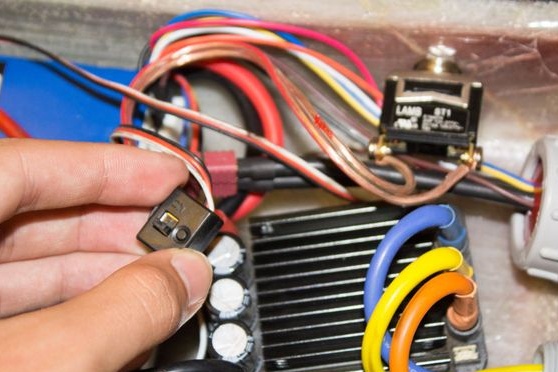
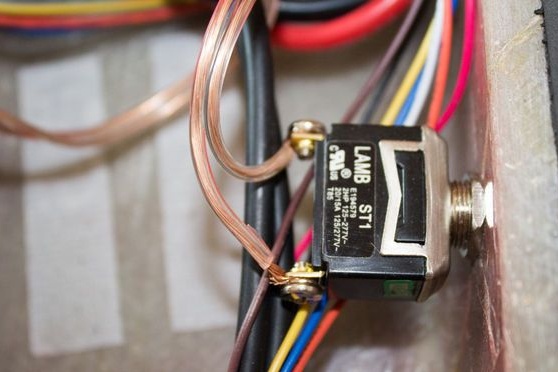
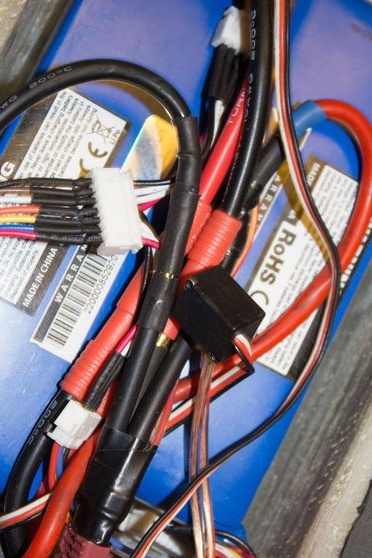
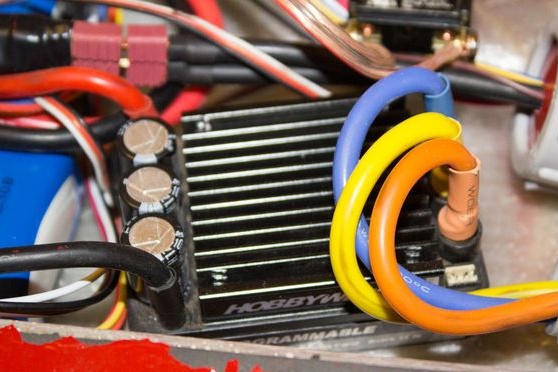
Step 7. Connecting the electronics
Electronics assembled as indicated in the pictures and diagram. batteries are connected in series to get a voltage of 22.2V. The fan with ESC can be removed since there is no need for it.


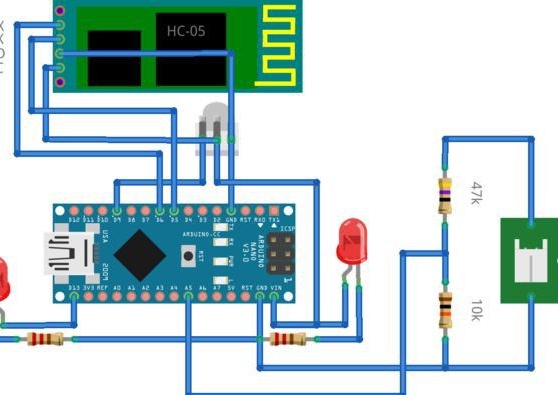
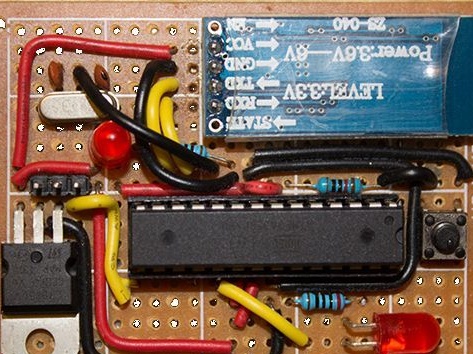
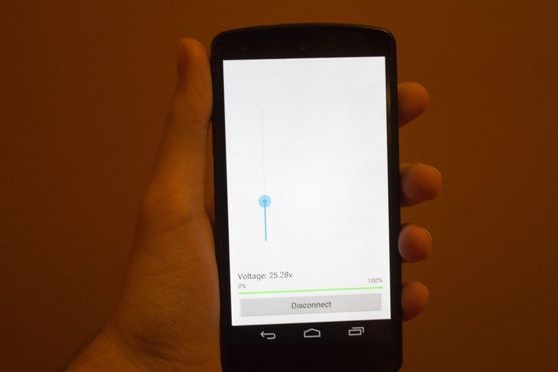
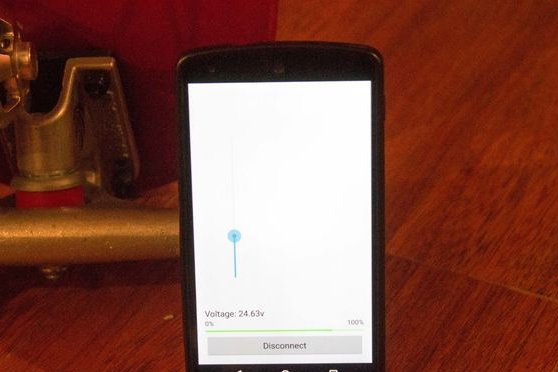
Step 8. The controller for the skate
Here you can see how you can build your own Bluetooth controller. It is going to be based on a microcontroller Arduino Nano.
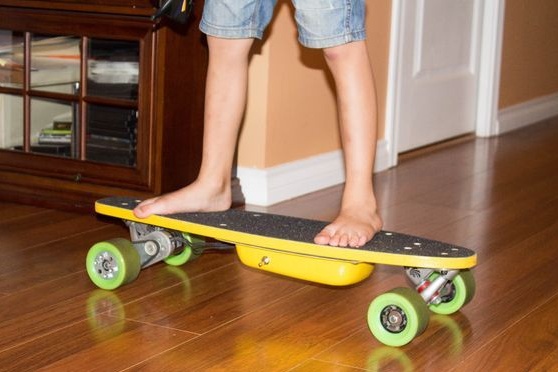
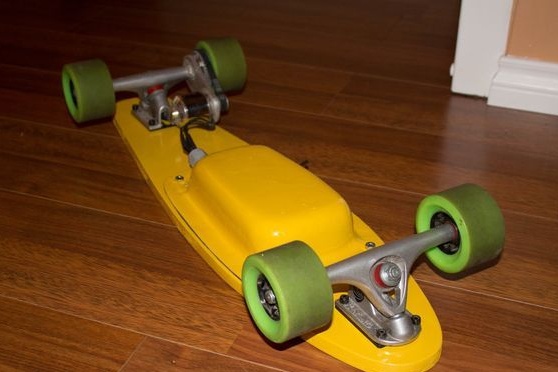
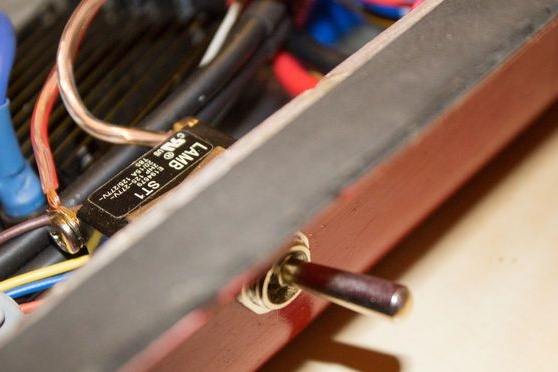
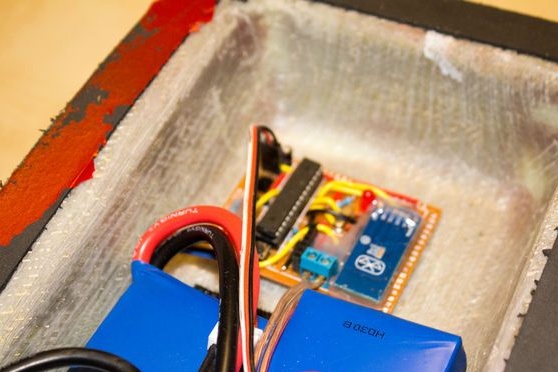
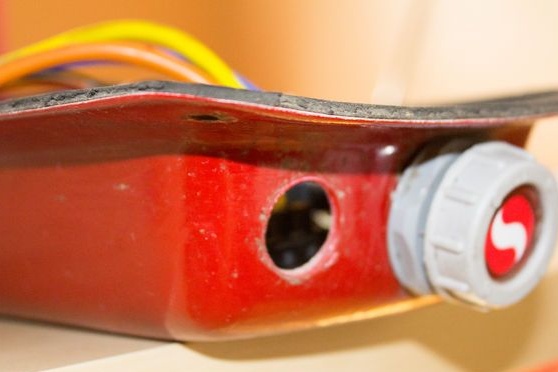
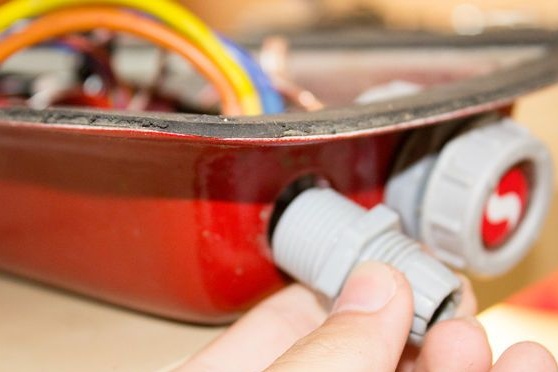
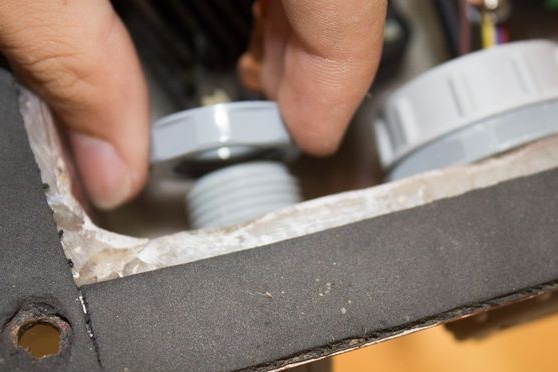
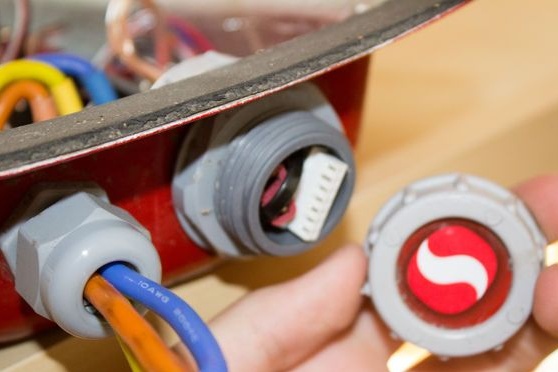
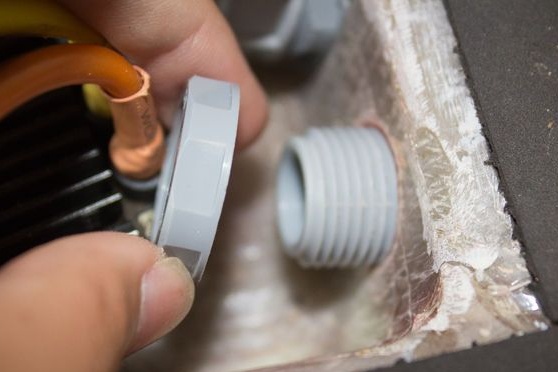
Step 9. Housing for Electronics
For electronics, you need to make a case, for these purposes, fiberglass is perfect. Also for these purposes, you can use plastic, acrylic and even wood. The main thing is that the case is tight and that water or dirt does not get on the electronics.


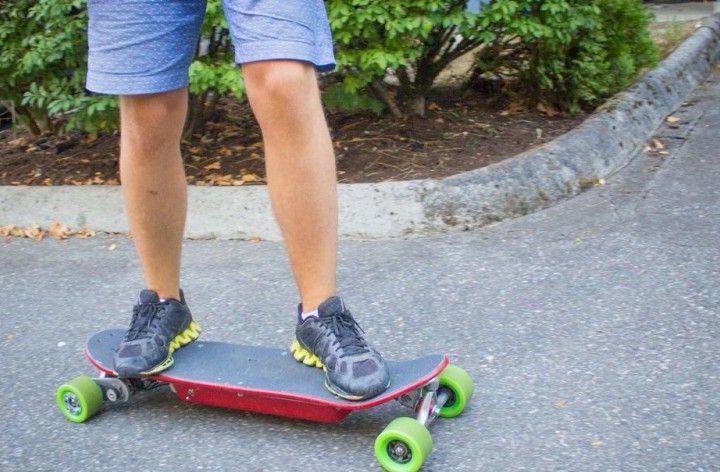
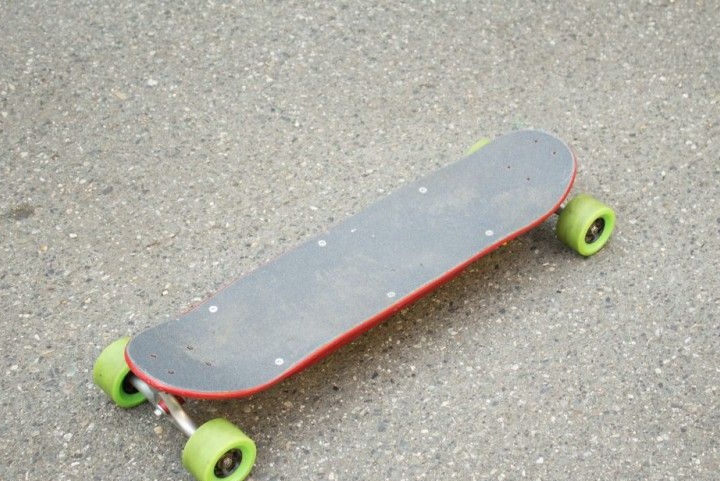
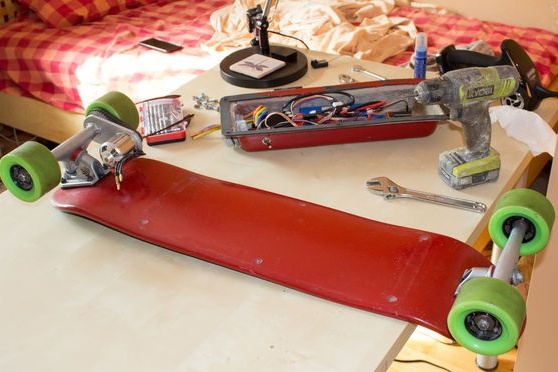
Step 10. The final build process.
After fixing all the elements, the skateboard can be painted in any color to your taste. Now after charging the batteries, you can begin to test homemade. The total weight of such a skateboard was only 5 kg.