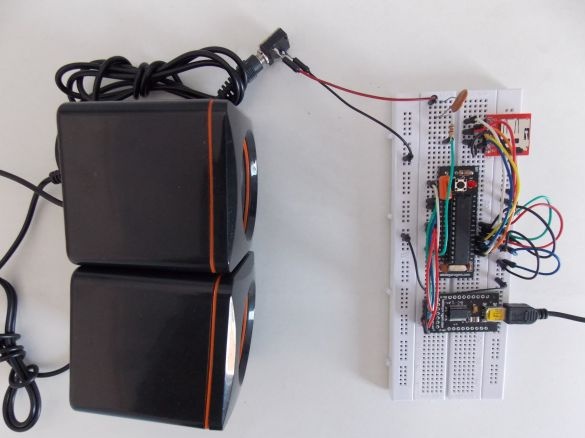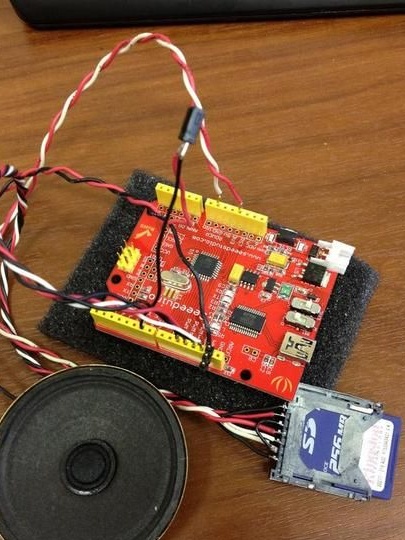
Materials and tools for assembly:
- Seeduino
- SD card reader (slot for SD cards);
- speaker and capacitor at 1-10 microfarads.
Homemade assembly process:
Step 1. Electronic device diagram
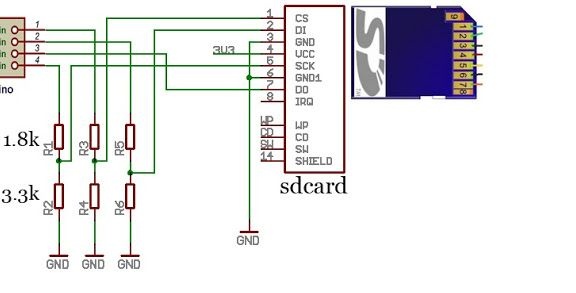
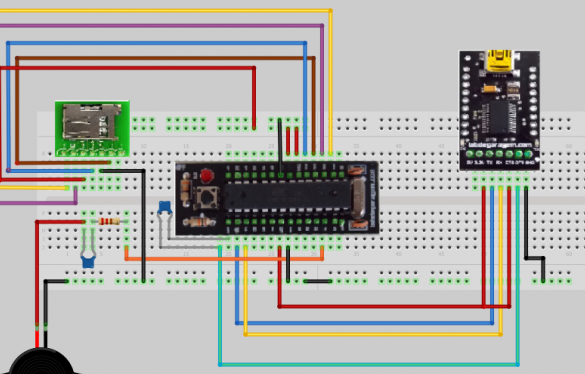
In order to connect SD-cards to the controller, you need a voltage divider from 5 to 3.3 V. It is assembled on resistors with a nominal value of 1.8 k and 3.3 k. But specifically in this case, the board can be switched to 3.3 V. SPI The card connects to the board using four wires. At least two must be left for food. In the diagram, you can see in more detail how the electronics are connected.
Step 2. The software part of the homemade
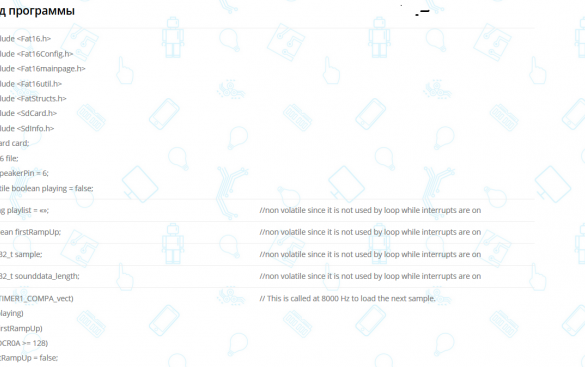
In order to be able to compile the firmware normally, you will need the fat16lib library. Unpack the library into a folder with Arduino and give it the name FAT16. By default, nothing needs to be changed in the firmware. The card must be formatted exclusively in the FAT16 system. The author used a 256 megabyte card.
Step 3. Play music
Music must be recorded in WAV PCM Mono 8kHz 8 bit format. To transcode music to the desired format, you can use the encoder Switch Sound File Converter. It is also important that the names of the music on the map have the format xxx.wav. Names need to be entered without expansion through spaces. In the firmware, they should be on the line playlist = “song1 song2 song3 ″ ;.
That, in fact, is all. In this simple way you can quickly assemble a very simple player. The Garagino controller is also suitable for these purposes, but in this case, the components and assembly diagram are somewhat different.

