
The main part of the robot is the chassis of a radio-controlled tank and other components, their list will be written below. This tank is the author’s first project on the platform. Arduino, and he was pleased that he used it. The author used materials and books from the Internet.
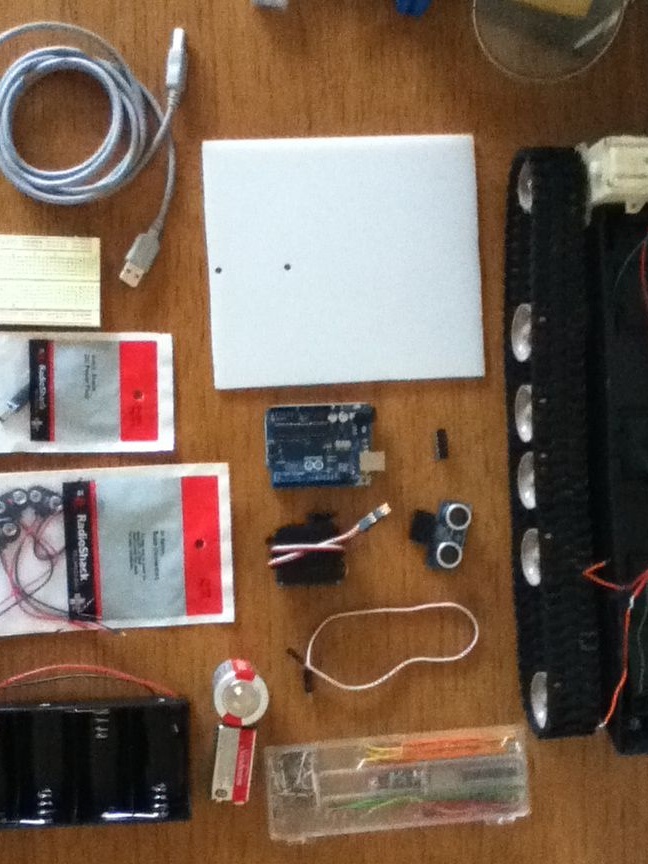
Materials and tools:
- Chassis for the tank
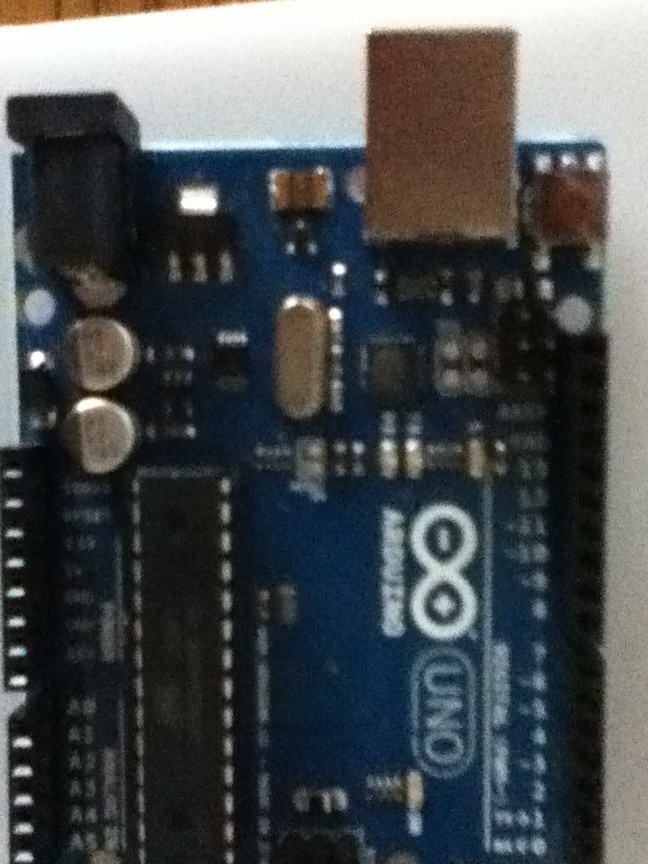
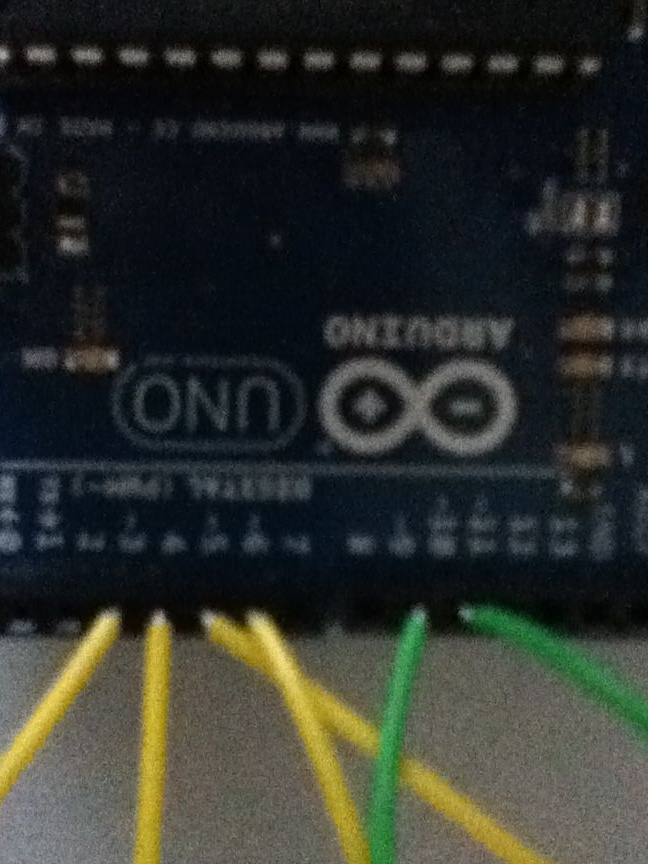
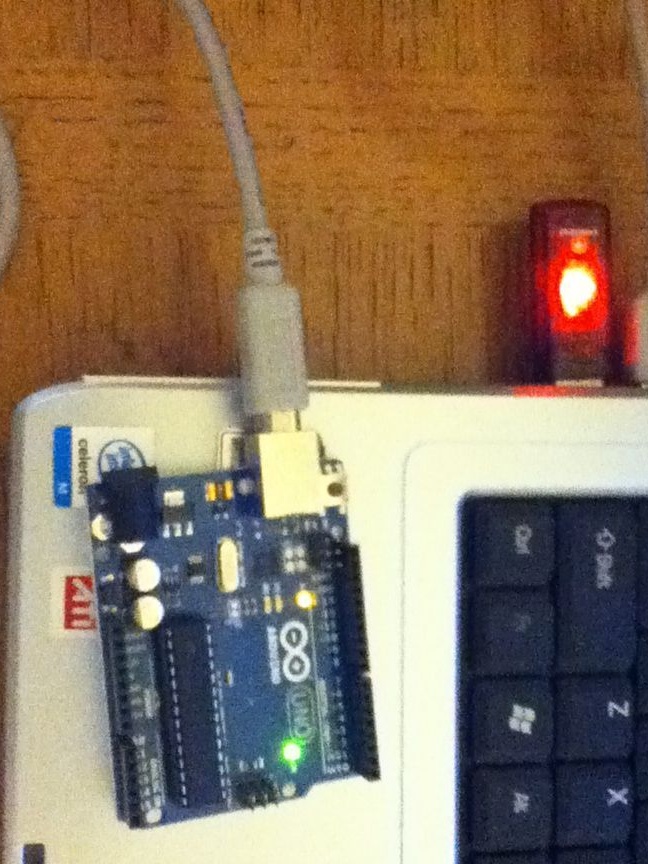
- Arduino Uno
- Jumpers and breadboard
- Integrated engine driver SN754410NE
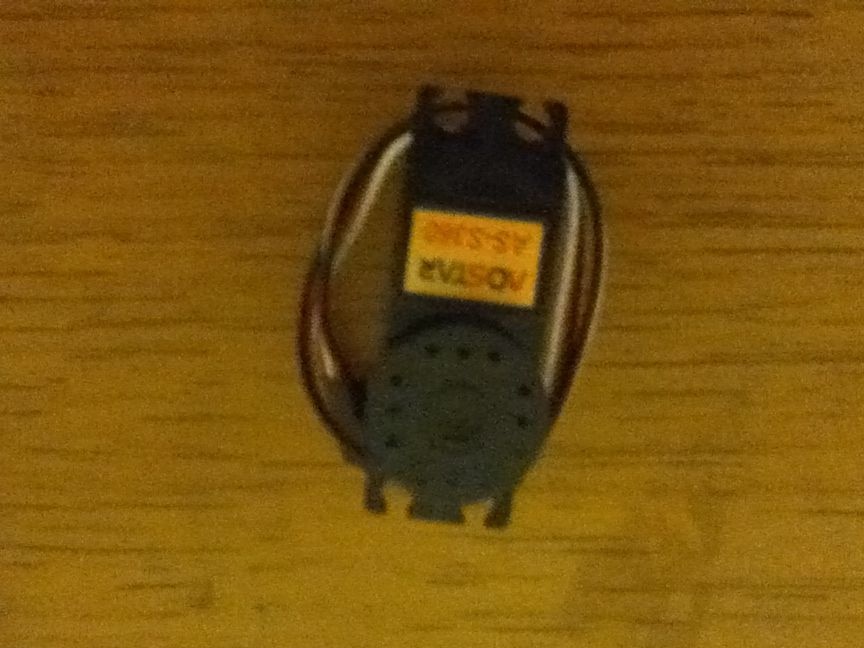
- Normal servo
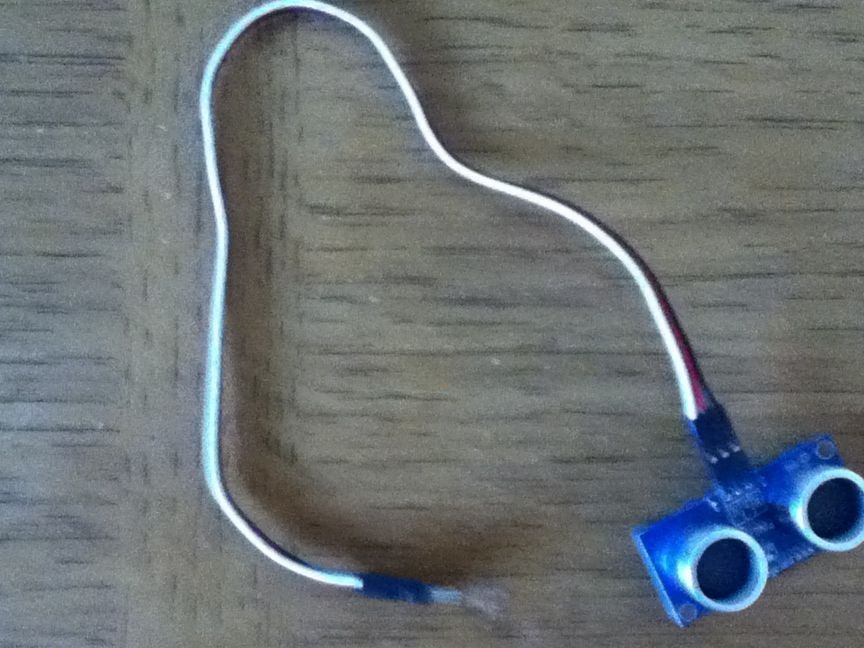
- Ultrasonic rangefinder
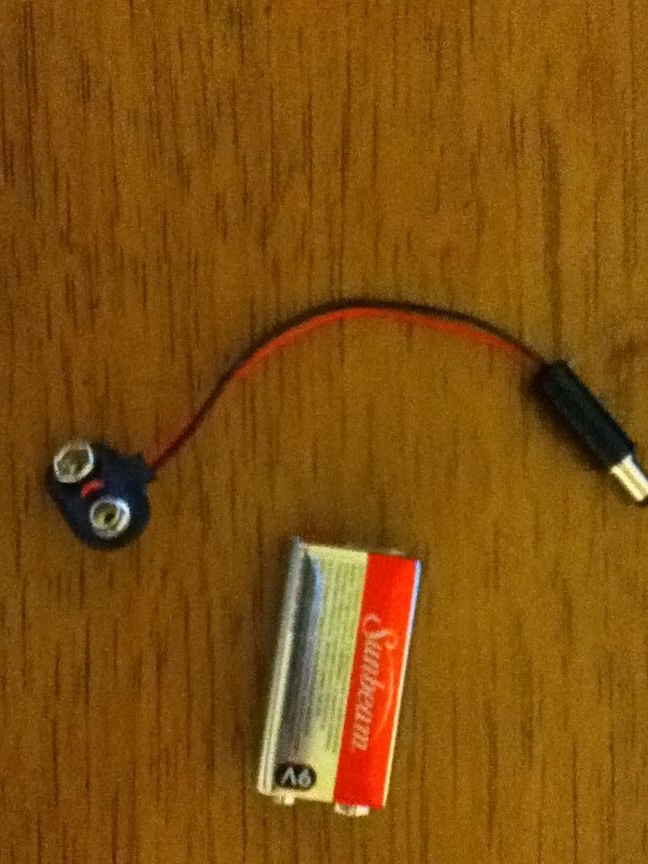
- 9V battery with a connector for it
- Type D batteries
- USB cable for Arduino
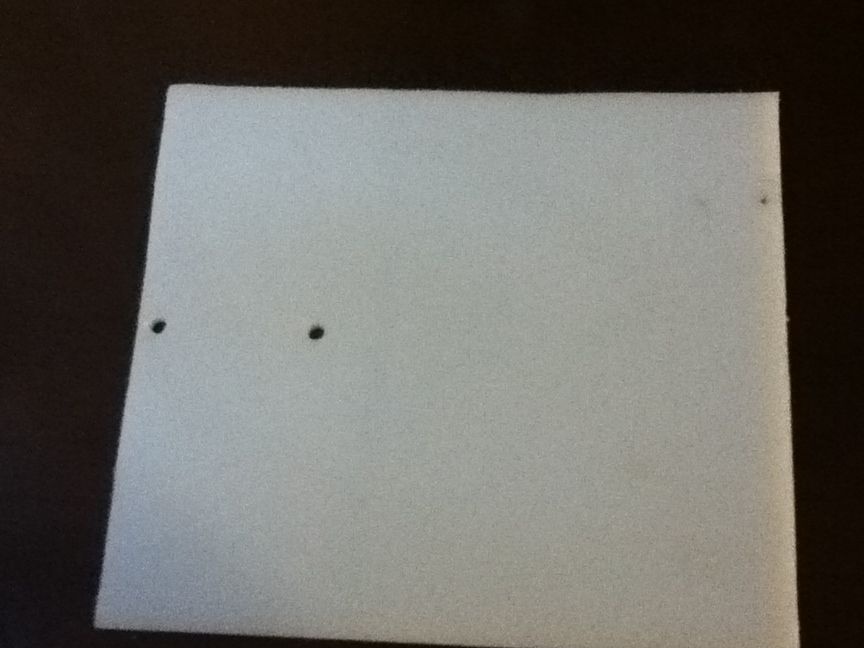
- Base for chassis
- screwdrivers
- Thermogun and glue for it
- Soldering iron and solder

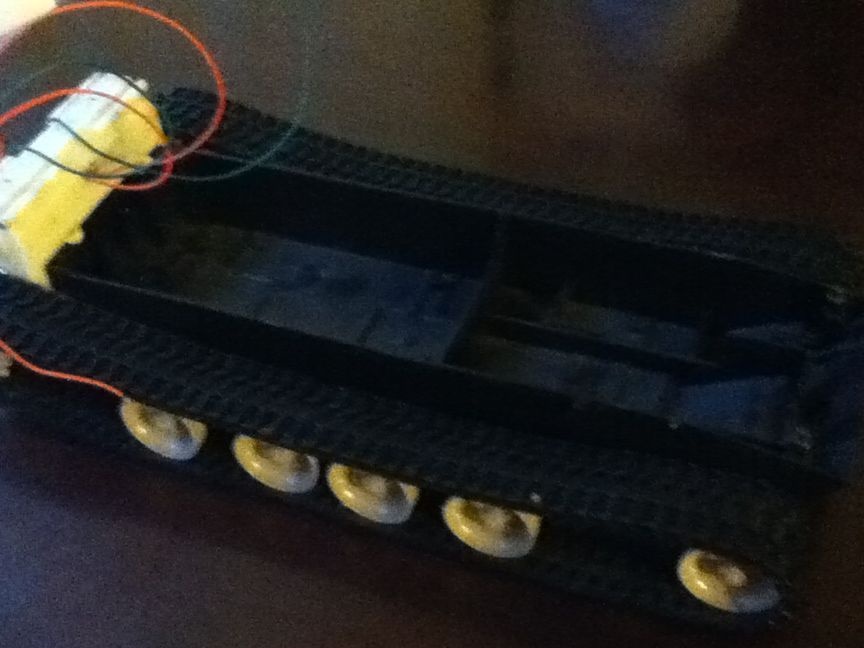
Step one. The chassis of the tank.
The author took the chassis from the old Abrams tank bought at a flea market. The resulting tank was disassembled so that it was possible to get the chassis out of it. It is not necessary to use the same tank, anyone suitable for radio control. Moreover, the original motor left much to be desired, so I had to assemble my own, its assembly will be in the next step. Having prepared the chassis, the author attached the base to them with hot-melt adhesive. It does not matter where it will be fixed, but it was decided to stick in the center.
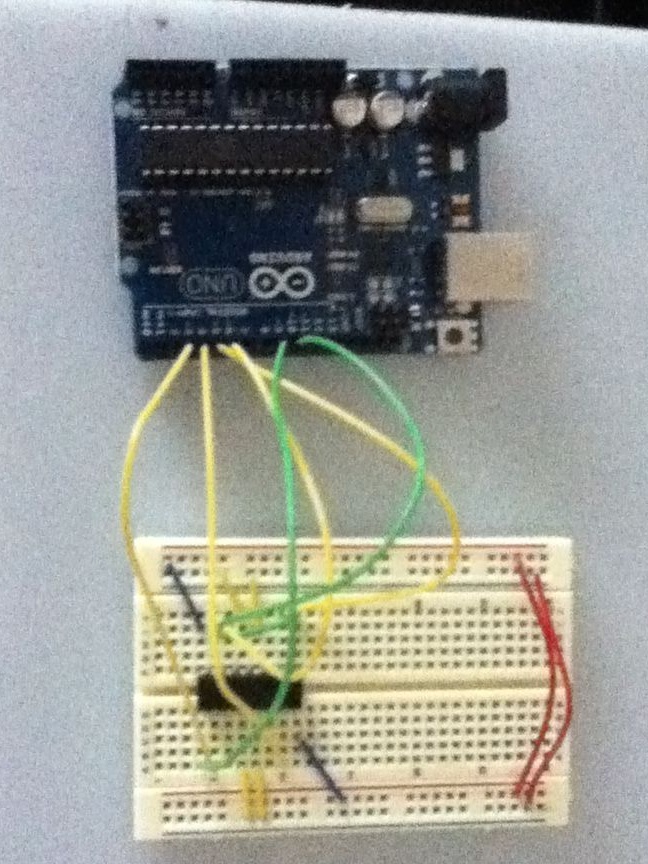
Step Two Engine driver.
To control the engine, the driver SN754410NE is used, the author used it, since it was available, you can take any similar one.
Connecting the driver to the Arduino is as follows:
- All GND pins are connected to the GND pins of the breadboard.
- Driver contacts 1 and 16 to 9 and 10 Arduino.
- Arduino pins 2 and 7 are connected to pins 3 and 4 of the Arduino (they are responsible for controlling the left engine).
- The pins of the driver 10 and 15 are connected to the Arduino 5 and 6 pins (they are responsible for controlling the right engine).
- Contacts 3 and 6 are connected to the left motor, and 14 and 11 to the right motor.
- Contacts 8 and 16 must be connected to power on the Bredboard, the 9V battery is the power source.
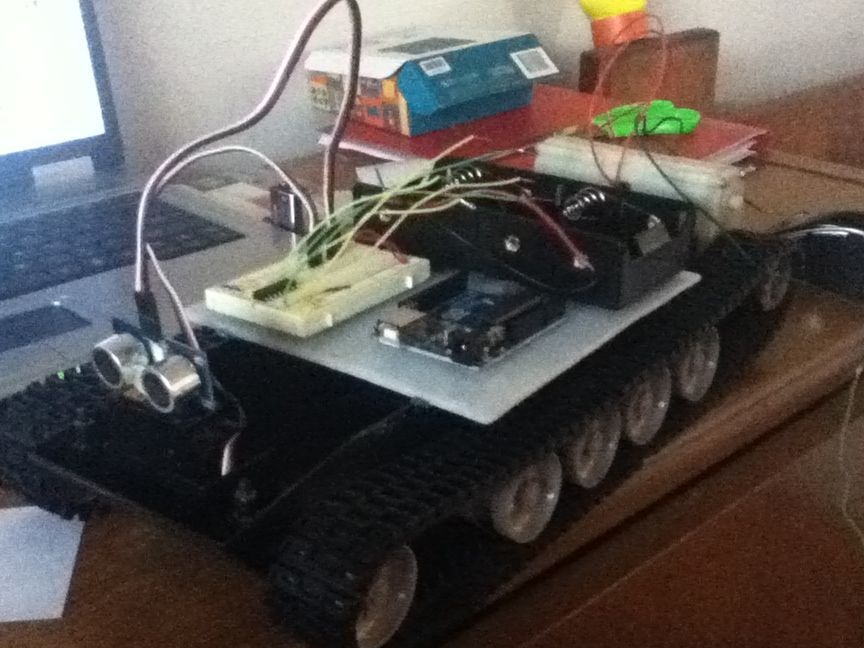
Step Three Installation of a range finder.
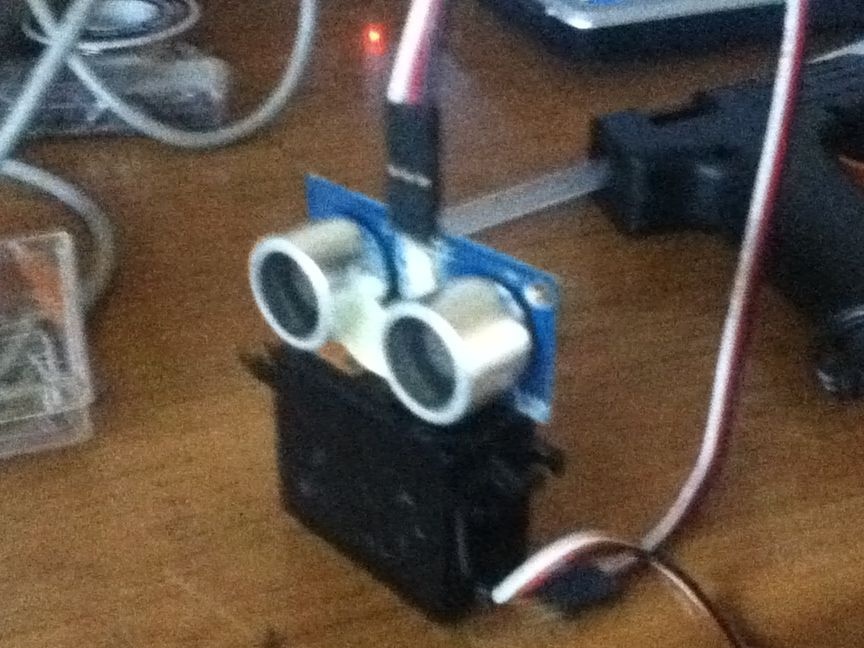
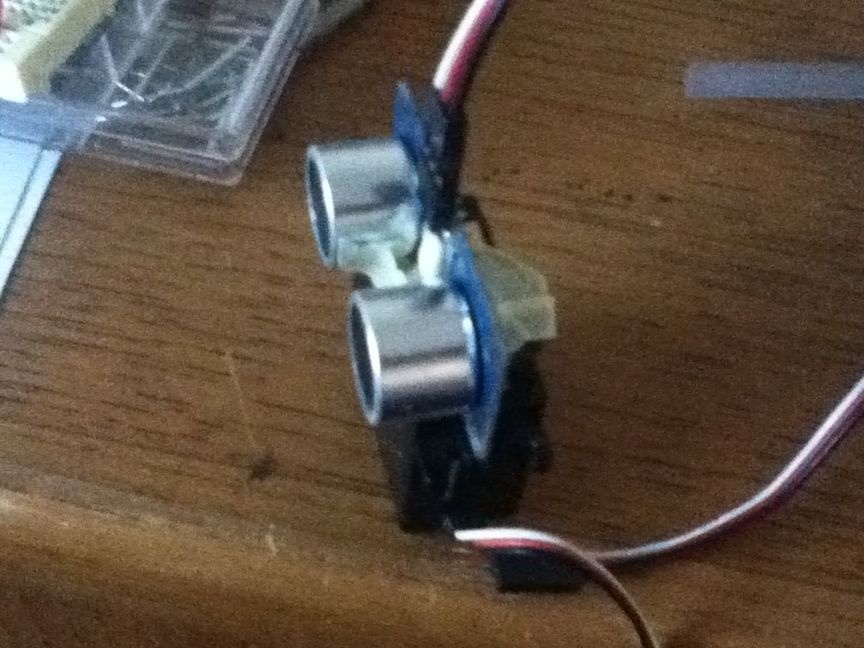
The ultrasonic sensor allows the robot Avoid obstacles in his way while driving. The sensor is located on a standard servo drive and will be mounted on the front of the robot. At that moment, when within 10 cm the robot notices an obstacle, the servo will begin to turn in both directions, thereby looking for a passage.Arduino reads information from the sensor and decides which side is more favorable for further movement.
First of all, a servo drive is attached to the sensor. The author fixes the servo so that he can only turn 90 degrees in each direction, in other words, the full rotation of the servo will be 180 degrees.
The sensor has three GND pins, a signal and 5V. The 5V power supply is connected to the Arduino 5V power supply, GND to GND, and the signal to Arduino 7 pin.
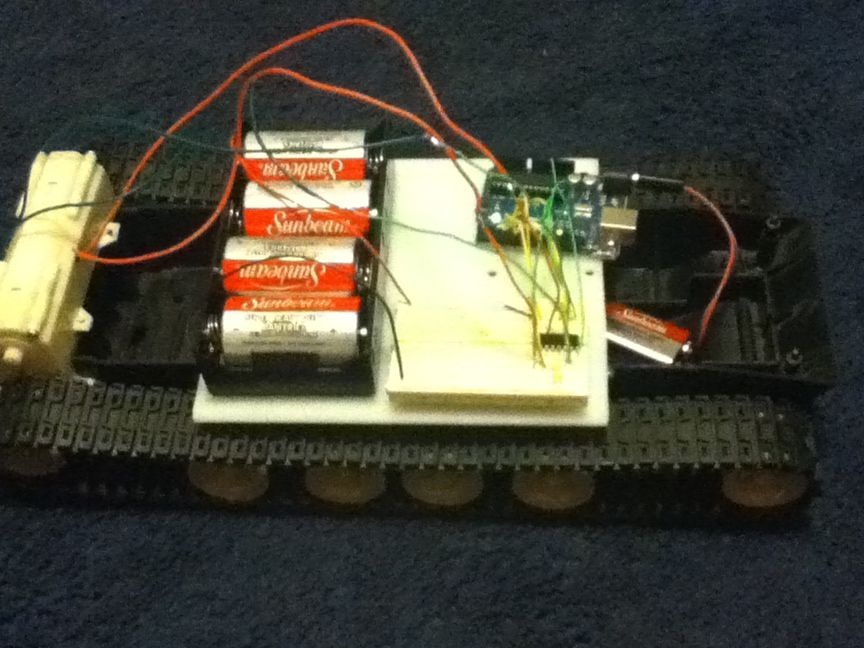
The fourth step. Nutrition.
Arduino receives power through a 9V battery, it connects to the corresponding connector. The engines use four D-type batteries, they are installed in the battery holder. To get power to the motors, the wires of the holder are connected to the board on which the SN754410NE motor driver is already installed.
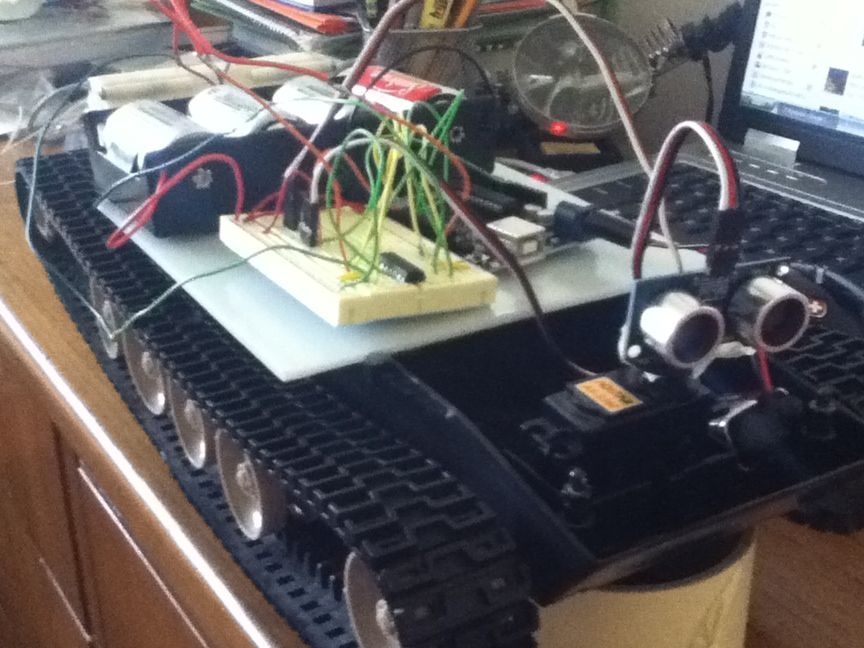
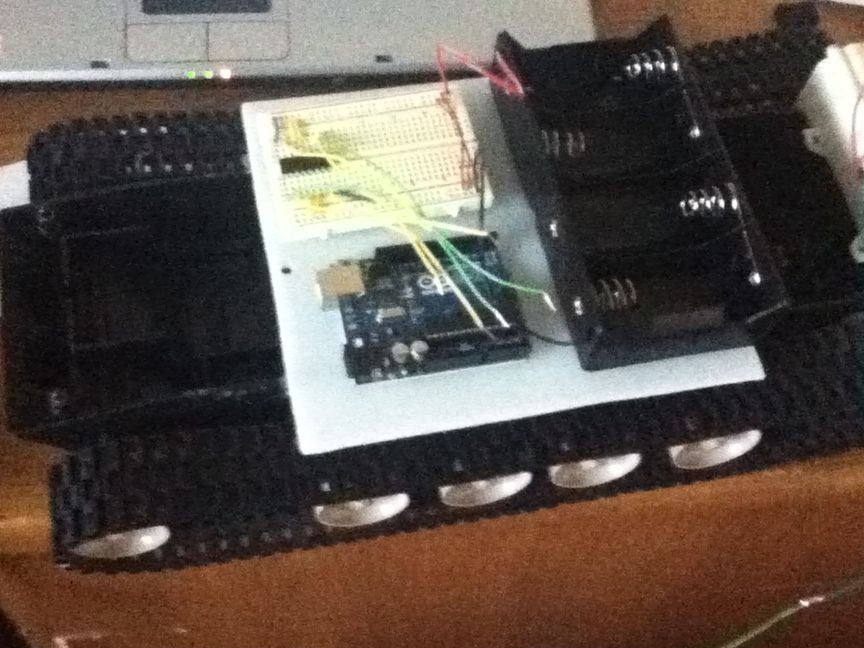
Step Five Assembly of the robot.
After completing all the previous steps, it is time to put all the parts together. First of all, Arduino is mounted on the base of the tank. After that, an ultrasonic range finder is attached to the front of the robot using hot-melt adhesive. Then, the author fastens the batteries next to the Arduino. Batteries can be installed on any part of the tank. After installing all the components, all the wires were raised up and power was applied to the board to make sure that the assembly was correct.
Step Six Program code.
After the assembly of the tank is completed, it is time to write a program for it. The program should show the robot when to move, and when to suspend movement, in order to avoid a collision with an obstacle. When writing code from the author homemade there were many unsuccessful attempts, but after spending a couple of sleepless nights, he finished working on the code. When an object is detected within a radius of 10 cm, the robot will stop and begin to scan the area on both sides using an ultrasonic sensor. After scanning both sides in front of you, the program will determine which side is safe for further movement, and the robot will continue its path in this direction. If the program determines that the robot is at an impasse, then the tank will turn 180 degrees and continue its movement in the opposite direction.
The program for use can be downloaded below.