
The author of this homemade already once tried to make an autonomous robot avoiding obstacles, and now decided to submit an improved version of it. The author decided to name the robot Bob. In the previous version of the robot there were a number of shortcomings and shortcomings. In this model improved:
- Supply system
- Additional sensors installed
- Better connections
- Faster controller installed
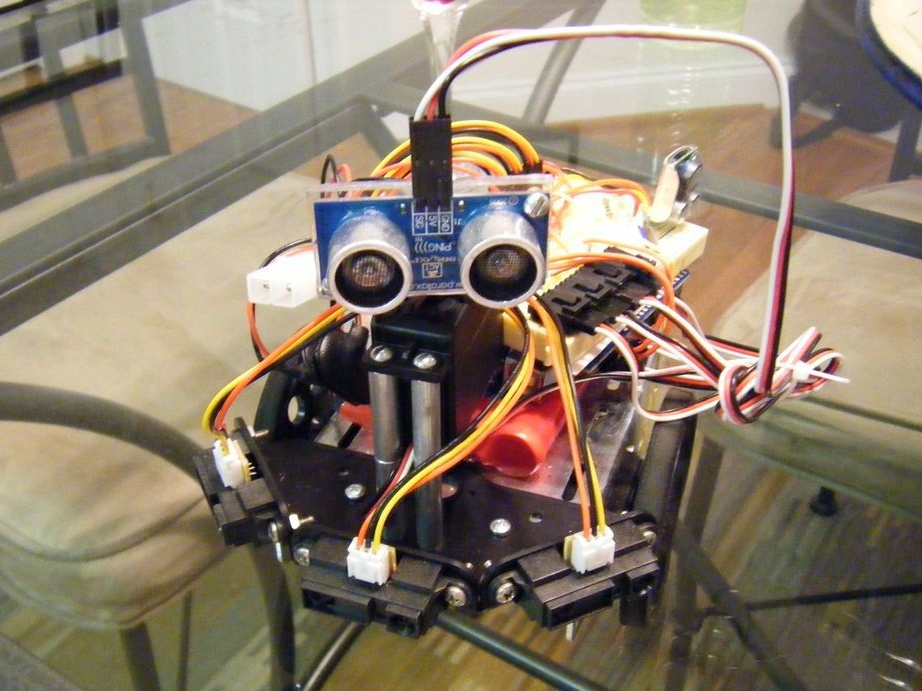
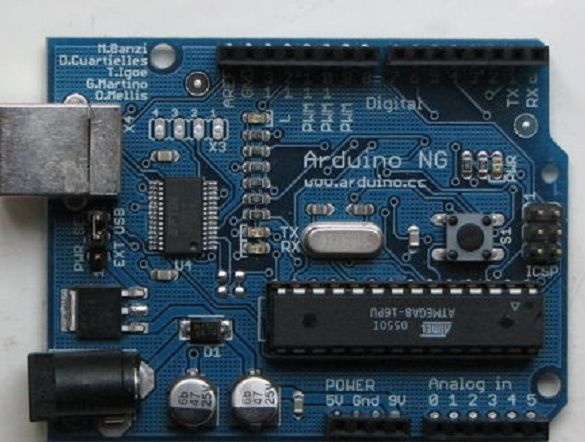
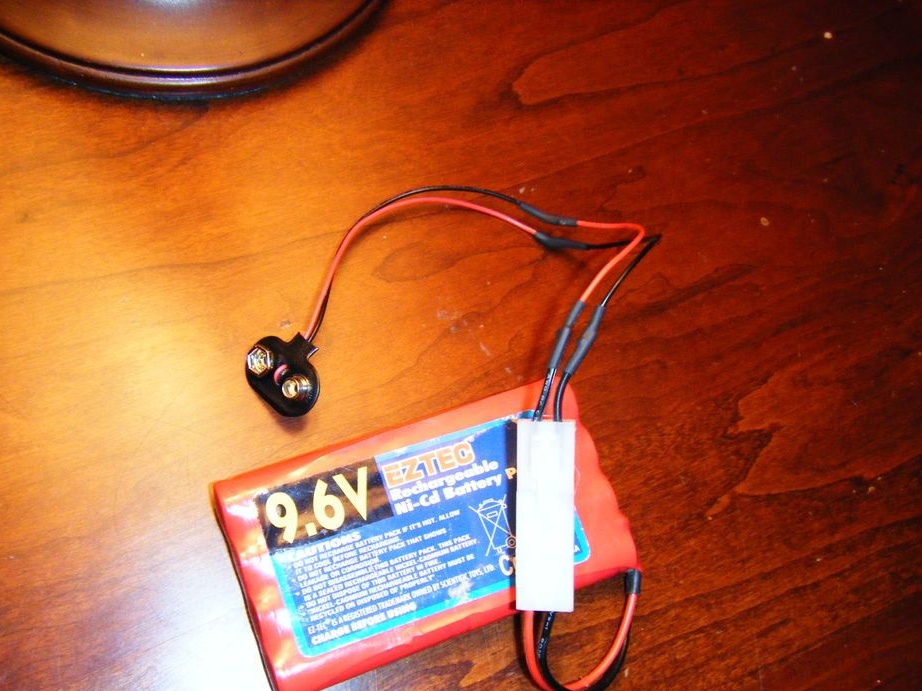
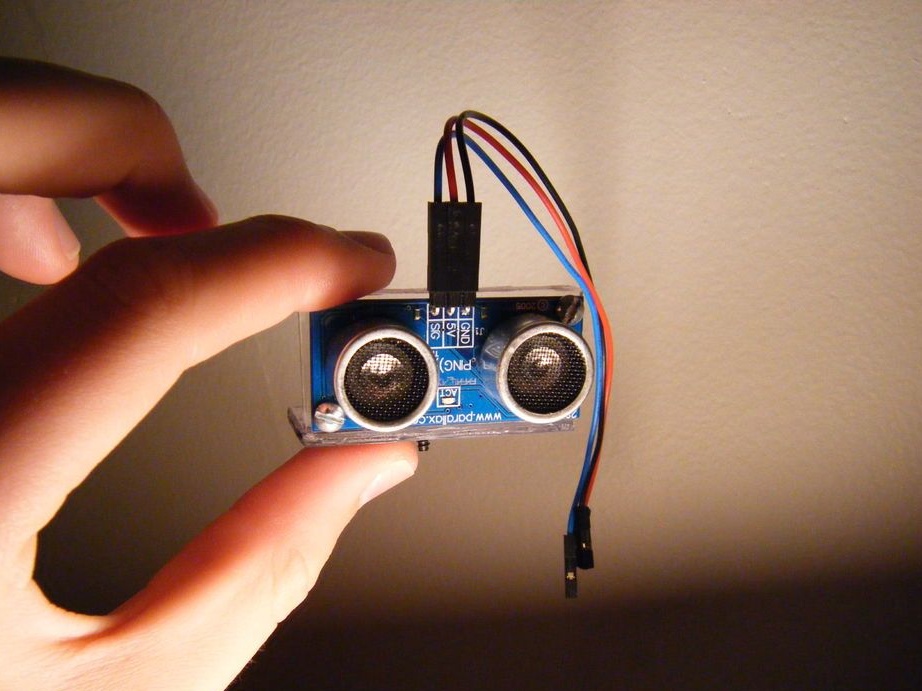
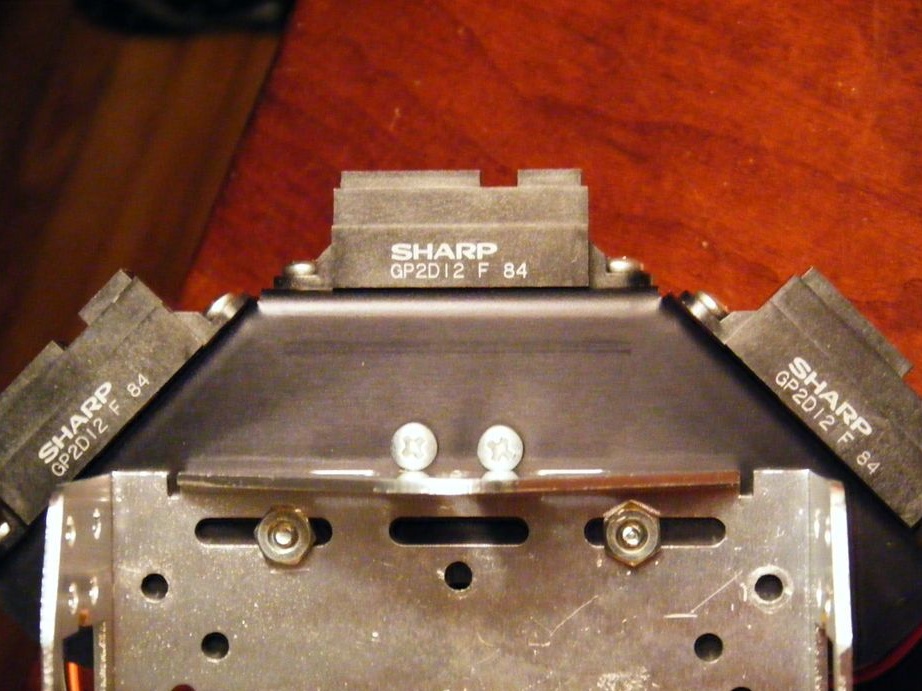
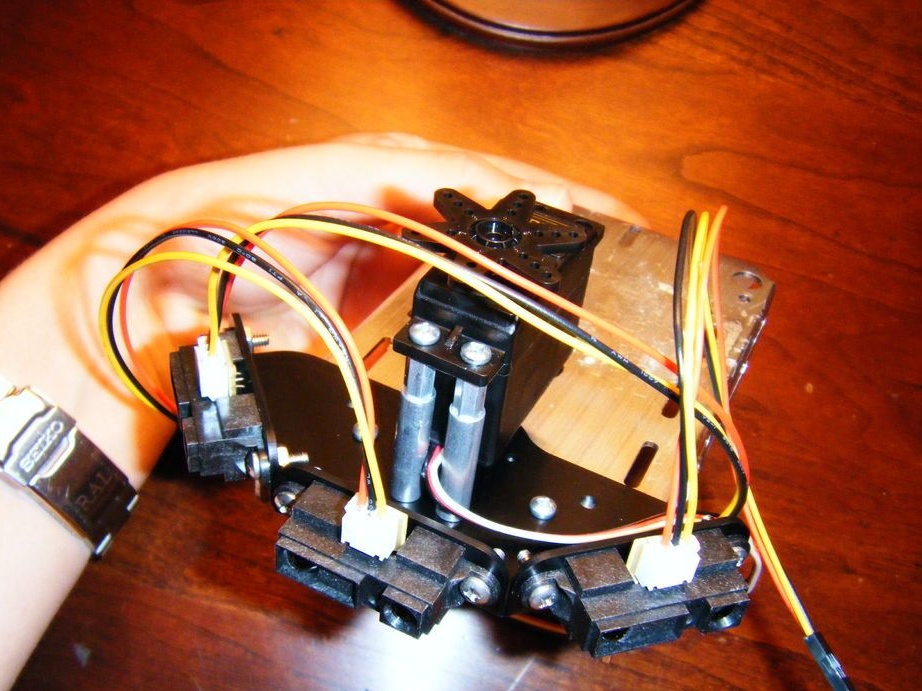
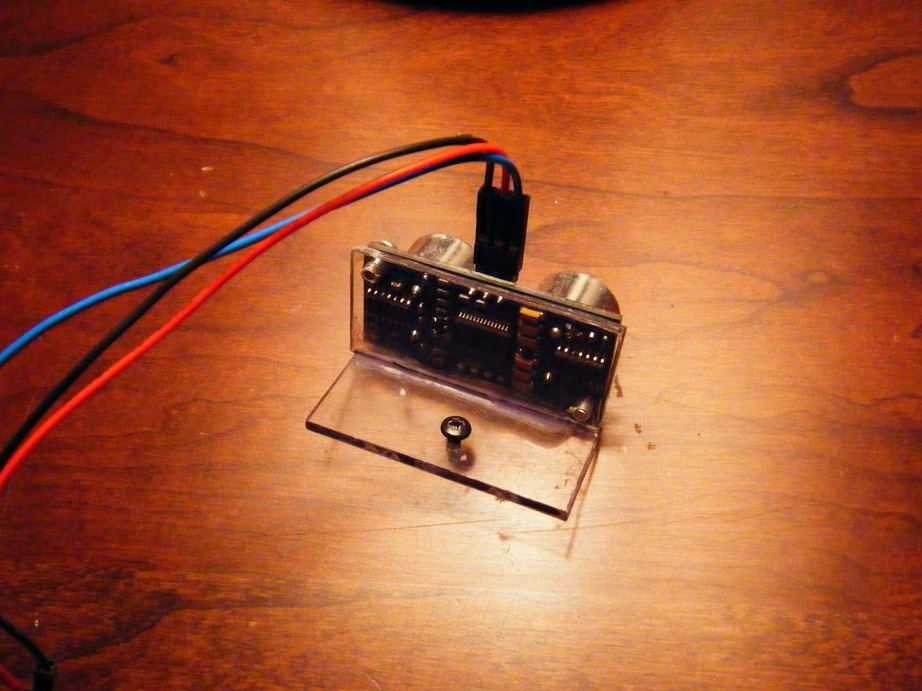
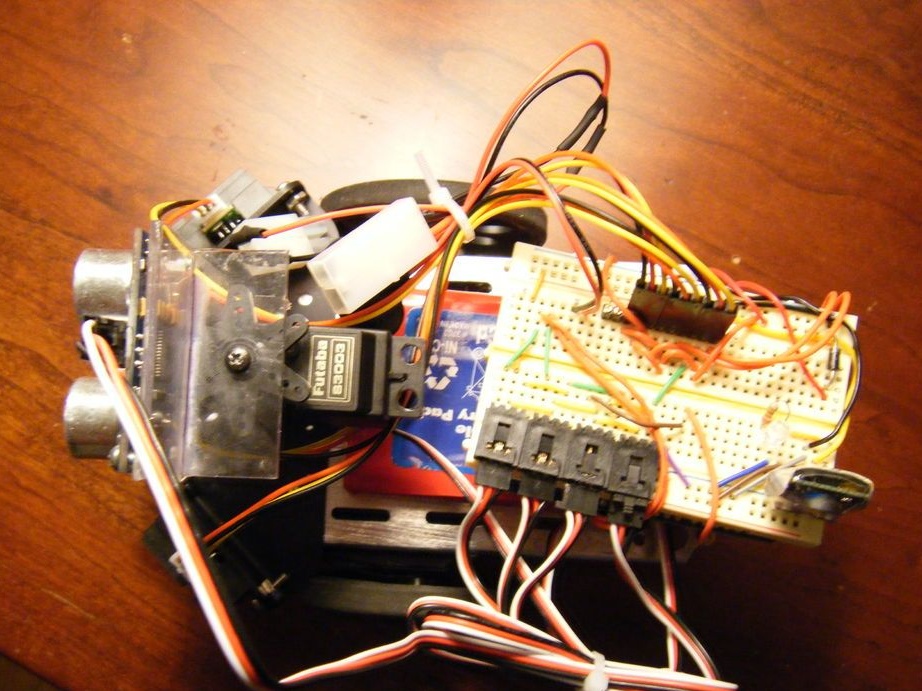
Bob uses a 9.6V battery and a voltage regulator to power it. The creator of the robot added another GP2D12 IR sensor, and improved the attachment of everyone else. An ultrasonic rangefinder was placed on a servo drive, for the possibility of improved terrain scanning. The ATmega168 microcontroller has been installed on Arduino. The author loves projects with microcontrollers, in particular to design a robot on them, and considers this the best way to show their capabilities.
Materials:
- Arduino
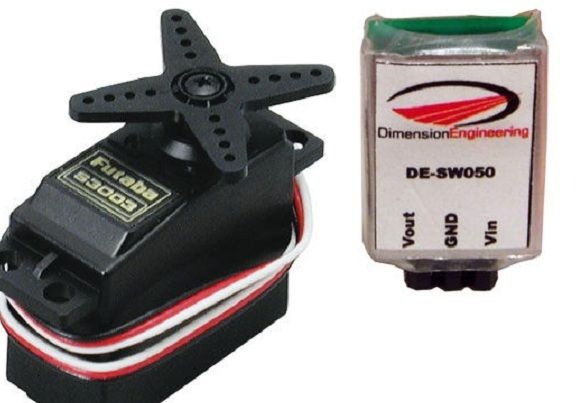
- Servo Futaba S3003 1 pc
- Servo drives continuous rotation Parallax 2 pcs
- Cable ties
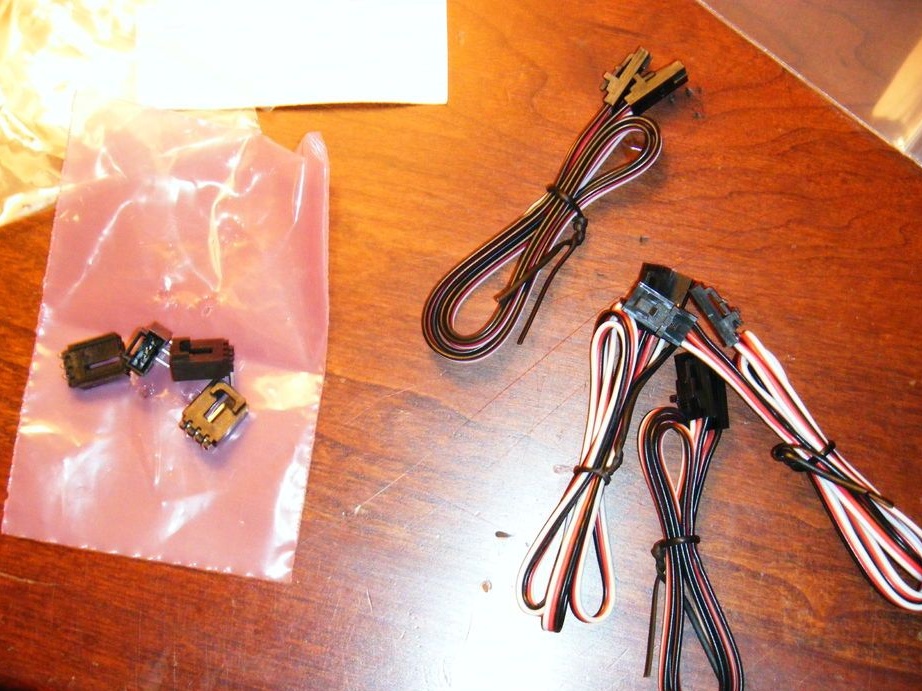
- Wires of different lengths
- Battery connector
- 3 pin cable for sensor
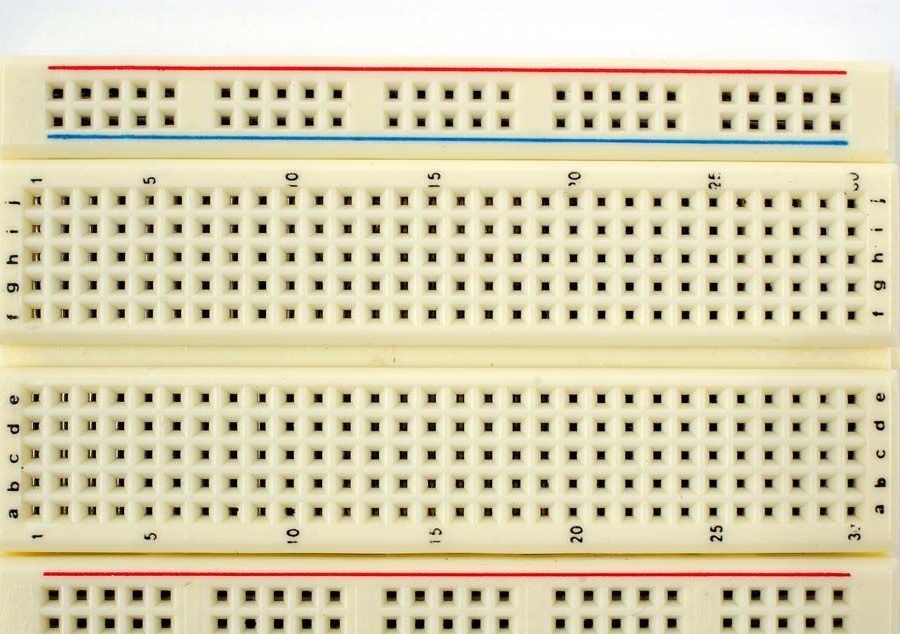
- Bread board
- Ultrasonic rangefinder
- Infrared sensors GP2D12 3 pcs
- 9.6V Nickel Cadmium Battery
- Switching voltage regulator 5V, 1A
- Chassis (the author uses the BOE-Bot Kit). You can use plastic or plexiglass for the chassis, perhaps even a piece of wood of the correct shape.
- Piezo buzzer (to indicate the start of work)
- LED 1 pc
- Resistor for 200 Ohm LED
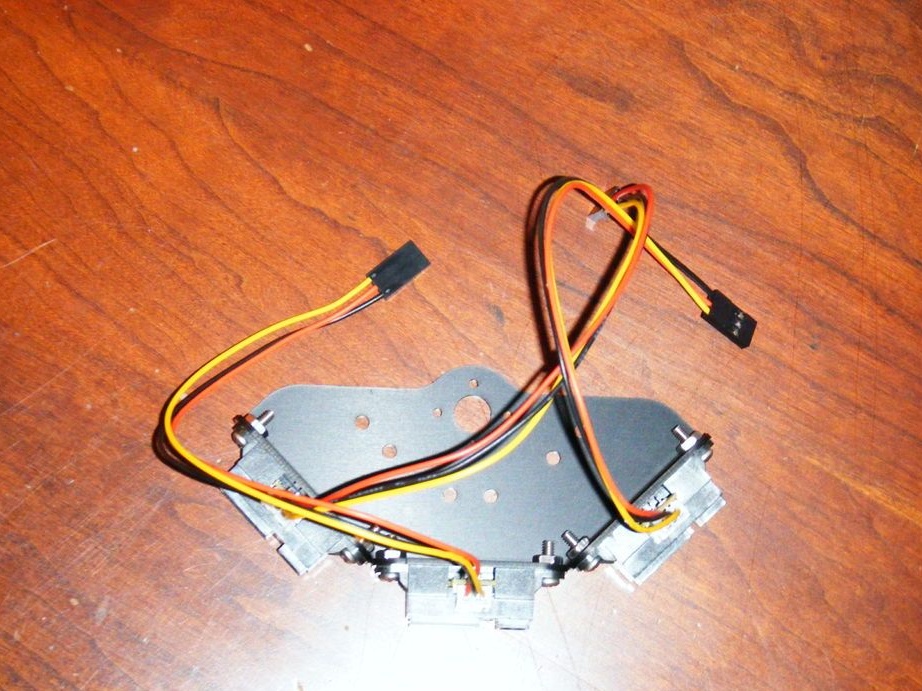
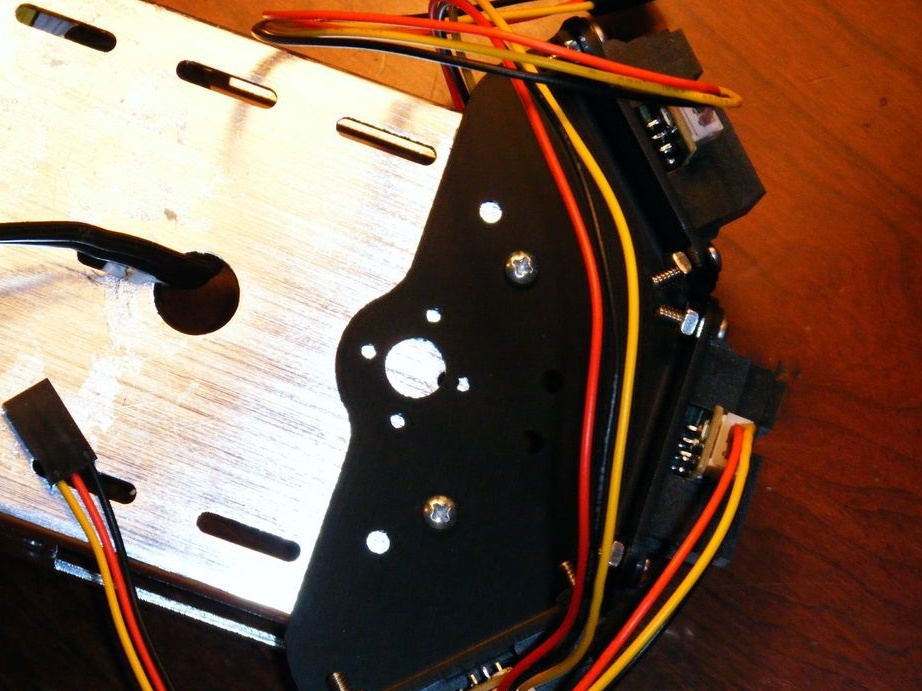
Step one. Installing IR sensors.
The sensor on the bracket has several holes, they coincide with the holes on the chassis. The author fixes them with two screws and nuts.

Step Two Rangefinder with servo.
The servo in the robot serves for a panoramic view of the ultrasonic sensor, so it captures a large area in front of itself, and measures the distance at different angles. Existing screws were not suitable for the desired purpose, suitable were sold only in specialized stores. It was decided to make a mounting bracket do it yourself, and do not spend extra money. A plexiglass stand was made to install the rangefinder.The author cut out two pieces of organic glass a little larger than the range finder, drilled holes and glued these parts at right angles. Further, they made a hole the size of a little more than the screw of the servomotor, and with its help secured the servomotor.
Servo Note:
There is no need to buy the Futaba S3003, any servo drive that can rotate 180 degrees is suitable. When searching for a servo, the creator of Bob was guided only by this parameter, and found the cheapest servo that could complete the task. In this case, you need to configure the value of the SHIP in the program for another drive.

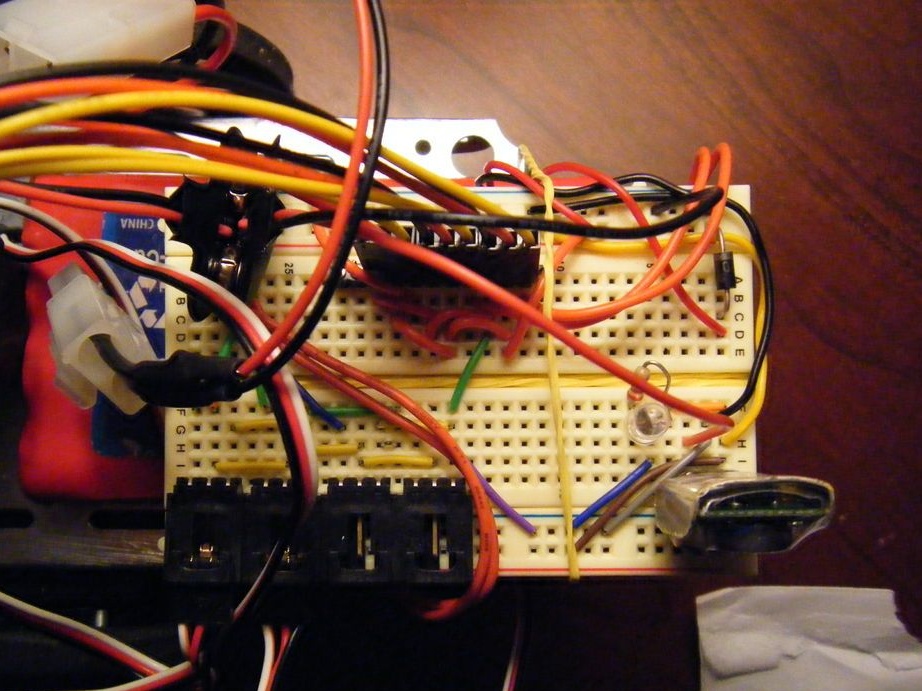
Step Three Arduino installation.
For improved performance, the creator of Bob used ATmega168, although it works at a low frequency, it copes with its tasks much faster and meets the set requirements.
A prototype board was found on the Internet for installing the Arduino on it, connecting the board with the Arduino. By connecting them together, the author began connecting wires:
- Pin (ADC) 0: Left GP2D12
- Pin (ADC) 1: Central GP2D12
- Pin (ADC) 2: Right GP2D12
- Pin 5: Rangefinder servo
- Pin 6: Left Servo
- Pin 7: Ultrasonic Rangefinder
- Pin 9: Right Servo
- Pin 11: Pie Squeaker
The project does not use additional capacitors that are sufficiently integrated in the 5V stabilizer. A 220 Ohm resistor is used between the LED and VCC.

The fourth step. Program code.
Given the previous errors during the first creation of the robot, amendments were made, understanding the code is not difficult. Also, excess parts that are not used are cut from the code. Part of the code responsible for the rangefinder was taken from the Arduino website. The code can be downloaded under the article.
Step Five Conclusion
In the future, the author will experiment with Bob, and improve it by adding new sensors, such as a light and sound sensor, with a photoresistor robot able to detect people. The space for modernization is large, only imagination is needed.
For now, Bob can only avoid the obstacle. IR sensors will detect objects on the way, and the ultrasonic rangefinder covers the blind spots of IR sensors, and the rangefinder also serves to find the way when obstacles are detected. When the battery is fully charged, Bob will be able to drive for about 1 hour 20 minutes. The author also thinks how to improve the appearance of Bob.
Bob's Demonstration: