Hello! In this article I want to tell you from a microphone preamplifier.
From the title of the article it is clear that we will strengthen something. To begin, consider one example. You connected a dynamic microphone to your computer and decided to record your voice. But apart from a very quiet speech, crowded with a lot of noise and interference, you did not hear anything. And all because 1.5 V appear at the input of the computer’s audio card. This is the very one and a half volts that press the coil inside the microphone, and when you speak, they prevent it from moving. So this voltage needs to be somehow removed and the signal amplified. For this we will make a pre-amplifier. That is, the sound from the microphone will get into the computer already amplified and without noise.
To do this, you need the following components:
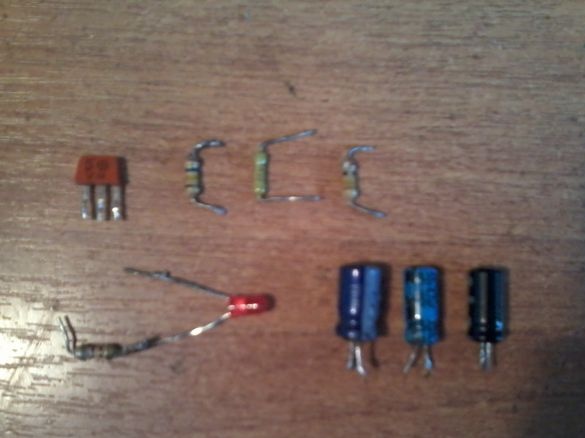
Resistors –
Capacitors –
Transistor –
Light-emitting diode –
Instruments:
.
We begin to manufacture.
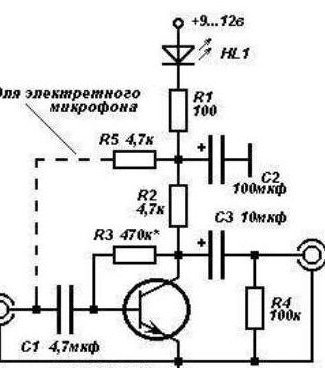
1.To begin with, we will deal with the diagram and details.
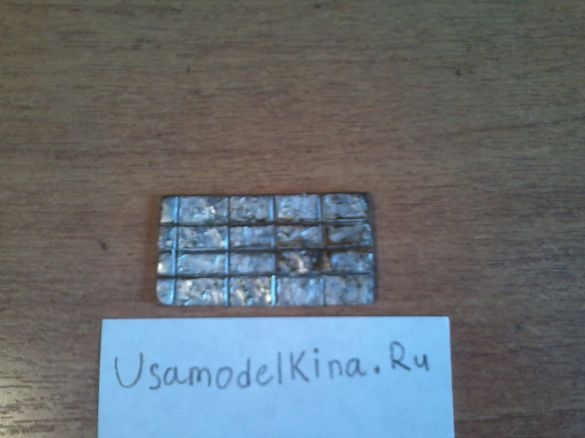
The resistor is placed for and acts as a voltage bias. We do not use it. The KT315 transistor can be replaced by the KT3102, BC847. KT3102 has a higher gain, therefore it is preferable to set it. LED is optional. If it is not needed, replace it with a diode. I found a piece of a homemade breadboard at home. On it I will do the circuit.
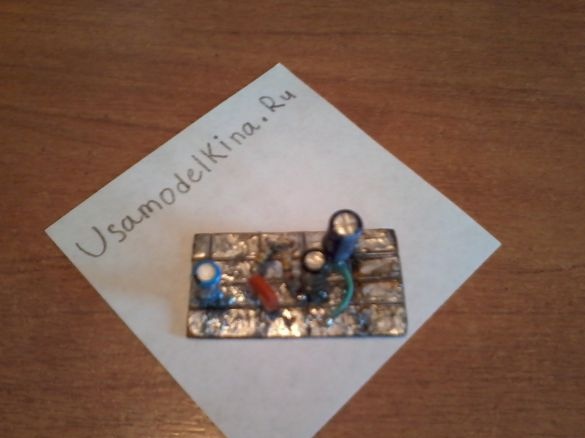
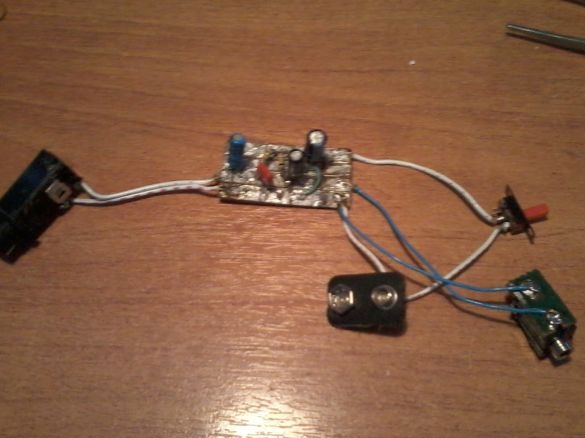
2.Now, according to the scheme, we solder all the components.
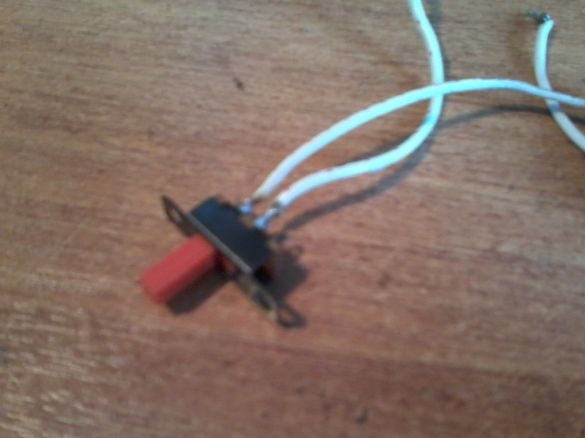
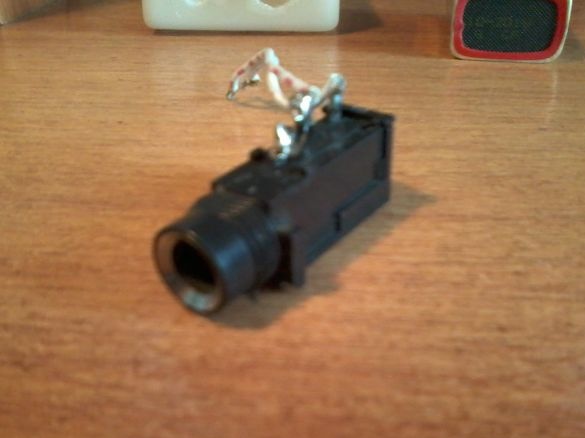
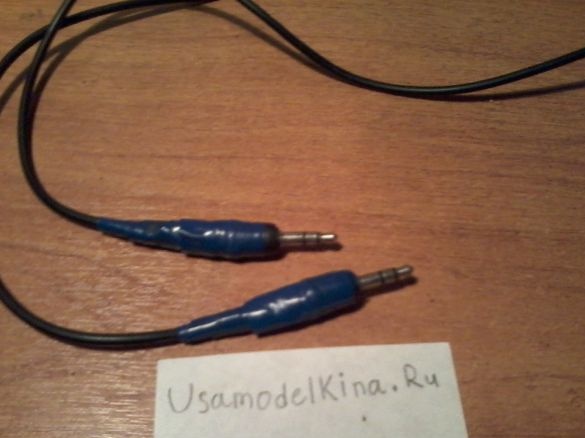
3.Next, solder the power connectors, input and output for the microphone, power switch. Jack for 6.3 mm jack. I took from an old DVD player, a 3.5 mm jack. - from the tape recorder. Connector for a battery from an inoperative crown, a switch from a toy car. Solder everything to the board.
There is no LED on the photo, it appeared later.
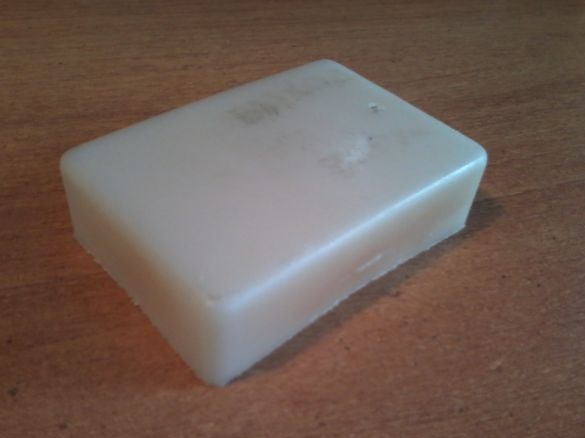
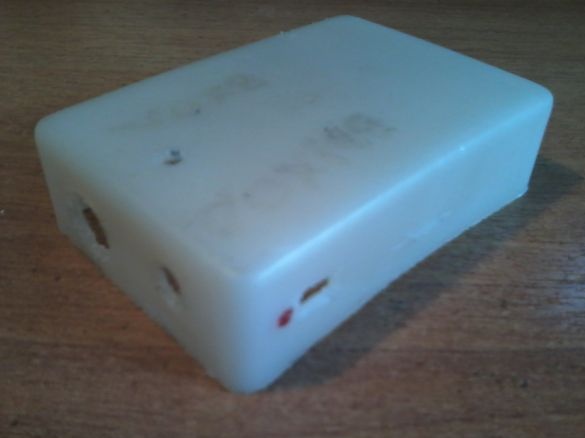
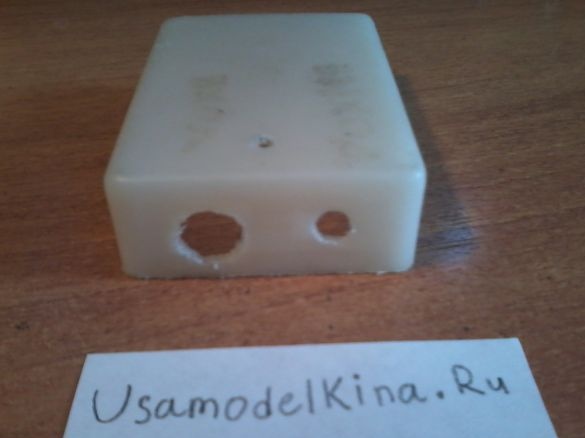
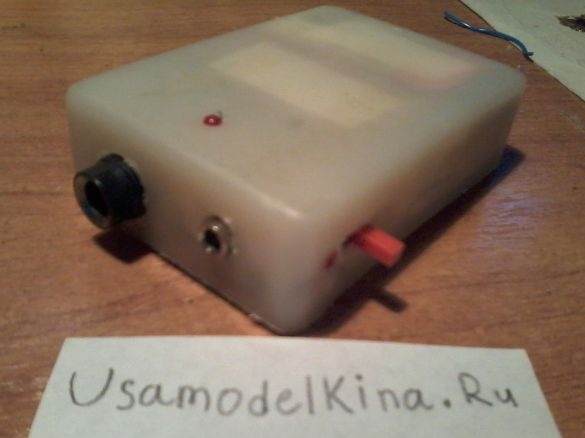
4.Now let's get down to the hull. I found some kind of plastic box without a bottom. She just went under all the details. In it, we drill holes for the connectors, an LED, cut a rectangular hole for the switch.
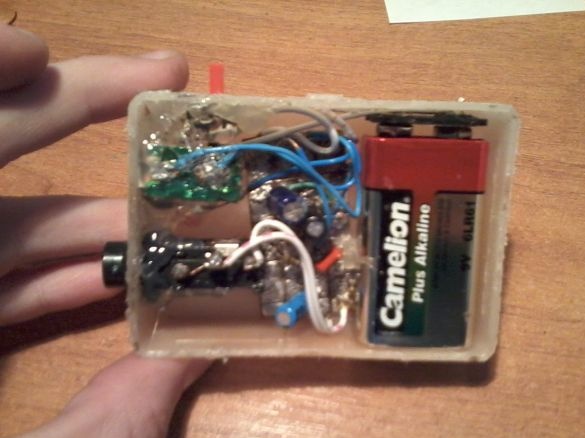
5. Now we collect everything in the case. We glue the crown and the board on double-sided tape, connectors on hot melt adhesive.
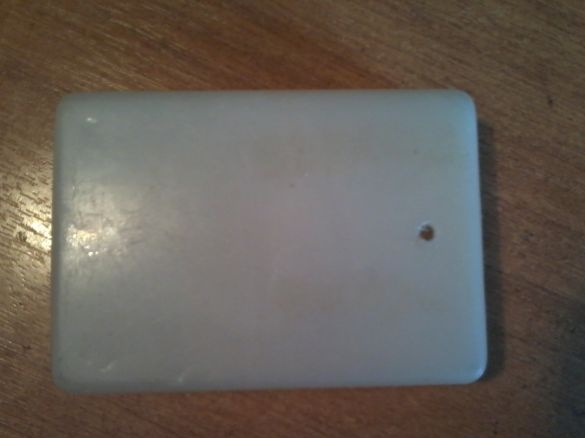
The bottom was made of durable black cardboard.
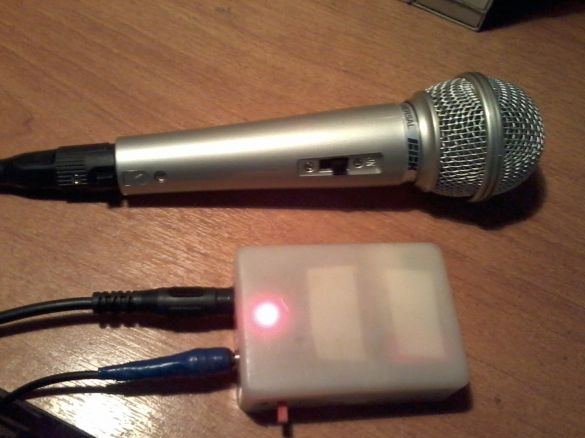
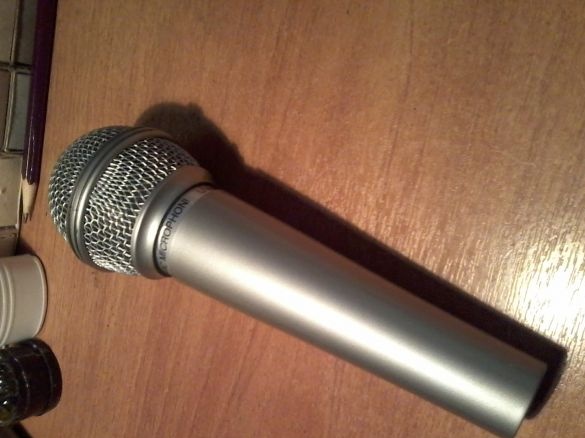
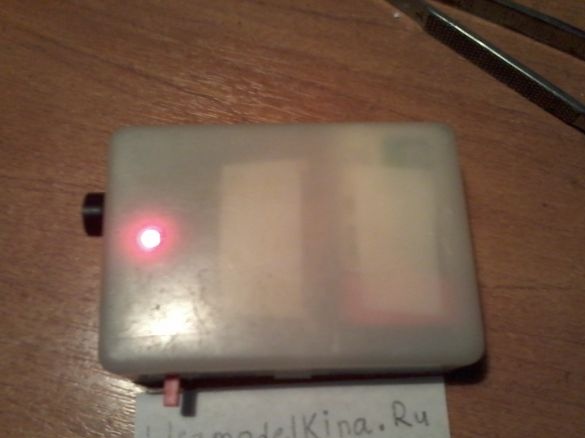
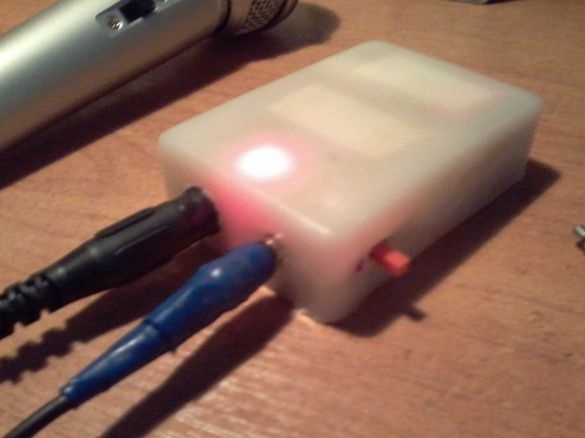
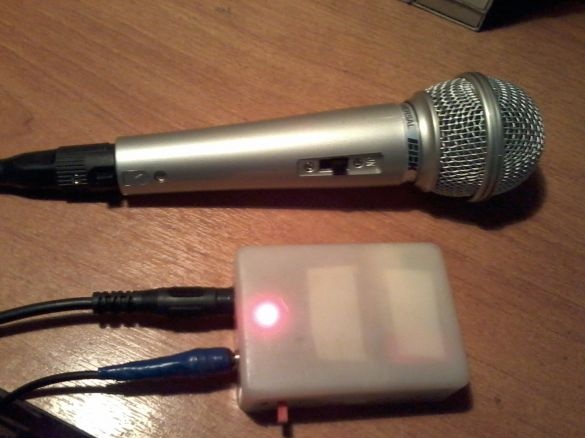
6. We check. I had the cheapest BBK karaoke microphone. I connected it.Next, wire a jack jack, connect the output of the amplifier to a computer, speakers, or whatever you need. Turn on the power. The LED lights up. The preamplifier works.
7. By connecting this amplifier to a computer, I myself was surprised at the recording quality. Sound without noise, microphone gain decreased by 0. Even the microphone volume had to be slightly reduced.
In general, I can recommend such an easy-to-repeat scheme to you for assembly. It does not require any hard-to-reach parts, they can be found in any system of technology. And also the recording quality is very good, even with such a microphone. Thank you, good luck to everyone!


