
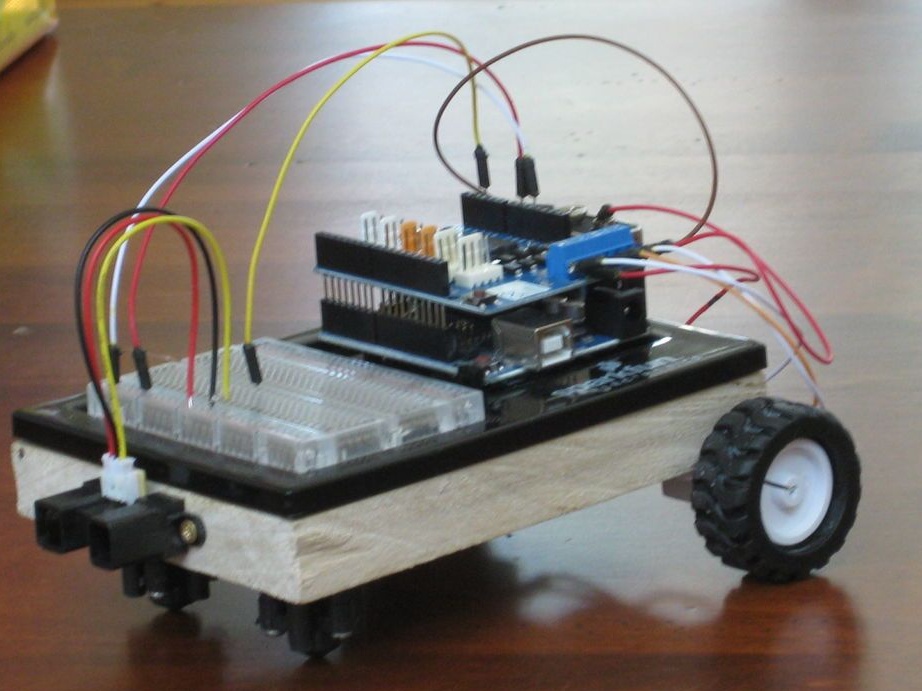
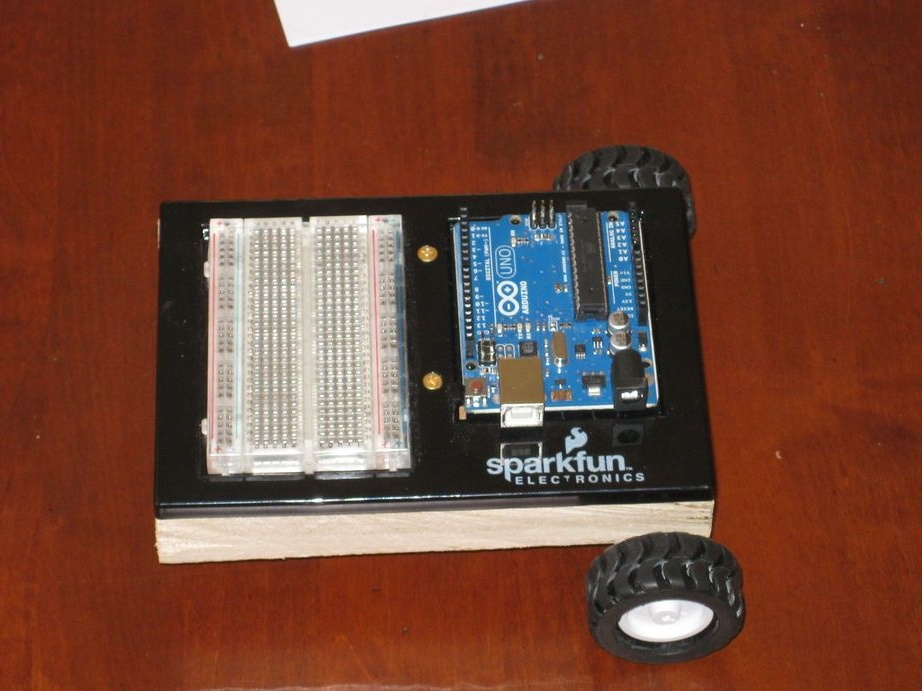
From the name it immediately becomes clear that robot made on the controller Arduino. The author created his own libraries for more convenient use. The standard equipment of the robot contains a range finder located on the front panel, two wheels and two engines. For possible future upgrades, a breadboard is installed on top of the machine. The device is controlled and operates autonomously, if desired, you can add radio control. The article describes working with CARduino and libraries, there are some examples.
What is a library?
The library greatly simplifies robot control. The project is designed for people who are not particularly strong in programming, but with the desire to make simple robots. To create such a model does not require knowledge in the field of motor control. The library will do everything by itself, reduce the program to the simplest commands "turn right and go one second" or "go forward three seconds and then accelerate." There are sample programs in the library to help you configure CARduino.
What to do if the same materials are not available?
You can assemble such a robot without such materials. The library has the ability to work on almost any assembly. For example, you can use other wheels or material for the chassis, the main thing is that the changed parts perform the same function.
What can a robot do?
The functionality of the robot is almost unlimited. Using this library, writing a program for Arduino becomes quite an easy task. The breadboard makes it possible to install a variety of sensors.
Robot cost
The author lives in the USA and therefore considered that assembling the robot from scratch would cost about $ 100, having most of the details, he spent $ 30 on the project. If you can order components in China, you can reduce costs by about 5 times.

Used materials:
- Arduino Uno - R3
- Development board 30x10
- Holder for Arduino and breadboard
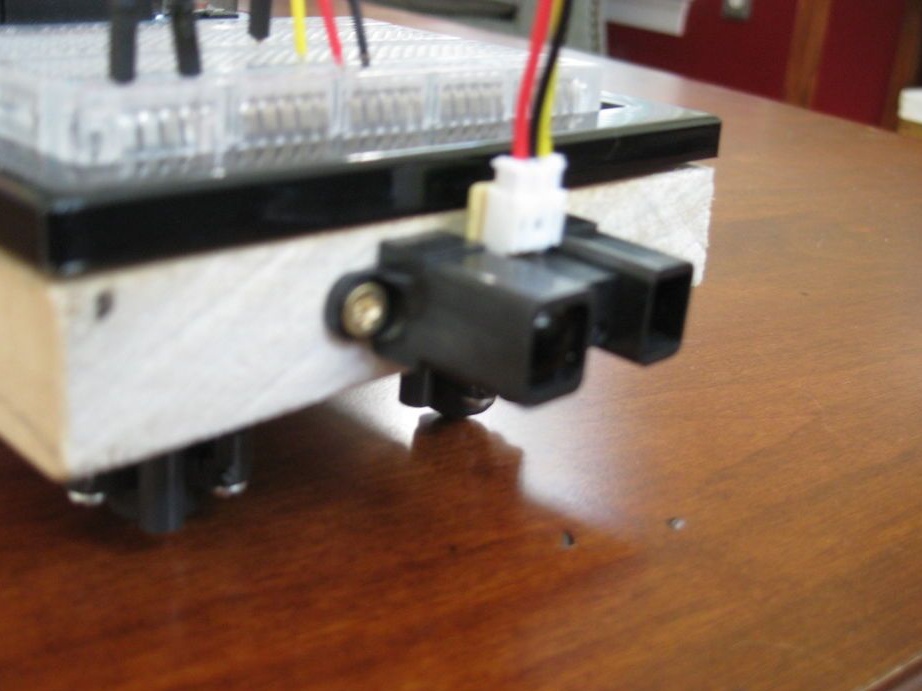
- Rangefinder Sharp GP2Y0A02YK0F
- Micromotors 2 pcs
- Two wheels 49x12 mm
- Brackets for engine 2 pcs
- Ball wheels 2 pcs
- Motor drivers for Arduino 2 pcs
- Base for the chassis (wood) 15x10.75 cm (the size was selected according to the size of the holder for Arduino and breadboard)
- Small wood screws
- Battery 9V 1 pc
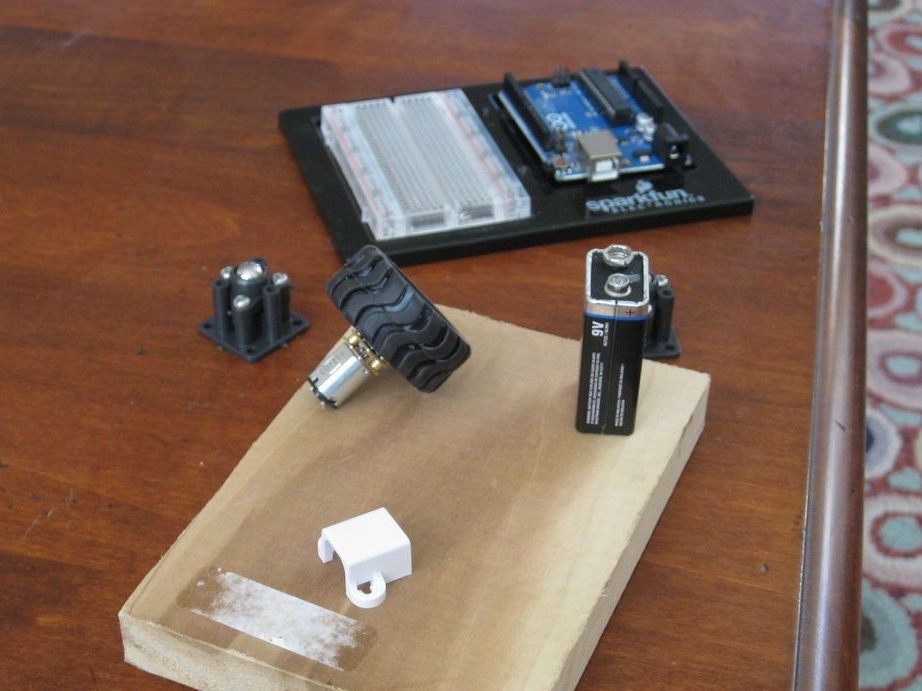
Step one. Preparatory work.
Before proceeding with the assembly of the robot, the author prepares the components. First of all, a rectangle of the right size is cut out of a larger than necessary wooden block.Further, he collects the ball wheels, since they were delivered disassembled, uses the instructions for them for assembly. The wheels are attached to the motors, and Arduino with the breadboard is placed in the holder for them.
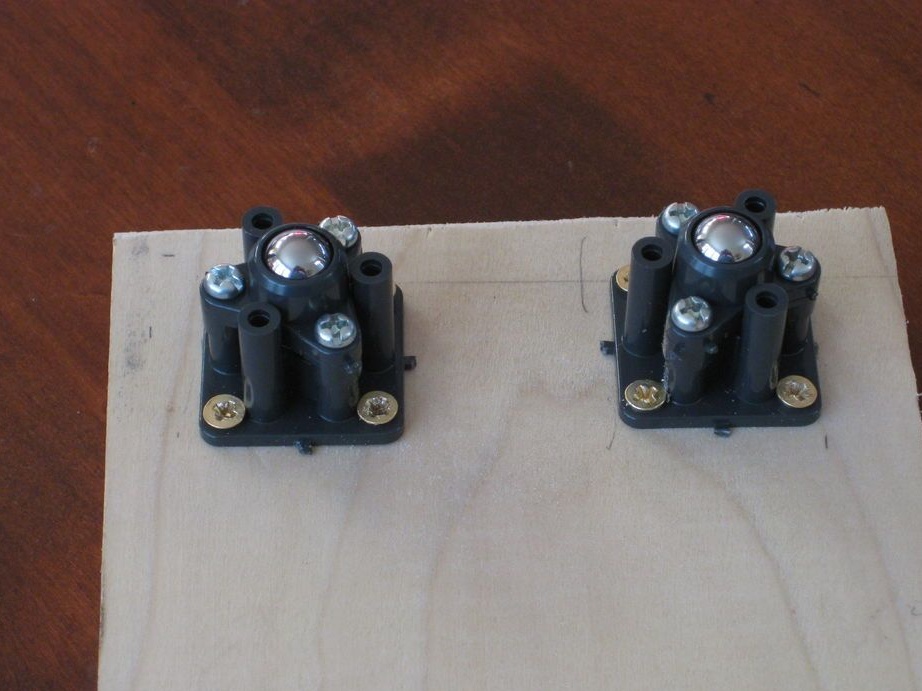
Step Two Installation of ball wheels.
It was decided to install these wheels on one side of the chassis base, using a pencil, the author noted 0.5 cm on each side of the board. For fixing, wood screws were used.
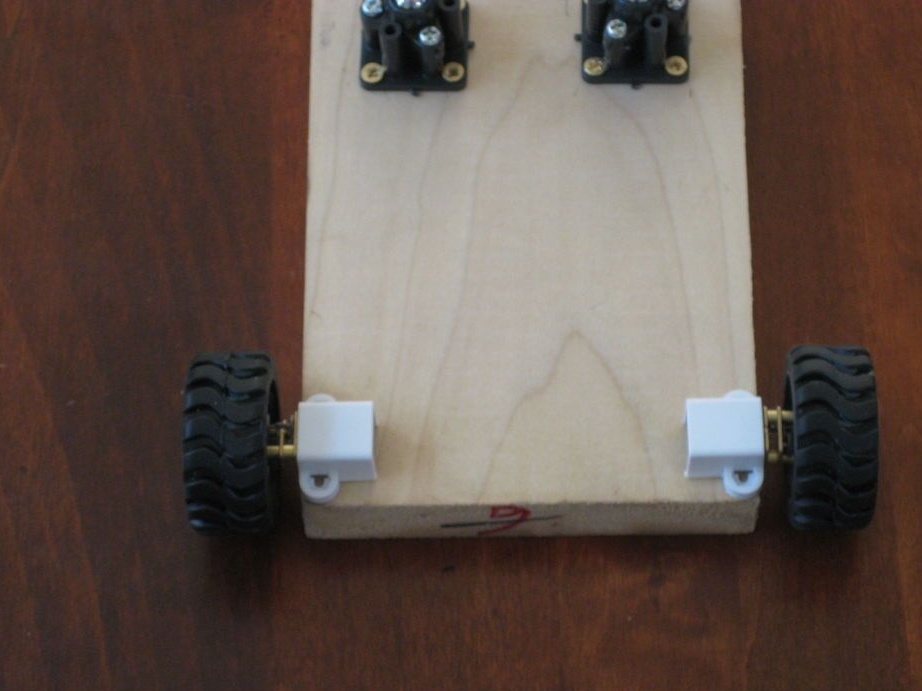
Step Three Installation of motors.
This step was pretty simple. All that was required to be done was to insert the motors into the brackets and secure them with superglue at the edges of the board. You can also use a soldering iron, it is important not to mix up negative and positive contacts.
The fourth step. Install Arduino and Bredboard.
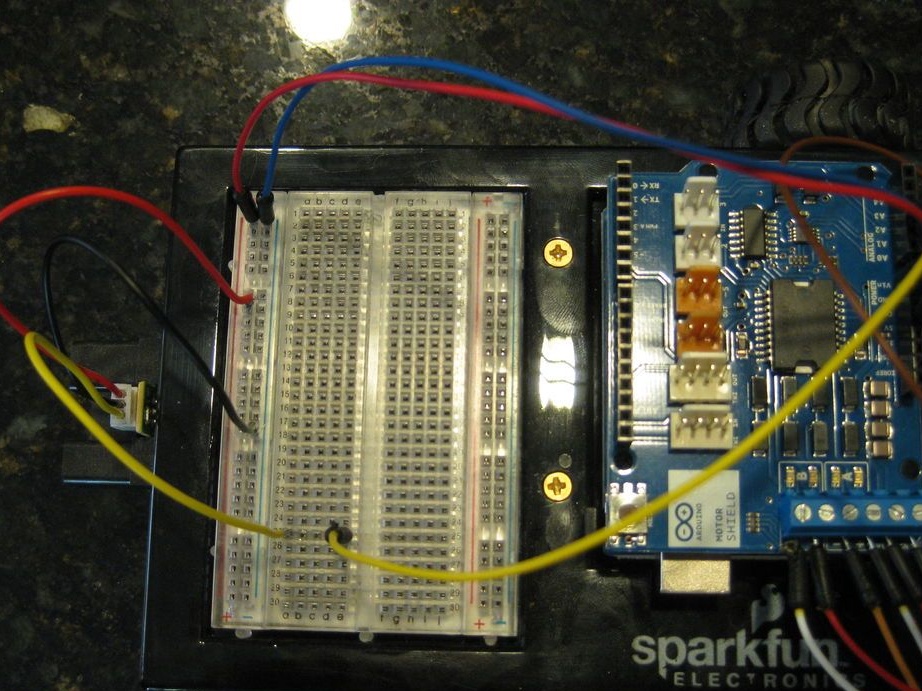
First, it was necessary to note the location of the components. The breadboard is placed on the front of the holder, and the Arduino, respectively, on the back, they are attached with screws on existing holes. The holder itself is placed on the chassis using two screws in the center.
Step Five Sensor Installation
This step is also quite simple. Holes are marked in front in the center, and the sensor is fixed with screws. Be sure to use both sensor holes for mounting. When attaching, the author places the sensor so that the conclusions on it are on top. Then, the JST wire is inserted into the sensor and connected to the breadboard, red to the positive terminal, black to the negative, and yellow is located anywhere on the board.
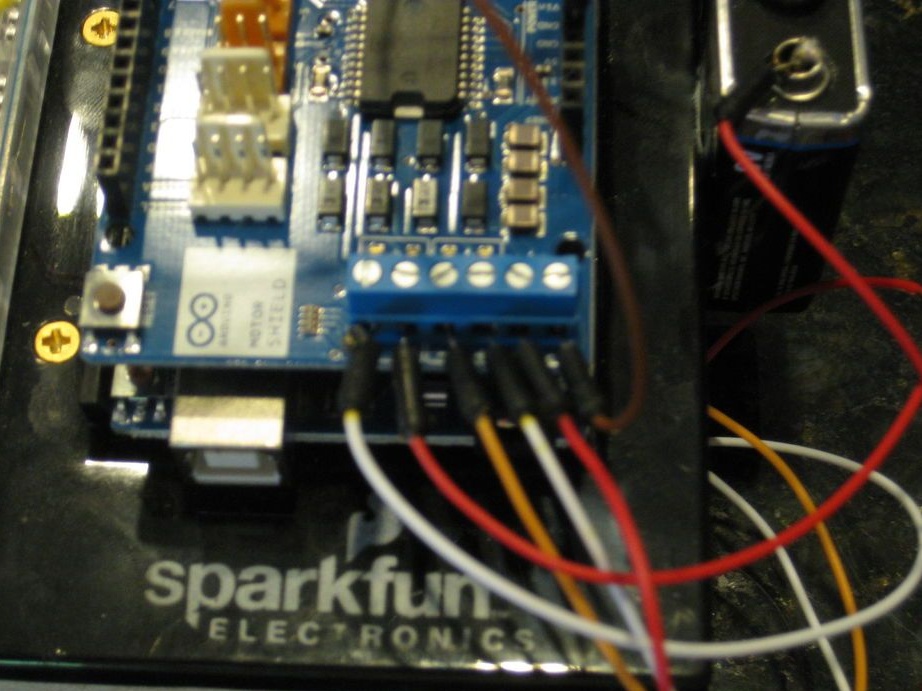
Step Six Connecting a motor driver.
Drivers are just aligned and installed on Arduino.
Seventh step. Solder to the engines.
Further, the usual solder of wires occurs, it is only important to remember which wires are positive and which are negative.
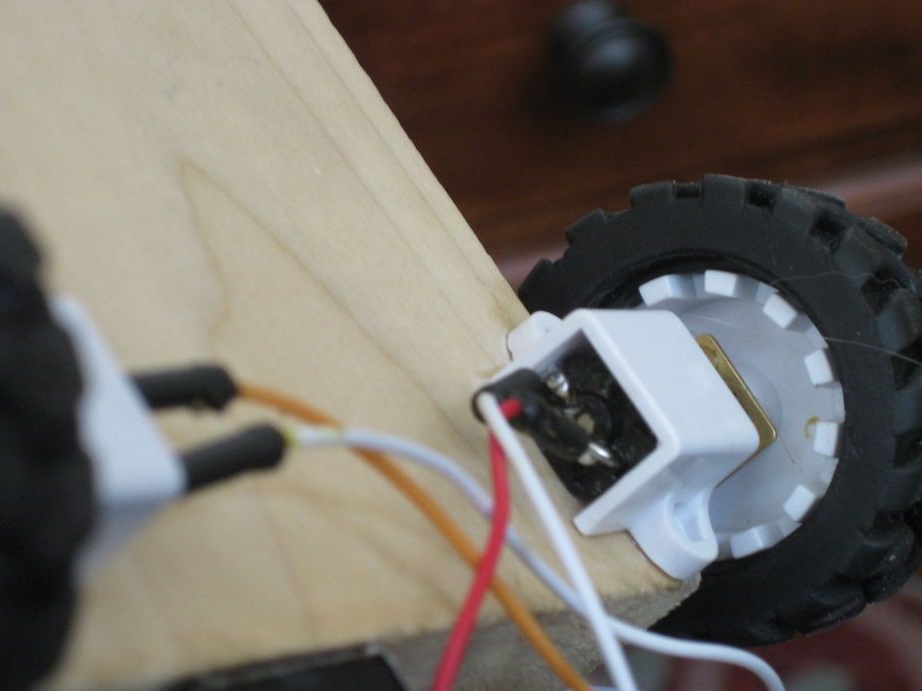
Seventh step. Connecting wheels.
Now, the author connects the wires from the engines to the driver in this way:
- The positive contact of the right motor is connected to the negative terminal of driver A.
- The negative contact of the right motor is connected to the positive terminal of driver A.
- The negative contact of the left motor is connected to the negative terminal of driver B.
- The negative contact of the left motor is connected to the positive terminal of driver B.
Step Eight. Sensor and power connection.
5V power connected to + breadboard, GND to GND. The yellow wire of the sensor is connected to analog pin 2.
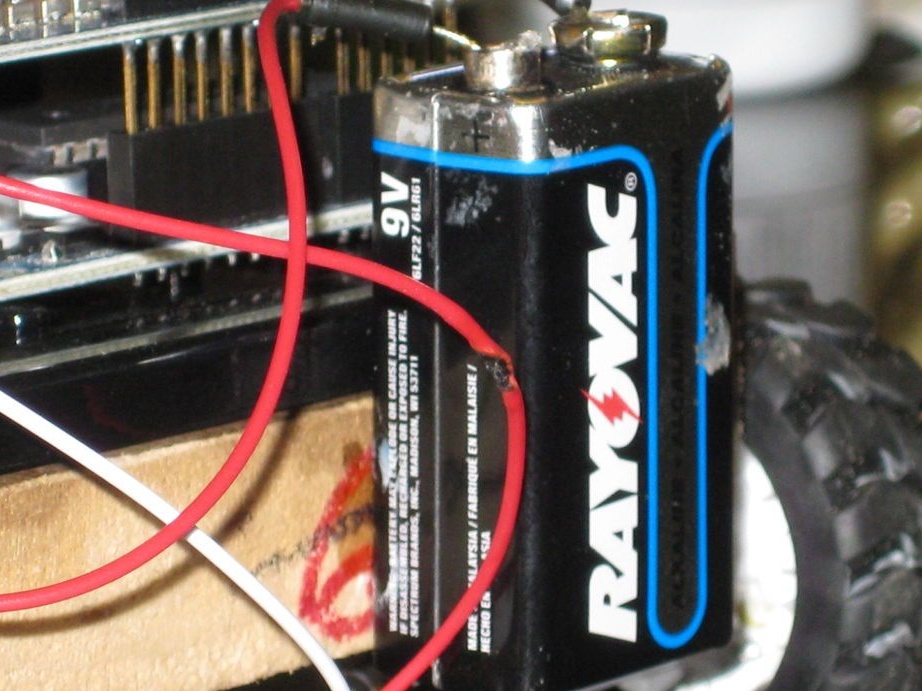
Step Nine. Battery installation.
The author simply glued the battery with superglue to the back of the robot. Then he simply connected the positive and negative wires to the positive and negative conclusions of Carduino.
Library
This completes the assembly of the standard robot. The library and sample programs will work on it, you can download it under the article. The archive also has a description of some functions. The library is loaded into the Arduino IDE along the path -> import library -> Carduino. After downloading the program, the project is completely ready.

Video with an example of Carduino: