Recently I had to crush a black pepper with a rolling pin with a rolling pin to pickle lard. I’ll tell you, it’s not a very pleasant occupation and not very productive.
I do not advise you to take ready ground black pepper in bags for this (and other) purposes, because in these bags they sell anything, but not Black pepper.
So, since there was a problem of grinding small ingredients and in small quantities, I, as a master, decided to make micro crusher.
I suggest you see what happened.
(I apologize, but the photos of this homemade product were already made with a finished design, which passed repeated tests and showed its efficiency and reliability when working in the business for which it was intended).
Honestly, I can’t imagine how you can take step-by-step photos when making a homemade product that has not been tested for performance, and, as a result, it is not clear that you will get the homemade product you need for home or work, or garbage, which you just wasted your time in vain. (The only plus is that you will have photos of the phased production of this garbage).
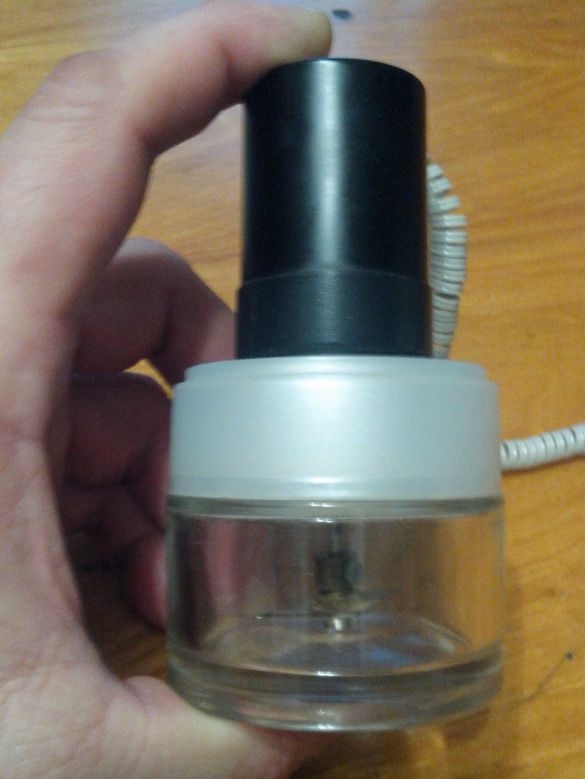
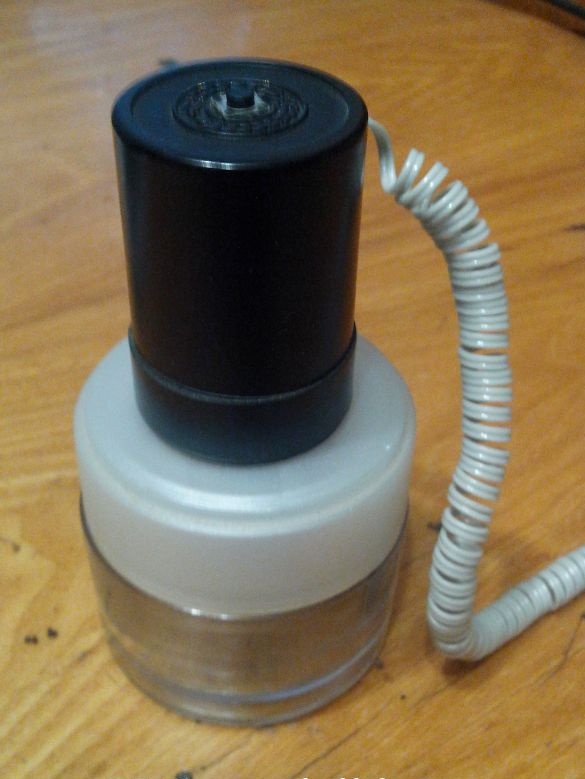
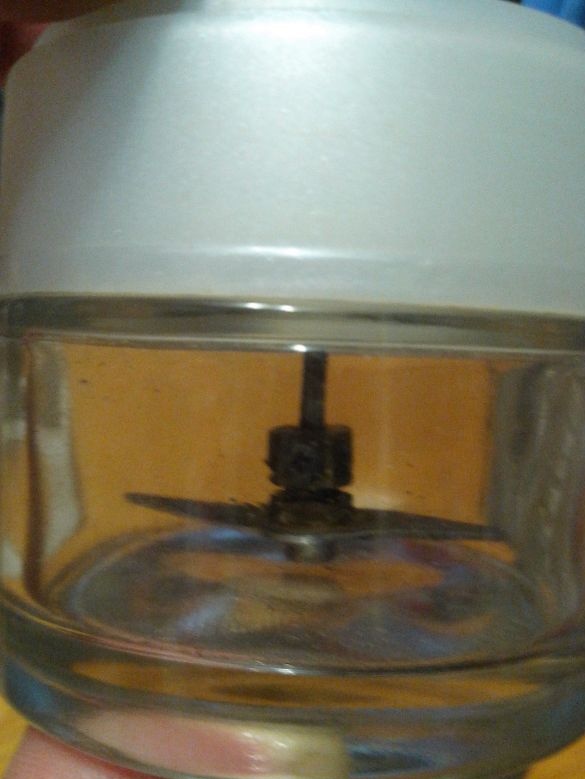
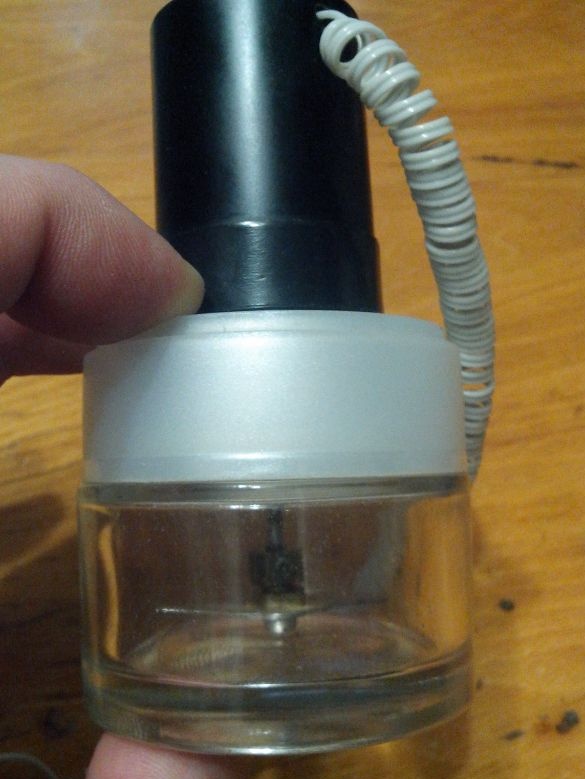
Here are photos that give a complete picture of the technology and the phased production of my micro-crusher:
1. We take any suitable jar from the cream, naturally used, which I am sure your sister, wife, daughter or mother-in-law uses (it is important that the screw cap is made of thick, 1.5-2 mm, plastic).
This parameter is not critical. I don’t even present her photo, because then you will understand which approximately jar you need to take.
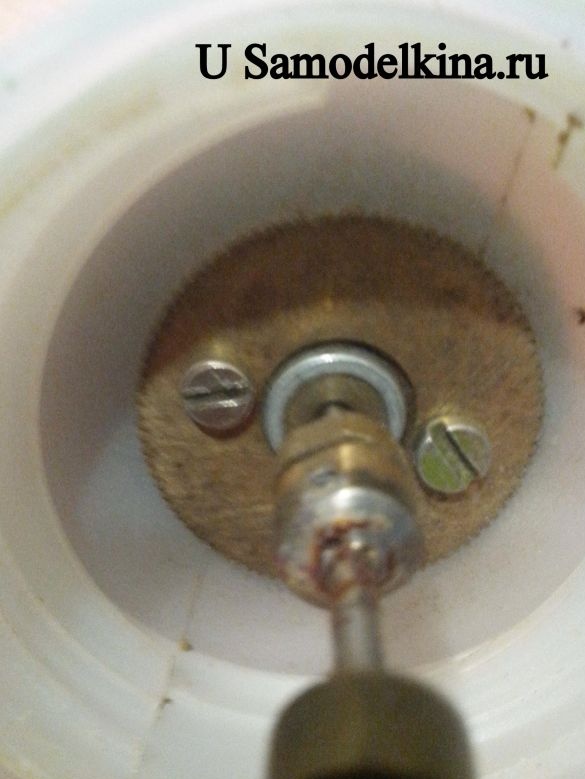
2.Wash it thoroughly, and in the center we drill a hole for the installation of our electric motor cover (in the center there is a large (10 mm) hole, under the protrusion with the shaft, and two small (2.5 mm) holes on the sides - for mounting the motor under the bolts).
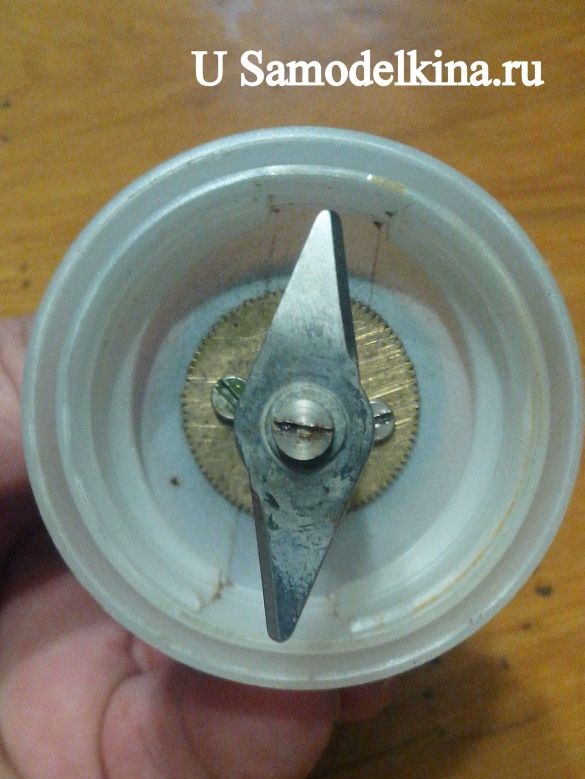
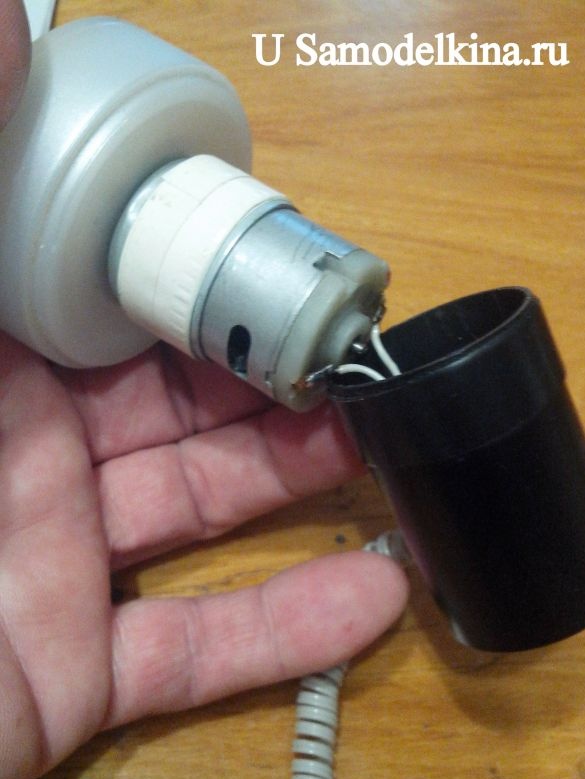
3. We fix the electric motor on the lid of our jar, laying a specially prepared washer for this between the inside of the lid and the bolts (in the photo I’m made of some kind of bronze gear).
If the lid of your jar is 2 mm thick, you can do without the above washer.
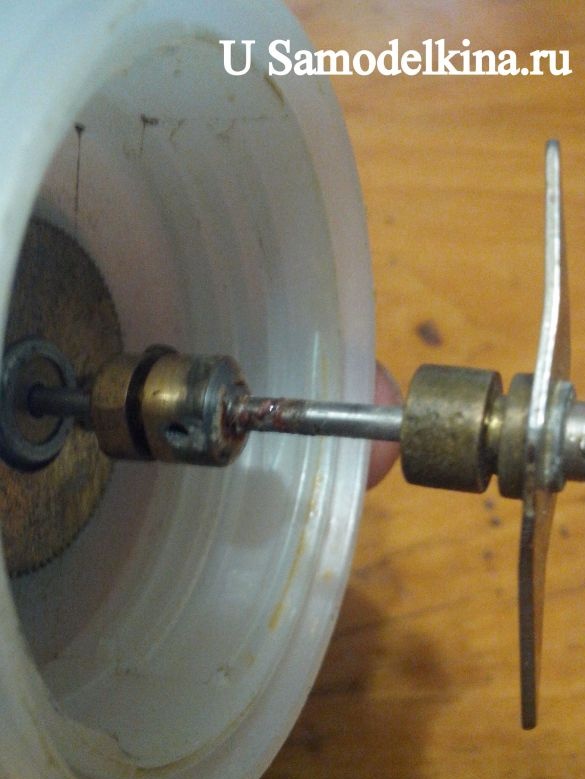
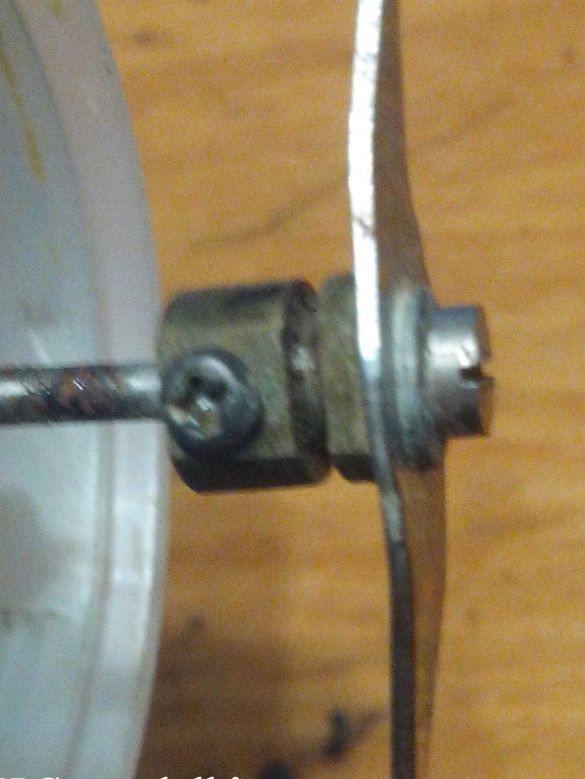
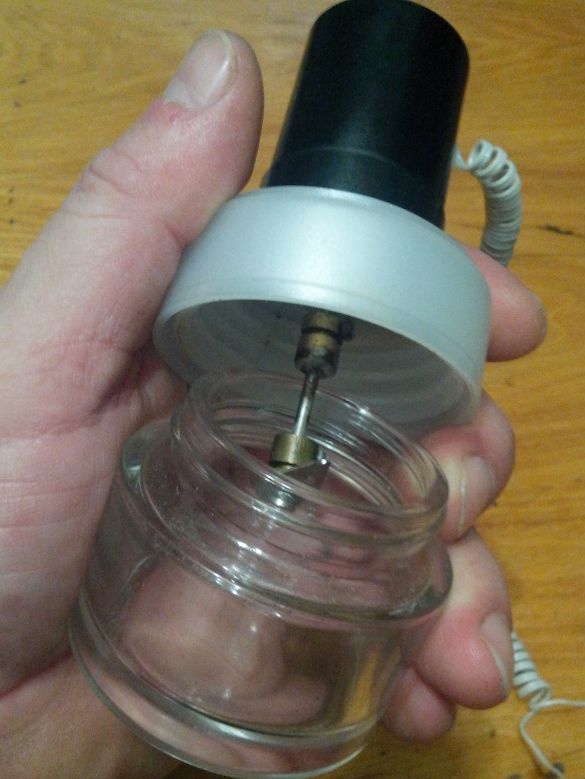
4. Further, it is necessary to extend the shaft of our motor with the help of suitable bushings or tubes that fit tightly onto the shaft of the electric motor by a length equal to the depth of our jar minus 1-1.5 mm. (it all depends on your imagination and your capabilities, but I assure you - it is not difficult).
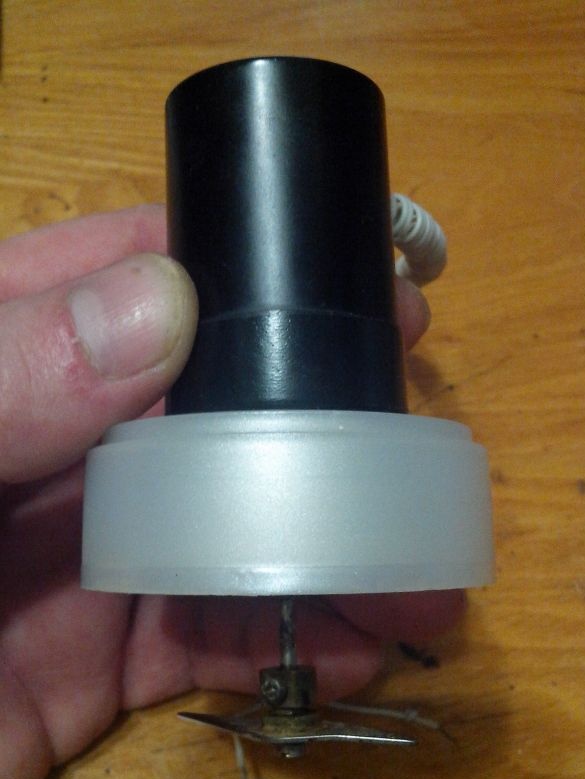
5. We adjust the length of the sleeve or tube to the motor shaft and fasten the knife of our crusher on the lower end. It can be elementarily made of any iron plate 1-1.5 mm thick. You can fix the knife either by soldering it to the sleeve or tube, or with an M2 bolt, which can also be soldered after alignment for reliability (I took the finished knife from a household useless mixer and fixed it to the sleeve with a bolt).
6. Next, we finally verify the length of our sleeve with a knife along the depth of our jar (in a twisted state) and fasten it to the motor shaft through the sleeve or simply put the tube on the shaft and solder it, gradually checking for runout (the procedure is not complicated, but it requires accuracy and excerpts of the master).
7. Almost everything - our micro-crusher is ready. We collect it (we screw the lid onto a jar) and apply power suitable for your chosen electric motor.
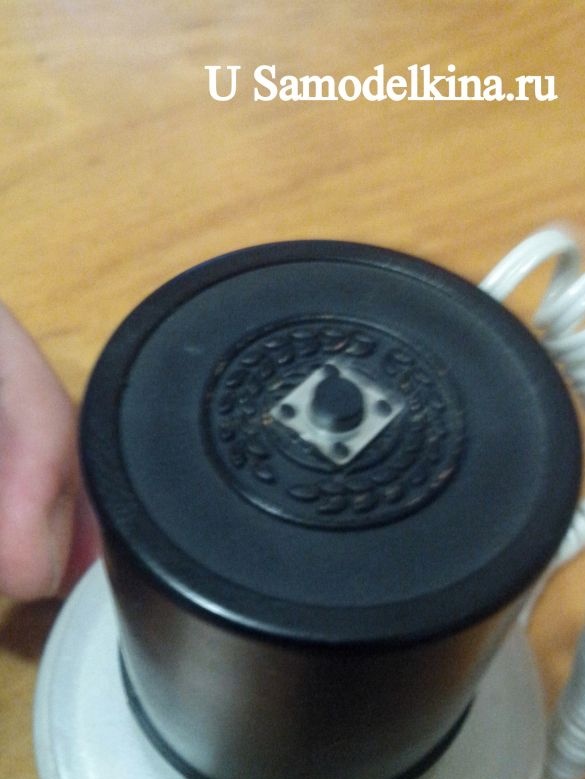
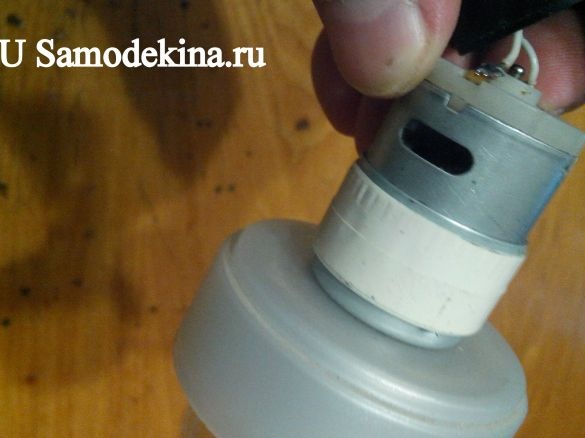
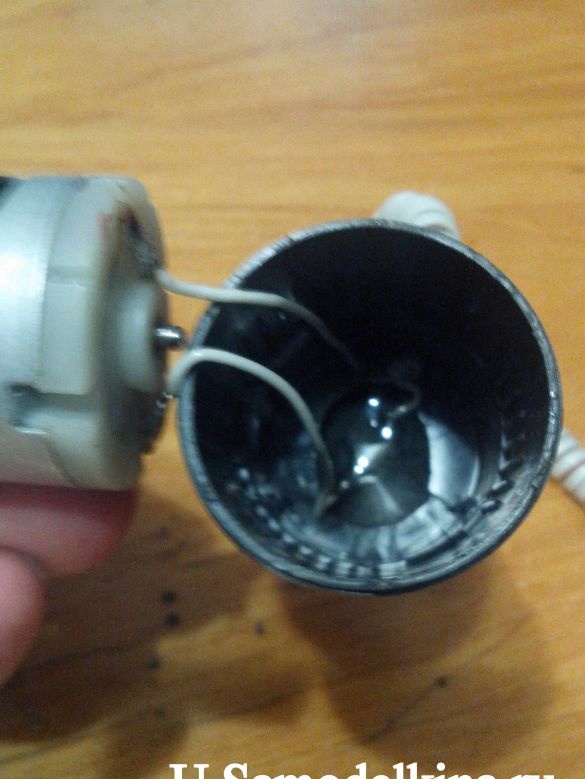
8. For aesthetics and convenience in work, I closed the motor with a stopper from some bottle, secured the micro-button in the upper part with hot-melt adhesive and fed the motor through it so that it was turned on only when the button was pressed, as in a coffee grinder. To keep the cork tightly on the motor, I wound the necessary amount of electrical tape on it.
Well, a few more photos for a more complete presentation of the assembly of the finished design of my micro-crusher.
In conclusion, I want to say that my micro-crusher is powered by a 12-volt power supply and with ease
grinds any dry spices, peeled seeds and other small dry ingredients.
P.S. The motor, for better performance, needs to be taken more powerfully - with graphite brushes.
About where they can be taken, I already wrote in my article "Mini Drill Crocodile".
Regards, Your master, Michael - MNS1961.


