During his education, the author played games with accelerometer support on his phone. He really liked driving a car on the phone simply by tilting, and then he began to dream of making a car with the same control in real life. Now having Arduino and having acquired programming skills, it's time to create a managed machine on Android, he called it Hercules.
She got this name because of the huge torque and high speed. Model can be controlled using an Android phone via Bluetooth. Any phone with this operating system is suitable for control, the author does not limit one remote control. Also, using the phone saved money, because I did not have to spend money on creating a remote control.
Materials and tools:
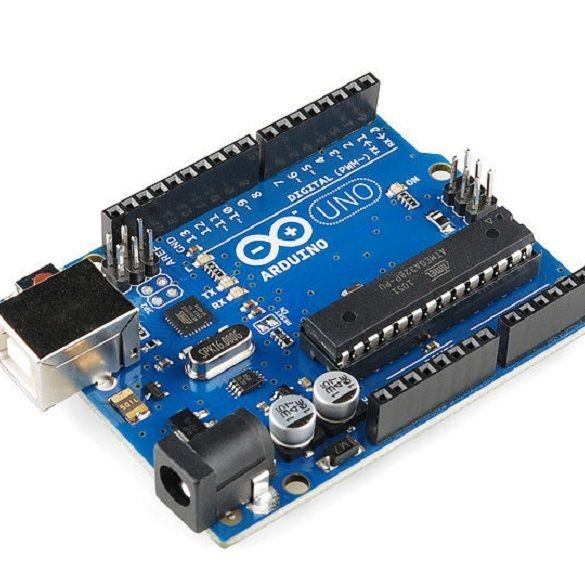
- Arduino Uno
- Bluetooth transceiver
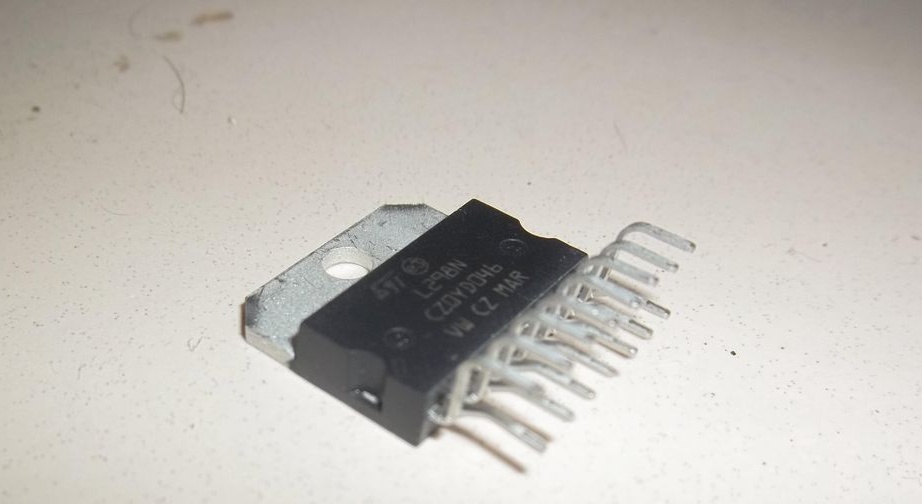
- Dual engine driver (with L298 H-bridge)
- Motors with gears 4 pcs (power is selected depending on the application of the machine)
- Wheels 4 pcs
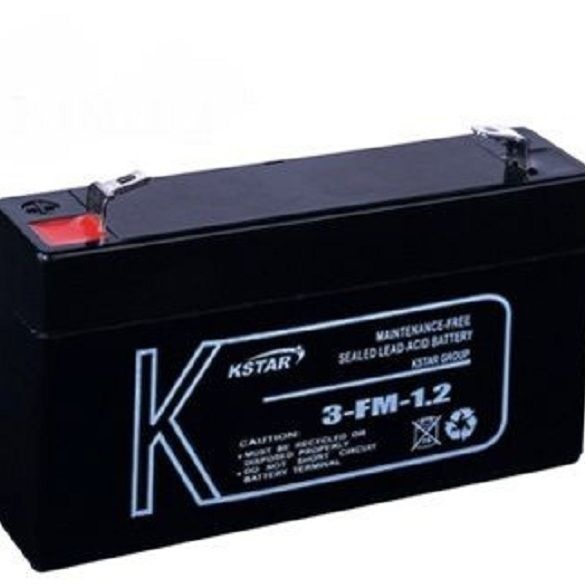
- Battery 1Ah SLA 12V
- Base for components (chassis)
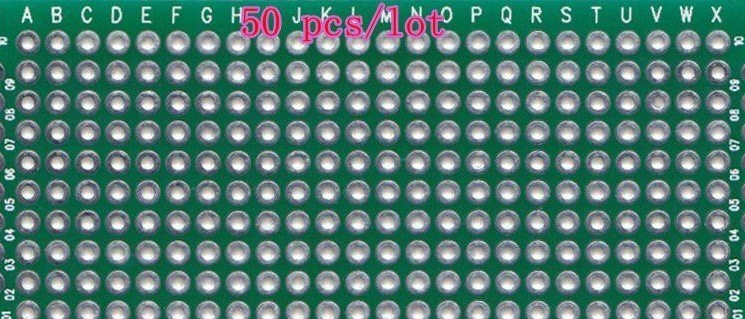
- Bread board
- Boxes for housing 4 pcs
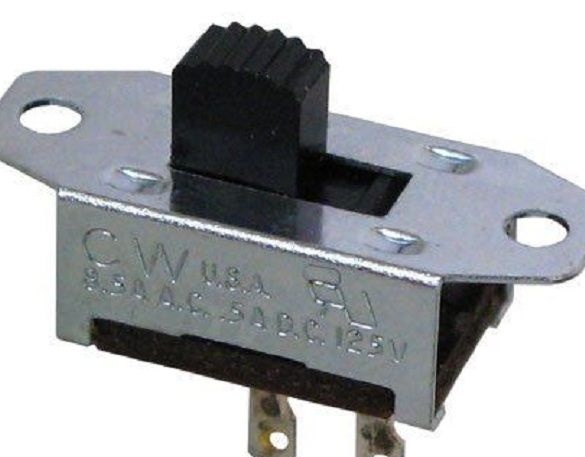
- SPST switch
- Connecting wires for Arduino
- Solder wires
- Nuts and screws of a small size
- Resistor 10 kOhm 1 pc
- Resistor 20 kOhm 1 pc
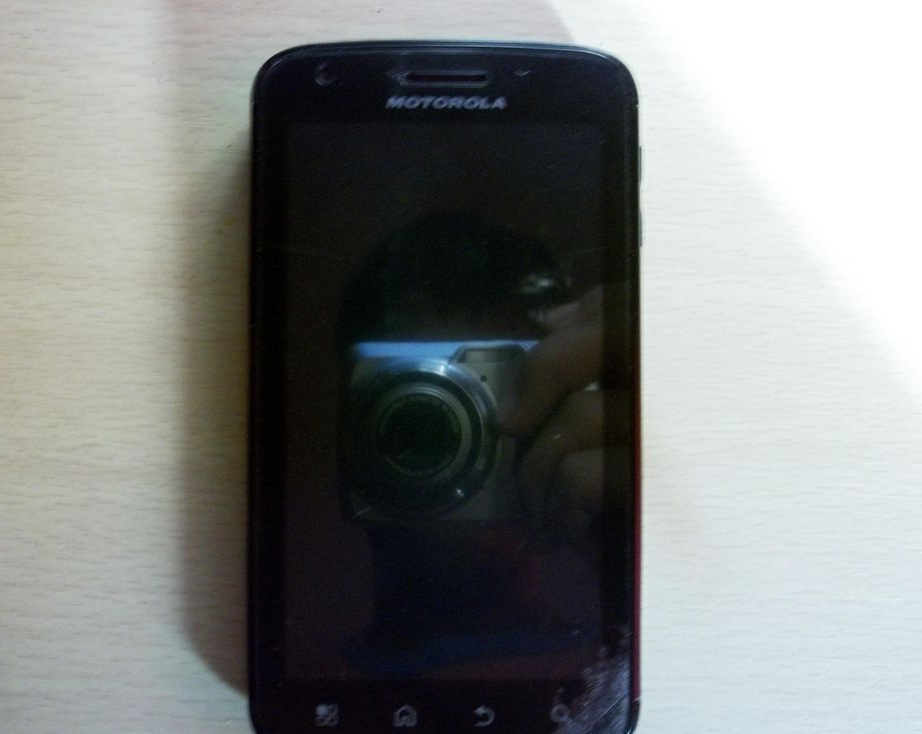
- Android phone
- soldering iron
- solder
- solder paste
- drill
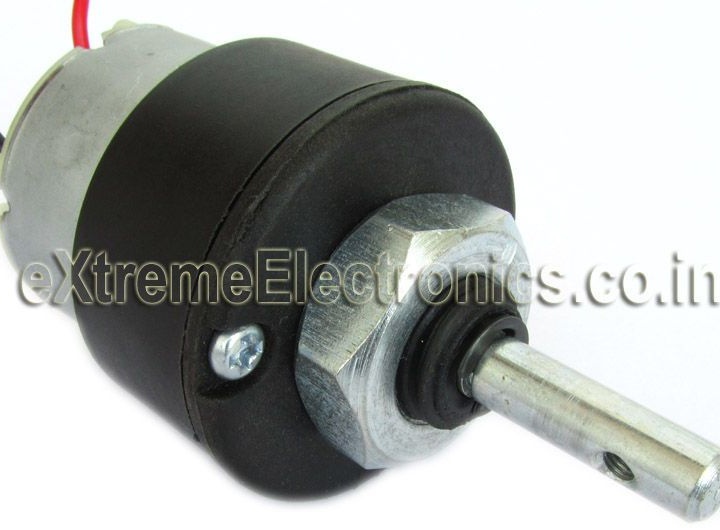

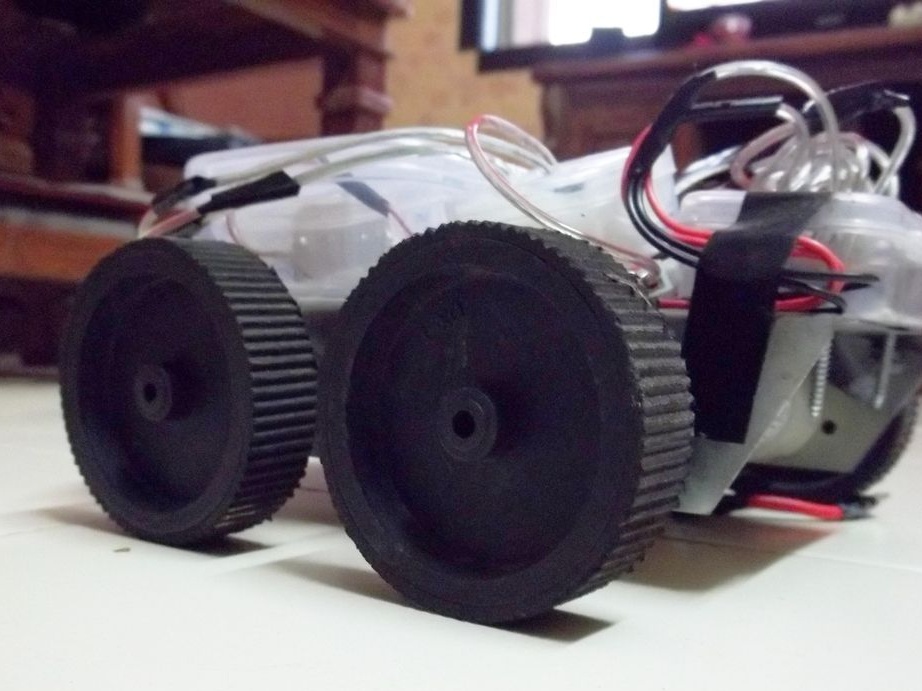
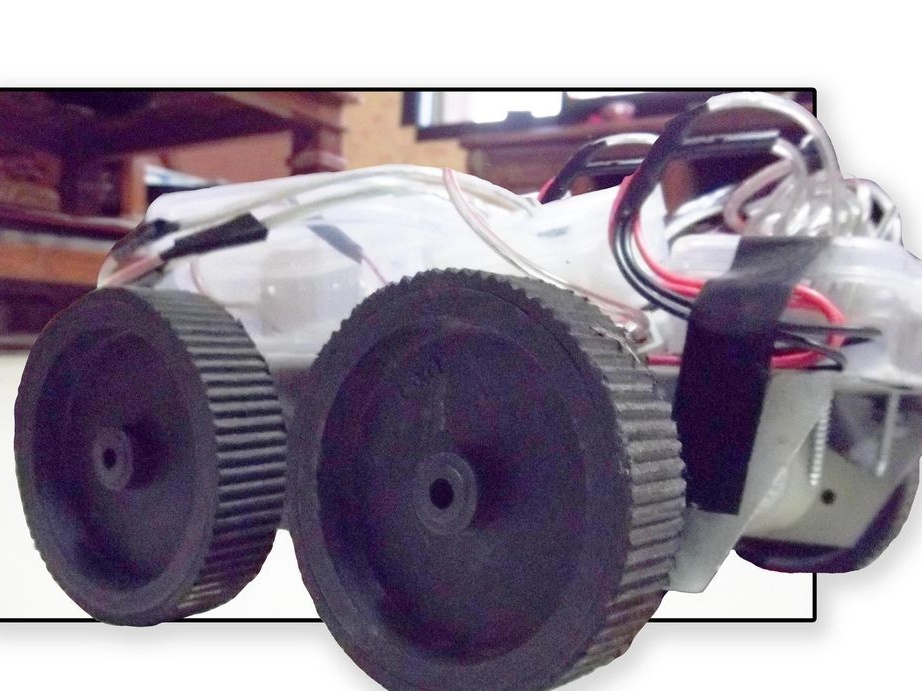
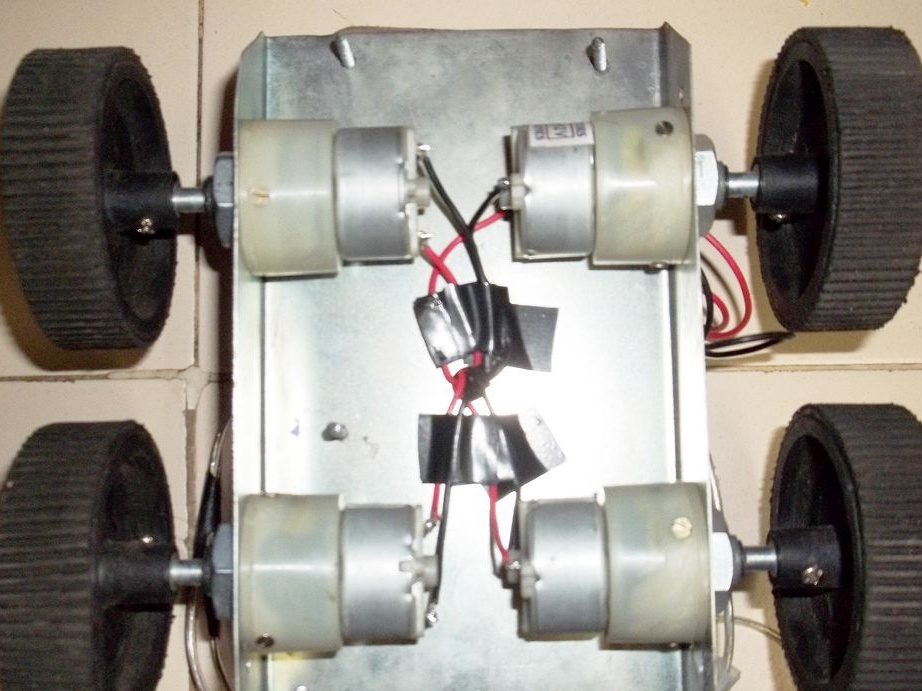
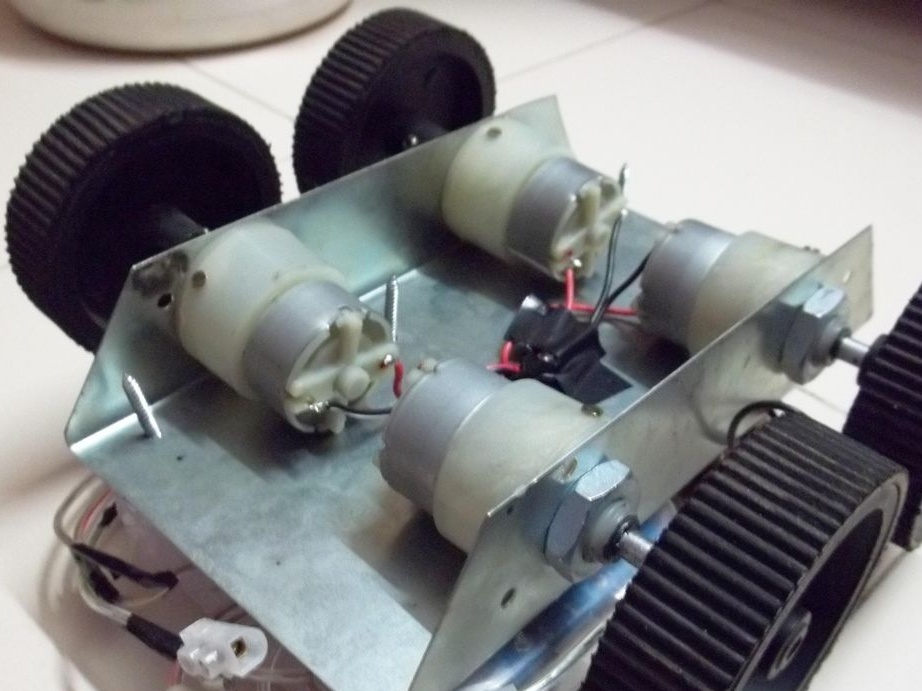
Step one. Wheels and chassis.
The engine screws made it easy to install them on the chassis using nuts. The wheels are installed all the way to the engine shaft. Two right motors are switched on in parallel with each other, as well as two left ones. What the chassis looks like after installing four wheels and engines can be seen in the photo below.

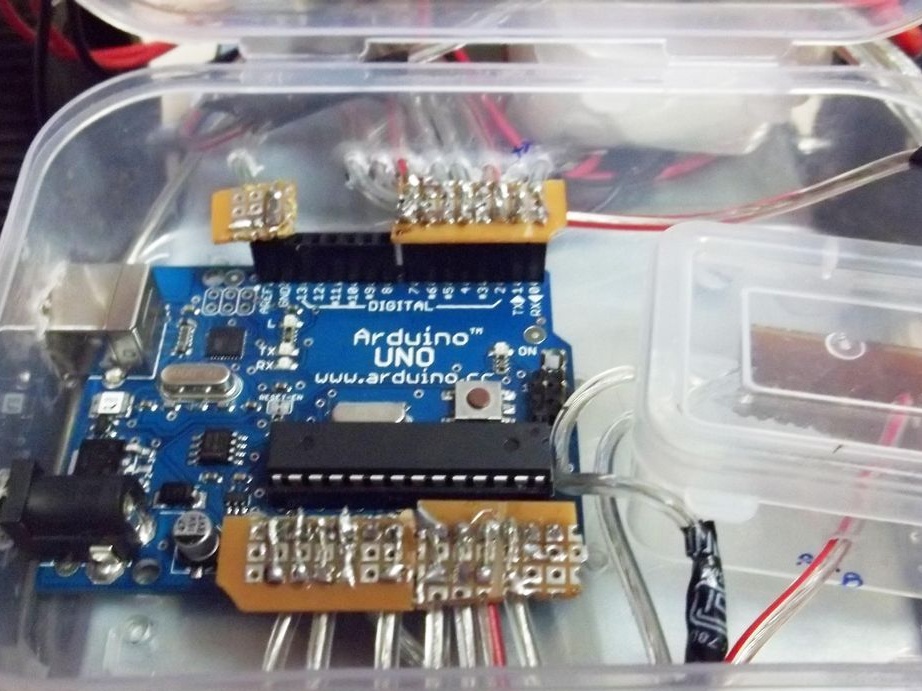
Step Two Housing for Arduino.
The case diagram for the Arduino is divided into several parts. Such a modular design solution will help in the future to support the circuit, or eliminate a possible malfunction. If one of the components breaks down or burns out, then it can be replaced quickly, and without breaking the design. The box for Arduino was created as follows:
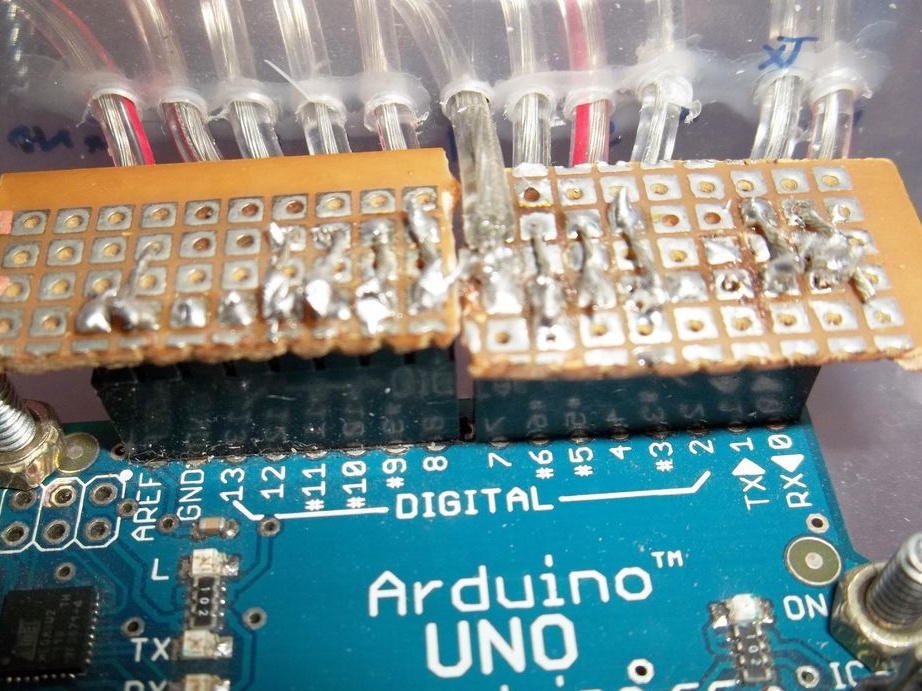
- Four parts were cut from the breadboard, two of them with holes size 8x3, the second two parts 6x3.
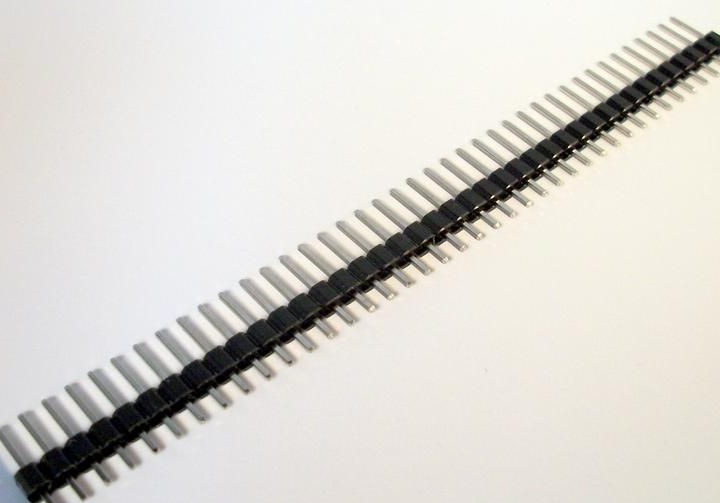
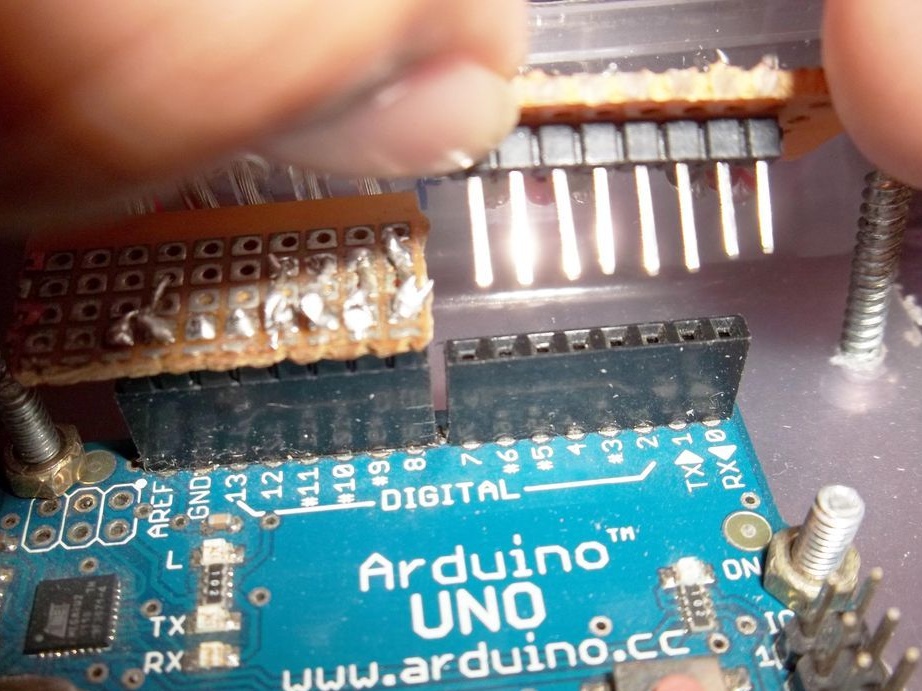
- BLS pins were soldered to each board on the long side.
- Each pin on the breadboard was additionally soldered with wires about 10 cm long. This was done so that the wires would not come off the Arduino, because now the load began to be distributed evenly.
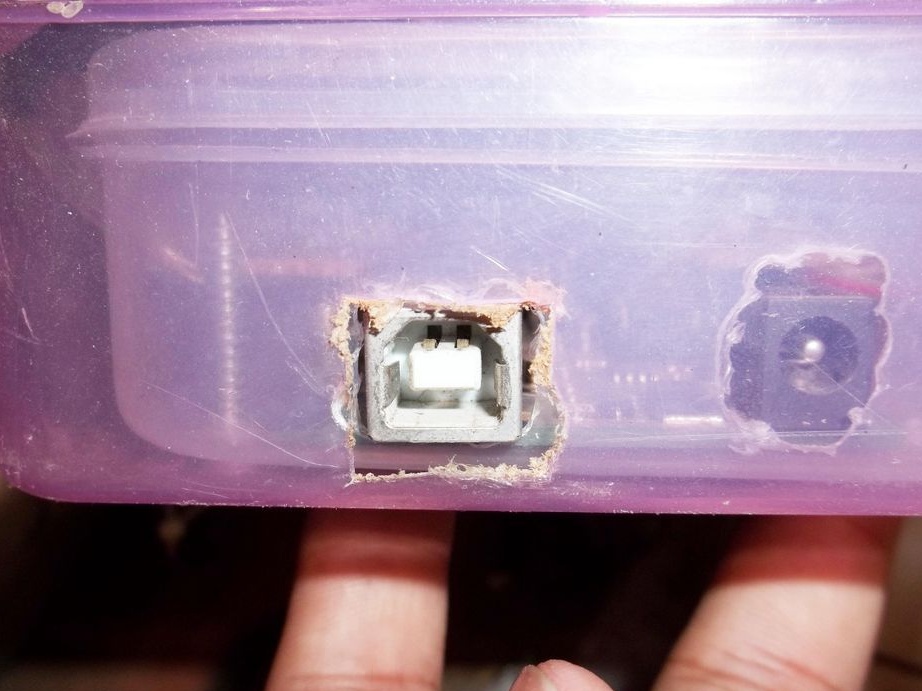
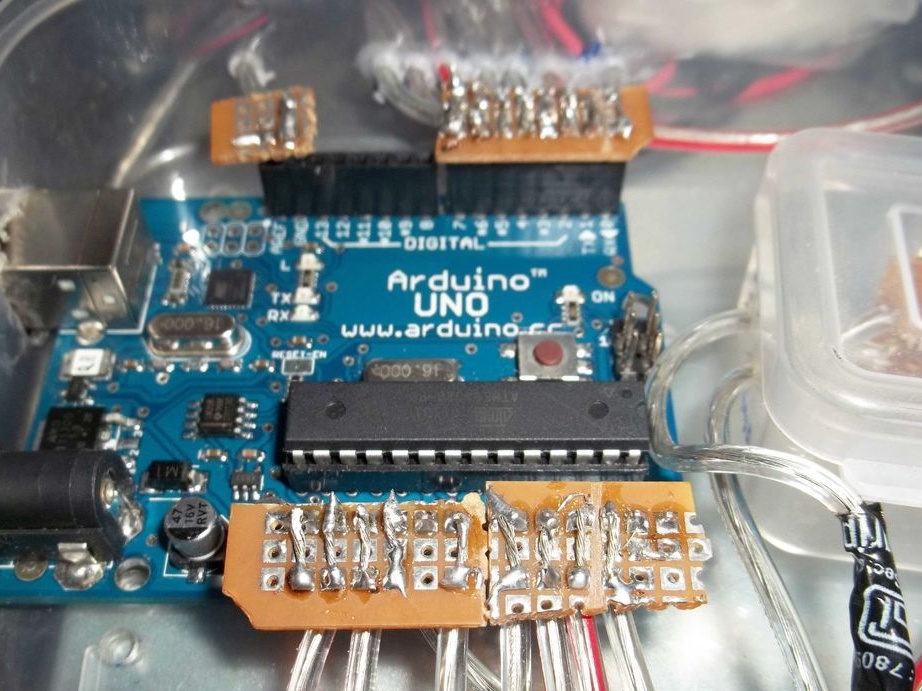
- Next, the Arduino board was placed in the case so that the USB output touched the wall. A hole was cut out for this output, this will help to load additional programs into the machine, or to make corrections to existing ones. On the sides of the box, holes were cut for the wires that would go from the board. Additional holes were cut out at the bottom of the box, under the Arduino mounting connectors.
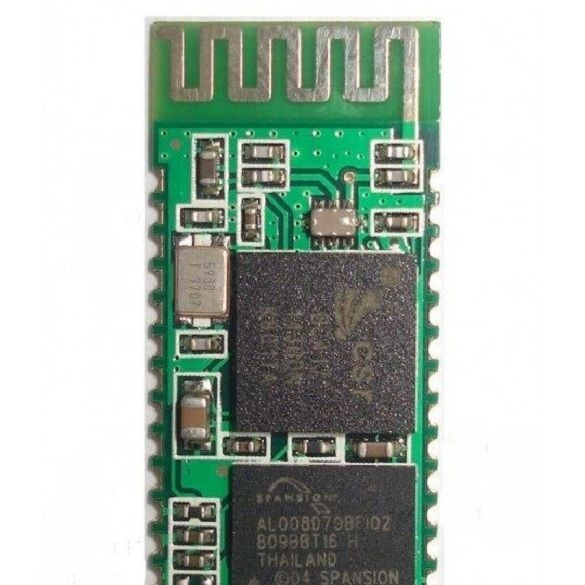
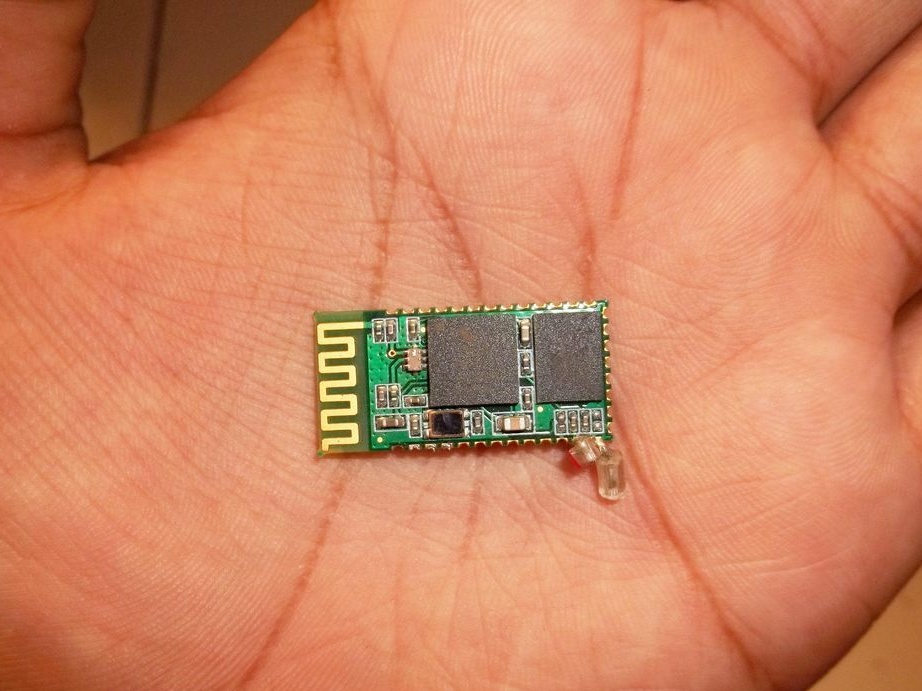
Step Three Bluetooth transceiver.
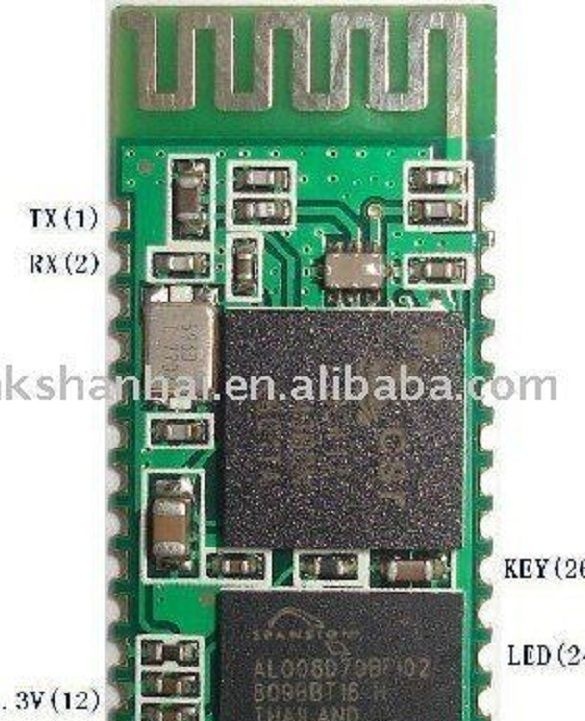
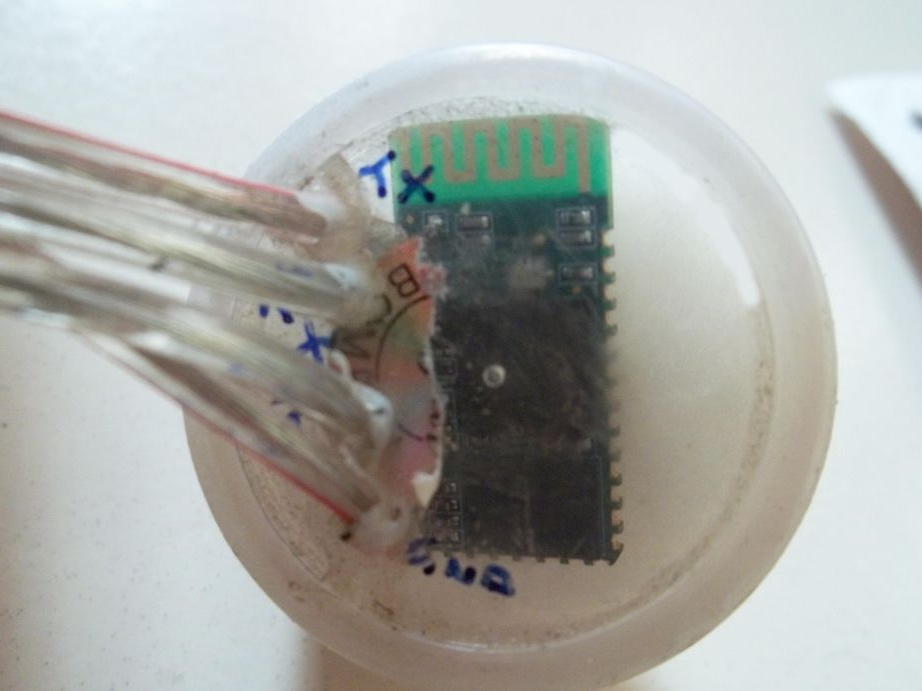
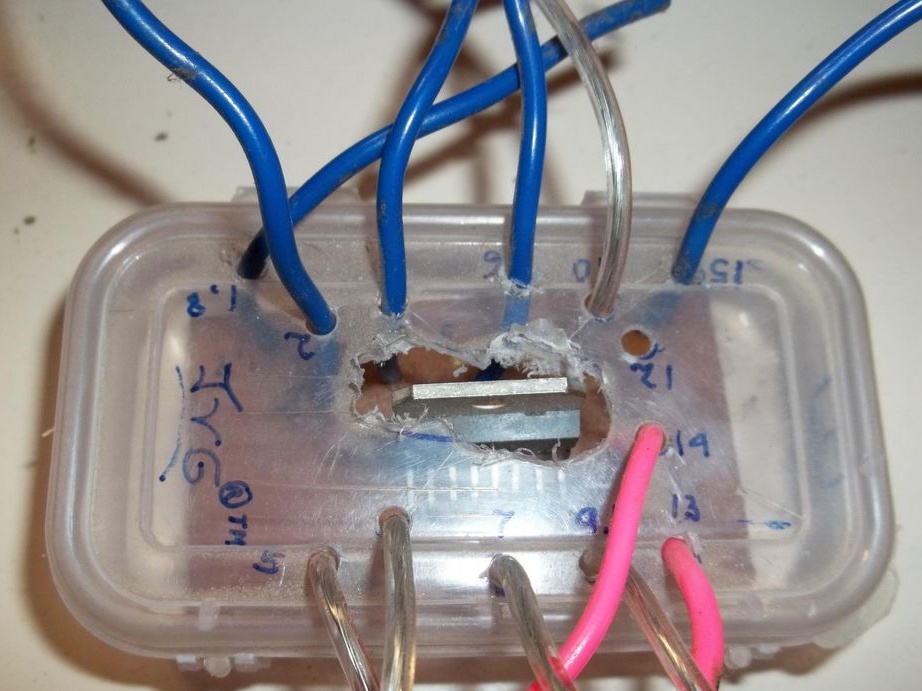
Soldering wires to a Bluetooth transceiver is the most difficult task in assembling this project, the author really lacked a third hand when soldering. Four conductors 10 cm long were used, they were soldered to pins 1 (Tx), 2 (Rx), 12 (+ 3.3B) and 13 (GND). Now the transceiver could be placed in a housing with pre-prepared holes for the wires. The author glued the wires to the box to prevent the wires from tearing off the contacts.
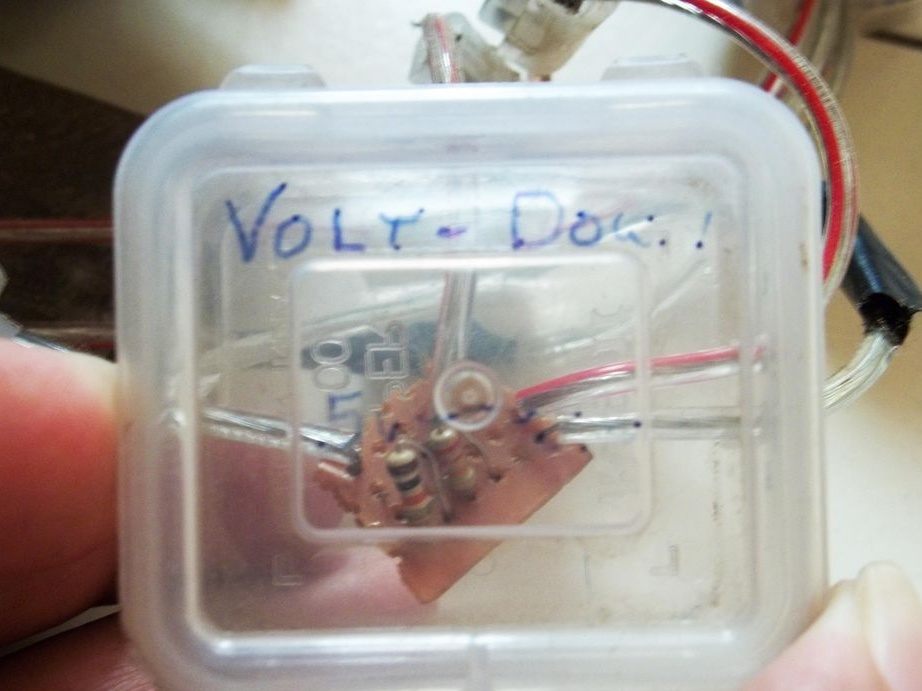
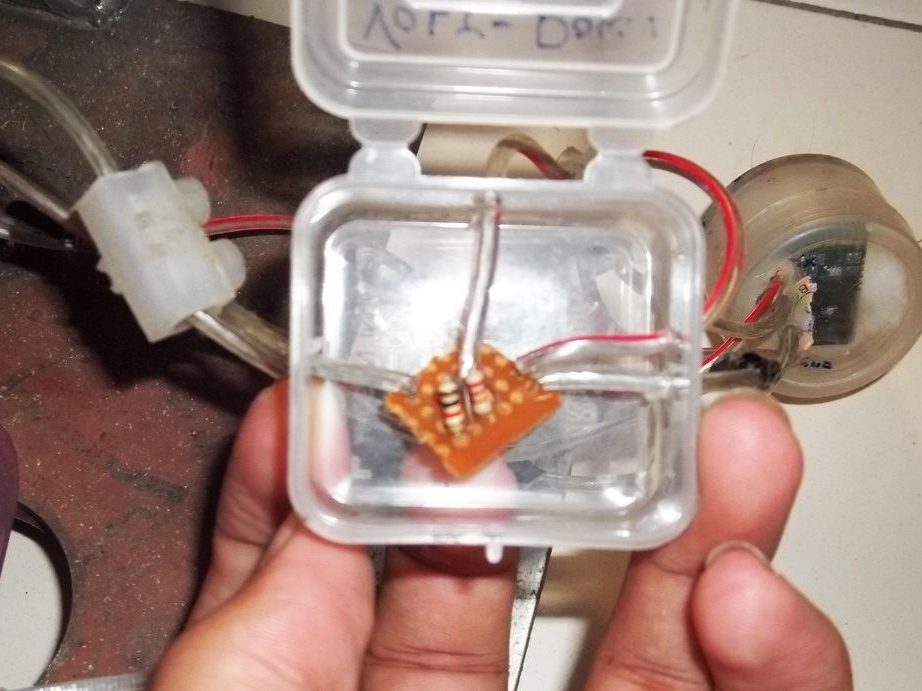
The fourth step. Housing for resistors.
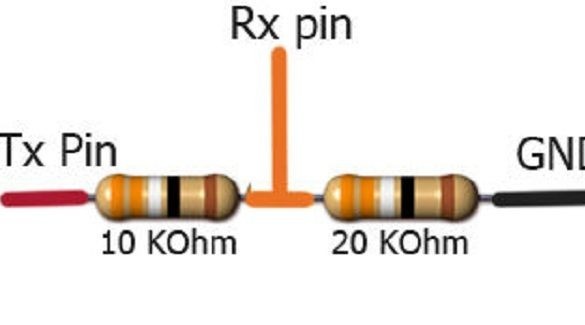
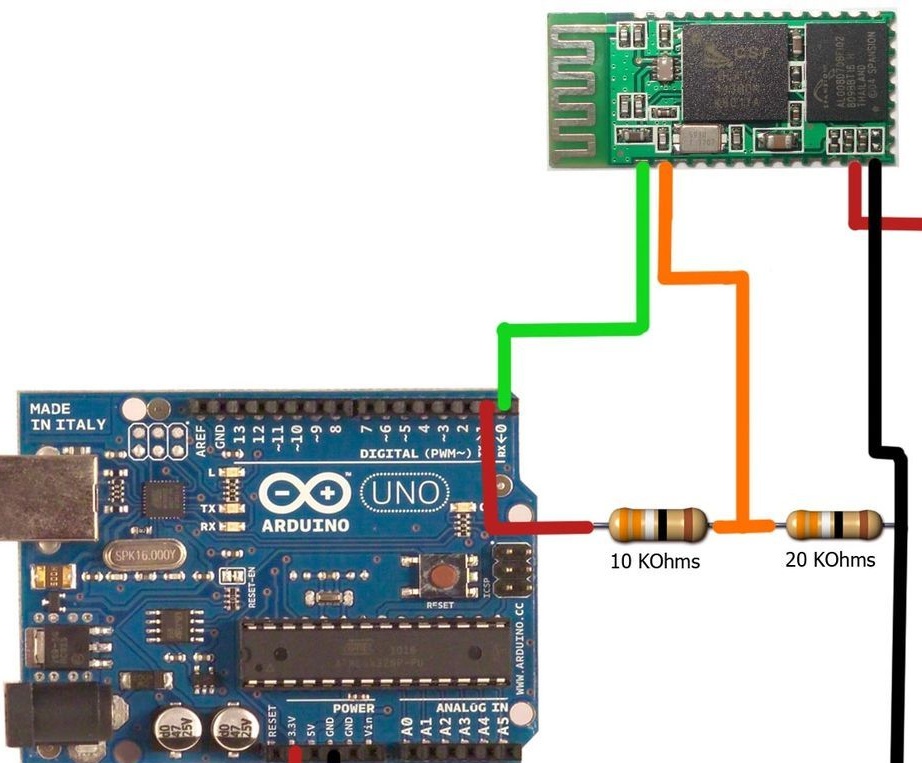
Due to the fact that the Arduino Tx output sends a signal with a voltage of 5V, and the Bluetooth module works with a voltage of 3.3V, it was necessary to convert 5V to 3.3V. For this task, the author used a voltage divider. According to the circuit provided below, he soldered a resistor to the remaining piece of the breadboard. Of course, it was possible to put this circuit in an Arduino case, but there was not enough space, so the author made a separate one for resistors.
Step Five Engine driver.
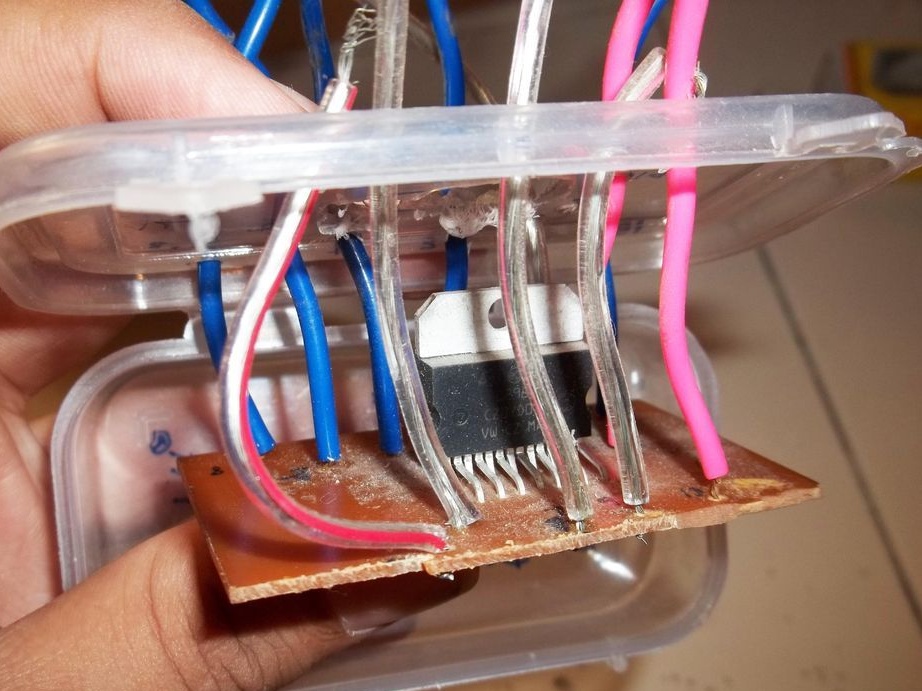
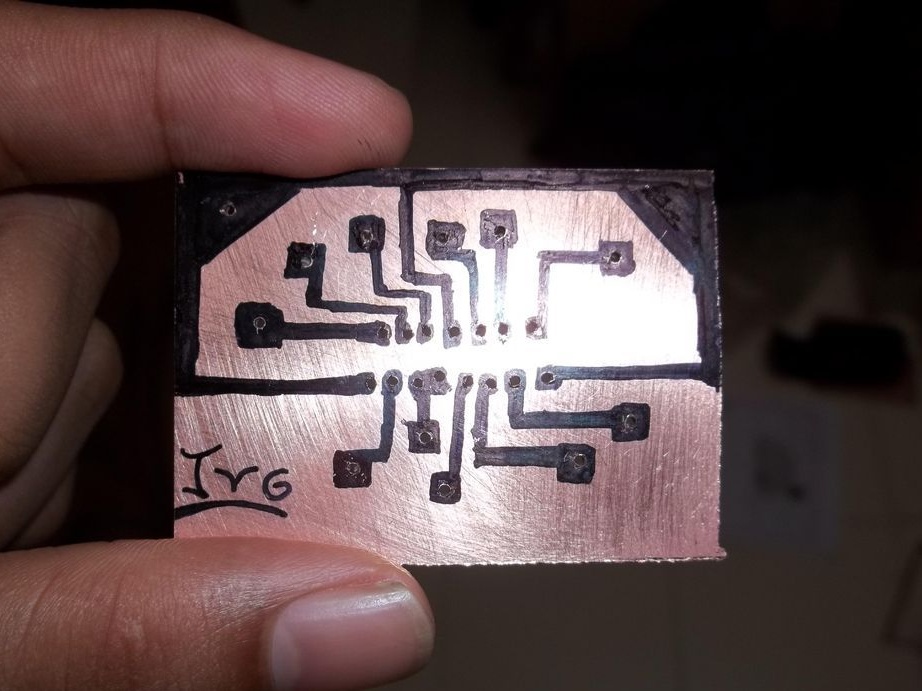
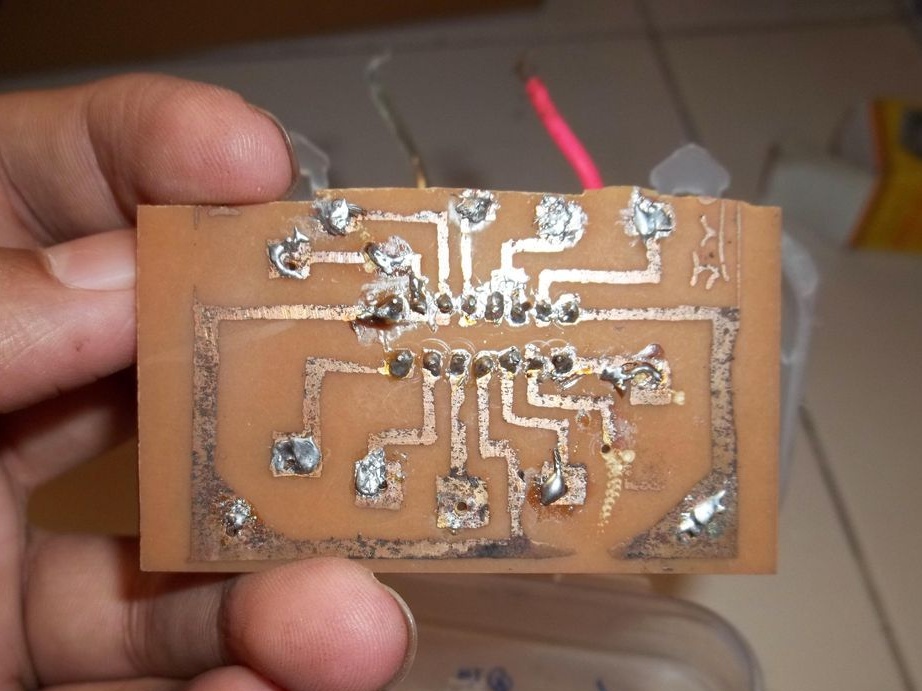
The author uses a dual driver with an H-bridge L298 IC, he controls four engines. For him, the author created a board to facilitate soldering wires to him, the board itself in the photo below. After soldering, the driver was also placed in a separate case with holes for the wires.
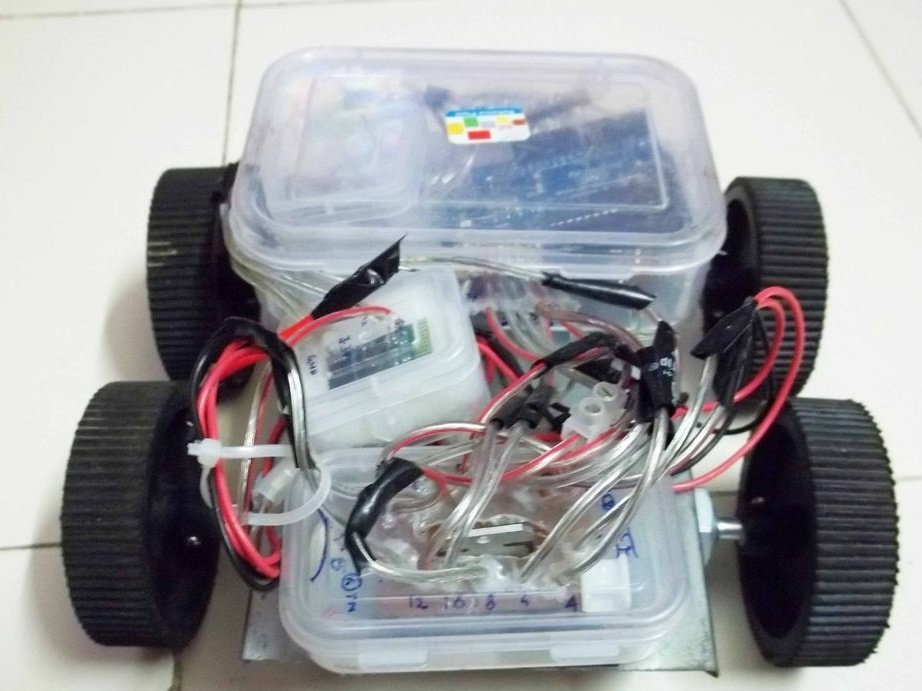
Step Six The final assembly.
Each individual component is connected to the Arduino in accordance with the scheme.
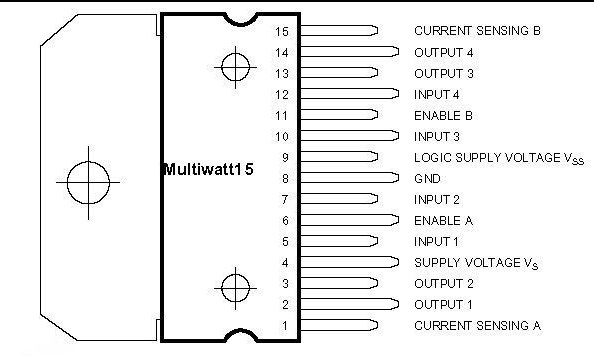
Connecting the engine driver with Arduino took place according to this pinout:
1 to GND
2 to the first contact of the left motors
3 to the second contact of the left motors
4 to a 12V battery
5 to pin Arduino 2
6 to the pin Arduino 3
7 to pin Arduino 4
8 to GND
9 to 5V with Arduino
10 to pin Arduino 5
11 to pin Arduino 6
12 to the pin Arduino 7
13 to the first contact of the right motors
14 to the second contact of the right motors
15 to GND
12V power was connected to the Vin Arduino pin and pin 4 of L298. GND Arduino respectively to GND power supply.
Seventh step. Program for Arduino.
For the program to work correctly, it was necessary to install the Amarino library, which can be downloaded. You can download the source code for Arduino under the article.
Step Eight. Software for Android
Amarino Library is a toolkit for working with Android smartphones. By installing an additional application on your phone, you could start writing a program.
Amarino app and plugin can be downloaded from. After installing them on the phone, it remained only to turn on the machine and connect to it, and select the Add Events-> Accelerometer Sensor section.
Video with installing Amarino and its plugins:
The speed of the machine is equal to the tilt of the phone. If the machine moves in the wrong direction, you need to swap the wires from the engines.