
Probably many are interested in the possibility of using alternative energy. The author of this device is just one of these, he also read various articles on the Internet devoted to renewable energy sources. He was particularly interested in the use of wind energy, since in his area the winds are quite strong and he immediately realized that the proper design of the wind generator would give out a fairly large amount of energy.
Having become acquainted with the main types of windmills and the generators used in them, the author settled on an axial generator with ferrite magnets.
Materials that were used by the author to create this generator:
1) metal pipe
2) bearings
3) hairpin
4) diamond blades with a diameter of 22 cm
5) 40 ferrite magnets
6) epoxy resin
7) wire 0.5 mm thick
8) metal corner
9) screwdriver
10) plywood
11) jigsaw
Let us consider in more detail the design of this model of the generator, as well as the main stages of its assembly.
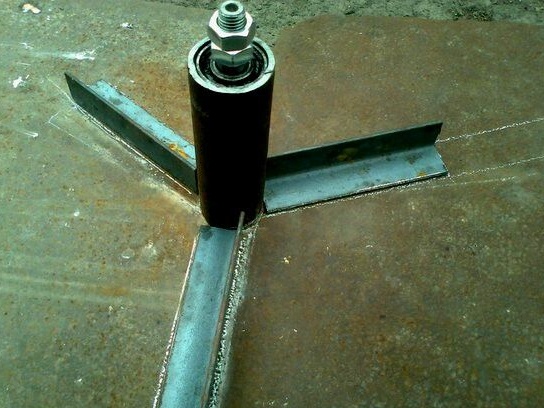
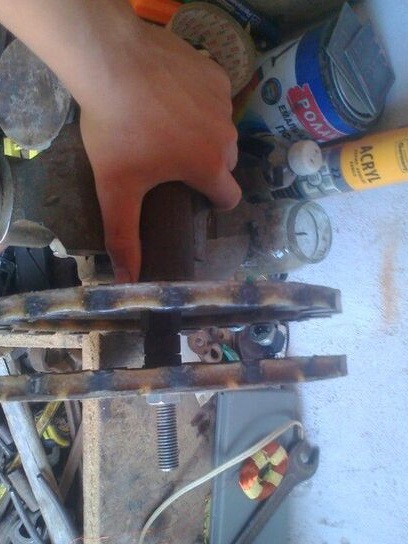
This generator was built completely from scratch. Its basis was the hub, which the author assembled independently from a pipe segment. Bearings and a stud were installed in this pipe. Having welded several sections of the corner to this pipe, the author received a ready-made basis for mounting the stator of the future generator of his windmill.
Hub and angles for stator mounting, marking before welding
The author decided to use diamond discs with a diameter of about 220 mm as generator rotors. In order to precisely fix all ferrite magnets on them, the author drew them in such a way as to produce twenty identical sectors, at the joints of which magnets were placed. In order for the magnets to be securely mounted on the disks, the author used super glue and epoxy: for starters, the magnets were fixed with a drop of super glue, and then filled with epoxy.
Installation of magnets on rotor discs:
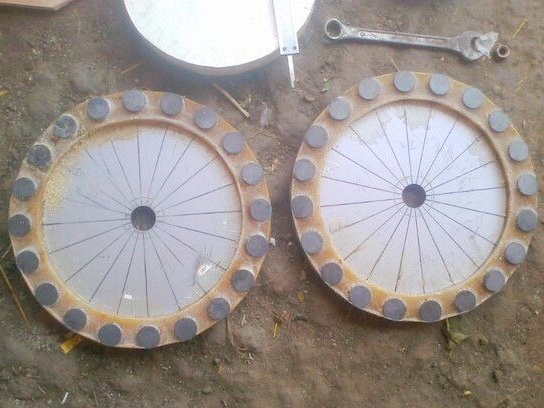
So the rotor discs will roughly stand:
In order to make the stator, the author made a small device in the form of a frame.
Mandrel for winding coils
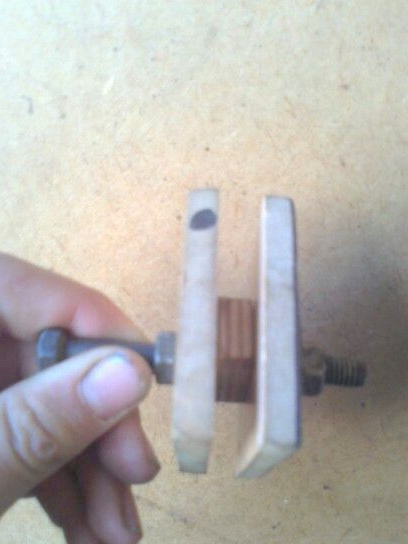
The author needed this frame in order to wind 15 coils of wires more easily and more conveniently. It is this number of coils that the author decided to use to create a stator. The winding device was worn on a screwdriver, after which it turned on and the author wound 325 turns of wire 0.5 mm thick. The author determines such a large number of turns of wire for coils that the ferrite magnets used to create the generator are rather weak. The total thickness of the coils was 9 mm. Therefore, measurements of the resistance of one phase showed a value of 18.5 Ohms, which is understandably not the best indicator for building a generator, but thanks to this design of the coils, the voltage will be within normal limits and suitable for charging batteries.
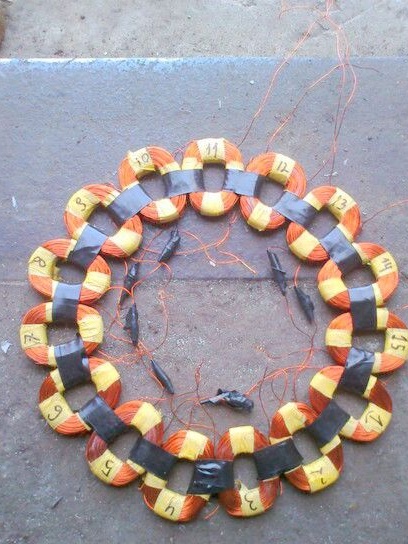
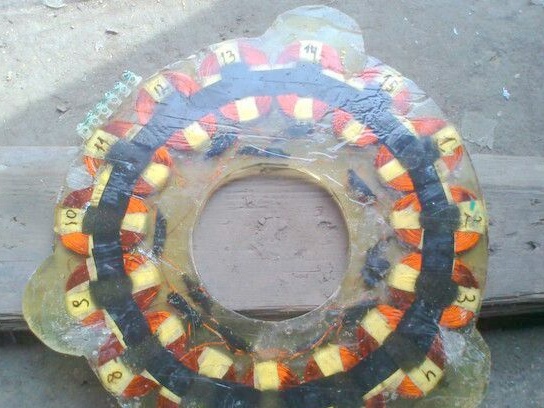
Ready-made stator coils, wire 0.5 mm, 325 turns each, thickness 9 mm:
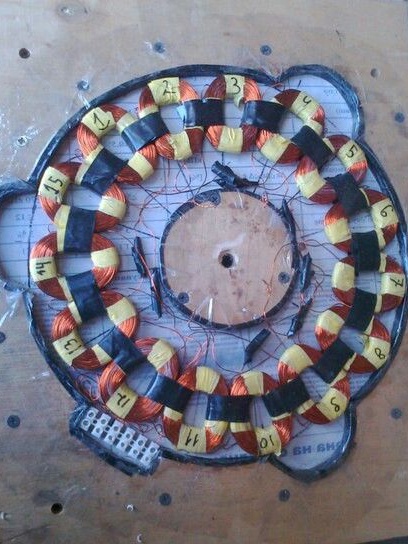
After the coils were completely ready, the author decided to start manufacturing a stator based on them. To begin with, the author took a sheet of plywood and cut out the necessary shape for the stator. In this form, the author plans to place the coils and fill them with epoxy. To then make it easier to separate the stator from the mold, the author covered the plywood blank with tape. After that, all six wires from the phases were connected together and everything was flooded with epoxy resin.
Stator coils before epoxy resin casting:
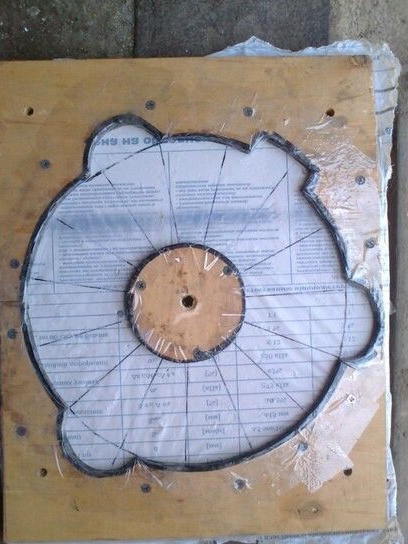
A mold for stator casting, a template with a film under the bottom, the edges of the mold are glued with tape:
When the form hardened, the author separated it from the workpiece and received a ready-made stator. The next step, the author assembled all the parts of the generator together and tested it manually. Thus, when connecting into a triangle and spinning the generator by hand, the short-circuit current turned out to be about 1.5 amperes and a voltage of 15 volts. The author also tested the generator with a screwdriver. For this, the screwdriver was specially connected to the generator and the author managed to spin up to 700 rpm and get a voltage of 47 volts.
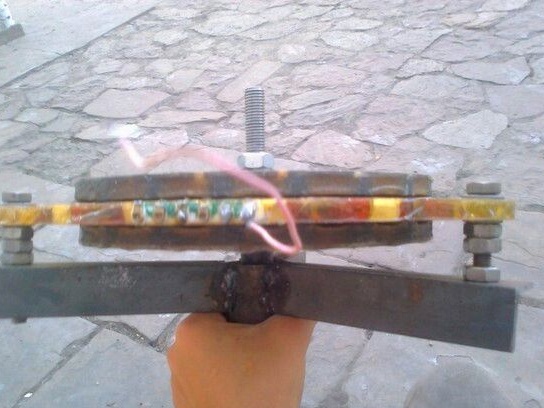
Ready stator axial generator:
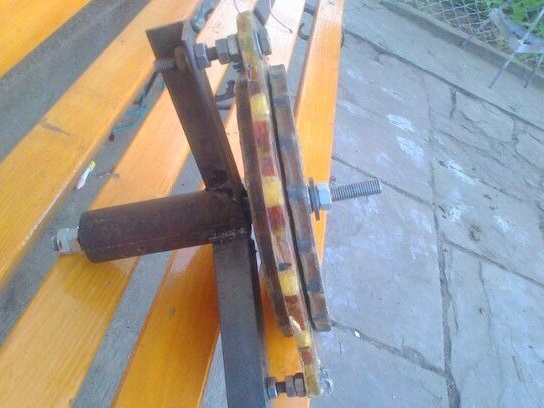
General view of the finished generator for a windmill
Then the author proceeded to assembling the selection of a suitable screw for this generator model. Several screws were made of PVC pipe with a diameter of 110 mm. However, such screws did not give the necessary results, since they were too slow and did not develop the necessary speeds for the full operation of the generator.
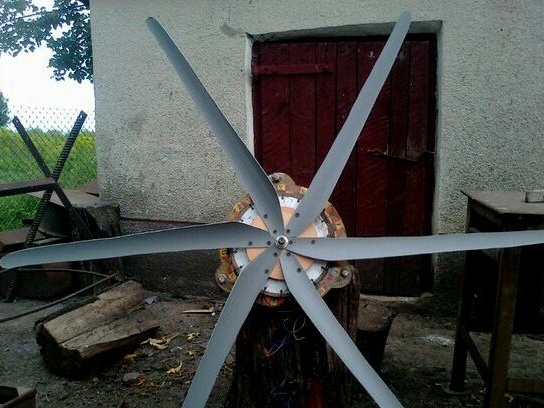
Generator with screw before installation on the mast:
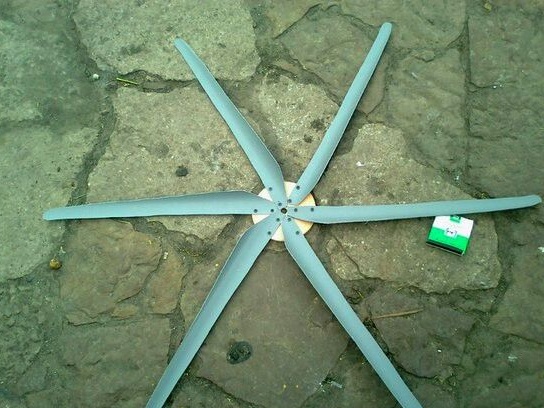
Low-speed six-blade propeller for a wind generator:
Three-blade propeller of a wind generator:
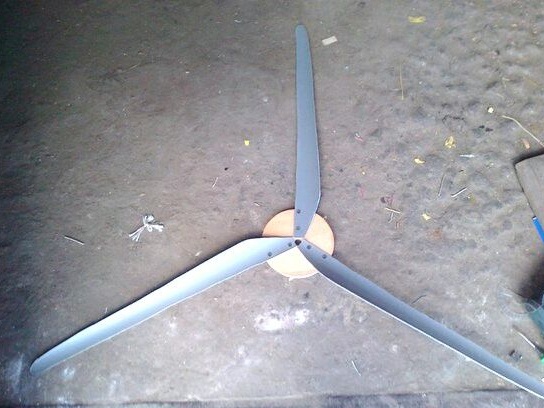
As a result, a three-bladed propeller for a windmill was made on the basis of this generator, with which the generator can work. However, this does not mean that the author’s tests on this screw have ended. Since, according to the author, although the generator turned out to be weak due to ferrite magnets, it still works, and therefore it is possible to achieve 30 watts of power from this generator with a suitable screw, which will fully reveal the installation potential.