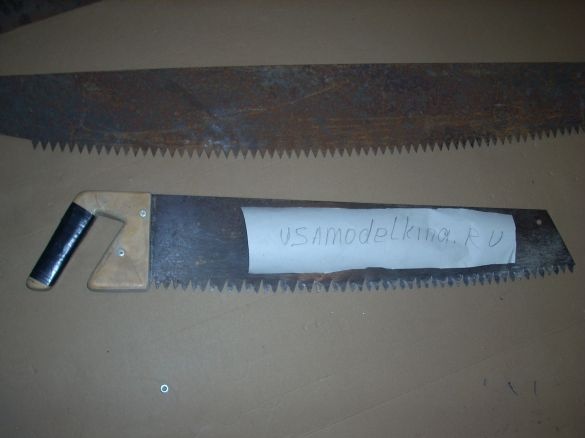
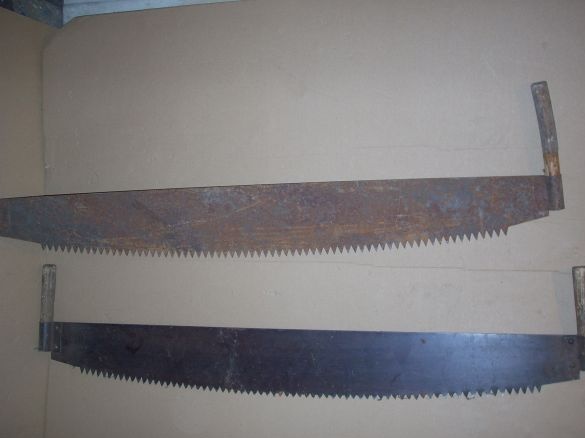
Spring has come, and soon I want to begin the next reconstruction of the house. I decided to attach a small extension, for which last fall I poured a monolithic strip foundation. The foundation was upheld, gained design strength and you can already proceed to building. I decided to build from the most common material - gas silicate blocks. I have experience with them - from this material I do it yourself built a two-story house on a summer cottage. It was a long time ago and then I used conventional hacksaws to cut blocks. But gas silicate is an abrasive material and the hacksaw erases very quickly. Moreover, its length is not enough! Now on sale there are special saws with victorious soldering. But, looking at their price, I decided to make a similar saw myself. Material for this homemade one of the old two-handed saws that I found, sorting the rubble in the old barn, served:
I do not need them, because now their function is performed by benzo and electric saws, circular saws, reciprocating saw and other tools that I have ..
In the Soviet Union, two-handed saws were made of very high-quality steel, so I decided to use them.
So I needed:
1. Two-handed saw.
2. Plywood, 10 mm thick.
From the tool I used:
1. angle grinder ("grinder")
2. Electric fret saw
3. Punch.
4. The hammer.
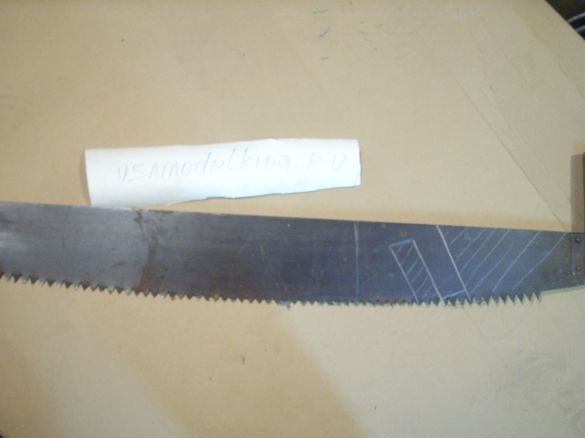
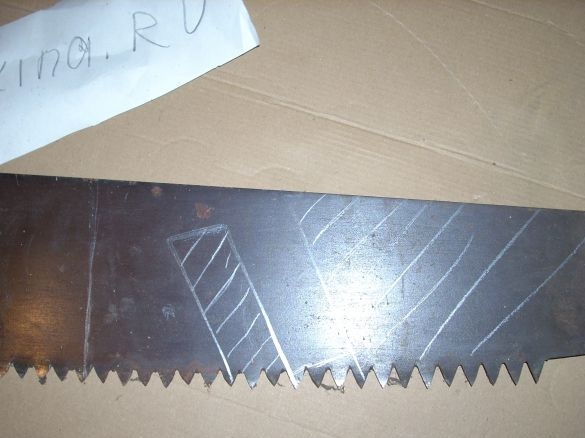
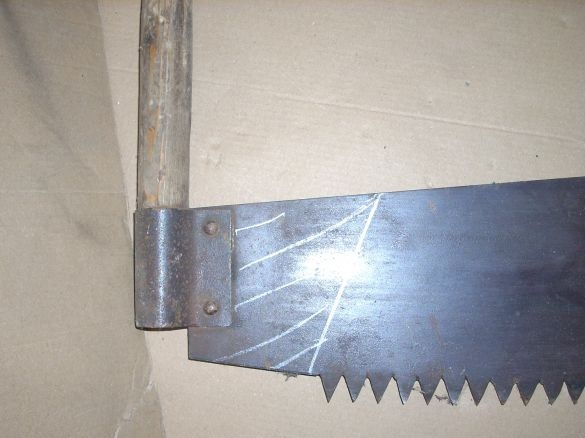
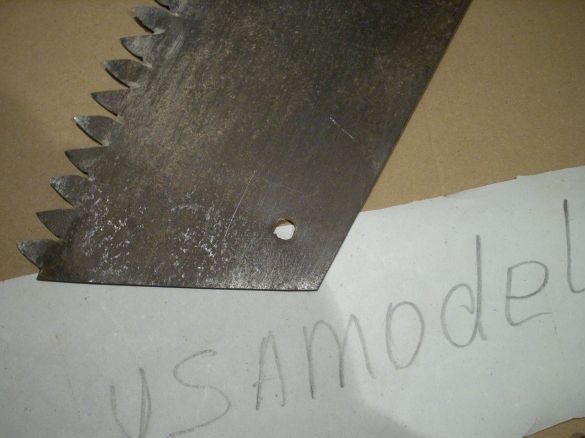
To start, I drew my future hacksaw on an old saw:
In order not to make a mistake, I shaded parts of the saw that were unnecessary to me. Next, I started punching holes. It is punching. The fact is that the steel used in saws is high-carbon and has high hardness, therefore, it will not be possible to drill a hole. But you can break through - steel is quite fragile. To prevent cracking, I decided to punch the holes before I cut the workpiece - so they will be far from the edge of the saw.
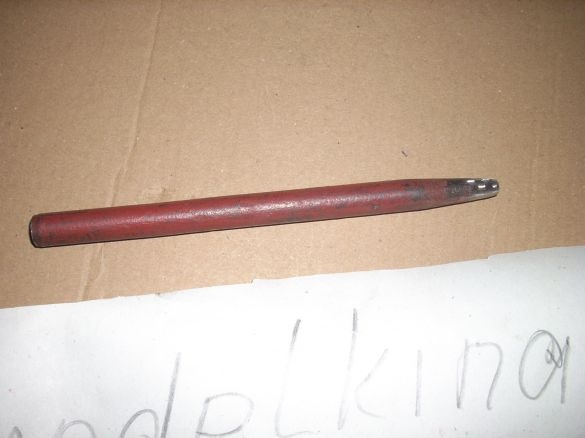
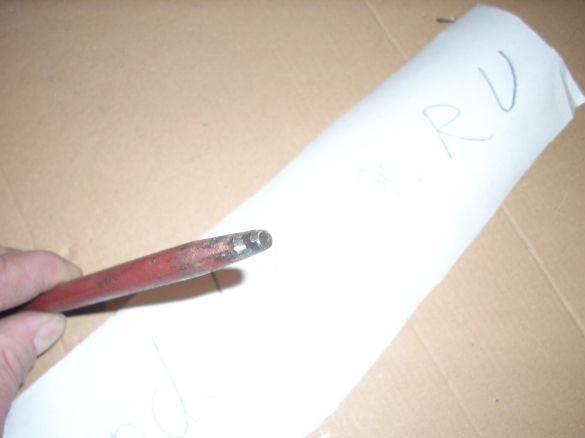
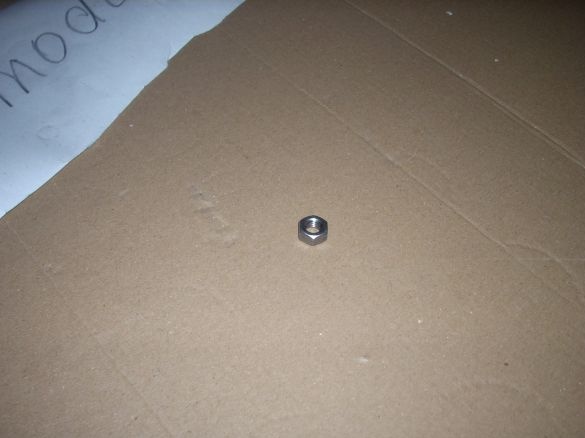
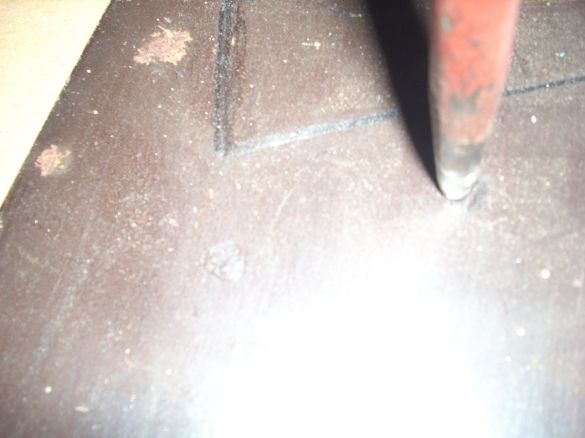
In my childhood there were no electric drills, and holes in thin metal were punched with such punches: Its feature is that the working end is blunted: A nut is placed under the material to be punched, which should have an inner diameter greater than the diameter of the blunt part of the punch by 1-2 mm. (In my case - nut M6):
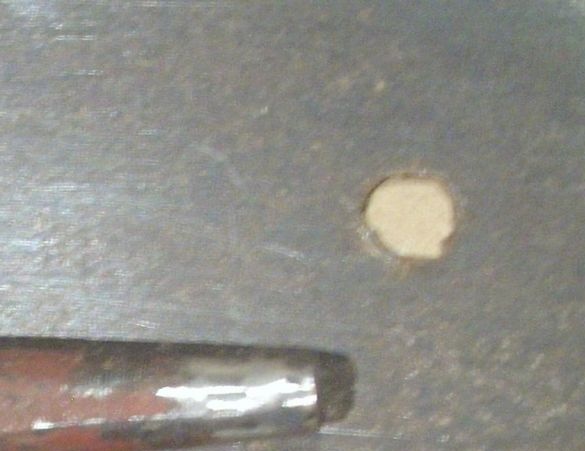
By precisely aligning the centers of the nut and the punch from different sides of the saw, a strong, whipping blow is applied with a heavy hammer.
Everything, our hole is ready:
So we break through all the holes we need.Three - for attaching the handle, and one - at the end of our hacksaw: it is necessary to then hang it on a nail:
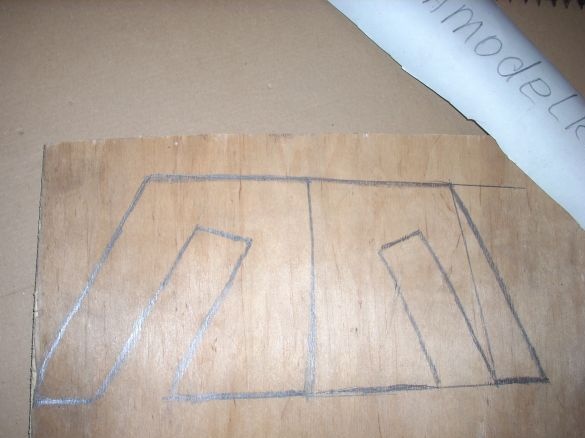
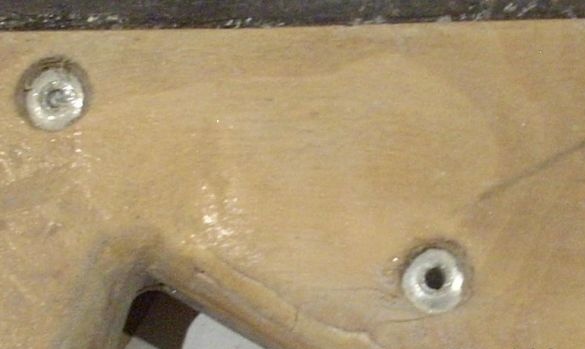
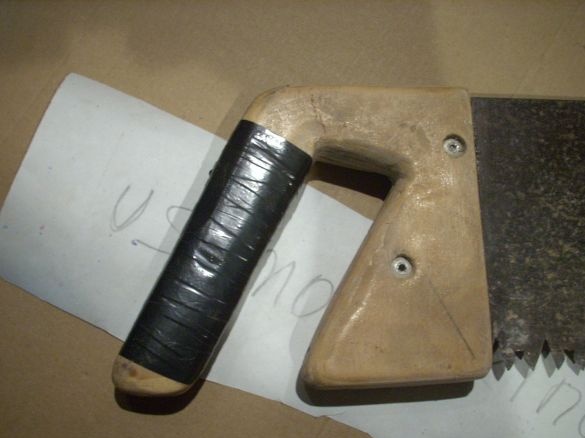
Next, we cut off all the excess with the “grinder”, and according to the resulting template, draw two handles on a piece of plywood. I used scraps of plywood left over from other homemade products: I fixed the resulting pads with rivets:
You can use screws with nuts. After that we handle the handle with a “grinder” with an emery-petal wheel. I wrapped the handle itself with insulating tape:
Almost ready...
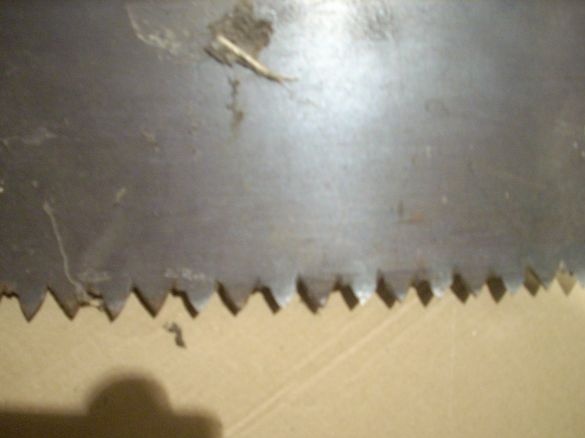
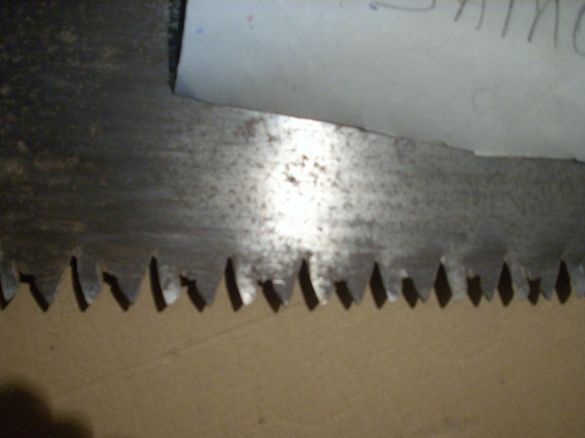
Now proceed to alter the teeth. My old saw was quite worn out, so with the help of the same “grinder”, only this time, equipping it with a cutting wheel, I cut them deeper. Here is how it was:
And here is how it became:
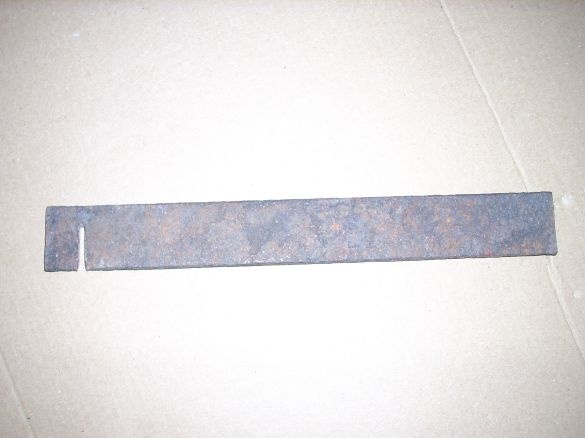
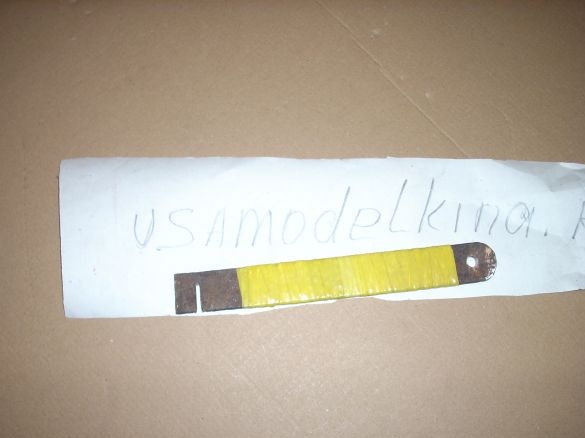
Now let's start wiring. For this, I made a special tool. It is done very simply - we cut a piece of metal strip (for me - the remains of the ground bus) and at one edge we cut a cut-off in a cutting circle:
For convenience of storage, I drilled a hole on the other end (to hang on a nail), I curved this end myself, and wrapped the handle with electrical tape:
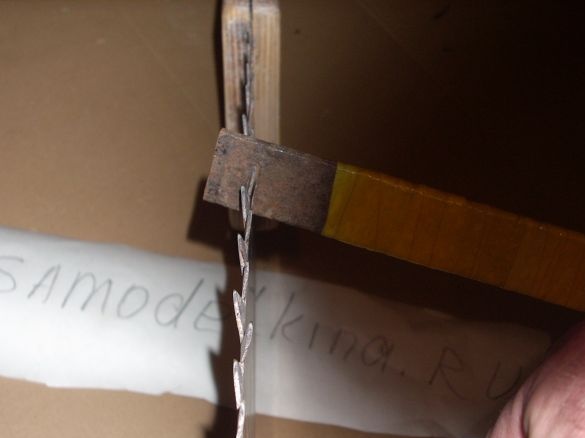
Now, carefully, so as not to break the teeth, make a wiring through one, about three to four millimeters:
All! Our saw is ready:


