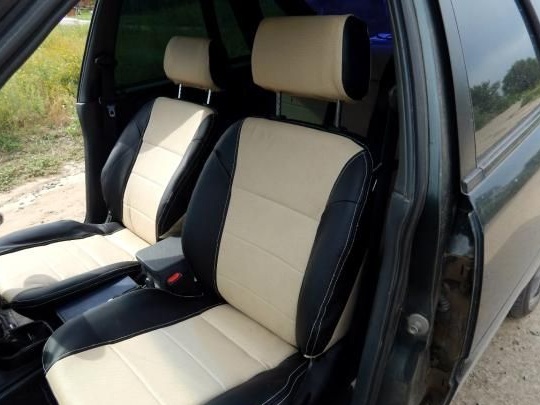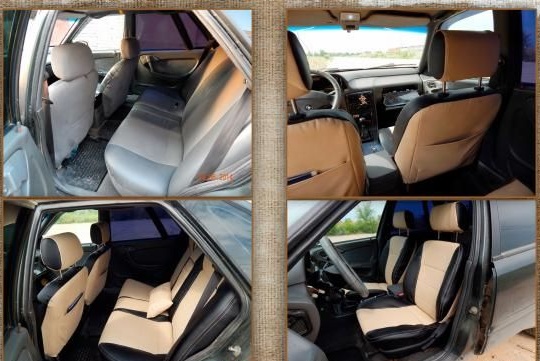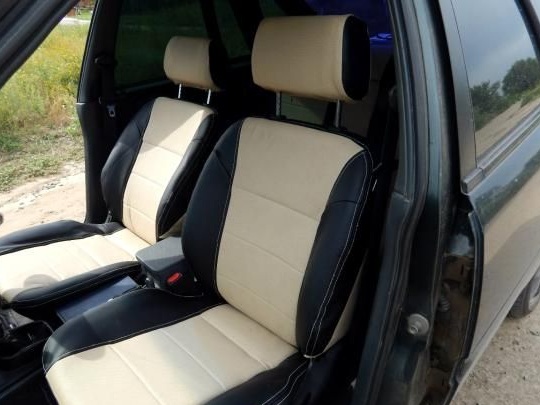
If there is a desire to pull the car seats, it is not necessary to go to a specialized salon, the problem can be solved do it yourself. In this way, you can update the appearance of the cabin, give it an original style and remove worn seats. To perform this work, it is not necessary to have a sewing education, it is enough to have a sufficient amount of patience and desire. The work of changing the skin can not be called difficult, but at the same time it is quite painstaking.
Materials and tools:
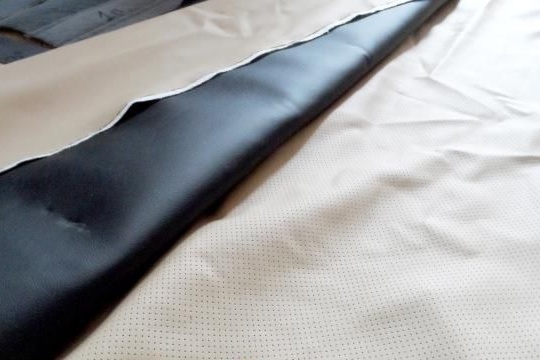
- Perforated eco leather (used beige) 2.5 m
- Eco-leather without perforation (used beige) 1.5 m
- Faux leather (used black) 3.5 m
Note: you should choose a special skin for the car, it is designed for temperature changes, is also resistant to fading. Furniture leatherette is not suitable due to the fact that it is not adapted to the conditions of the car, but is suitable only for residential conditions.
- Foam rubber thin thickness 0.5 cm (for gluing leather parts)
- Furniture glue
- Sewing machine
- Needles for leather No. 90 or 100
- Threads for sewing leather (ordinary ones do not fit, fit marked Extra Strong or for shoes) three 200-meter reels
- Glue non-woven 3-5 m
- Machine oil
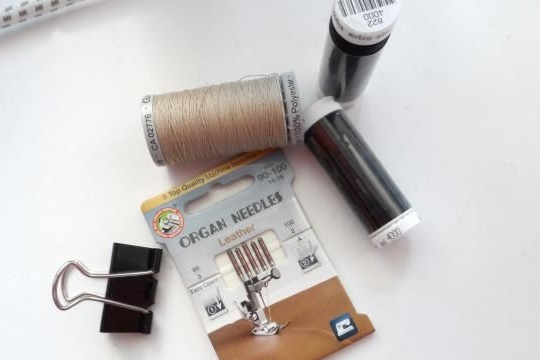
Step one. Material preparation.
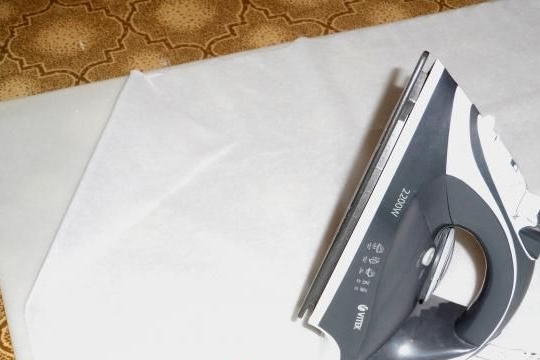
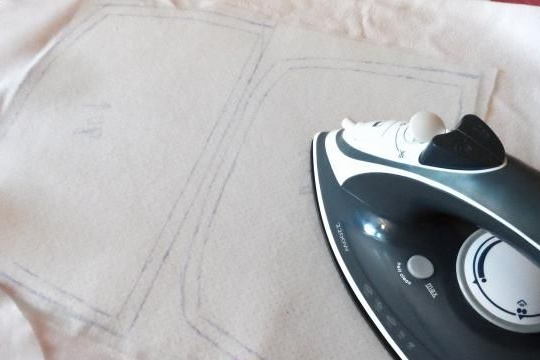
All available foam was glued with interlining using an iron. This procedure is required so that during operation the foam rubber withstands the load on it and does not crumble. An additional benefit of non-woven fabric is the easier sliding of foam during sewing.
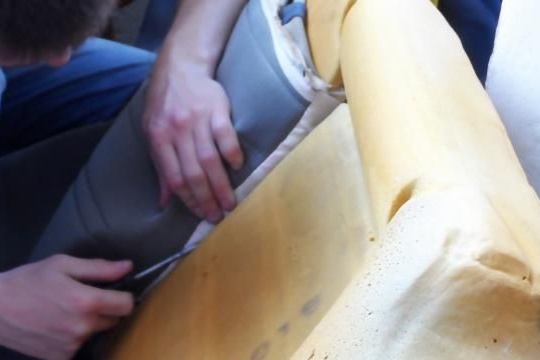
Step Two Seat preparation.
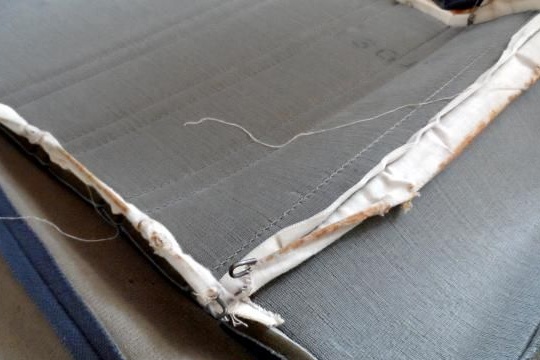
For convenience, the seats are removed from the car. Next, you need to remove all the old casing.
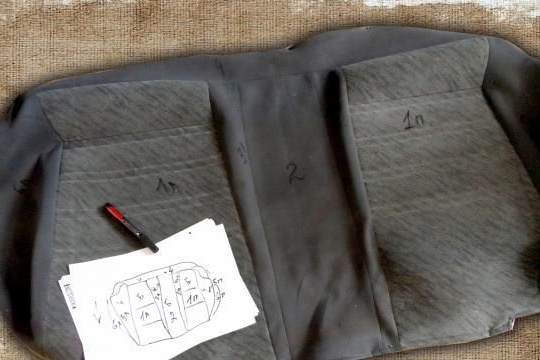
Step Three Markup.
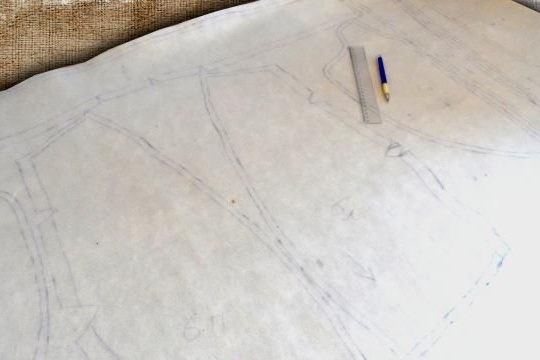
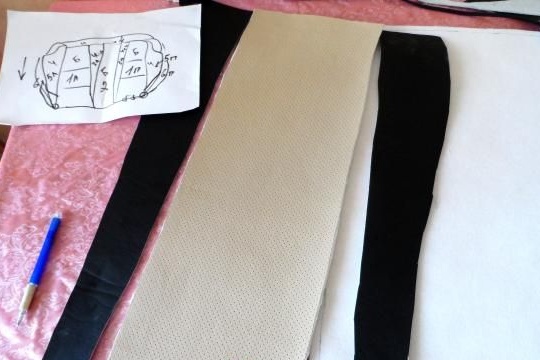
At first glance, looking at the cover, everything seems pretty understandable. But when the old case is opened to the details, it will be very easy to get confused. Therefore, the author, armed with a marker, numbers each part of the cover with a marker. In order to remember which number corresponds to what, the author on a piece of paper drew a diagram of each seat with backs, and numbered the details of the cover. Using the numbering on the details of the skin, and the sheet will no longer be tangled.
The fourth step. Knitting needles.
On the inside of the case there are pockets with knitting needles. Since they will be needed for an updated covering, they had to be pulled out, and for now put aside. The location of the spokes was also noted on a paper diagram.
Step Five Preparation of the pattern.
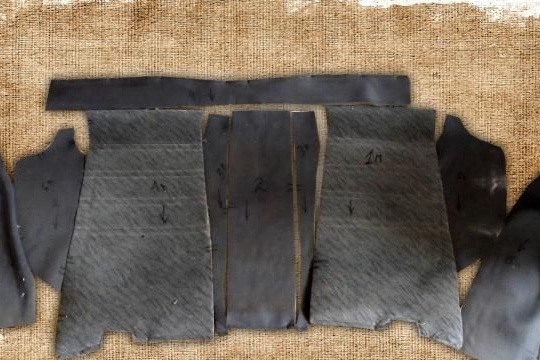
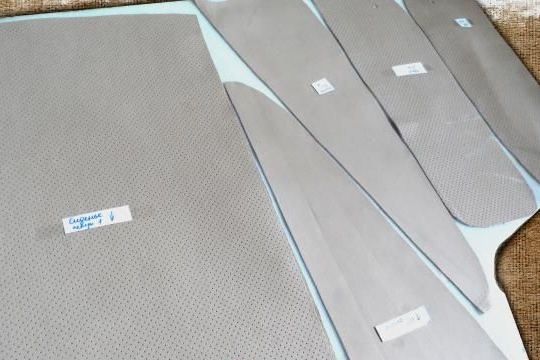
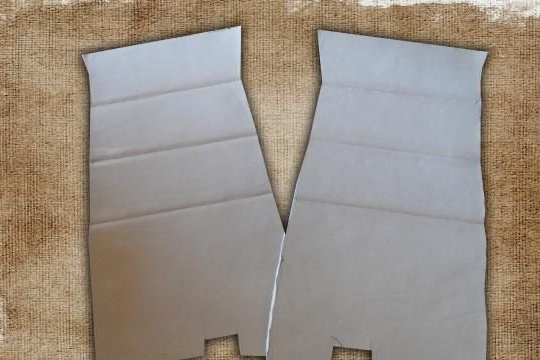
After all the preparations, you can open the covers, the seam allowances are cut off.So, patterns for a new covering look.
Step Six Cut it.
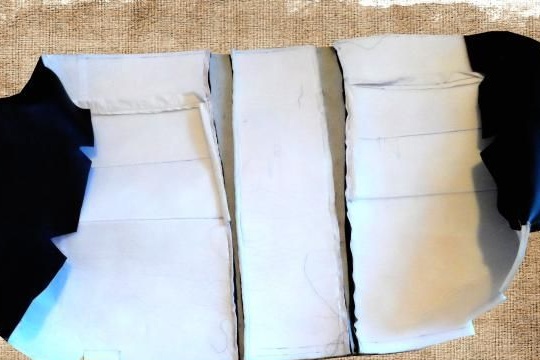
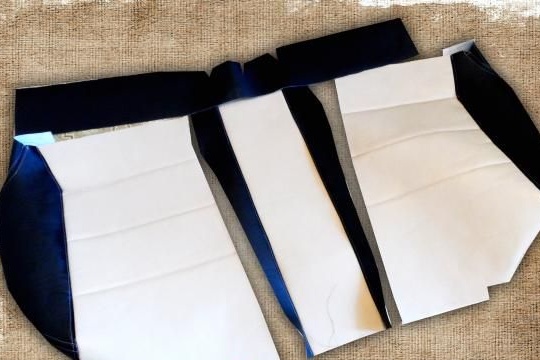
Every detail was transferred to leatherette. In order not to get parts in a mirror image, they are applied on the wrong side of the material with the wrong side up.
Seventh step. Seam allowances.
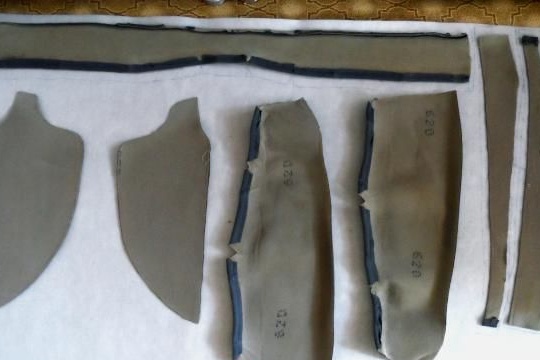
From all sides, the author made allowances for seams 1 cm in size. All details are also numbered.
Step Eight. Tenderloin.
All prepared parts of the cover are checked again, after which they are cut out.
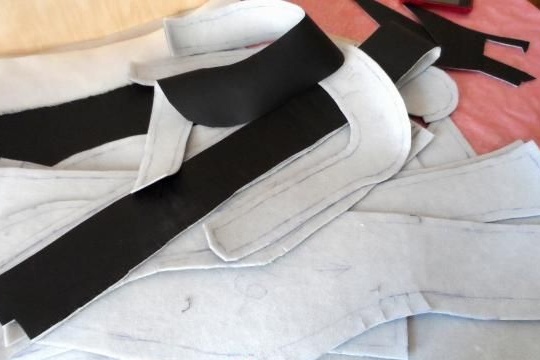
Step Eight. A set of parts.
Thus, the author received a complete set of parts for covers. In the photo, you can see the rear seat, in the same way the back and front seats are performed.
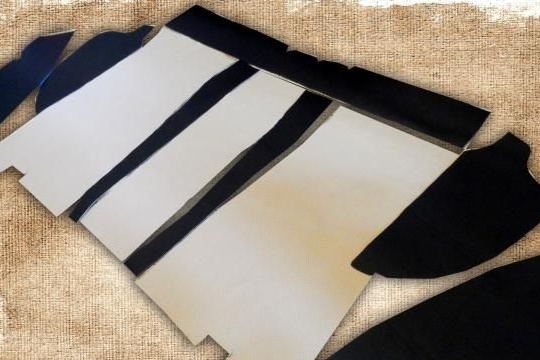
Step Nine. Glue.
As mentioned at the beginning of the article, leather parts require gluing with foam. The author needed to do such work only with beige, since the black leather was already with sizing upon purchase. The glue was applied with a rubber spatula and a brush. Before the main sizing, the author practiced on scraps.
Step Ten Features gluing and knitting needles.
When gluing perforated eco-leather with foam rubber, glue began to seep into the holes. Therefore, the author decided to glue the wrong side first with non-woven, and then stick foam rubber to it. The overall picture looked like this: skin, on it is non-woven, foam rubber on top of it, and then again non-woven.
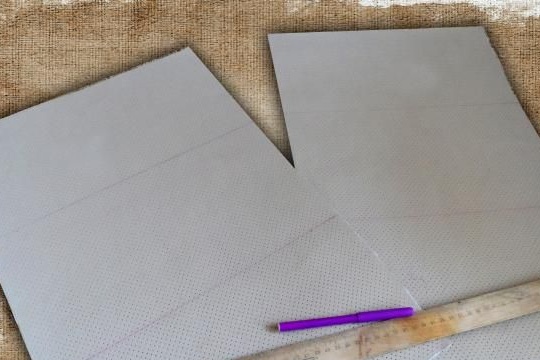
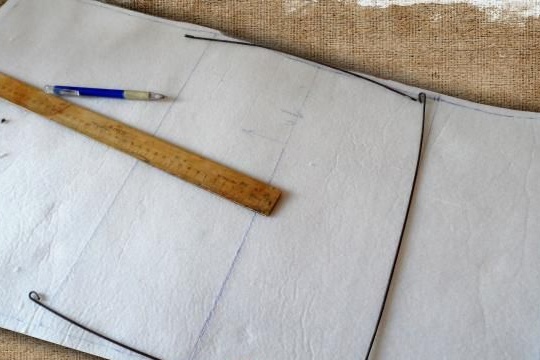
After the parts had dried, it was possible to start cutting them and proceed to sewing. Starting with the central parts, marking was applied for the lines.
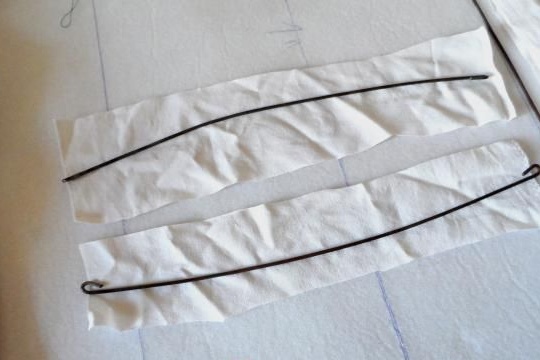
They used knitting needles from the inside, and noted their future location by referring to the drawn pattern. For knitting needles, strips of long knitting fabric were cut. Having folded the fabric along the knitting needle, they sewn on the wrong side of the necessary details.
Step eleven. Lines.
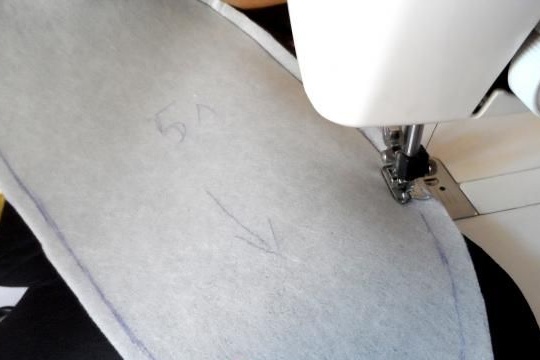
Decorative stitches were made by a sewing machine, while the front side of the material was greased with oil, for better movement of the foot on it.
Step Twelve. Assembly of parts.
When all the parts were ready, it was time to start assembling. All elements of the cover were sewn into one, referring to the drawn pattern. All parts were alternately grinded.
Step Thirteen Clothespins.
Office clothespins can greatly help with a sewing machine. The author combined the details for smooth sewing by them, their advantage is that they do not leave marks on the material.
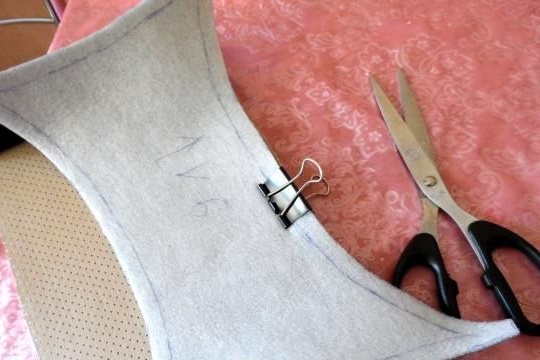
Step fourteen. Appearance.
After the sewing machine, you need to cut off the excess foam.
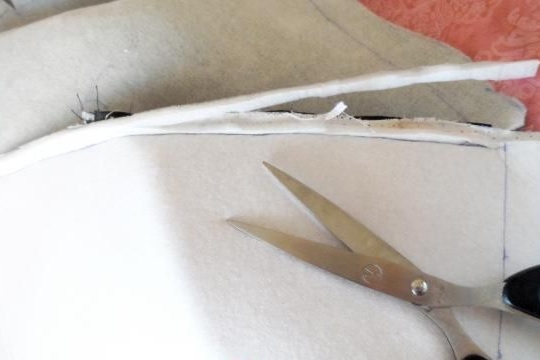
Turning the cover over, the author laid a decorative stitch.
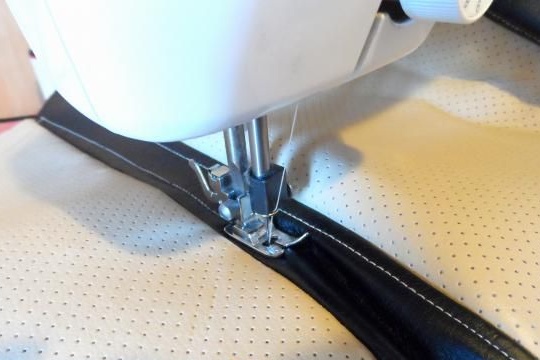
Further, the author stitched the left and right parts of the cover together, after which he passed the knitting needles and cords from the old casing.
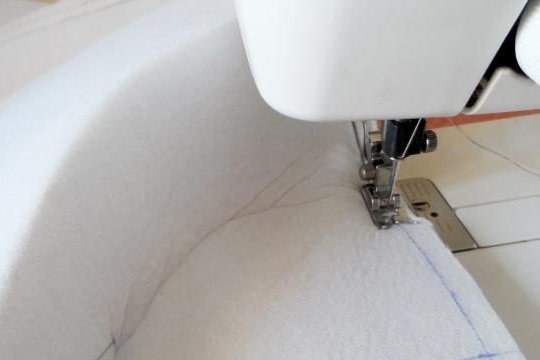
View of the inside of the cover.
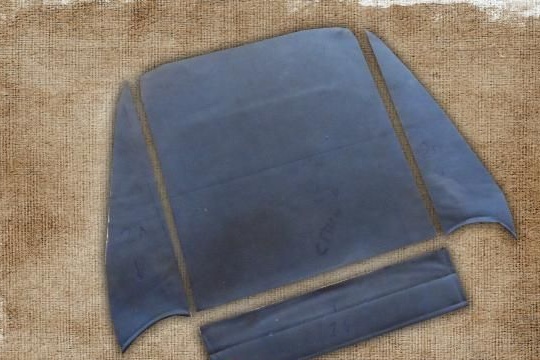
In the same way, work is done with the remaining parts for the front seats, and head restraints with a backrest. The author decided to change the back of the front seats by adding pockets there, so one single piece was further cut into several elements.
Having completed the preparation of all the details, it was possible to start pulling the covers into place. Then there was only to admire the result.
