
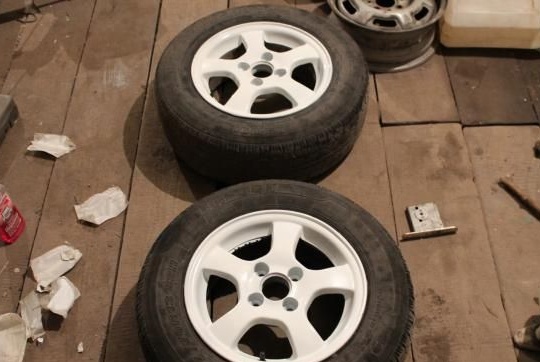
As everyone knows, car wheels have the ability to lose their presentation, contribute to this pit, stones and dirt. It often happens that the owner auto I’m just tired of their appearance, and I want to change their painting, while buying new discs is quite expensive. You can paint do it yourself with a little effort.
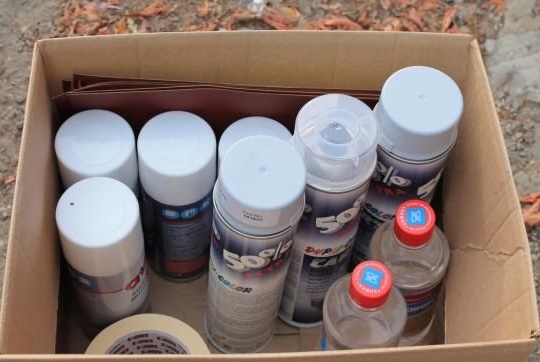
Materials:
- White alkyd autoenamel 2 cylinders
- Soil 1 cylinder
- Protective varnish transparent 1 cylinder
- Can putty
- Adhesive tape painting (construction)
- Emery paper
- Degreaser
Step one. Preparing discs.
First of all, the author carefully washed the disks by removing dirt and dust from them. Further, the old paint was completely removed from the discs. Now it is time to apply masking tape, they glued the entire surface, which can not be painted.

Step Two Elimination of defects.
Before starting the painting, degrease the surface, if this is not done then the paint will not last long. Disks are not used very new, and they have dents and chips. To eliminate these irregularities, the author uses putty in turn on each wheel. After using it, you must wait until the disks are completely dry. Aligning the shortcomings, the first layer of soil is laid.
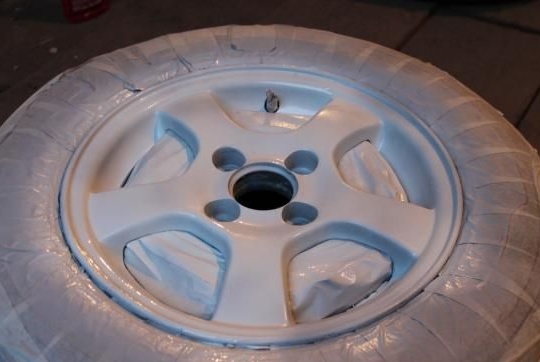
The primer was applied in two layers, the break between the layers was about 15-20 minutes. The author paid close attention to the folds and corners, because looking at them you can find areas on which the primer did not hit. After the second layer of soil has completely dried, white enamel is applied.
The fourth step. Enamel and caps.
Note: when painting, it is very important to check (or prepare) the room where all this will take place. The amount of insects and dust should be minimal. Everything is very sticky on fresh paint, and perhaps some areas will have to be repainted.
For best results, the enamel is applied in three layers, drying between each application takes about 10 minutes (when using a warm room with a temperature of 25-30 degrees).
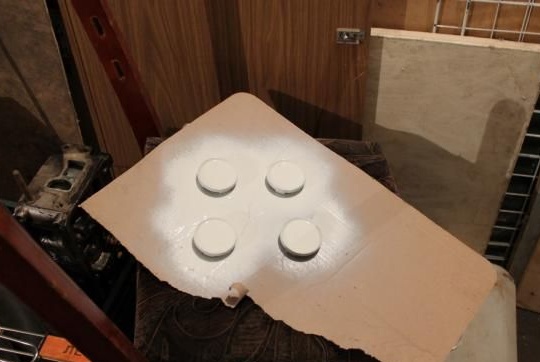
In the interval between applying enamel to discs, the author deals with hubcaps.The same actions apply to them as in the previous steps for discs (paint removal, degreasing, primer, enamel).
Step Five Finish painting.
The author draws attention to the importance of observing the intervals between application of paint. If one of the layers does not dry out completely, then it turns out that all the work has been done in vain.
Now that the last layer of enamel has dried, a protective transparent varnish is applied.
The varnish will be applied in two layers. The first of them is done superficially and accurately. It took about 15 minutes to dry the first layer, after which it was possible to continue. The second layer was applied more carefully. With hubcaps, they perform similar operations. For faster drying of the varnish, the author uses a heater, but he does it carefully, without abuse.

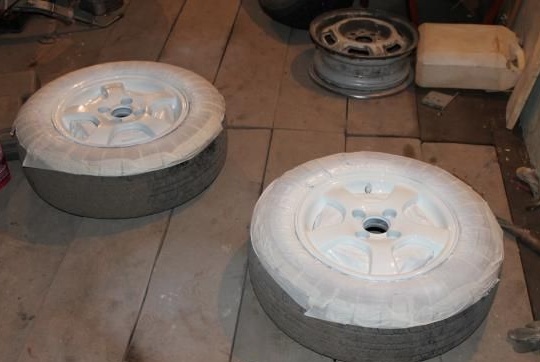
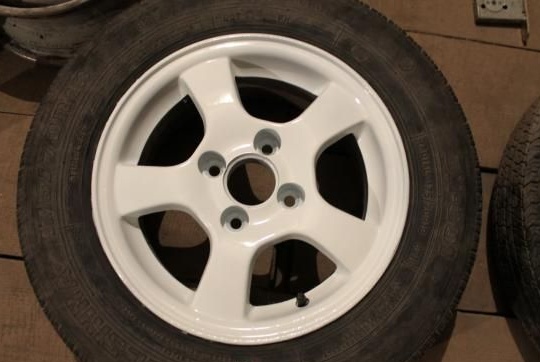
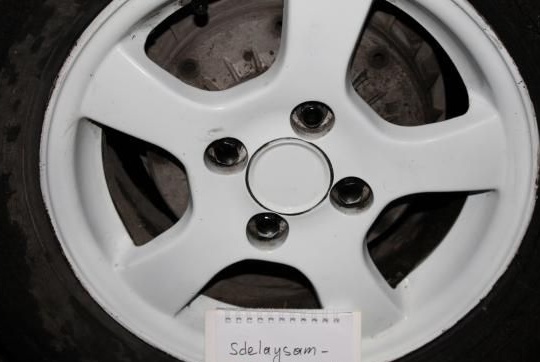
According to the instructions on the cylinder with a protective varnish, remove construction tape and install the wheels on the car only after the varnish has completely dried. Upon completion of all operations, the author received the following result:

And this is the appearance of the disks on the car:
Observing all painting technologies, such discs will retain their appearance for about two years. So spending a whole day in the garage You can get new wheels on your car.